Quick answer
Roll your yoga mat with the top surface facing outward, starting from the end you stood on least. Store it standing upright or lying flat, never folded or compressed under heavy items. A yoga mat storage rack or a breathable cotton bag keeps the roll shape intact and prevents curling.
A yoga mat that stays curled at the edges or smells like a locker room is usually a storage problem, not a mat problem. How you roll and store your mat between sessions decides whether it lies flat on the first sun salutation or fights you for the first ten minutes.
This guide walks through the exact steps to roll a yoga mat, where to put it at home or on the road, and how to keep it from curling. The same habits work whether you practice daily or once a week, and they add years to any mat.
Why rolling direction and storage position matter
Most mats curl because they were rolled tightly and left that way for weeks. The material takes a set, and the edges lift when you unroll. Rolling with the top surface facing outward and storing the mat upright or flat spreads the tension evenly instead of pinching one side.
Heat and pressure make it worse. A mat left in a hot car or under a heavy bag keeps whatever shape it was forced into. A little attention to direction and position solves most curling complaints before they start.
- Check the mat's top surface before rolling. The side you practice on should face outward, not inward.
- Avoid folding a mat for storage. Folds create permanent creases that rolling cannot fix.
Step-by-step: how to roll a yoga mat
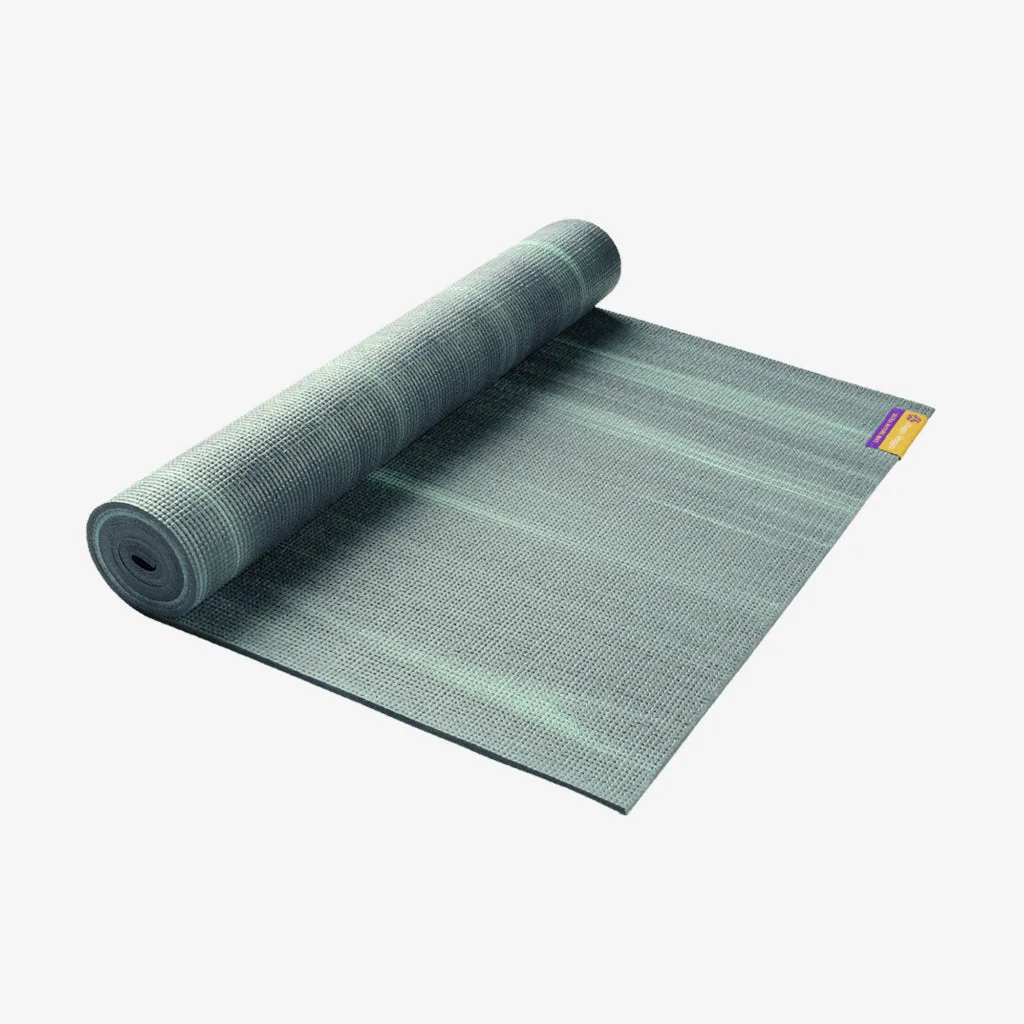
Start with a clean, dry mat. Wipe it down and let it air dry completely before rolling, because trapped moisture encourages odor and mildew. Lay the mat flat with the top surface up. Begin at one end and roll loosely, keeping the edges aligned as you go.
Once rolled, secure it with the attached strap or a wide cotton strap, not a thin elastic band that digs in. If you use a bag, slide the mat in and avoid cramming it next to sharp objects. A loose roll with even edges is the goal, not a tight cylinder.
- Roll loosely. A tight roll is harder to flatten later and stresses the material.
- Align the edges every few turns so the finished roll is straight, not cone-shaped.
Yoga mat storage ideas for home
The best yoga mat storage ideas depend on your space. A yoga mat storage rack keeps the mat upright and off the floor, which protects the edges and lets air circulate. A wall hook or a tall basket works the same way if you do not want a rack. Standing the mat on one end is usually better than lying it flat under a bed, where dust and pressure build up.
If you prefer to store yoga mat rolled or flat, both are fine as long as the mat is not compressed. Flat storage under a bed can work if nothing heavy sits on top. Rolled storage is easier for small rooms and for grabbing on the way out the door.
- Keep mats out of direct sun and away from radiators to prevent material breakdown.
- Rotate the mat's standing position occasionally so one edge does not take all the pressure.
On the go: roll yoga mat for bag and travel
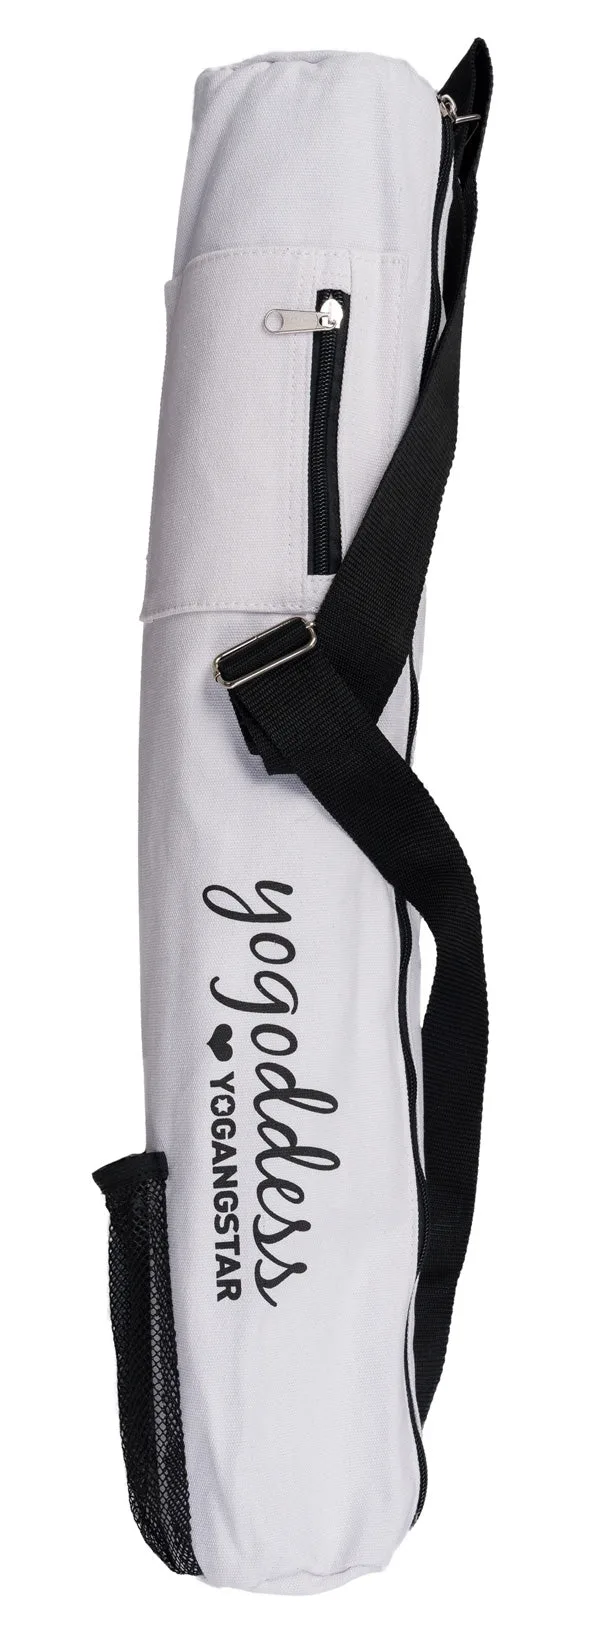
When you need to roll yoga mat for bag use, roll it a little looser than you would at home. Travel mats are thin, and a tight roll in a crowded bag can leave creases. A dedicated bag with a side pocket and water bottle holder keeps the mat separate from keys, shoes, and water bottles that could puncture or dampen it.
For daily commutes, a lightweight cotton bag breathes better than plastic and lets the mat air out between classes. If you practice outdoors, shake off sand and debris before rolling so grit does not grind into the surface.
- Empty and air the bag after class instead of leaving a damp mat inside.
- Use the carry strap rather than stuffing the rolled mat into a tote with heavy items.
How to keep yoga mat from curling
To keep yoga mat from curling, unroll it the opposite way before practice. If the edges lift upward, roll the mat in the reverse direction and let it sit for a few minutes. You can also place the mat flat with the curl facing down and weight the corners lightly with books or blocks for ten to fifteen minutes.
Consistency matters more than any single trick. Store the mat in the same loose roll or flat position every time, and it will relax into that shape. If a mat has been rolled tightly for months, expect a few sessions before it lies completely flat.
- Reverse-roll before class if the mat has been stored rolled for a while.
- Never leave a mat rolled tight in a hot car, which sets the curl permanently.
Cleaning and drying before storage
Storage starts with a clean mat. Wipe the surface with a damp cloth and a mild cleaner, then let it air dry fully on both sides. Rolling a damp mat traps moisture, and that leads to odor and surface damage over time. If your mat is machine washable, follow the care instructions and dry it completely before rolling.
A dry mat also grips better. Oils and sweat left on the surface reduce traction, especially on suede and cork tops. A quick wipe after every few sessions keeps the mat ready to use and makes storage simple.
- Hang the mat over a chair or drying rack rather than folding it wet.
- Wash or wipe according to the mat's material to avoid damaging the top surface.
Your roll-and-store routine in six steps
- Clean and dry the mat: Wipe both sides with a damp cloth and mild cleaner, then let the mat air dry completely before rolling. Checkpoint: no damp spots or lingering moisture before you roll.
- Lay the mat flat, top side up: Place the mat on a clean floor with the practice surface facing up so you can roll with the top facing outward. Mistake to avoid: rolling with the sticky side inward, which encourages edge curl.
- Roll loosely from one end: Begin at one end and roll evenly, keeping the edges aligned. Do not pull tight or fold the mat. Checkpoint: the finished roll should feel firm but not compressed.
- Secure with a wide strap or bag: Use the attached strap or a wide cotton strap. If using a bag, slide the mat in without forcing it. Mistake to avoid: thin elastic bands that leave dents in the mat.
- Choose a storage position: Stand the mat upright on a rack, in a basket, or lie it flat with nothing heavy on top. Keep it out of direct sun and heat. Checkpoint: the mat is not compressed or exposed to hot surfaces.
- Reverse-roll before practice if needed: If edges lift, roll the mat the opposite way and let it rest for a few minutes before your session. Next step: repeat the same storage position after every use to train the mat flat.
Mats and bags that make storage easier
- Travel Yoga Mat Bags: Designed for 1.5mm travel yoga mats, this 100% natural cotton bag has a side pocket, water bottle holder, and carry strap. A breathable cotton bag lets a thin travel mat air out and keeps it rolled evenly, so it is ready to lie flat at the next class.
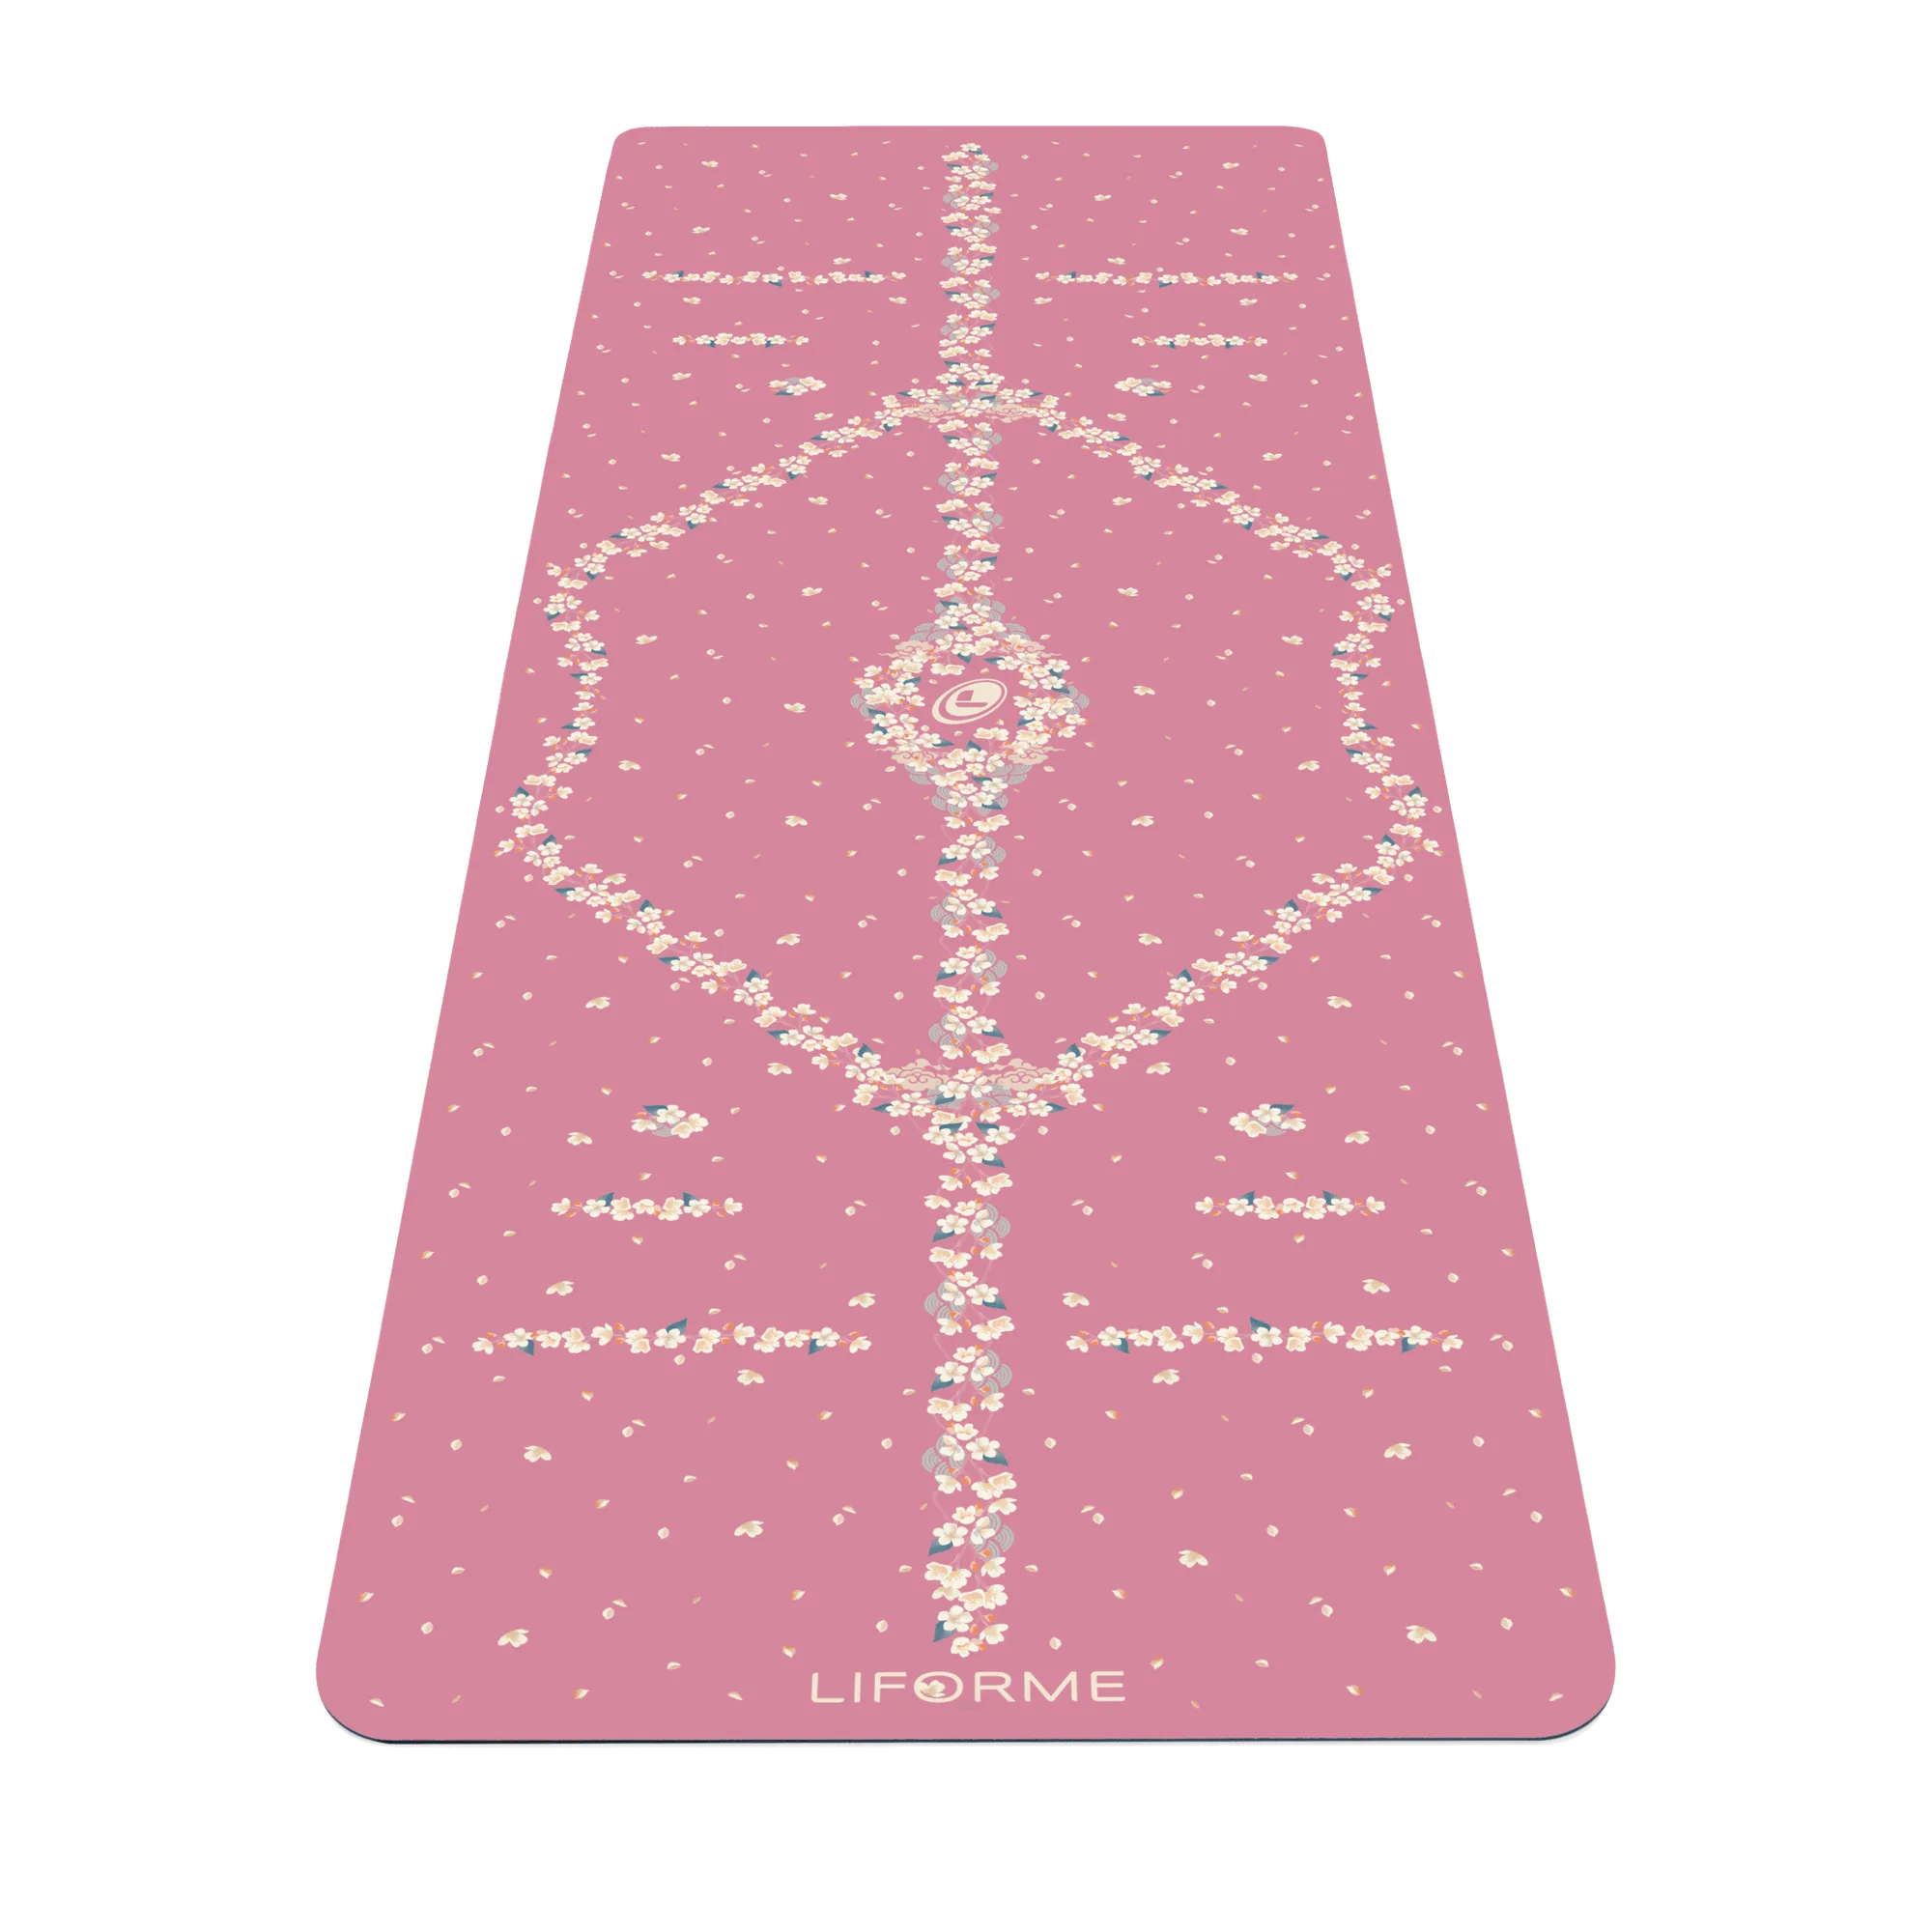
- Dancing Goddess Yoga Travel Mat + Free Yoga Bag: This lightweight mat weighs 1.75kg and has a luxurious suede towel top that is non-slip, with a 1.5mm base. At 1.5mm, it rolls compactly for travel, and the included bag gives it a dedicated place to stay rolled between sessions.
- Black Yogangstar Yoga Mat + Free Yoga Bag: This mat has a luxurious suede towel top, a 4mm thick base, and is made from 100% natural tree rubber. It is simple to wipe down clean and machine washable. A thicker 4mm base holds its shape well when stored upright, and the washable surface makes the drying step before storage quick and easy.
Roll loosely with the top surface facing out, store the mat upright or flat without pressure, and keep it dry. Those three habits prevent curling far better than any quick fix, and they work with any mat in your rotation.