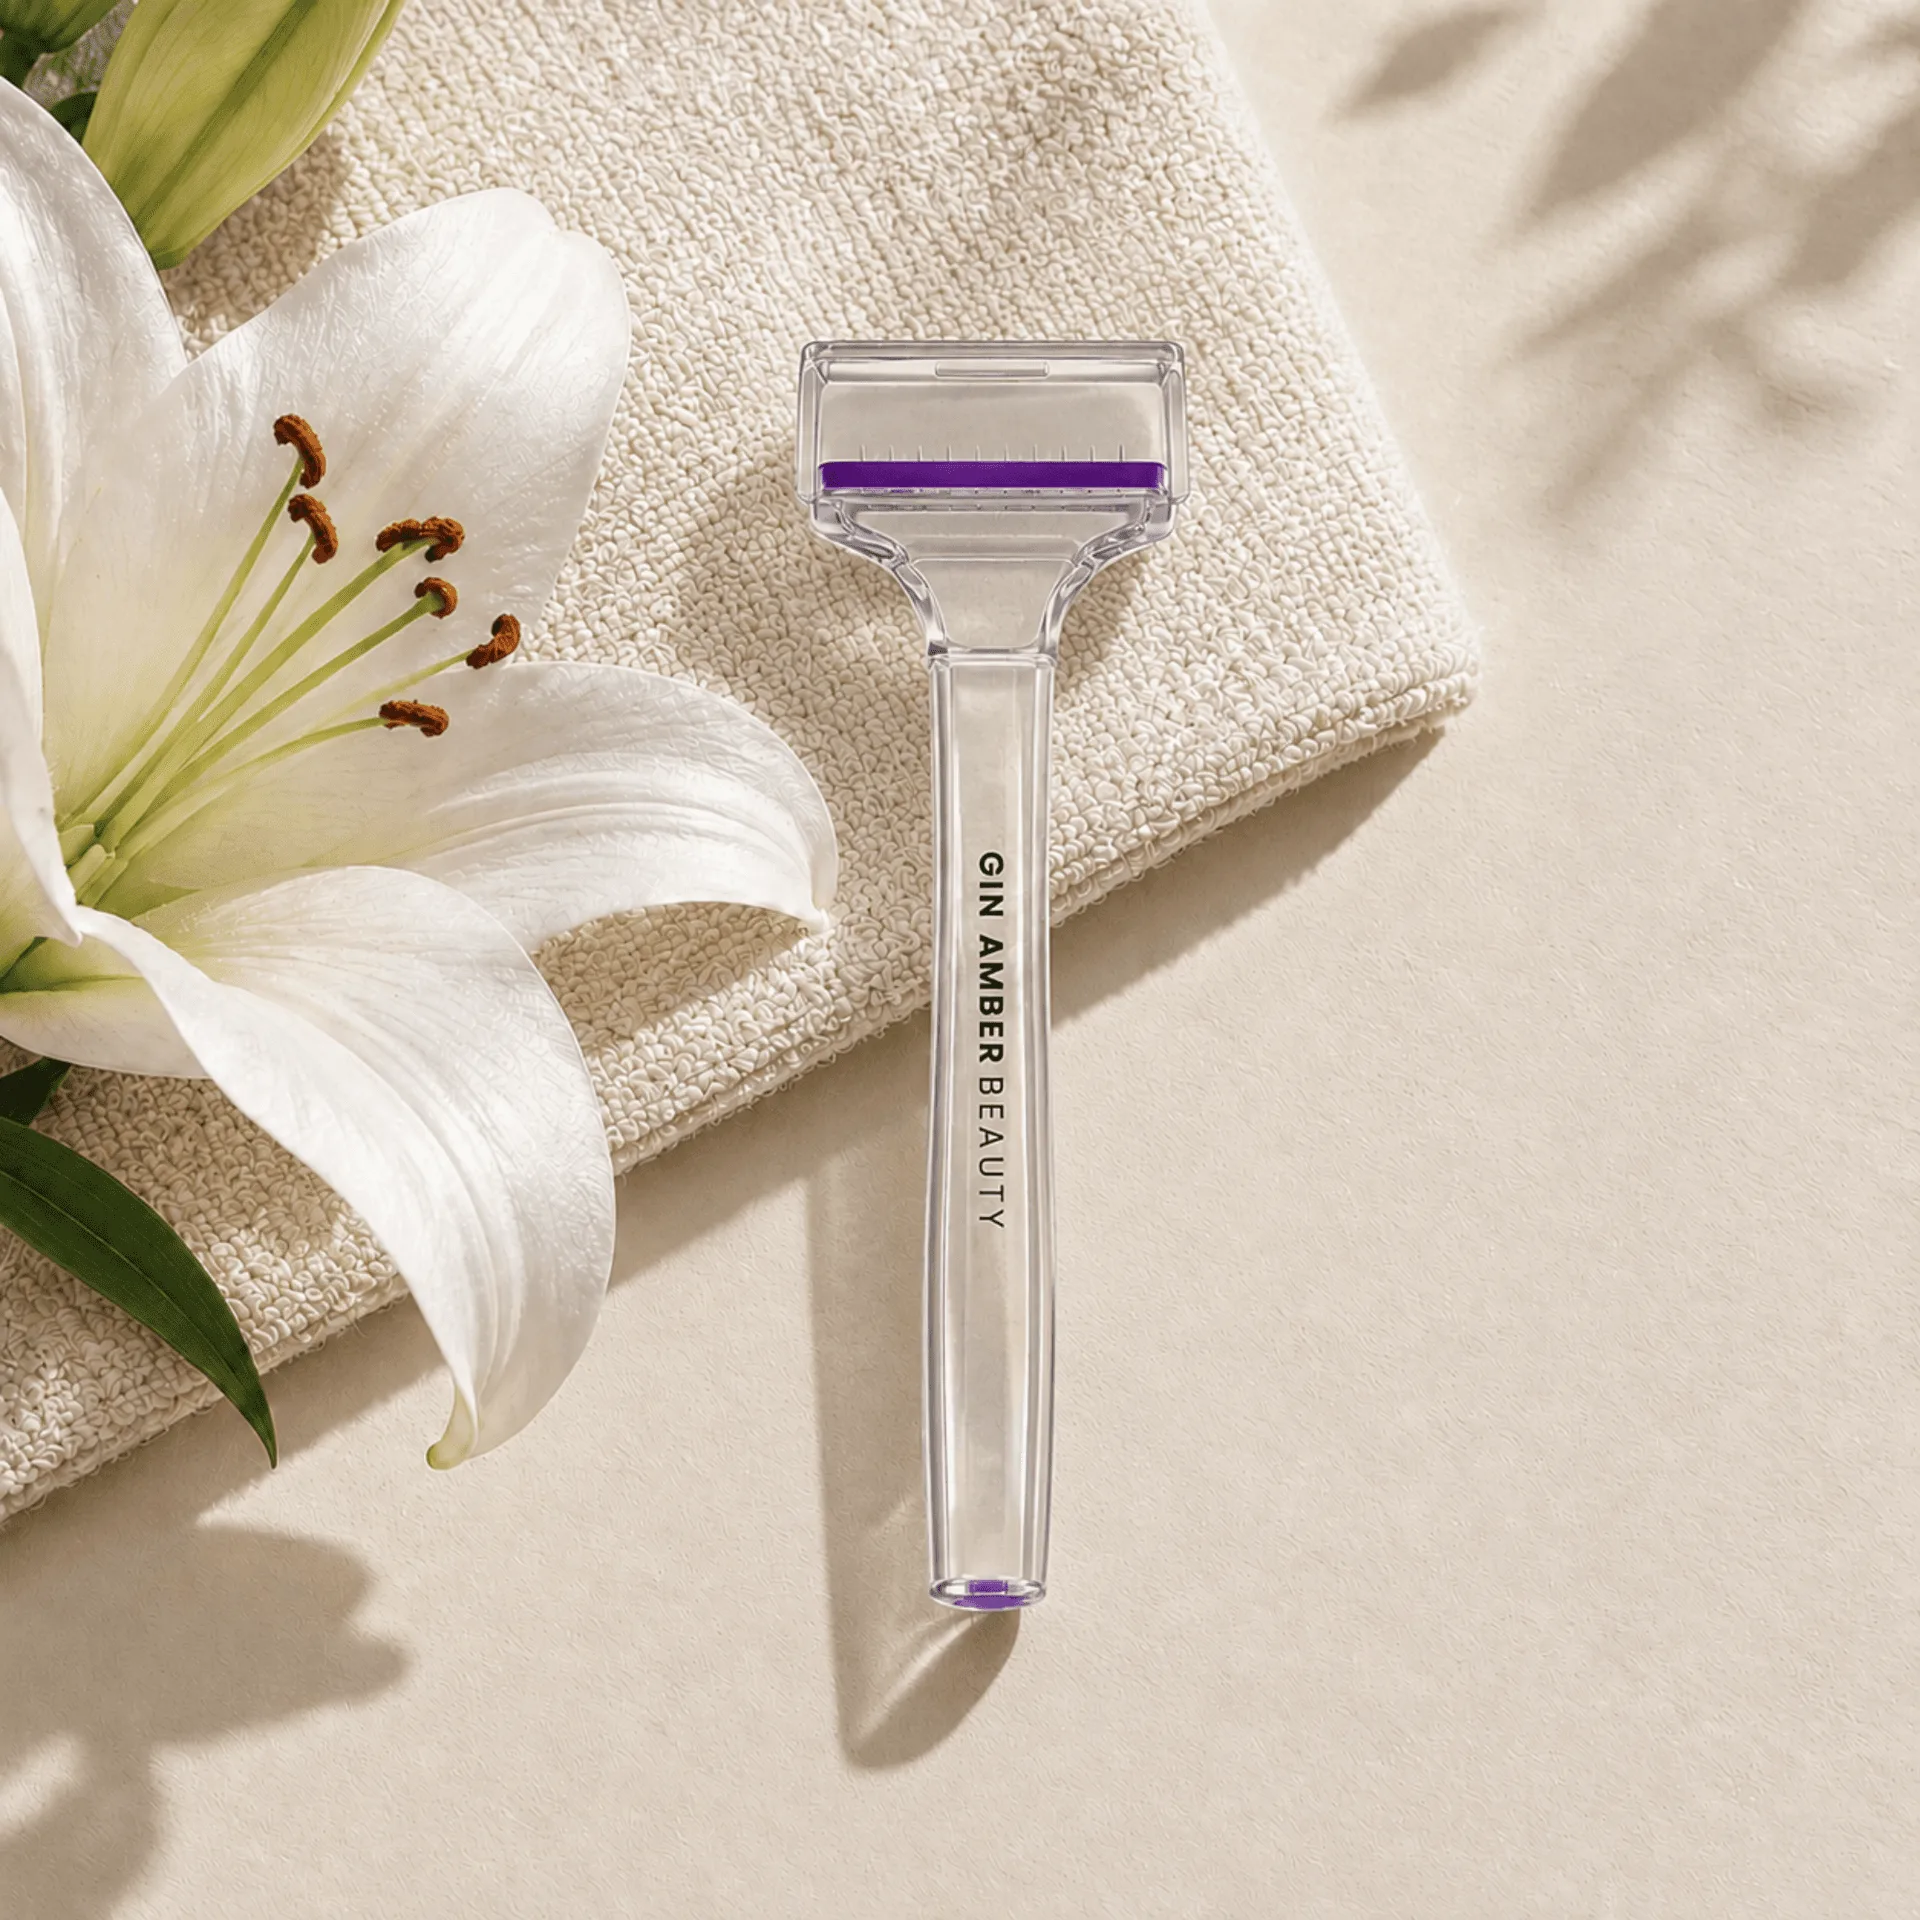
Microneedling with a dermaroller is a powerful way to stimulate collagen and rejuvenate mature skin, but it comes with a serious responsibility: hygiene. A clean dermaroller is non-negotiable for preventing infections and ensuring your skin receives the full benefits without risk. In this guide, we’ll walk you through the best practices for sanitizing and storing your dermaroller, so you can enjoy safe, effective treatments for years to come.
Proper dermaroller care isn’t just about wiping it down after use. It involves a thorough cleaning routine that removes debris, disinfects the needles, and ensures the tool is completely dry before storage. We’ll cover everything from the initial rinse to the final storage container, so you can confidently incorporate microneedling into your skincare routine.
Why Dermaroller Hygiene Matters
Your skin is your body’s largest organ, and when you create microscopic punctures with a dermaroller, you’re opening the door for bacteria to enter. Without proper sanitization, you risk infections, breakouts, and even more serious skin conditions. This is especially crucial for mature skin, which may be more delicate and slower to heal.
Beyond safety, a clean dermaroller also performs better. Residue from skincare products, dead skin cells, and oils can dull the needles and reduce their effectiveness. By keeping your tool pristine, you ensure that each pass delivers the right amount of stimulation for optimal collagen production.
- Prevent skin infections and irritation
- Maintain needle sharpness for effective treatments
- Extend the lifespan of your dermaroller
Step-by-Step Guide to Sanitizing Your Dermaroller
After each use, it’s essential to clean your dermaroller immediately. Start by rinsing the roller head under warm running water to remove any visible debris, such as blood or skincare product residue. Avoid using hot water as it can damage the needles or the roller mechanism.
Next, prepare a sanitizing solution. Isopropyl alcohol (70%) is the gold standard for disinfecting dermarollers. Place the roller head in a small container filled with alcohol and let it soak for at least 10 minutes. This kills bacteria and viruses without corroding the needles. If you have a derma stamp, the process is similar—just ensure the needles are fully submerged.
After soaking, remove the dermaroller and shake off excess alcohol. Allow it to air dry completely on a clean towel, with the needles facing down to avoid any contamination. Never use a cloth to dry it, as fibers can stick to the needles and introduce bacteria.
- Always use 70% isopropyl alcohol for disinfection
- Soak for at least 10 minutes to ensure effectiveness
- Air dry completely before storing
How to Store Your Dermaroller Safely
Proper storage is just as important as cleaning. A dermaroller should be kept in a dry, clean environment, away from moisture and dust. The original packaging or a dedicated case is ideal to protect the needles from damage and contamination.
If you don’t have a case, you can use a clean, sealed plastic bag or a small container. Make sure the dermaroller is completely dry before storing to prevent rust or bacterial growth. It’s also wise to store it separately from other skincare tools to avoid cross-contamination.
For those who use multiple needle sizes, consider labeling your tools or keeping them in separate compartments. This not only helps with hygiene but also ensures you grab the right dermaroller for your intended treatment area.
- Store in a dry, clean case or container
- Keep away from direct sunlight and humidity
- Label different needle sizes for easy identification
When to Replace Your Dermaroller
Even with impeccable care, dermarollers don’t last forever. Over time, needles can become dull or bent, reducing their efficacy and increasing the risk of skin damage. As a general rule, replace your dermaroller every 3-6 months, depending on frequency of use.
If you notice any rust, bent needles, or a rough texture on the roller, it’s time to invest in a new one. Using a damaged dermaroller can cause micro-tears in the skin that take longer to heal and may lead to scarring. Always inspect your tool before each use to ensure it’s in optimal condition.
For those who prefer a more targeted approach, a derma stamp like the 0.75mm Derma Stamp can be a great alternative. It allows for precise application on smaller areas and is often easier to clean thoroughly. Similarly, the 0.5mm Dermaroller is a popular choice for general facial use and can be rotated with other tools to prolong their lifespan.
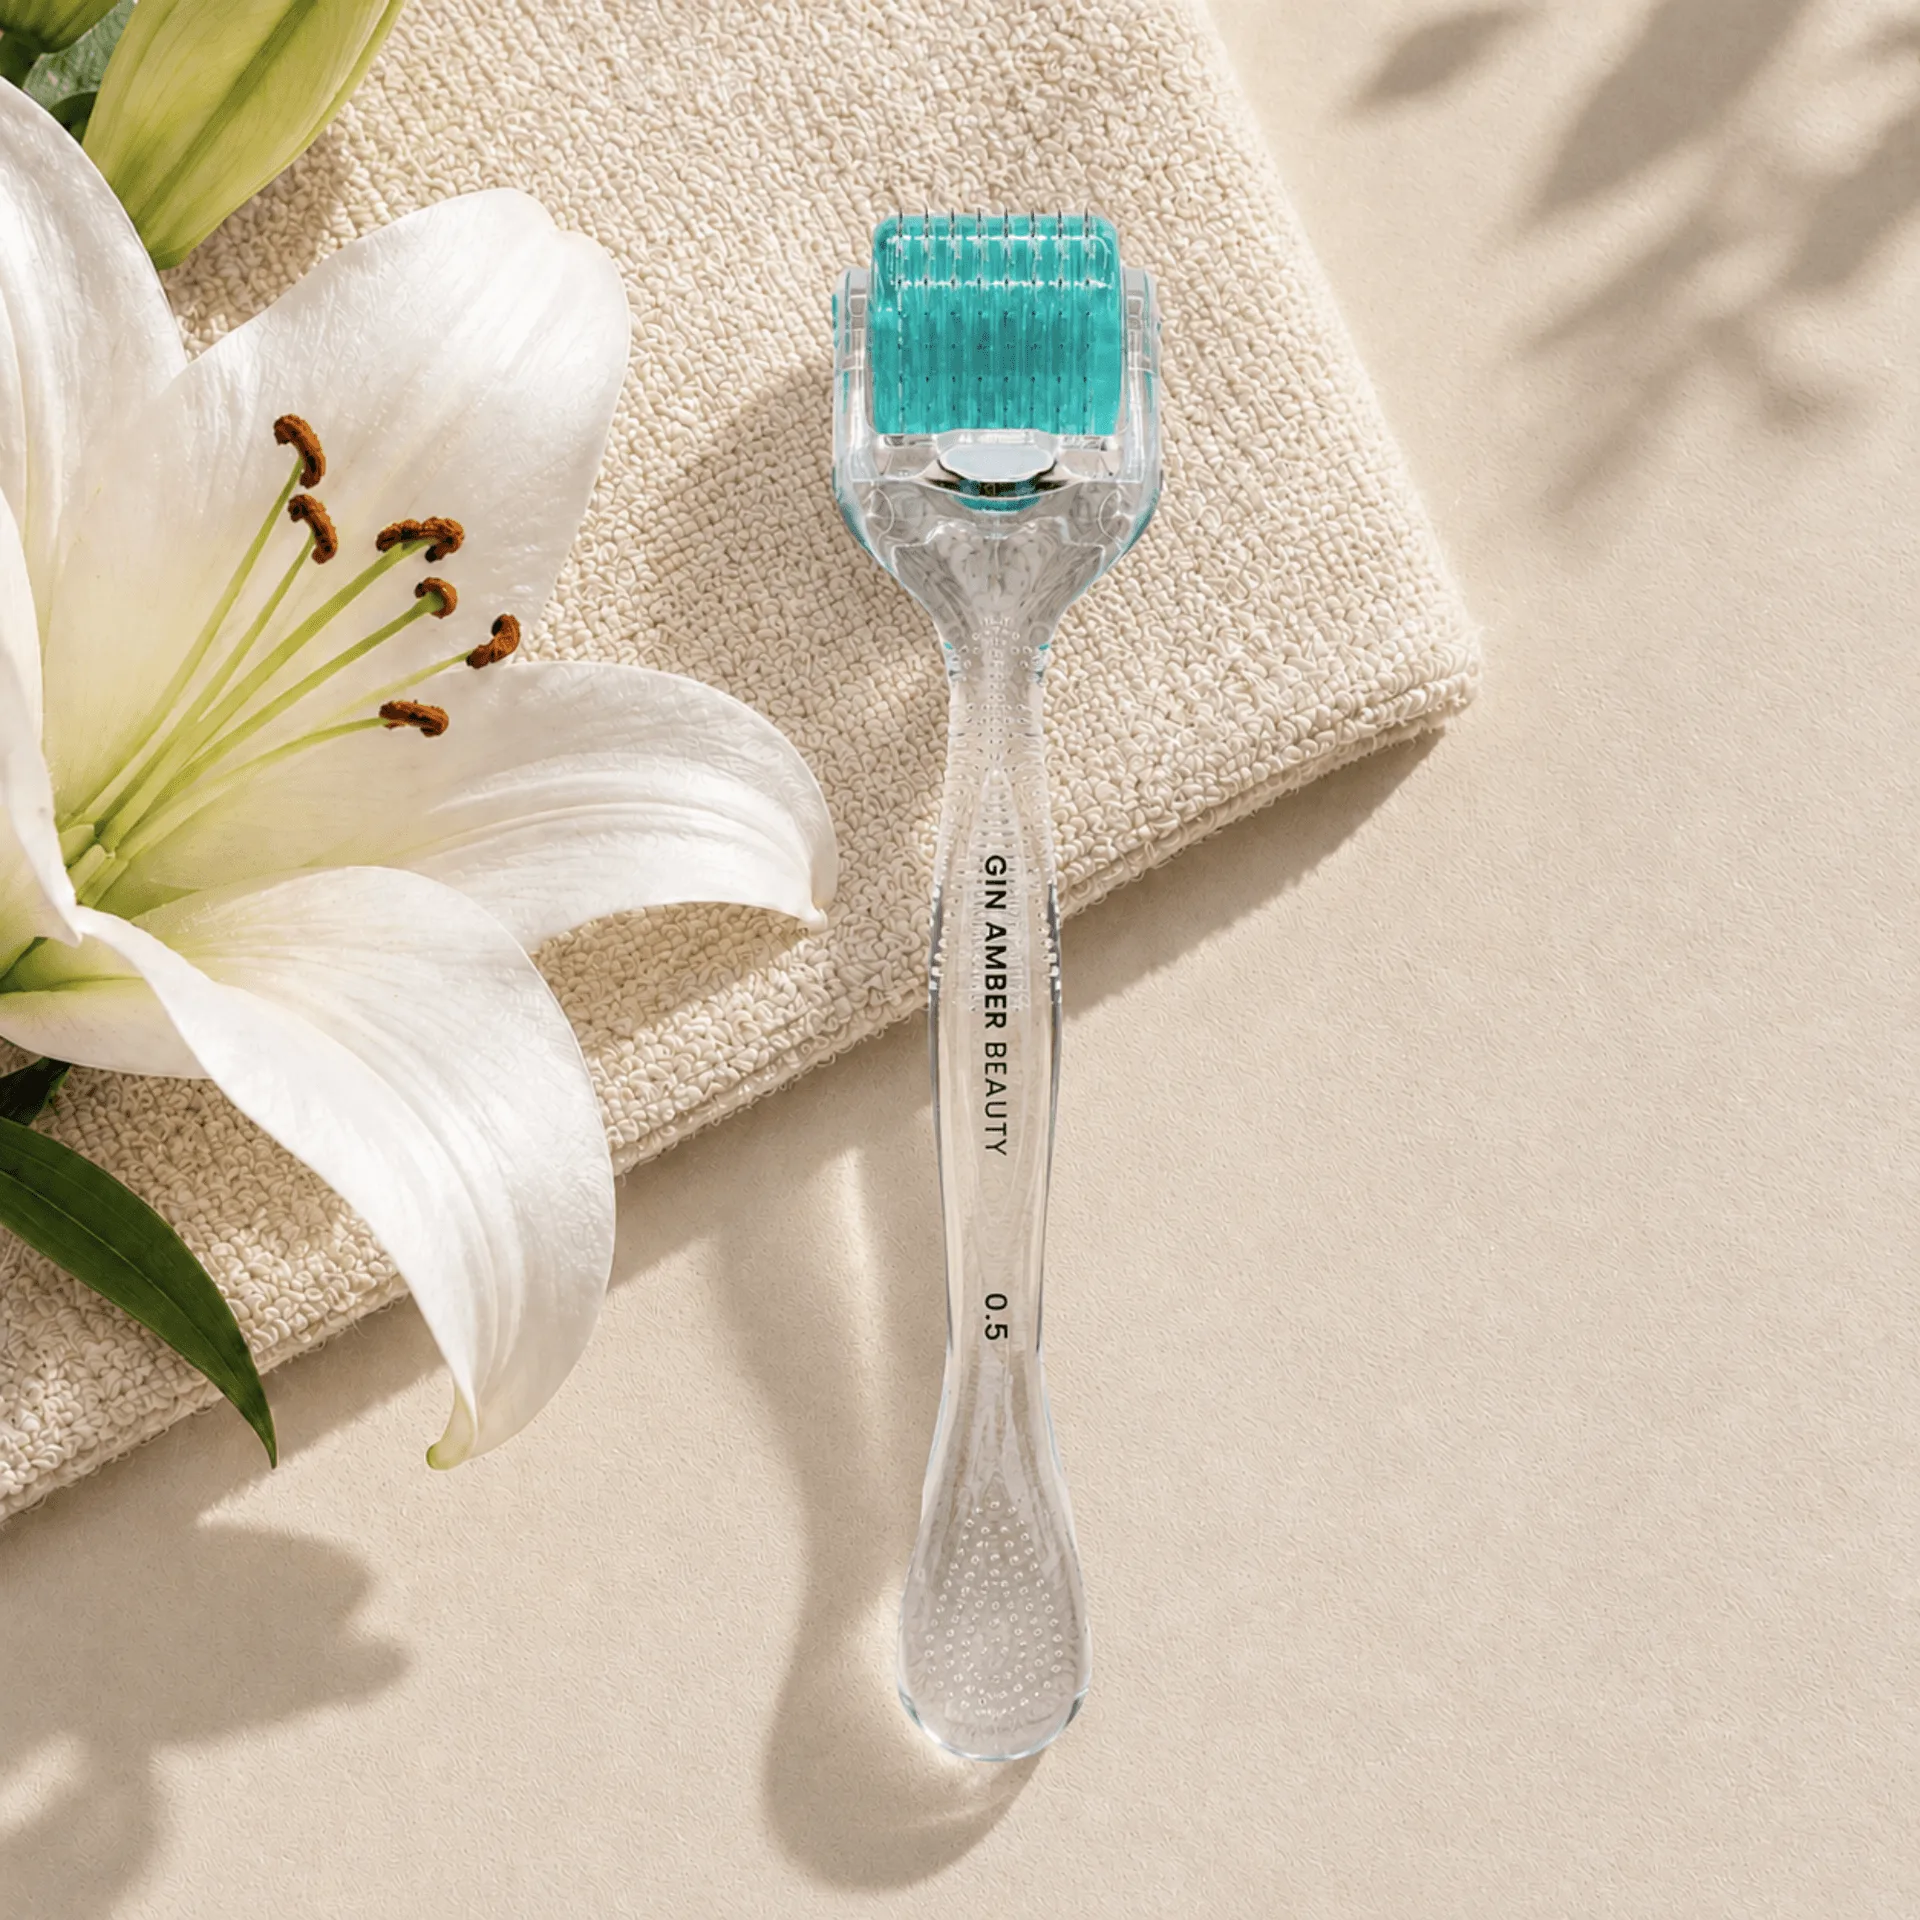
0.5mm Dermaroller
- Inspect needles for rust, bending, or dullness before each use
- Replace every 3-6 months or sooner if damaged
- Consider using a derma stamp for targeted treatments
Common Mistakes to Avoid in Dermaroller Care
One of the most common mistakes is using harsh chemicals like hydrogen peroxide or bleach to sanitize your dermaroller. These can corrode the needles and weaken the metal. Stick to isopropyl alcohol for safe and effective disinfection.
Another error is storing your dermaroller in a bathroom cabinet. The humidity from showers can promote bacterial growth and rust. Instead, store it in a bedroom or another dry area. Also, avoid touching the needles with your fingers, as the natural oils on your skin can transfer bacteria.
Finally, don’t skip the cleaning step even if you’re short on time. A few extra minutes of care can prevent infections and ensure your dermaroller lasts longer. Remember, your skin’s health is worth the effort.
- Never use harsh chemicals like bleach
- Keep your dermaroller away from humid environments
- Always clean immediately after use
By following these best practices for sanitizing and storing your dermaroller, you’ll not only protect your skin from potential infections but also maximize the effectiveness of your microneedling treatments. A little extra care goes a long way in maintaining both your tool’s longevity and your skin’s health. For a reliable and easy-to-clean option, consider the 0.75mm Derma Stamp, which is designed with hygiene in mind. Explore our range of dermarollers and derma stamps to find the perfect addition to your skincare routine.