Quick answer
Remove hair and debris first, wash with a suitable cleaner, then apply a disinfectant that matches the tool material, and let it fully air dry before the next dog. The order matters: disinfectant cannot reach a surface that is still covered in coat, oils, or product residue. Keep a dedicated pet grooming hygiene routine so every tool gets the same treatment between dogs.
Sanitizing between dogs is not about soaking everything in the strongest chemical you can find. It is about removing organic debris first, then using the right product for each surface, and giving tools enough contact and drying time before they touch another pet.
This guide walks through grooming tool sanitation steps you can repeat at the end of every appointment. It covers cleaning clippers and shears, disinfecting grooming equipment, and the small checkpoints that keep a pet grooming hygiene routine from slipping on busy days.
Gather supplies before the first dog
Set up a sanitation station before you start grooming, not after the last dog leaves. You need a cleaner, a disinfectant, a soft brush, a lint-free towel, and a container for soaking. Keep clean tools separate from dirty tools with labeled bins so you never guess which blade has been processed.
A dedicated pet grooming hygiene routine works best when supplies live in one place. If you are reaching across the room for a towel while holding a wet blade, you will skip steps. Stock the station at the start of the day and refill it between dogs.
- Keep a dirty bin and a clean bin clearly separated.
- Use a cleaner labeled for the surface you are treating, and a disinfectant that is safe for that material.
Step 1: Remove hair and visible debris
Brush or blow out loose coat from clipper blades, shears, combs, and clipper housings before any liquid touches them. Hair traps moisture and shields microbes from disinfectant, so this dry step is not optional. A stiff nylon brush works well for blade teeth, while a wider comb can lift hair from clipper vents.
Common mistake: jumping straight to a spray bottle. If you spray a blade that is packed with hair, you wet the hair and push debris deeper into the teeth. Checkpoint: hold the tool up to the light. If you can still see a mat of coat between the teeth, keep brushing.
- Tap blades gently on a hard surface to knock out loose clippings.
- Never use a metal tool to dig hair out of blade teeth; you can nick the cutting edge.
Step 2: Wash with a suitable cleaner
Wash tools with a cleaner appropriate for their material, following the label. For metal blades and shears, a brush and cleaner lift oils, dander, and product residue that water alone leaves behind. For clipper housings and plastic parts, use a damp cloth rather than a soak unless the manufacturer says otherwise.
Common mistake: soaking the entire clipper. Most clipper motors and electronics should not be submerged. Checkpoint: wipe the housing, clean the blade separately, and keep liquid away from vents and switches.
- Clean blades off the clipper when the manufacturer allows it.
- Rinse or wipe according to the cleaner label, then inspect for leftover residue.
Step 3: Disinfect with the right product and contact time
Apply a disinfectant that is labeled for the tool surface and let it sit for the full contact time on the label. Contact time is the part most groomers skip. A quick spray and wipe may clean, but it does not disinfect. If the label says the surface must stay wet for several minutes, keep it wet for that long.
Common mistake: mixing cleaners and disinfectants in one bottle. Some combinations reduce effectiveness or create fumes. Checkpoint: use one product at a time, and check that the disinfectant is safe for metal, plastic, and rubber parts you are treating.
- Set a timer for contact time so you do not guess.
- Do not pour disinfectant back into the original container after use.
Step 4: Dry completely before storage or reuse
Air dry tools on a clean, absorbent towel or rack. Moisture left in blade teeth or shears can cause rust and can dilute the next disinfectant application. If you need a tool quickly, dry it with a clean lint-free towel, but do not put a damp tool back into a closed bin.
Common mistake: storing a damp blade in a closed case. Checkpoint: run a finger along the blade and hinge area. If you feel moisture, give it more time. A dry tool is the last step of disinfecting grooming equipment, not an afterthought.
- Hang shears or lay them flat so water does not pool in the pivot.
- Leave clipper blades open or separated from the clipper to dry.
Step 5: Handle shears and clippers with care
Shears need special handling because the cutting edge is easy to damage. Clean around the pivot and along the blade with a soft brush, then disinfect according to the manufacturer's instructions. Do not toss shears into a soaking bin with metal combs, where edges can collide.
For clippers, clean the blade, disinfect it if the manufacturer allows, and oil the blade after it dries. Oil protects the blade and helps it run smoothly, but oil applied before disinfection can trap debris. Checkpoint: follow the order clean, disinfect, dry, then oil.
- Keep a separate small bin or tray for shears.
- Check blade alignment and tension after cleaning, before the next dog.
Step 6: Reset the station between dogs
After each dog, replace the towel, empty the dirty bin, and wipe the station surface. A clean station prevents cross-contamination from a towel or bin that touched a previous pet. This is the step that turns a one-time deep clean into a reliable pet grooming hygiene routine.
Common mistake: reusing the same towel all day. Checkpoint: if the towel is damp or has hair on it, swap it. Fresh towels and clean bins are cheap compared with a sanitation gap.
- Wash towels in hot water and dry them fully.
- Keep a small spray bottle of disinfectant at the station for quick surface wipes.
Step 7: Store clean tools so they stay clean
Store disinfected tools in a closed drawer, cabinet, or covered bin away from dirty laundry, trash, and floor splash. If clean and dirty tools share a drawer, you undo the work. Labeling shelves or bins by tool type makes it obvious where clean tools belong.
Common mistake: dropping a clean blade into an apron pocket that already holds used blades. Checkpoint: at the end of the day, check pockets and bins for mixed tools and re-clean anything questionable.
- Use a tote or organizer with separate compartments for clean and dirty tools.
- Do not store tools while still damp; let them finish drying first.
Sanitation steps at a glance
- Remove hair and debris: Brush or blow out loose coat from blades, shears, combs, and clipper housings before any liquid touches them. Checkpoint: no visible mat of hair between blade teeth.
- Wash with a suitable cleaner: Use a cleaner labeled for the tool material, wiping housings and cleaning blades separately when the manufacturer allows. Checkpoint: no oily or sticky residue left on the surface.
- Disinfect with full contact time: Apply a disinfectant labeled for the surface and keep it wet for the full contact time on the label. Checkpoint: set a timer instead of guessing.
- Dry completely: Air dry on a clean towel or rack, keeping shears flat and clipper blades open or separated. Checkpoint: no moisture in the pivot or blade teeth.
- Oil clipper blades after drying: Apply blade oil only after the blade is clean, disinfected, and dry. Checkpoint: oil last, never before disinfection.
- Reset the station between dogs: Replace towels, empty the dirty bin, and wipe the station surface after each pet. Checkpoint: fresh towel and empty dirty bin before the next dog.
- Store clean tools separately: Keep disinfected tools in a closed drawer, cabinet, or covered bin away from dirty laundry and used tools. Checkpoint: clean and dirty tools never share a pocket or bin.
Tools that make the routine easier
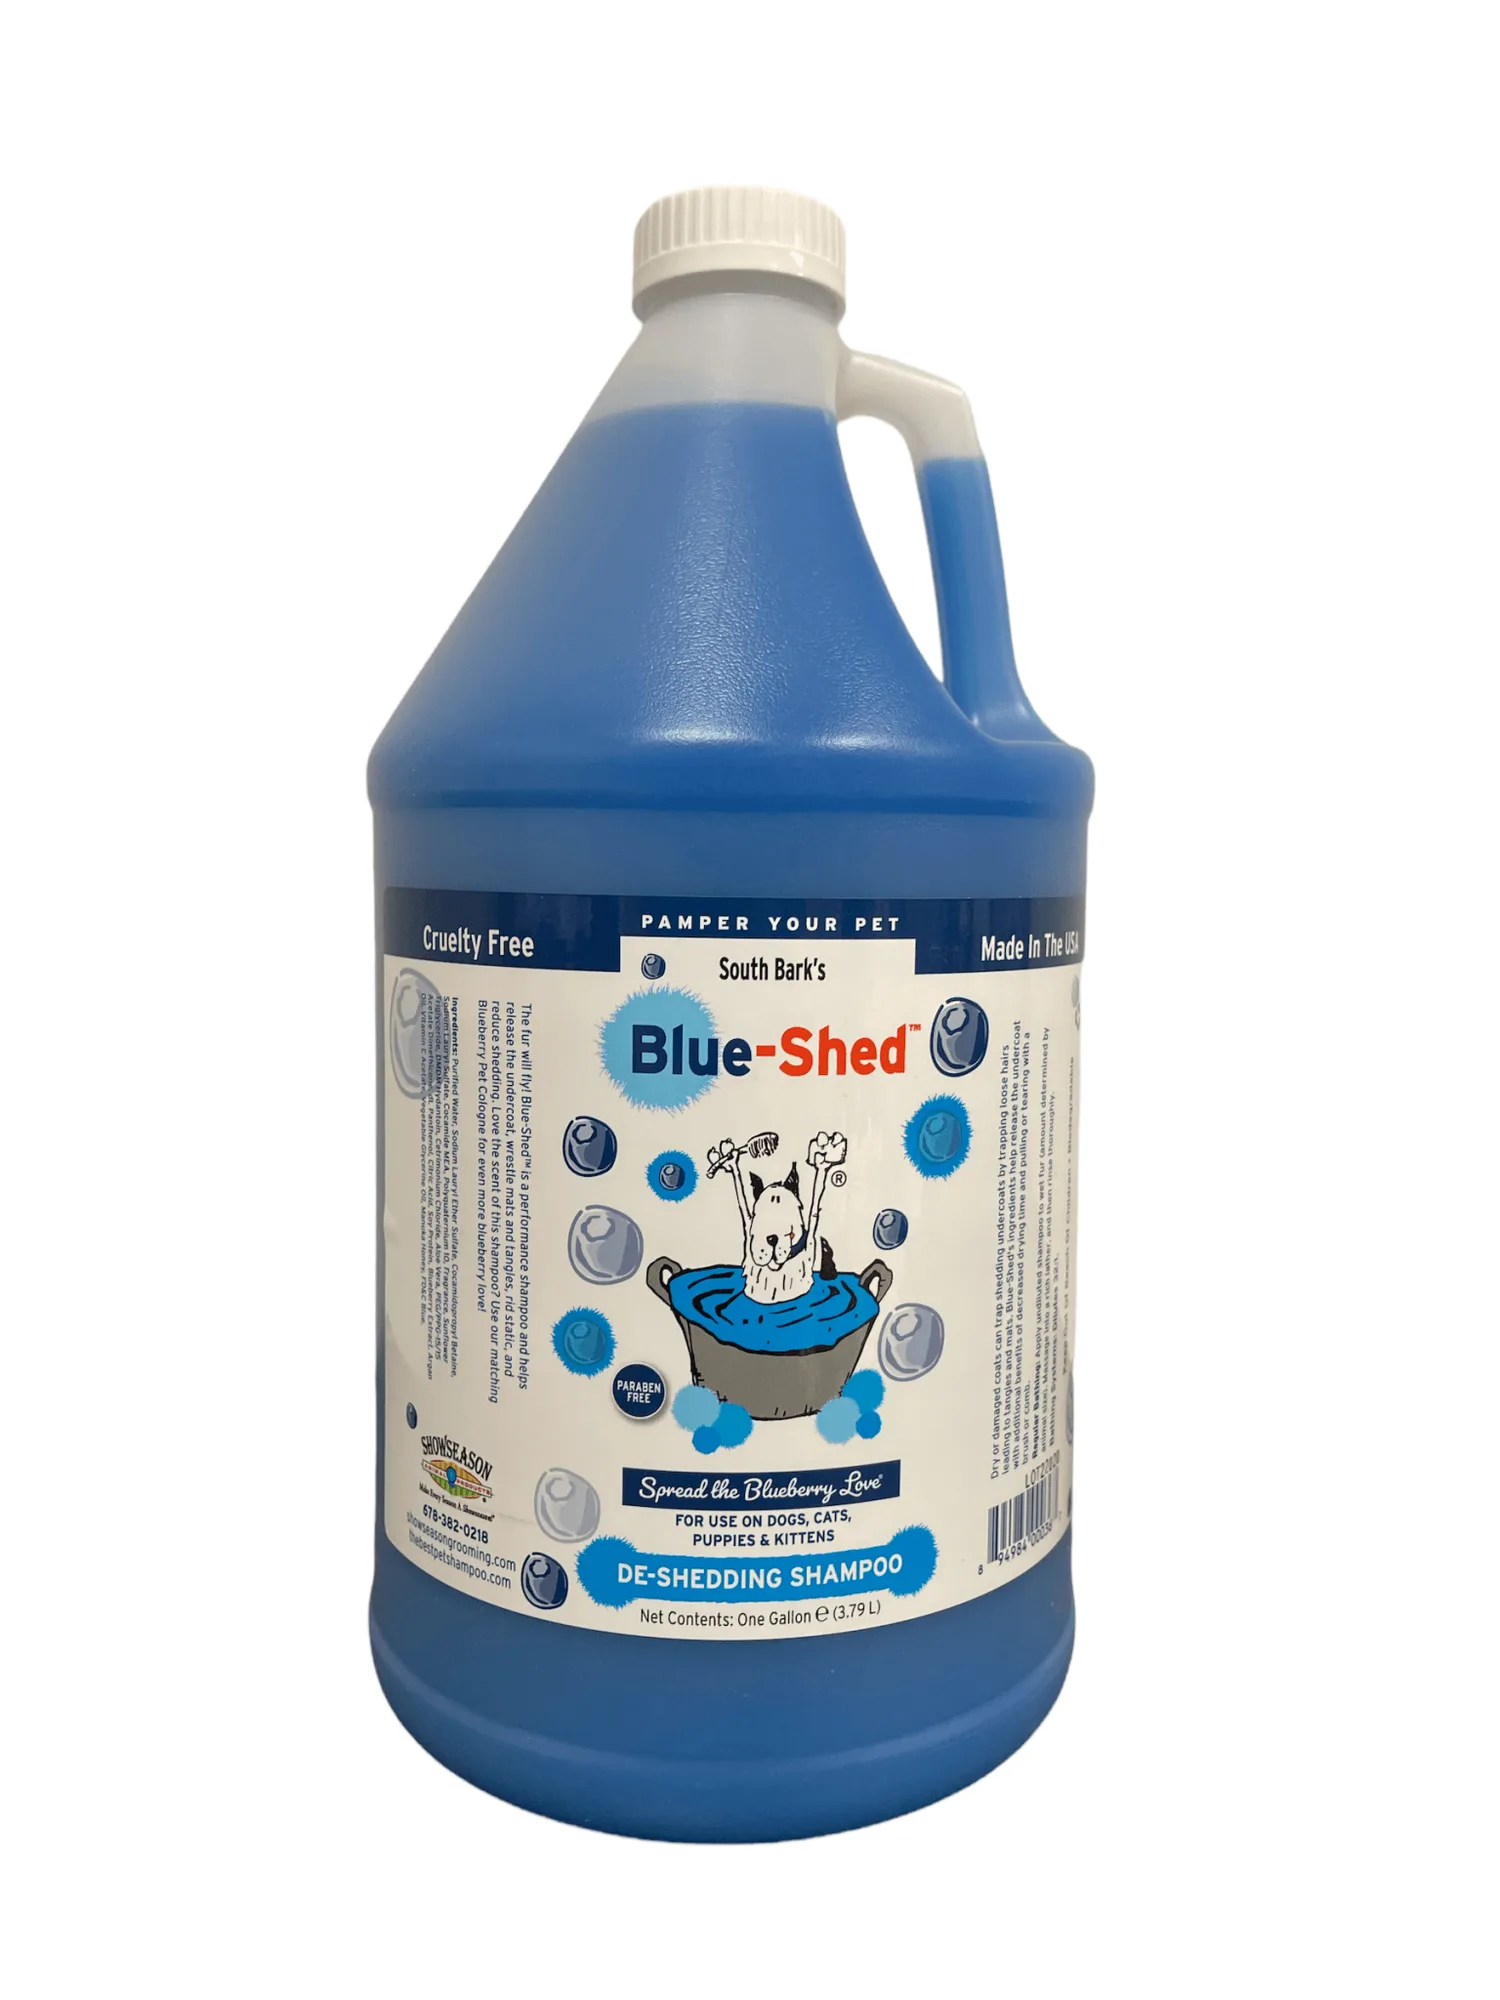
- Showseason Blue Shed Shampoo-Gallon: This performance shampoo helps release the undercoat, wrestle mats and tangles, rid static, and reduce shedding, all while brightening the coat, with moisturizing Manuka Honey, antioxidant-rich Blueberry Extract, and strengthening Argan Oil. Less loose undercoat in the bath means less hair packed into blades and combs during the groom, which makes the dry debris-removal step faster and more effective.
- Andis 10" Steel Comb: The Andis 10" Steel Comb is the perfect tool for professional pet groomers, with durable steel construction and a wide, 10" width that makes it easy to quickly and smoothly comb through pet coats. A wide steel comb helps you check for leftover coat and tangles before and after bathing, so you can catch debris that would otherwise end up in your clipper blades.
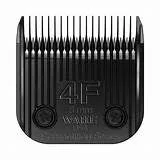
- Wahl Ultimate Competition Blade #4F: The Wahl Ultimate Competition Blade #4F is designed to deliver professional results, with a precision ground finish for long-lasting sharpness and increased durability. A blade with a precision ground finish and durable construction holds up to repeated cleaning and disinfecting cycles better than a worn blade, so you are not replacing tools mid-week.
- Wahl Drive Lever for KM5 & KM10: The Wahl Drive Lever is a high-quality replacement part for KM5 and KM10 motors, with durable construction that ensures reliable performance and a long life. Keeping a spare drive lever on hand means a clipper that stops mid-groom can be repaired quickly instead of forcing you to skip or improvise sanitation steps.
A consistent order, from dry debris removal through full drying and separate storage, does more for pet grooming hygiene than any single product. Build the steps into your end-of-appointment routine, and disinfecting grooming equipment becomes a habit instead of a scramble between dogs.