Quick Answer
Use a nail file, clippers, and a high‑quality glue to prep, size, and attach Pink Slip press‑on nails. Follow the step‑by‑step tool guide to avoid lifting and ensure a smooth, long‑lasting finish.
Pink Slip
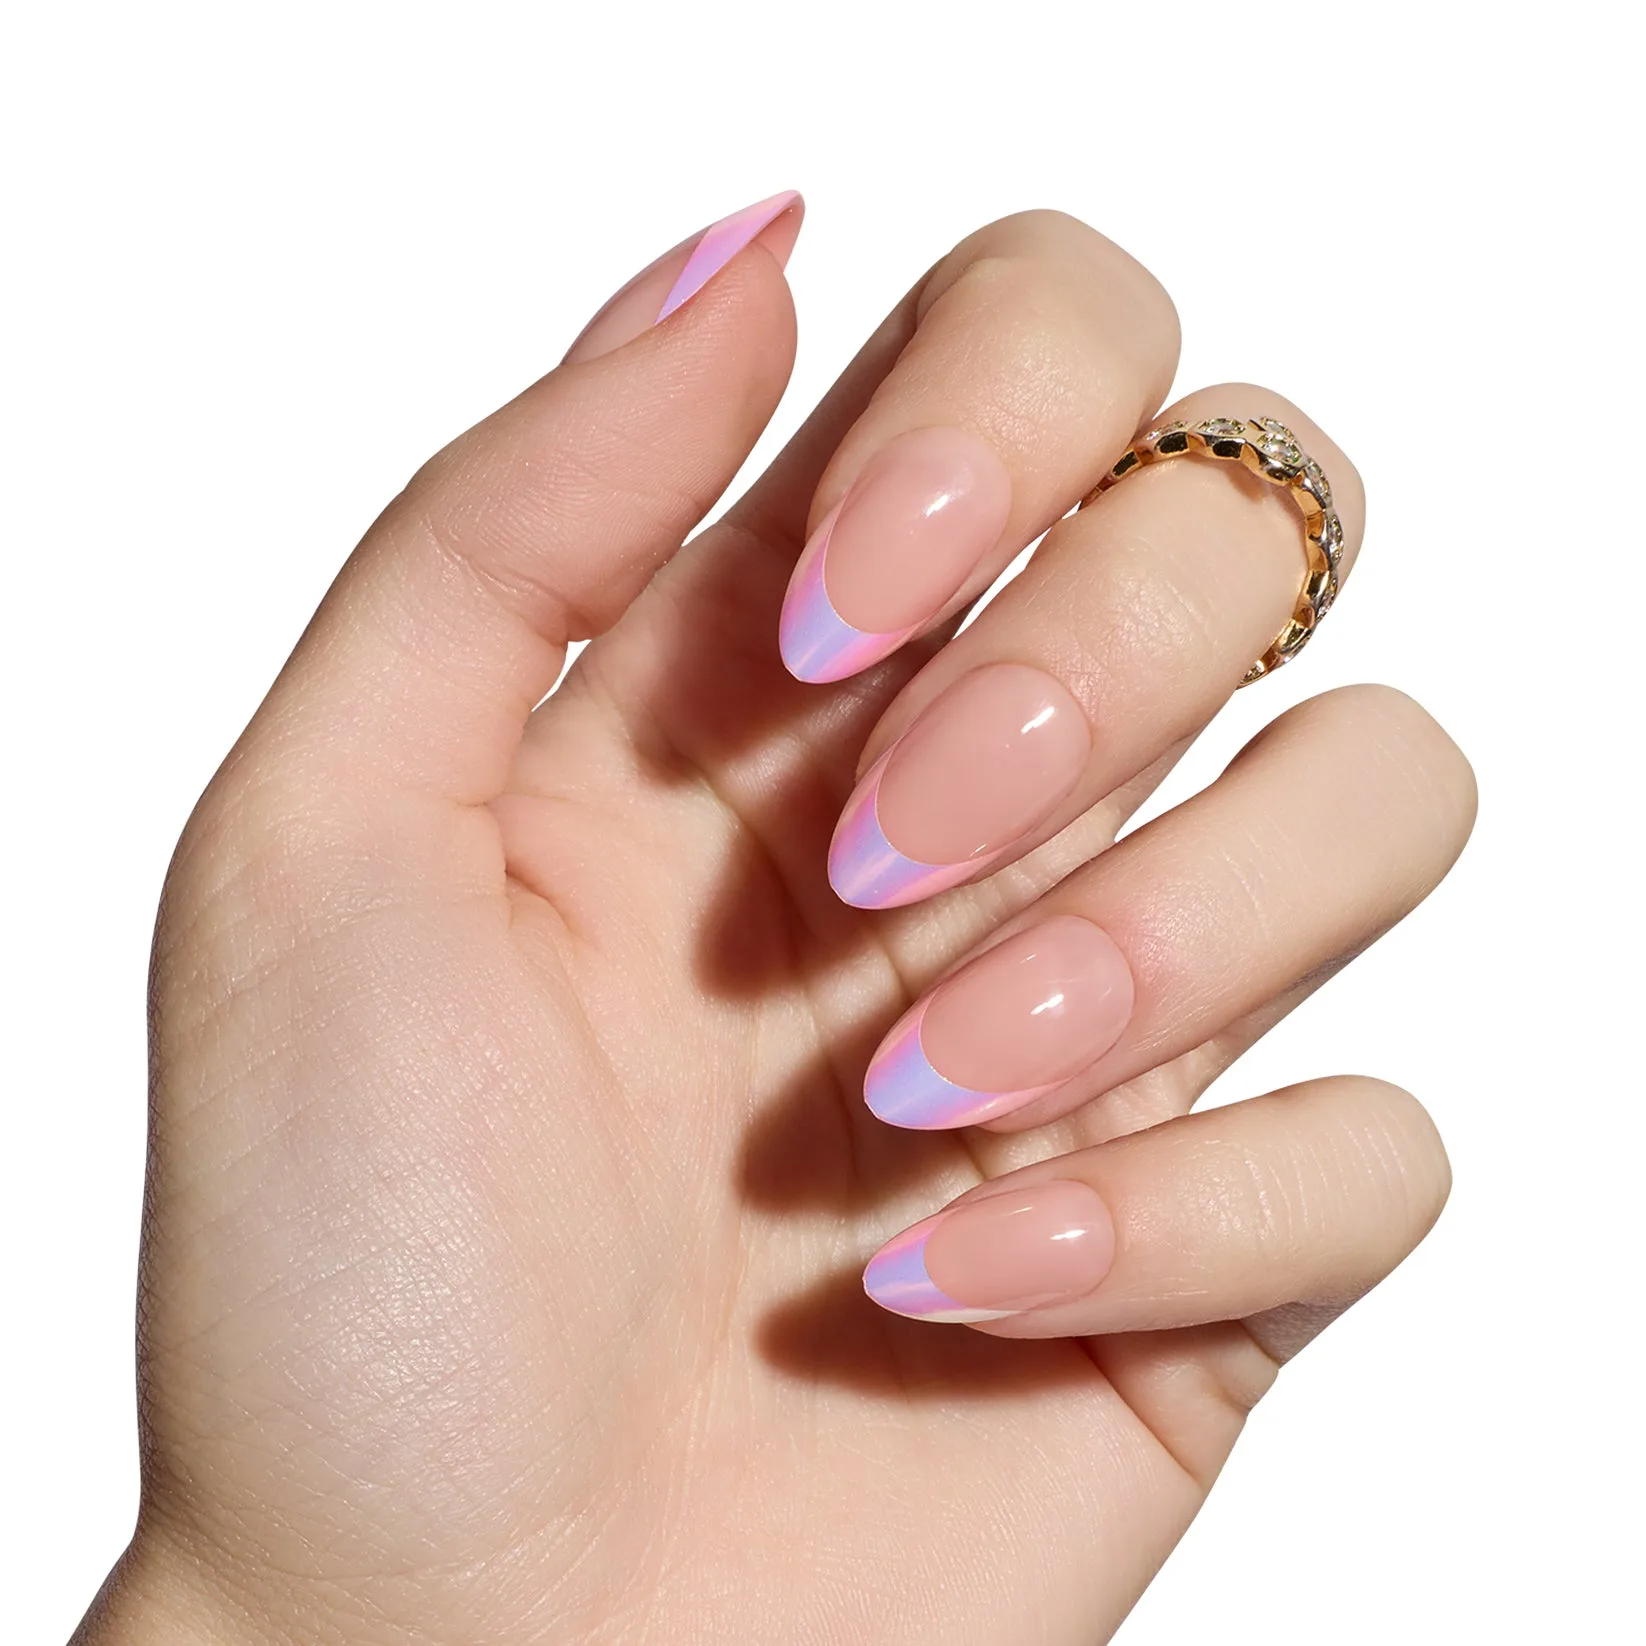
Pink Slip false nails give you a glossy soft‑pink manicure in minutes, but the right tools make the difference between a salon‑level look and a quick slip‑off. This guide focuses on the essential nail tools—clippers, file, and glue—and how to use them correctly for a secure fit.
Whether you’re a first‑timer or looking to refine your technique, the steps below will help you avoid common pitfalls like uneven edges, premature lifting, or damage to natural nails.
Tool Preparation and Application
Start by gathering a clean nail clipper, a fine‑grit nail file, a cuticle pusher, and a glue formulated for press‑ons. Trim the Pink Slip nails to match the length of your natural nails; this prevents excess overhang that can catch on fabric. A common mistake is skipping the trim, which often leads to snagging and an untidy appearance.
After trimming, gently file the edges of each press‑on to smooth any sharp points. Clean both the natural nail surface and the back of the Pink Slip nail with alcohol wipes to remove oils. Overlooking this cleaning step can cause the glue to lose adhesion, resulting in early lifting.
- Tip: Keep a small brush handy to sweep away dust after filing; a clean surface bonds better.
Step‑by‑Step Tool Guide
- 1. Trim & Shape: Use nail clippers to cut the Pink Slip nails to your natural length, then file the edges for a smooth finish. Check that no nail tip extends beyond your fingertip; excess length leads to snags.
- 2. Clean & Prep: Push back cuticles, wipe both natural nails and press‑ons with alcohol, and ensure they are completely dry. A clean, oil‑free surface is essential for glue adhesion; skip this and expect lifting.
- 3. Apply & Press: Apply a thin layer of press‑on glue to the back of each Pink Slip nail, place it on the natural nail, and press for 10‑15 seconds. If the nail feels wobbly after pressing, remove and re‑apply—over‑gluing can cause overflow and uneven bonding.
Product Highlights
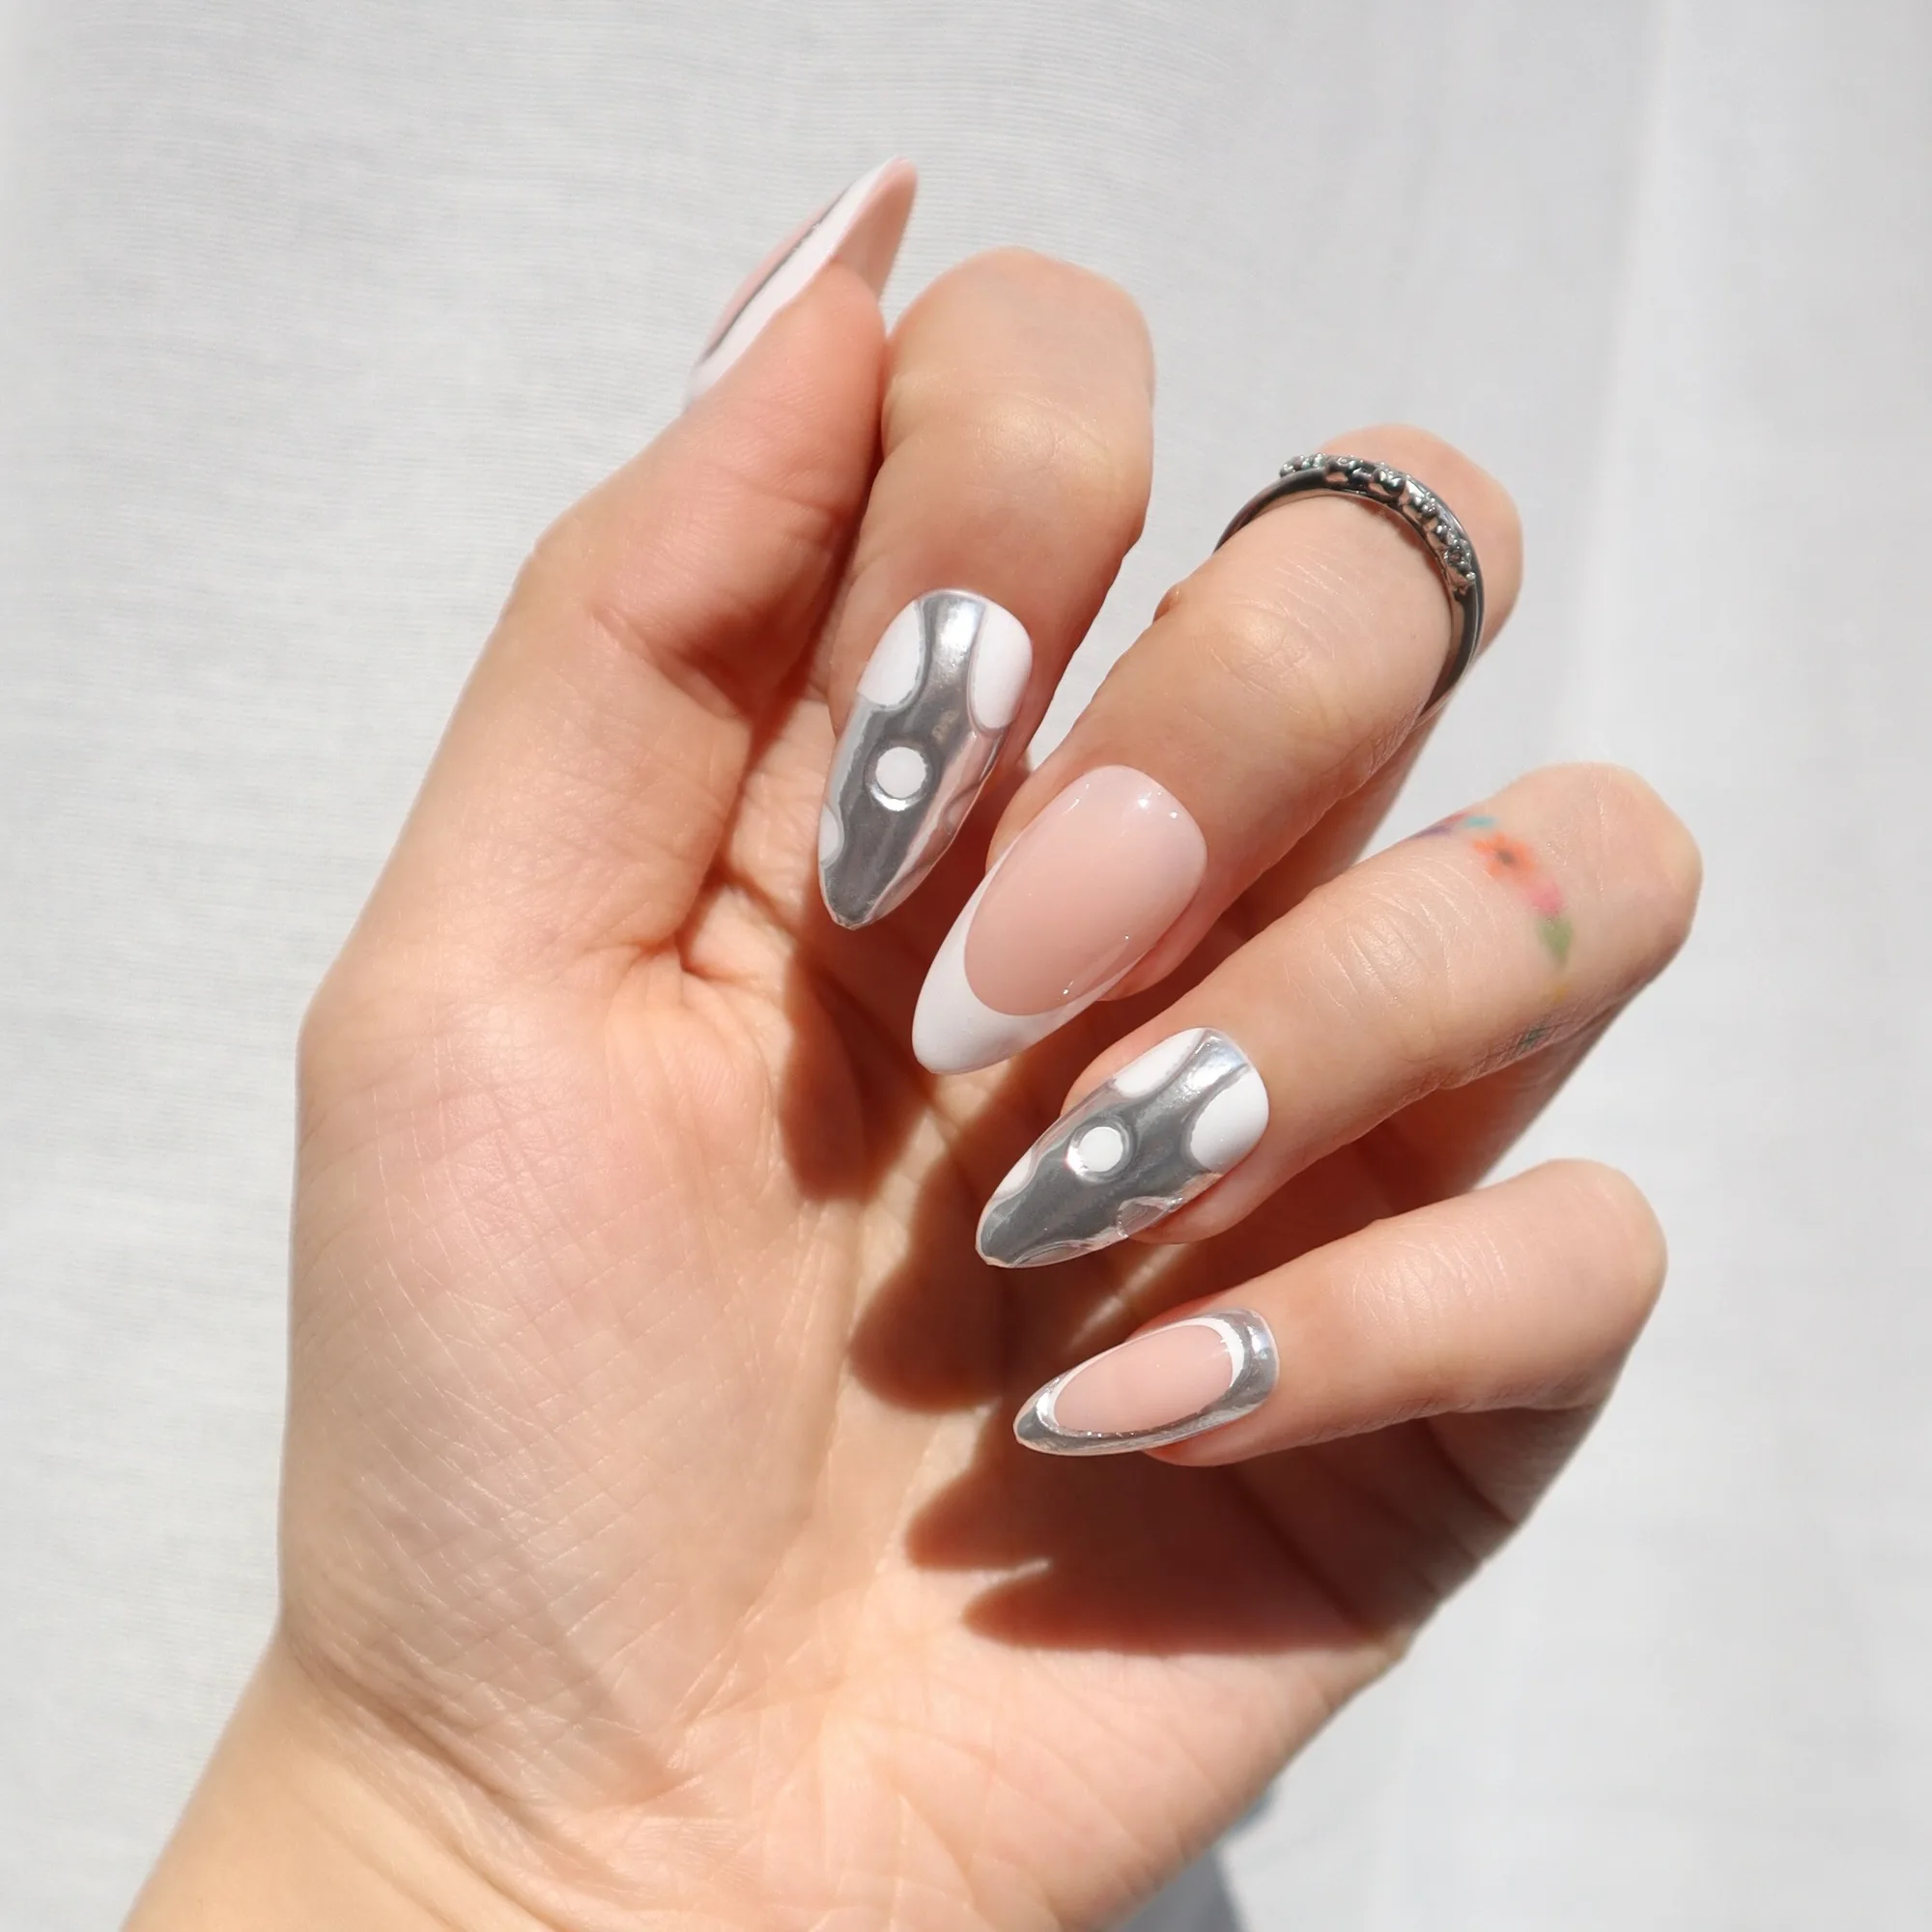
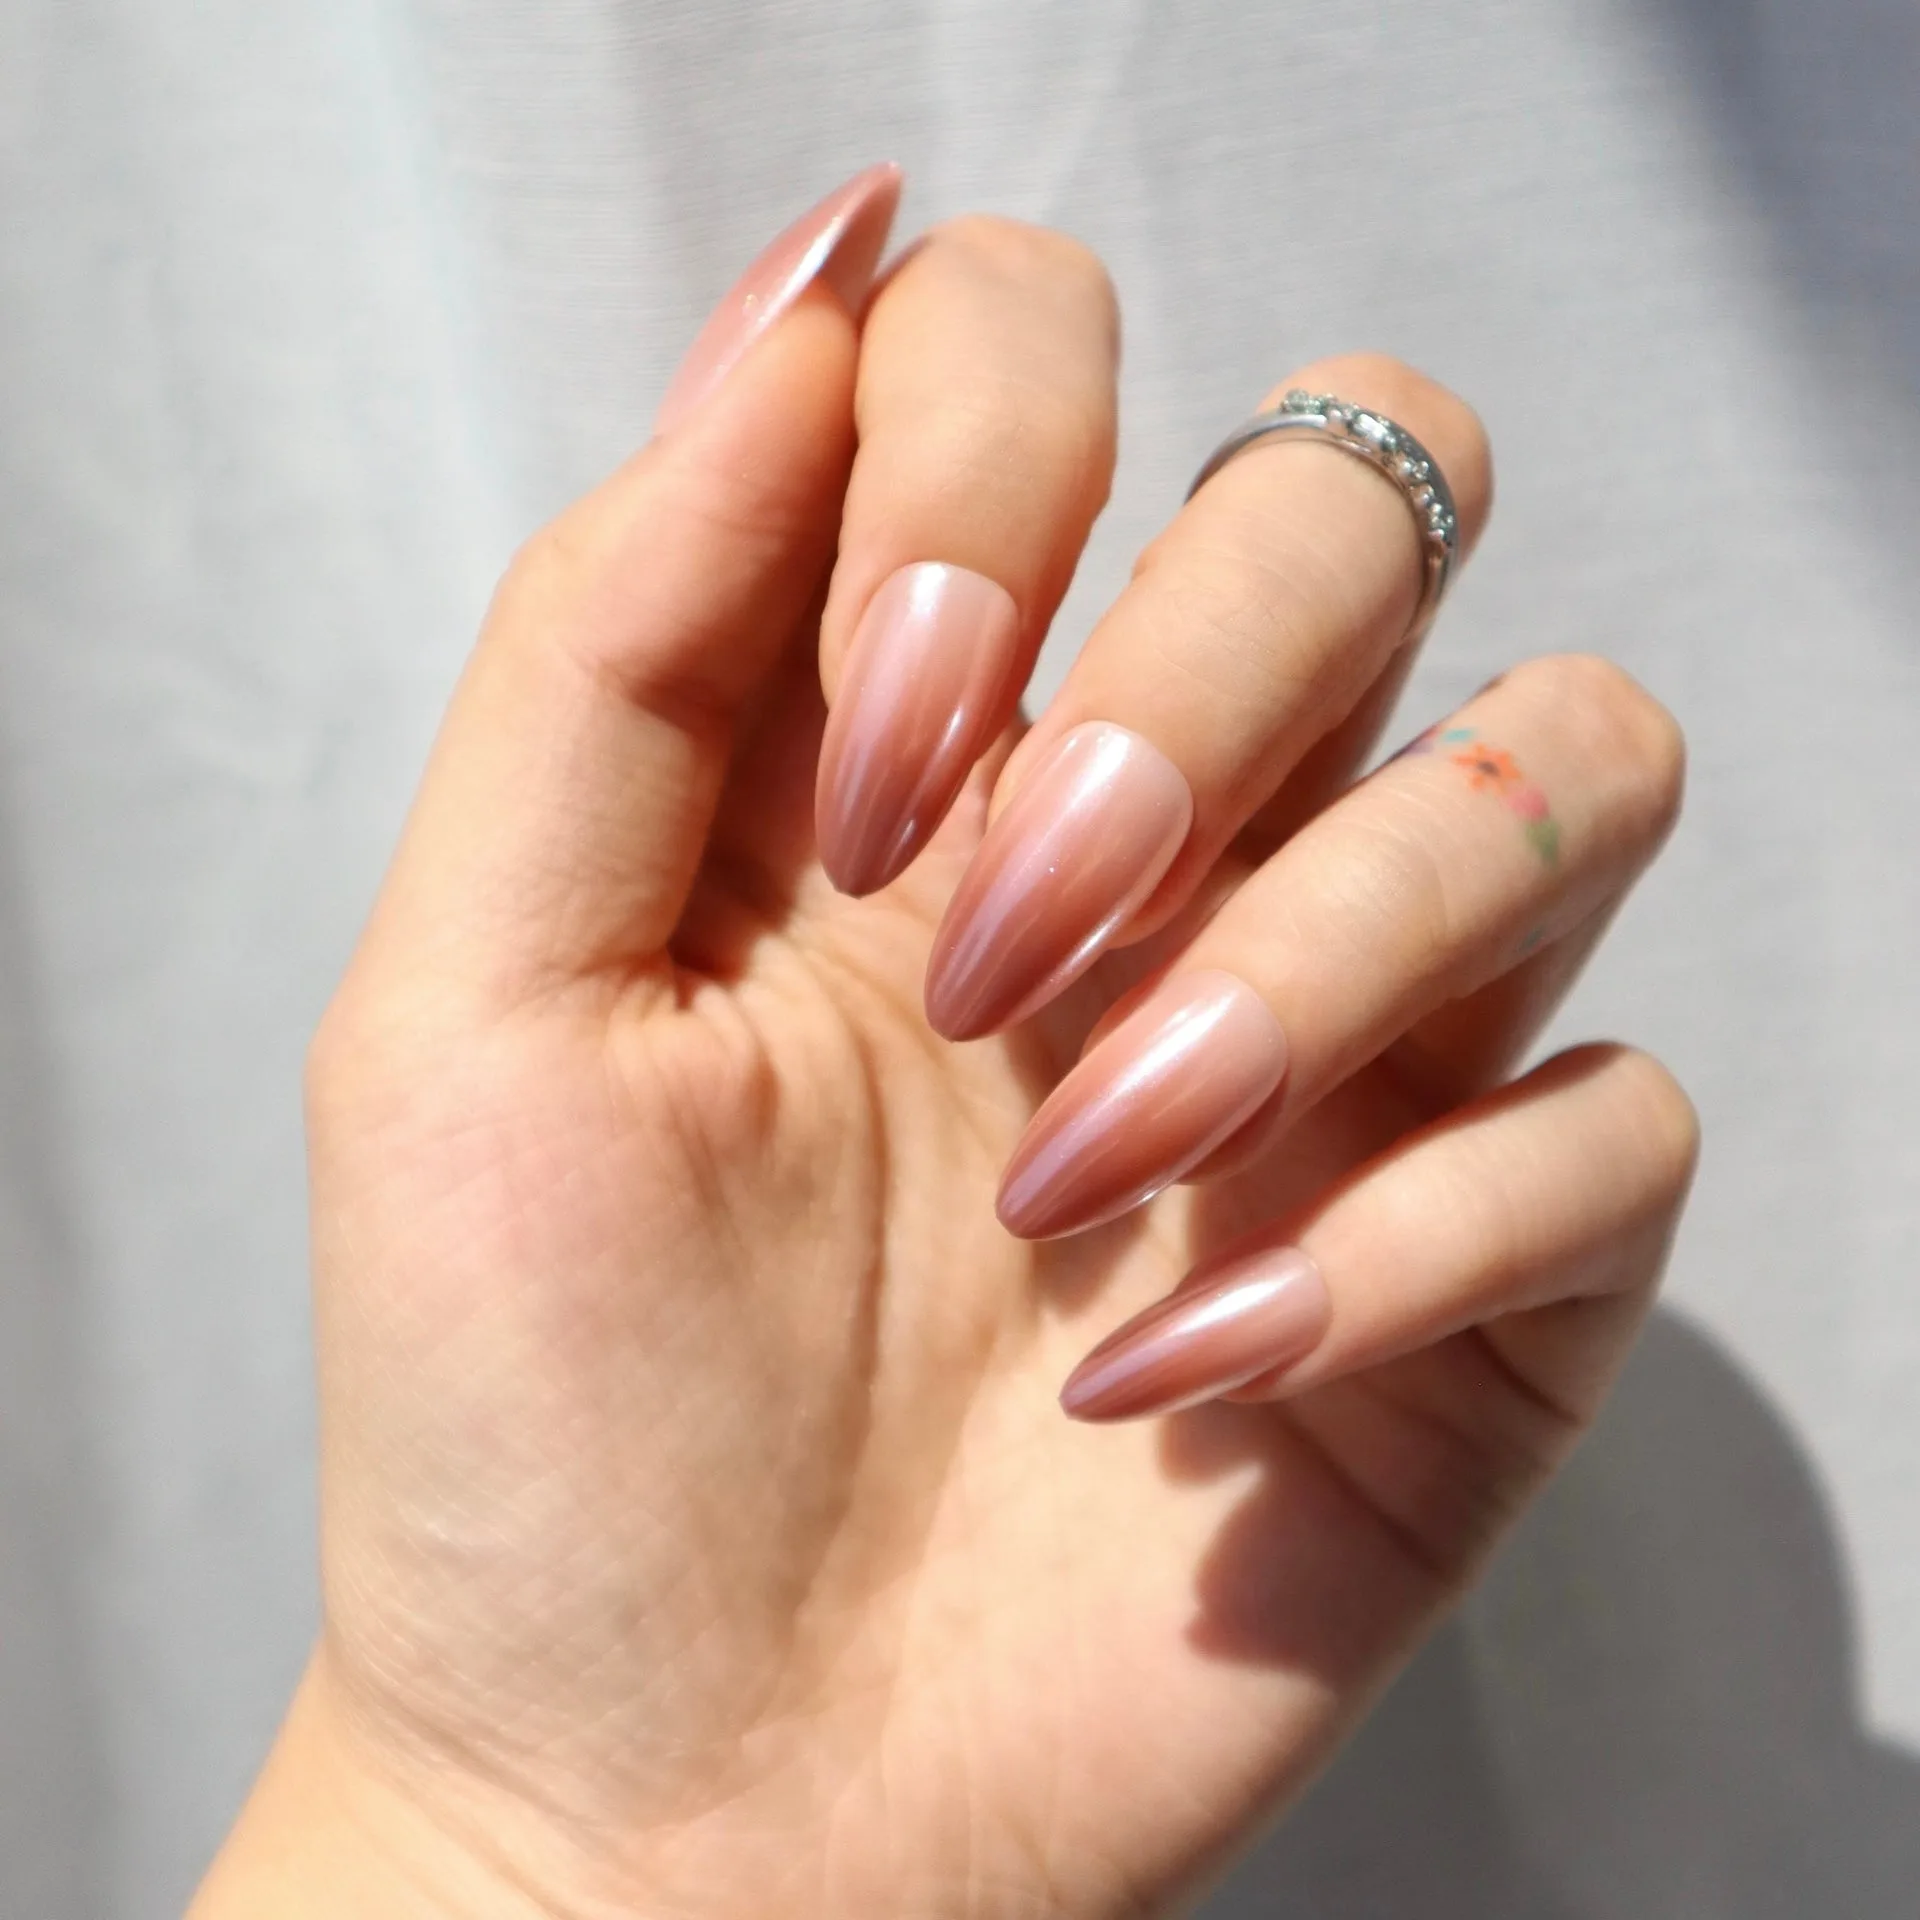
- Pink Slip: The Pink Slip design brings a shiny soft pink finish to medium almond press‑ons for a manicure that feels feminine, polished, and just a little cheeky. The glossy pink tone mimics a lip‑gloss shine, so when you apply it correctly with tools, the result looks effortless yet sophisticated.
- Cherry Float: The Cherry Float press‑on nail set combines blue‑striped french tips and tiny cherry accents for a playful, beach‑y look in a short almond shape. Its short almond shape makes it an excellent test case for mastering tool sizing before moving to longer styles like Pink Slip.
With the right tools and a careful step‑by‑step approach, Pink Slip false nails stay secure and look effortlessly chic. Keep your kit ready, follow these checkpoints, and enjoy a flawless manicure every time.