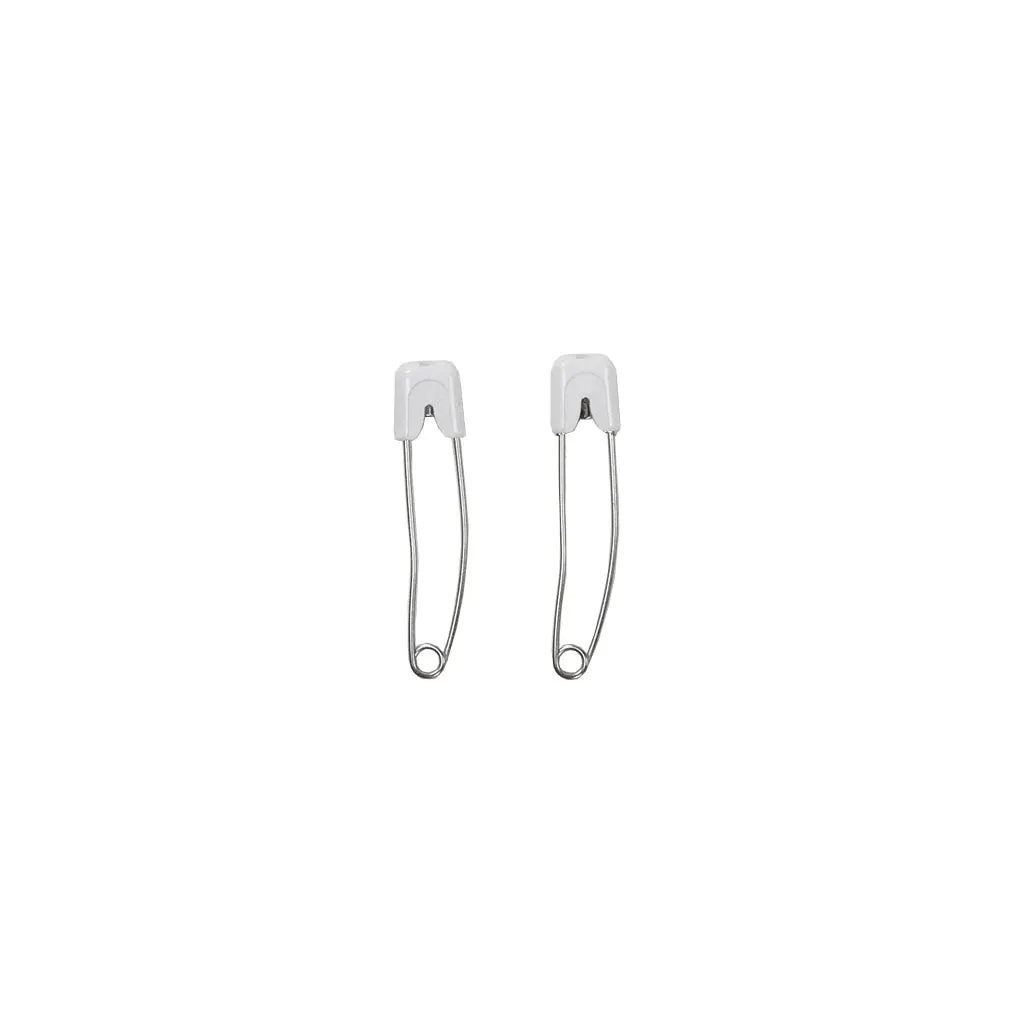
Why use a Snappi instead of pins
If you use prefolds or flats, you need a way to hold the fabric closed before you add a waterproof cover. Diaper pins work, but they take practice and a steady hand. A Snappi fastener replaces pins with a stretchy, T-shaped grip that hooks into the fabric and pulls it snug. The Snappi Neutral 3 pack gives you three fasteners in gender-neutral colors, so you always have one on hand while another is in the wash.
The Snappi is designed with T-shaped grips and stretchable hooks to hold the diaper fabric in place. It is an alternative anywhere you would use a diaper safety pin, and it can make diaper changes more efficient once you get the hang of the hook placement.
What the Snappi Neutral 3 pack includes
-
Snappi - Neutral 3 pk :: Infant: Snappi Neutral 3 pack for infants - cloth diaper fasteners in gender neutral colors. You get three fasteners, which helps when one is dirty or drying.
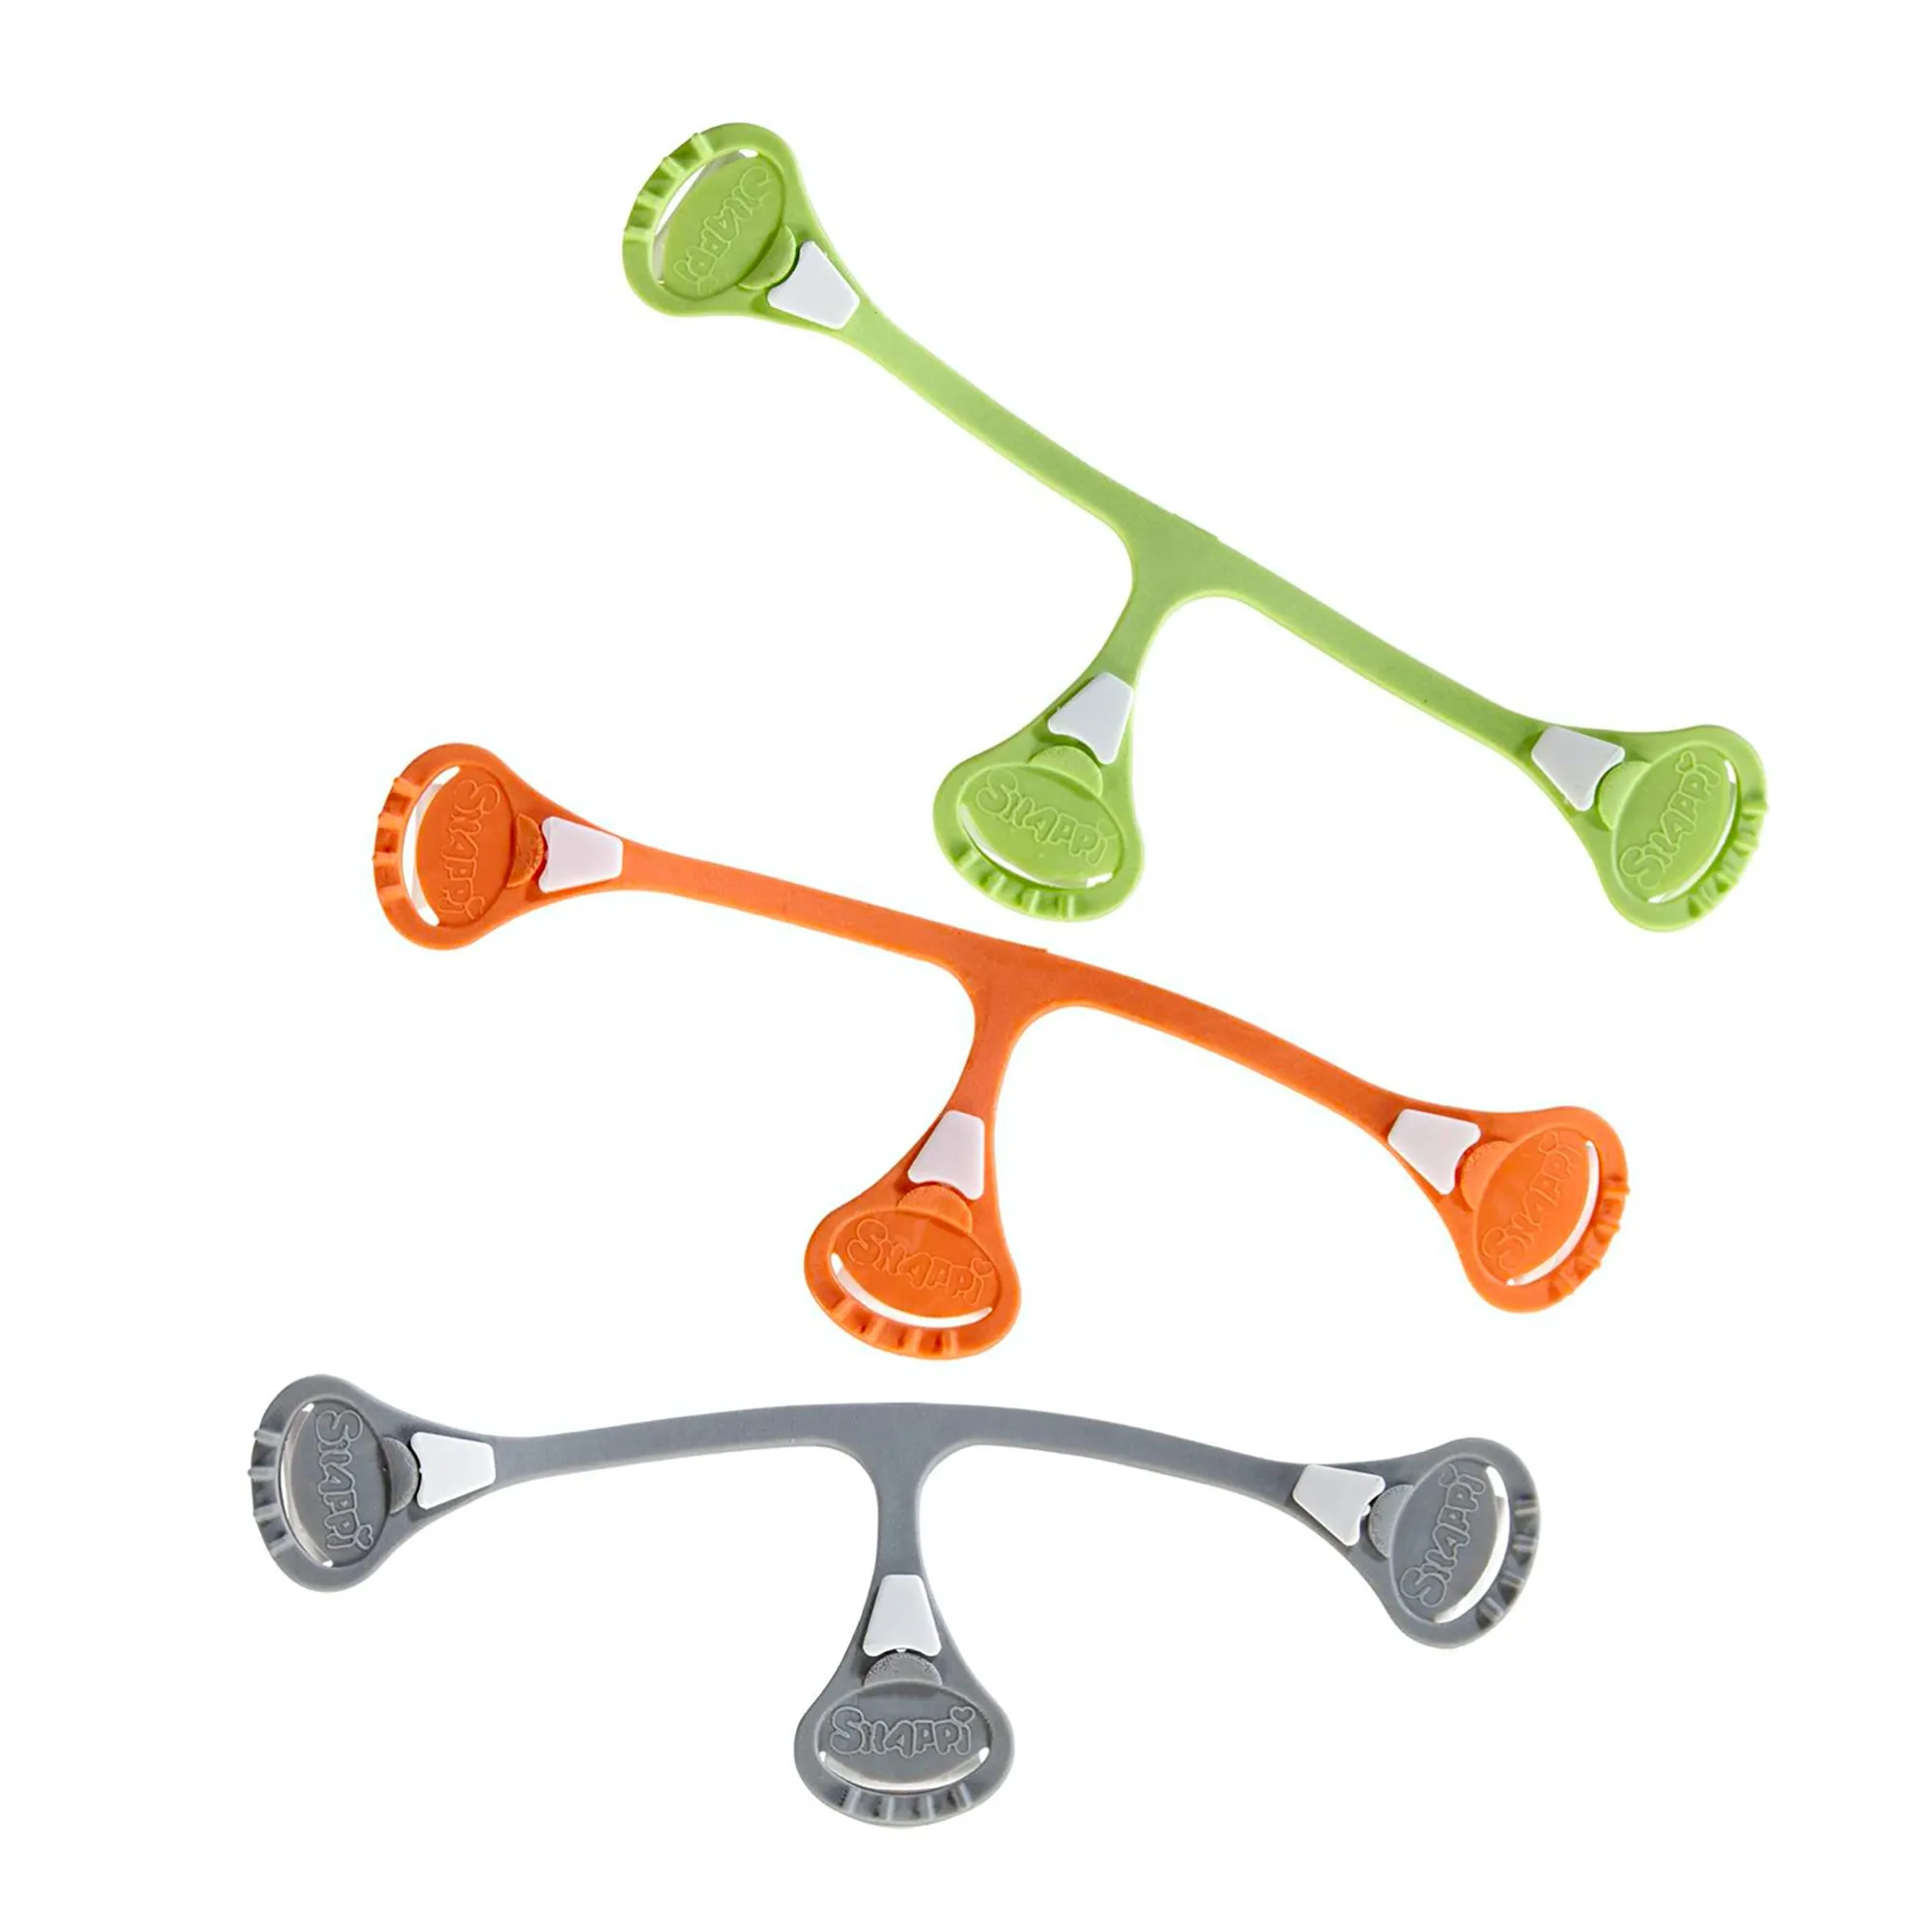
Snappi - Neutral 3 pk :: Infant
-
Snappi - Neutral 3 pk :: Infant: Snappies replace Diaper Pins for our Prefolds & Flats Diapering Options. This confirms the Snappi is intended for the prefold and flat diapers you are securing.
-
Snappi - Neutral 3 pk :: Infant: The Snappi is designed with T-shaped grips and stretchable hooks to hold the diaper fabric in place. The stretch is what lets you tension the fastener across the diaper rather than just pinning one spot.
How to fasten a prefold or flat with a Snappi
Work on a flat surface or a changing pad. The steps below follow the supplied instructions for the Snappi fastener.
- Diaper the baby: Place your diaper of choice onto the baby. For a prefold or flat, fold or lay the fabric so it covers the baby and the front wings can meet.
- Position the Snappi: Place the center of the Snappi on the front of the diaper, just below the waistband, with the logo facing up. The Snappi should resemble a T shape.
- Hook the left side: With your right hand, place the left hook into the diaper fabric on the left front hip area of the diaper.
- Stretch across and hook the right side: Stretch the Snappi and pull it horizontally across the diaper, holding the fabric securely in place. Then place the teeth of the right hook into the diaper fabric on the front right hip area.
- Hook the bottom: Once the right and left sides hold the wings of the diaper closed, stretch the bottom grip of the Snappi and pull it straight down, hooking it onto the center of the diaper between the legs. The Snappi should now form a Y shape. This helps prevent the diaper from sagging and keeps the fit snug.
Fit checks after the Snappi is on
A secure Snappi should hold the fabric without digging in. Keep the tension firm but not too tight. Check the fit of the diaper to make sure it is snug but not too tight. You should be able to fit one finger between the diaper and your baby's skin at the waist and legs.
If the Snappi feels too loose, the diaper may sag; if it leaves marks or feels tight, ease the tension. The stretchy design is meant to keep the diaper in place, not to compress the baby.
Add a waterproof cover over the Snappi
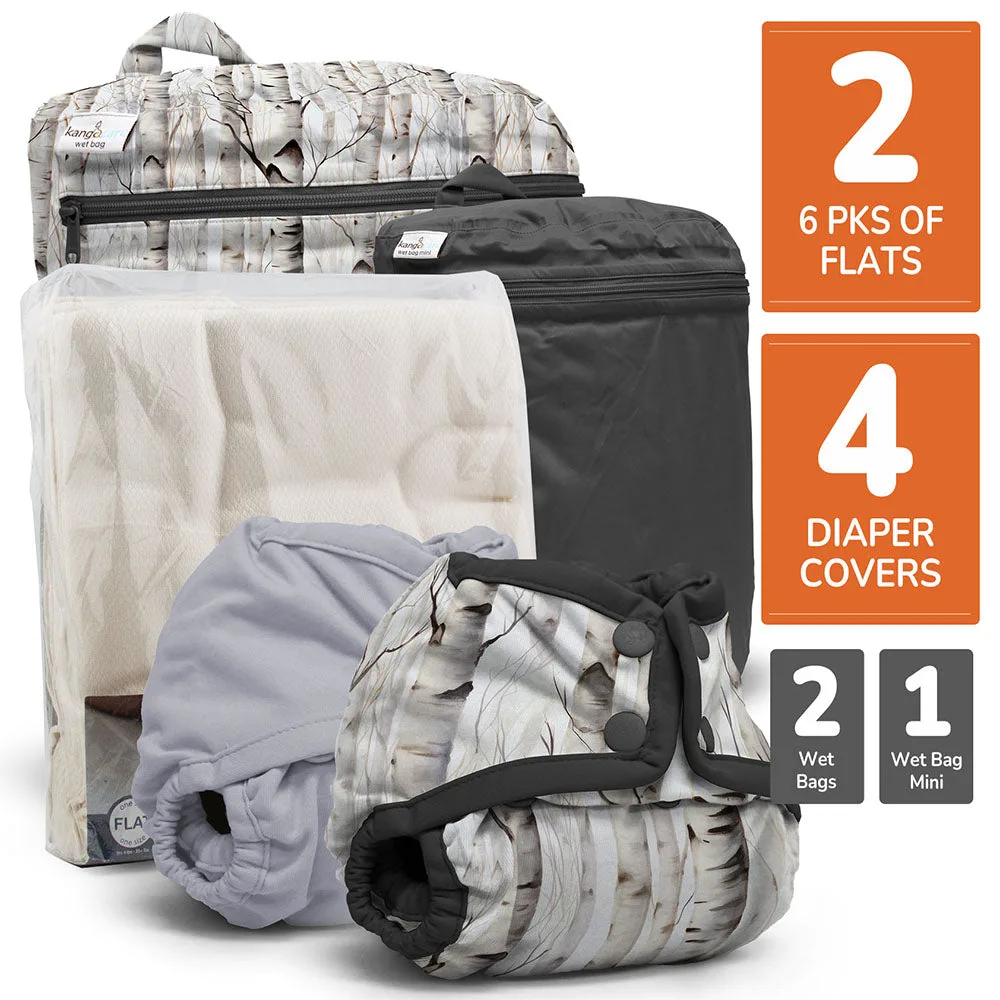
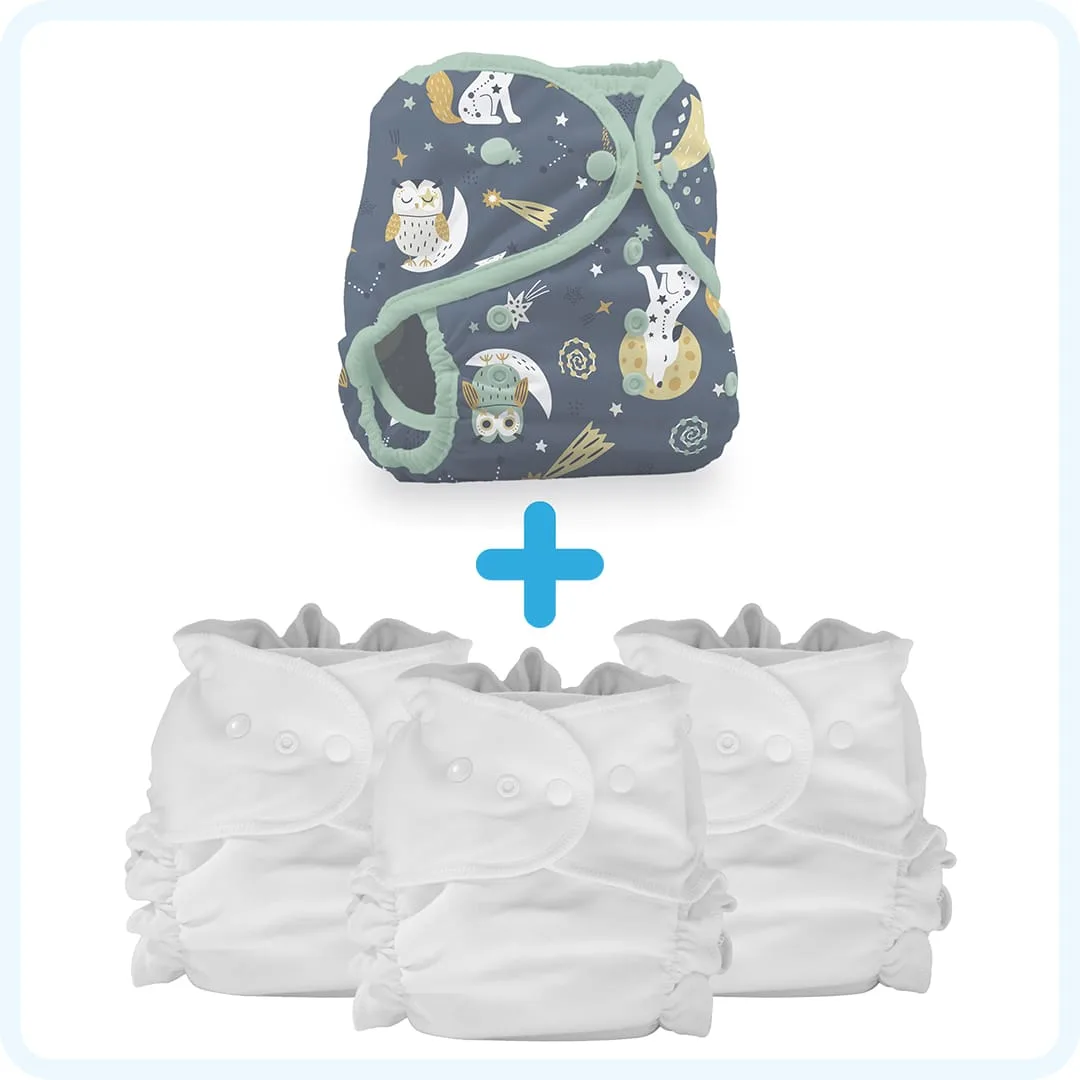
A Snappi secures the cloth diaper, but it does not make the diaper waterproof. If you are using a Snappi with a prefold or flat diaper, you will want to put a waterproof diaper cover over the cloth diaper to prevent leaks. The cover goes on after the Snappi is fastened.
This two-layer approach is standard for prefold and flat systems: the absorbent fabric is held by the Snappi, and the cover provides the waterproof barrier.
Snappi tips for easier changes
These tips come from the supplied product details and general handling of the fastener.
- Keep the logo facing up: Position the center of the Snappi with the logo facing up so you can see the T shape and orient the hooks correctly.
- Hook into fabric, not over the edge: The teeth should grip the diaper fabric at the hip areas and the center front, not clamp over a thick folded edge where they may slip.
- Aim for a Y shape: After all three hooks are attached, the Snappi should form a Y. That shape distributes tension and helps prevent sagging.
- Check the finger test: You should be able to slide one finger under the waist and leg openings. If not, loosen the tension slightly.
Where the Snappi fits in your diapering setup
- Snappi - Neutral 3 pk :: Infant: Snappies replace Diaper Pins for our Prefolds & Flats Diapering Options. Use the Snappi specifically with prefold and flat diapers; it is not a substitute for a waterproof cover.
- Snappi - Neutral 3 pk :: Infant: With its secure grip and stretchy design, this fastener won't let that cloth rear show the slightest hint of sagging – so you can keep little ones snug and comfy! The stretch helps maintain tension as the baby moves, which is the main reason to choose a Snappi over pins.