Quick answer
Wash cloth diapers in warm water with a detergent free of fabric softener, bleach, and optical brighteners, then air-dry or tumble the waterproof parts on low. The laminate inside covers and wraps is a thin bonded layer, so heat, softeners, and harsh additives are what break it down, not water itself. Keep the routine consistent and covers will stay waterproof through many babies.
Why laminate fails before the fabric does
Waterproof covers and wraps get their leak protection from a thin film bonded to the inside of the fabric. That film is what eventually fails, and it usually fails from the outside in: repeated high heat, detergent residue, and softening agents gradually break the bond until you see delamination, cracking, or moisture wicking through the outer fabric. The cotton or hemp layers around it may still look new while the cover is done.
This is why a wash routine for cloth diapers is really two routines in one. Absorbent inserts and fitteds tolerate more heat and agitation than the waterproof layer does, so the safest approach is to wash them together but dry them differently. If you only remember one rule, make it this: protect the laminate from heat and residue, and the absorbent parts will take care of themselves.
What to check before you buy a detergent
A cloth diaper detergent guide can get complicated, but the practical filter is short. You want a detergent that cleans thoroughly and rinses clean, without fabric softener, without chlorine bleach, and without optical brighteners. Softeners and some plant-based oils leave a coating on both the absorbent fibers and the laminate; the coating on absorbent fabric causes repelling, and the coating on laminate traps residue that can degrade the bond over time.
Powder detergents generally rinse out of absorbent fabric more easily than liquids, though a liquid free of the additives above works fine too. If your machine has a bulky or heavy-duty cycle, use it for the main wash so diapers get enough agitation. Skip the extra rinse only if your water is soft and your detergent is low-residue; otherwise add one. If you use a diaper cream, use a liner, because ointments are one of the most common sources of residue that survives a normal wash.
How often and how full to load
Wash every two to three days. Waiting longer lets ammonia build up in the absorbent layers, and ammonia is hard on both fabric and skin. Loading matters as much as timing: diapers need room to move against each other to get clean, so fill the drum about two-thirds full and no more. A packed machine leaves residue behind, and residue is what makes diapers smell after they come out of the wash.
If you use a diaper pail, keep it dry or use a wet bag with airflow rather than sealing soaked diapers in a closed bucket for days. A short pre-rinse before the main wash loosens solids and reduces the ammonia load before the real cycle starts.
Your step-by-step cloth diaper wash routine
- Step 1: Knock solids into the toilet: Dump solids into the toilet before the diaper goes in the pail. Breastfed newborn stool can go straight into the wash, but once solids are introduced, remove what you can first. Checkpoint: if diapers still smell after washing, incomplete solid removal is a common cause.
- Step 2: Run a short pre-rinse: Run a cold or warm pre-rinse without detergent to flush urine and loose solids out of the absorbent layers before the main wash. Mistake to avoid: skipping the pre-rinse and relying on one heavy cycle, which leaves residue behind.
- Step 3: Wash warm with the right detergent: Use a heavy-duty or bulky cycle with a detergent free of softeners, bleach, and optical brighteners. Fill the drum about two-thirds so diapers can agitate against each other. Checkpoint: an overloaded machine is the most common reason diapers come out still smelling.
- Step 4: Add an extra rinse if needed: Add a second rinse when your water is hard or your detergent is high-residue. Residue on the laminate is what shortens its life, so rinse until the water runs clear. Mistake to avoid: using fabric softener or dryer sheets at any point, including in the same load as diapers.
- Step 5: Dry absorbent parts hot, waterproof parts low: Tumble or line-dry inserts, fitteds, and flats with more heat tolerance. Dry covers and wraps on low heat or air-dry them, since high heat is the main driver of laminate failure. Checkpoint: if a cover feels stiff or looks cracked at the seams, heat exposure is the likely culprit.
- Step 6: Store clean diapers dry: Put clean diapers away fully dry and keep them out of sealed, damp containers. Store covers loosely so air can move around the laminate. Next step: rotate two or three covers so each one gets rest between wears and washes.
Products that fit this routine
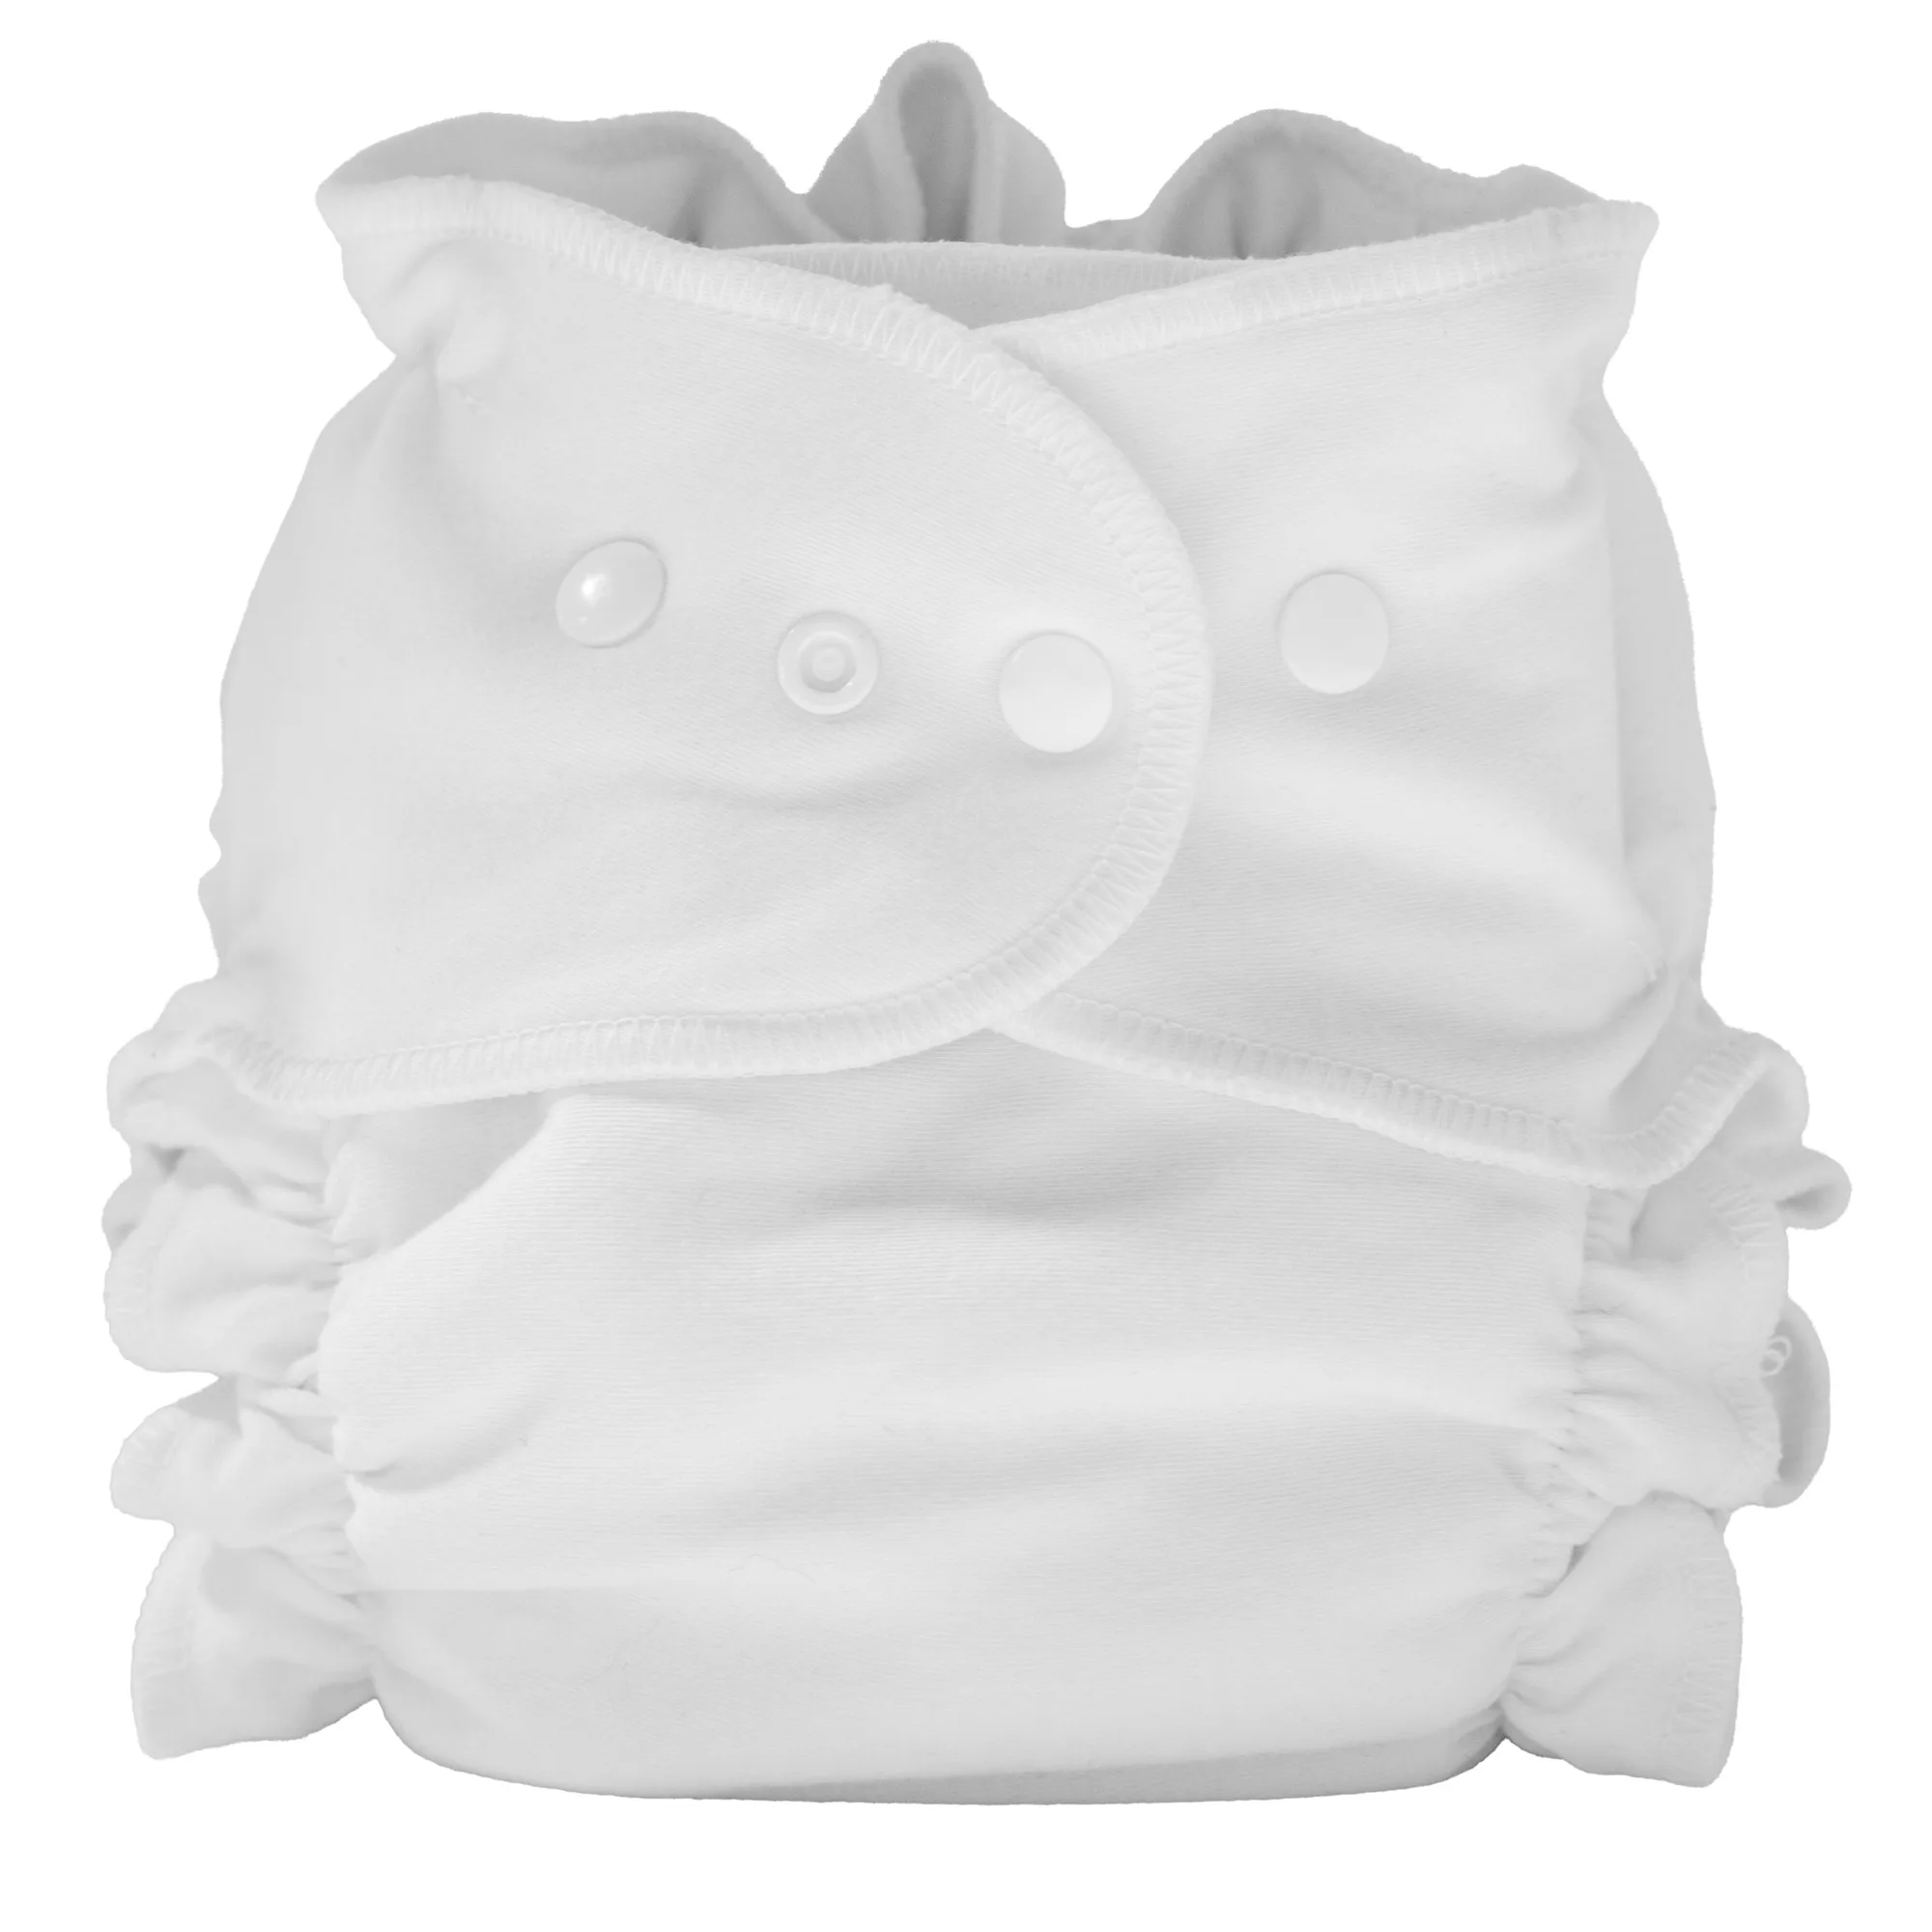
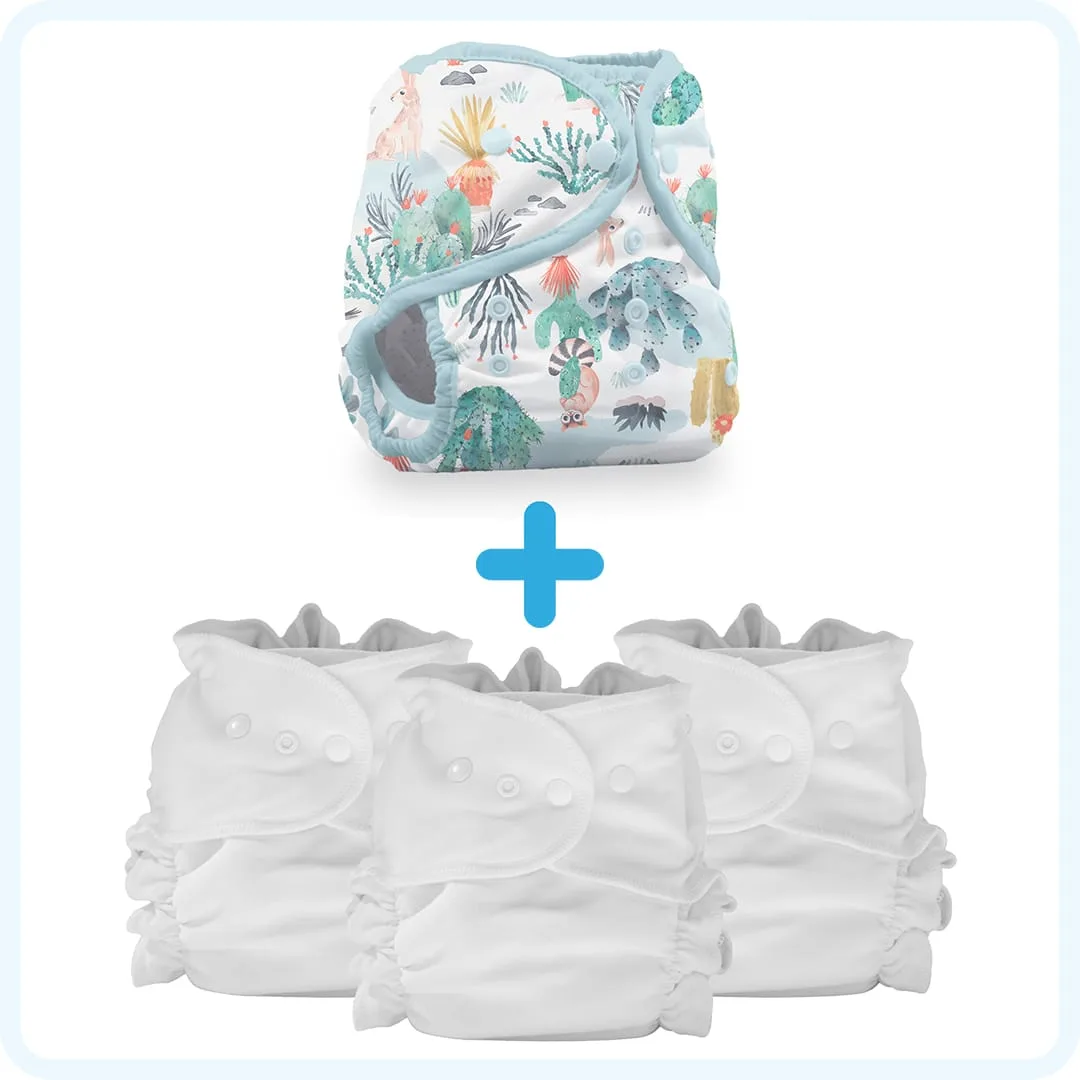
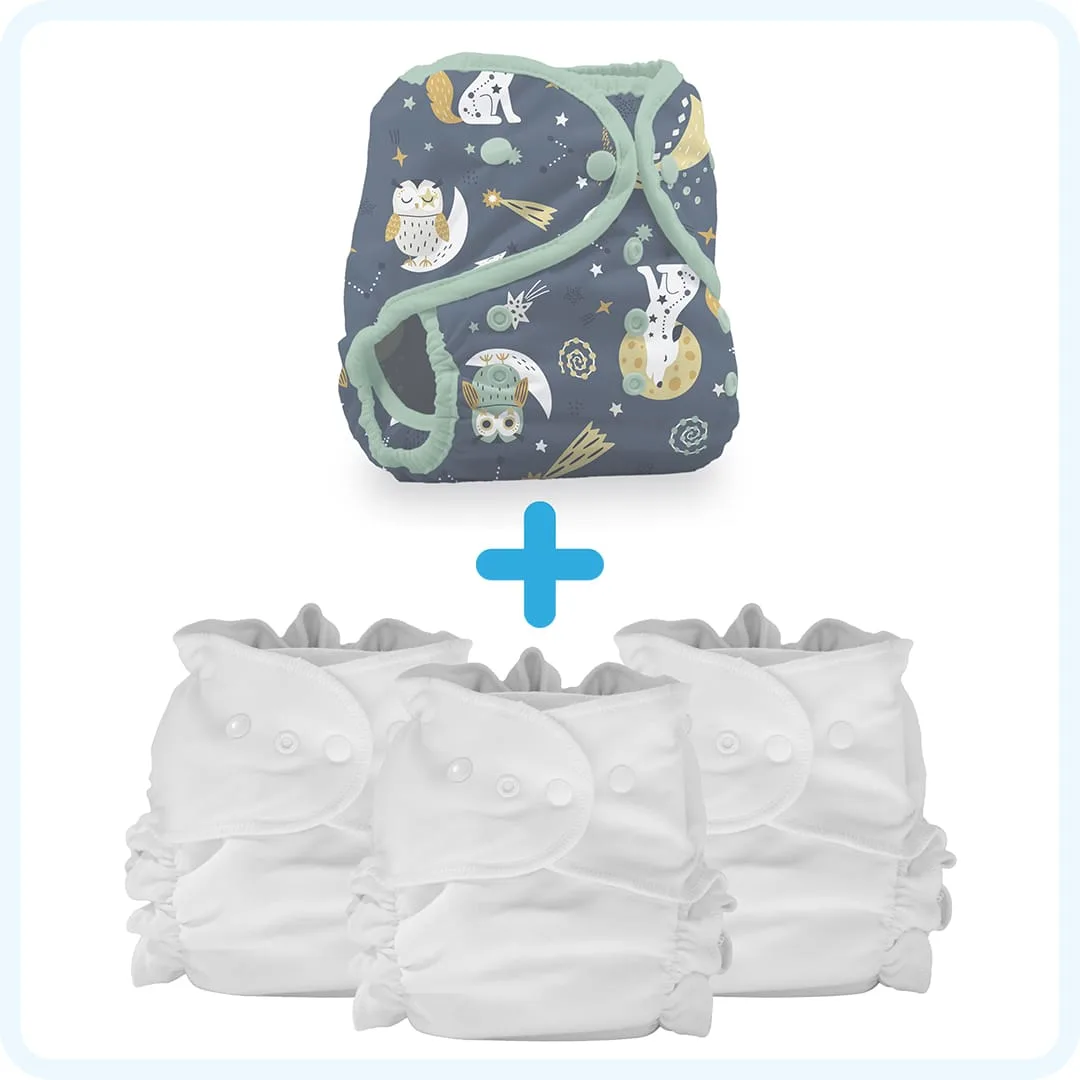
- Duo Duet Pack: Duo Duet Pack includes one waterproof Duo Wrap plus three absorbent Duo Fitted diapers, giving three reusable changes per pack. Size Two fits most babies from 9-36 months. Because the wrap is reused across three fitted changes, it gets washed less often than the absorbent parts, which is exactly the pattern that extends laminate life. Wash the fitteds after each use and the wrap only when soiled or after a few wears.
- Duo Duet Pack: The same Duo Duet Pack is also available in Size One, which fits most babies from birth to 9 months. Newborn and infant stages mean more changes per day, so a size-appropriate pack keeps you from over-washing a larger wrap before it needs it.
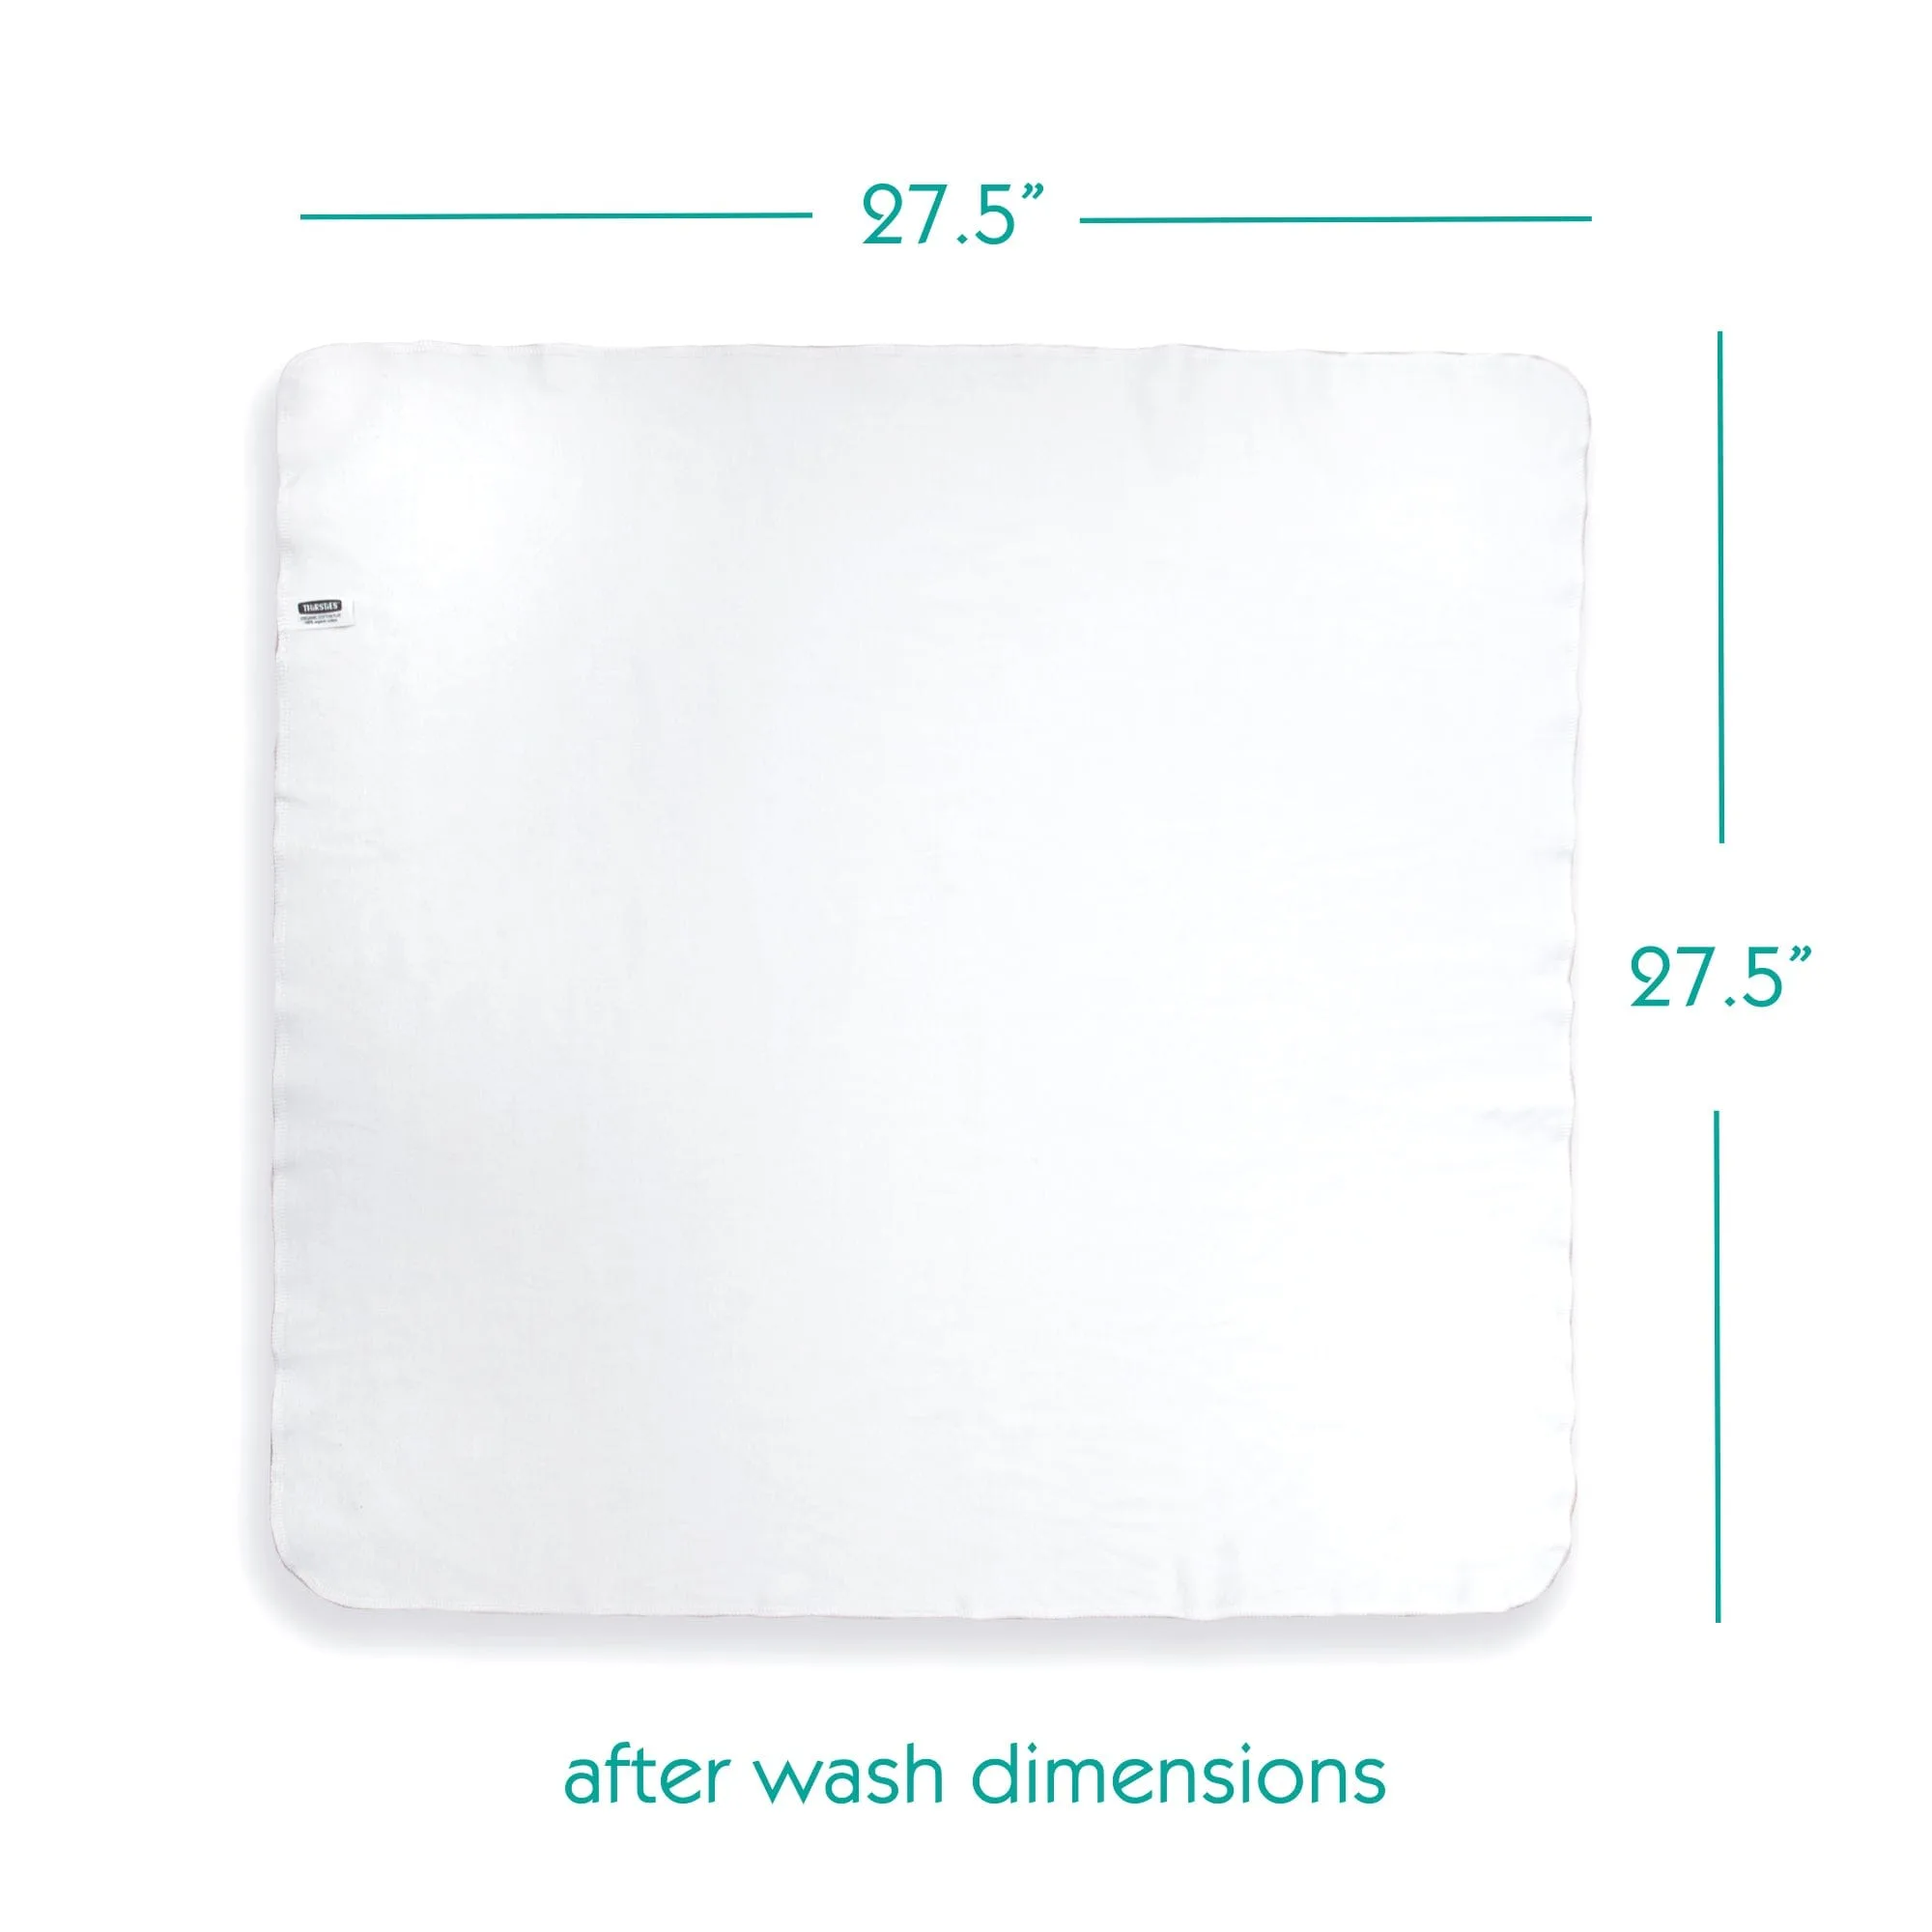
- Organic Cotton Flat: Organic Cotton Flats are described as the original one-size cloth diaper and a popular, economical choice. Flats have no laminate at all, so they can handle hotter washes and more aggressive drying than a waterproof cover. Keeping flats and covers in separate drying routines is the simplest way to protect the covers.