Quick answer
Secure your oven door with a self-adhesive oven lock that mounts in seconds without tools or drilling. The BABYGO® Oven Lock uses strong 3M™ adhesive pads for a firm hold and easy removal.
Why a dedicated oven lock beats DIY solutions
An oven door gets hot enough to cause burns, and a curious toddler can pull it open in seconds. A purpose-built oven lock is designed to withstand repeated tugging and high temperatures near the appliance. Adhesive pads like those on the BABYGO® Oven Lock provide a strong bond without damaging your kitchen surfaces, unlike tape or string that can slip or leave residue.
Before you start: check your oven door and surface
Oven locks work best on smooth, clean metal or glass surfaces. If your oven door has textured paint, a thick rubber gasket, or a curved handle that blocks the lock, the adhesive may not hold as firmly. Wipe the area with rubbing alcohol first to remove grease and let it dry completely. A clean bond is the most common overlooked step.
How to install your oven lock in 5 steps
- Clean the mounting surface: Wipe the chosen spot on your oven door with rubbing alcohol and a lint-free cloth. Let it air dry for 30 seconds. A greasy surface is the number one reason adhesive locks fall off.
- Peel and position the adhesive pad: Remove the backing from the 3M™ adhesive pad on the oven lock. Press the pad firmly onto the oven door at the height where your toddler can reach but not defeat the lock. Hold for 15 seconds. Common mistake: pressing too briefly. Hold firm pressure for the full 15 seconds to activate the bond.
- Attach the lock body: Snap or slide the lock mechanism onto the mounted pad according to the product instructions. Ensure the locking arm aligns with the oven door edge so it blocks opening when engaged.
- Test the lock before trusting it: Close the oven door and activate the lock. Try to open the door with moderate force. The lock should hold the door firmly shut. If it slips, recheck the adhesive bond or reposition the lock. Test with the oven both cold and warm (after cooking) to confirm the adhesive holds at higher temperatures.
- Teach household members how to deactivate it: Show every adult and older child in the home how to release the lock. Most oven locks have a simple push-button or slide release. Practice a few times so no one gets locked out of the oven during cooking. Keep the lock engaged only when the oven is not in active use. Disengage it while cooking to avoid accidental burns from reaching over a locked door.
Product used in this guide
-
BABYGO® Oven Lock: Installation is quick and easy with strong 3M™ adhesive pads; no complicated tools, no drilling, no DIY skills needed and no lasting damage to your kitchen. You can mount the lock in under a minute and remove it later without sticky residue or scratches, making it ideal for rental homes or temporary setups.
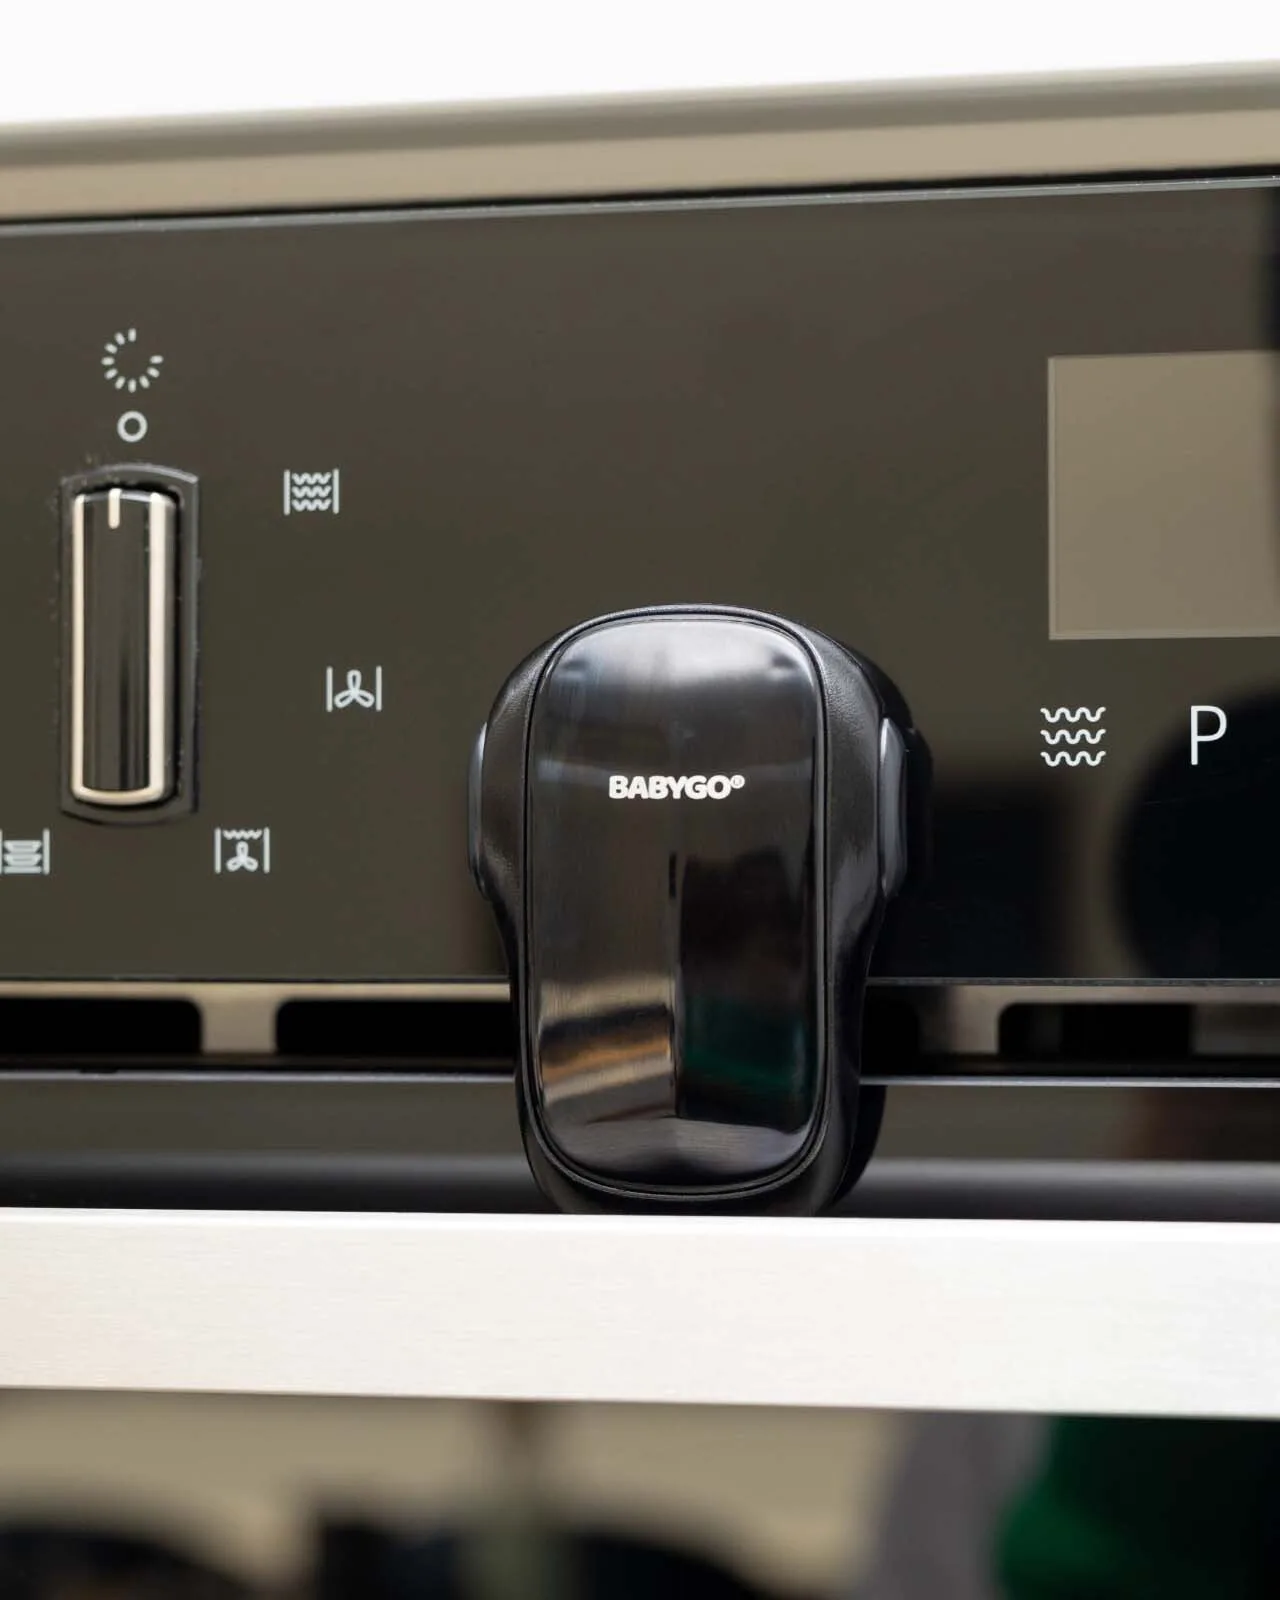
BABYGO® Oven Lock