Quick Answer
To securely attach a poop bag dispenser to your leash, slide the dispenser's loop or clip onto the leash handle, then pull it snug against the handle's base. For dispensers with a clip, fasten it around the leash handle or a sturdy D-ring if available. Ensure the dispenser doesn't slide freely and that you can access bags with one hand while holding the leash.
Picture this: you're on a walk, and your dog suddenly stops. You reach for a poop bag, but it's buried in your pocket or tangled at the bottom of your backpack. Attaching a poop bag dispenser to your leash keeps bags within easy reach, making cleanups quicker and less stressful. But if it's not secured properly, the dispenser can slide, dangle, or even fall off mid-walk.
In this guide, we'll walk you through the steps to attach a poop bag dispenser to your leash securely. We'll cover common mistakes, how to choose the right attachment method for your leash, and why a well-secured dispenser matters for both convenience and safety.
Why Attach a Poop Bag Dispenser to Your Leash?
Attaching a poop bag dispenser to your leash means you always have bags ready when you need them. It eliminates the need to carry a separate bag or fumble through pockets, especially when your dog is pulling or you're managing other items. A dispenser on the leash also keeps bags from getting crushed or dirty in your bag.
Beyond convenience, a securely attached dispenser prevents accidents. If the dispenser falls off, it could become a litter hazard or get lost. A loose dispenser can also swing and hit your dog or you, causing discomfort. By securing it properly, you ensure a smoother walk for both of you.
- Always keep a spare roll of bags in your car or backpack for emergencies.
Choosing the Right Attachment Method for Your Leash
Not all leashes are the same, and neither are poop bag dispensers. The attachment method you use depends on the design of your leash and dispenser. Most dispensers feature either a loop that slides over the leash handle or a clip that fastens around the handle or a D-ring. Some leashes have a dedicated D-ring or handle that makes attachment easier.
If your leash has a padded handle, a sliding loop dispenser may not slide on easily. In that case, a clip-on dispenser is a better choice. Conversely, if your leash has a thin handle, a loop-style dispenser can slide on smoothly. Always check the size of your leash handle and the dispenser's opening to ensure a snug fit.
- Measure the width of your leash handle to ensure the dispenser's loop or clip will fit securely.
Step-by-Step: Attaching a Loop-Style Dispenser
Loop-style dispensers are common and easy to use. They feature a fabric loop that slides over the leash handle. To attach, first, unclip the leash from your dog's collar to make handling easier. Then, slide the loop over the handle, starting from the end opposite the clip. Pull the loop down until it sits snugly at the base of the handle, near the leash's main body.
Once in place, give the dispenser a gentle tug to ensure it doesn't slide freely. If it moves too easily, you can add a small carabiner or a rubber band above the loop to prevent slipping. Reattach the leash to your dog's collar and test the dispenser's position by walking a few steps. It should stay put and not interfere with your grip.
- If your leash has a thick handle, consider using a clip-on dispenser instead of forcing a loop-style one.
Step-by-Step: Attaching a Clip-On Dispenser
Clip-on dispensers have a plastic or metal clip that can be opened and closed. To attach, locate a sturdy part of the leash, typically the handle or a D-ring. Open the clip by pressing the release tab, then slide it over the chosen spot. Close the clip and listen for a click to ensure it's locked in place.
If your leash has a D-ring near the handle, that's often the best spot because it keeps the dispenser out of the way. If not, attach the clip around the handle itself, ensuring it's not too tight to prevent the clip from closing fully. After attaching, give the dispenser a firm pull to confirm it's secure. Test that you can easily remove a bag with one hand while holding the leash.
- Avoid attaching the clip to a thin or weak part of the leash that could bend or break under stress.
Step-by-Step Recap
- Step 1: Check Your Leash and Dispenser: Look at your leash's handle and any D-rings. Determine if your dispenser has a loop or a clip. This will dictate the attachment method. Checkpoint: Ensure the dispenser's opening is compatible with your leash's handle or D-ring size.
- Step 2: Position the Dispenser Correctly: For loop-style, slide it over the handle and down to the base. For clip-style, attach to a D-ring or the handle itself, ensuring it's not in the way of your grip. Checkpoint: The dispenser should not slide freely or interfere with leash handling.
- Step 3: Test Security and Accessibility: Give the dispenser a few tugs and simulate removing a bag. Walk a few steps to see if it stays in place and is easy to reach. Checkpoint: If it moves or is hard to access, adjust the attachment or consider a different style.
Products That Make Poop Bag Attachment Easier
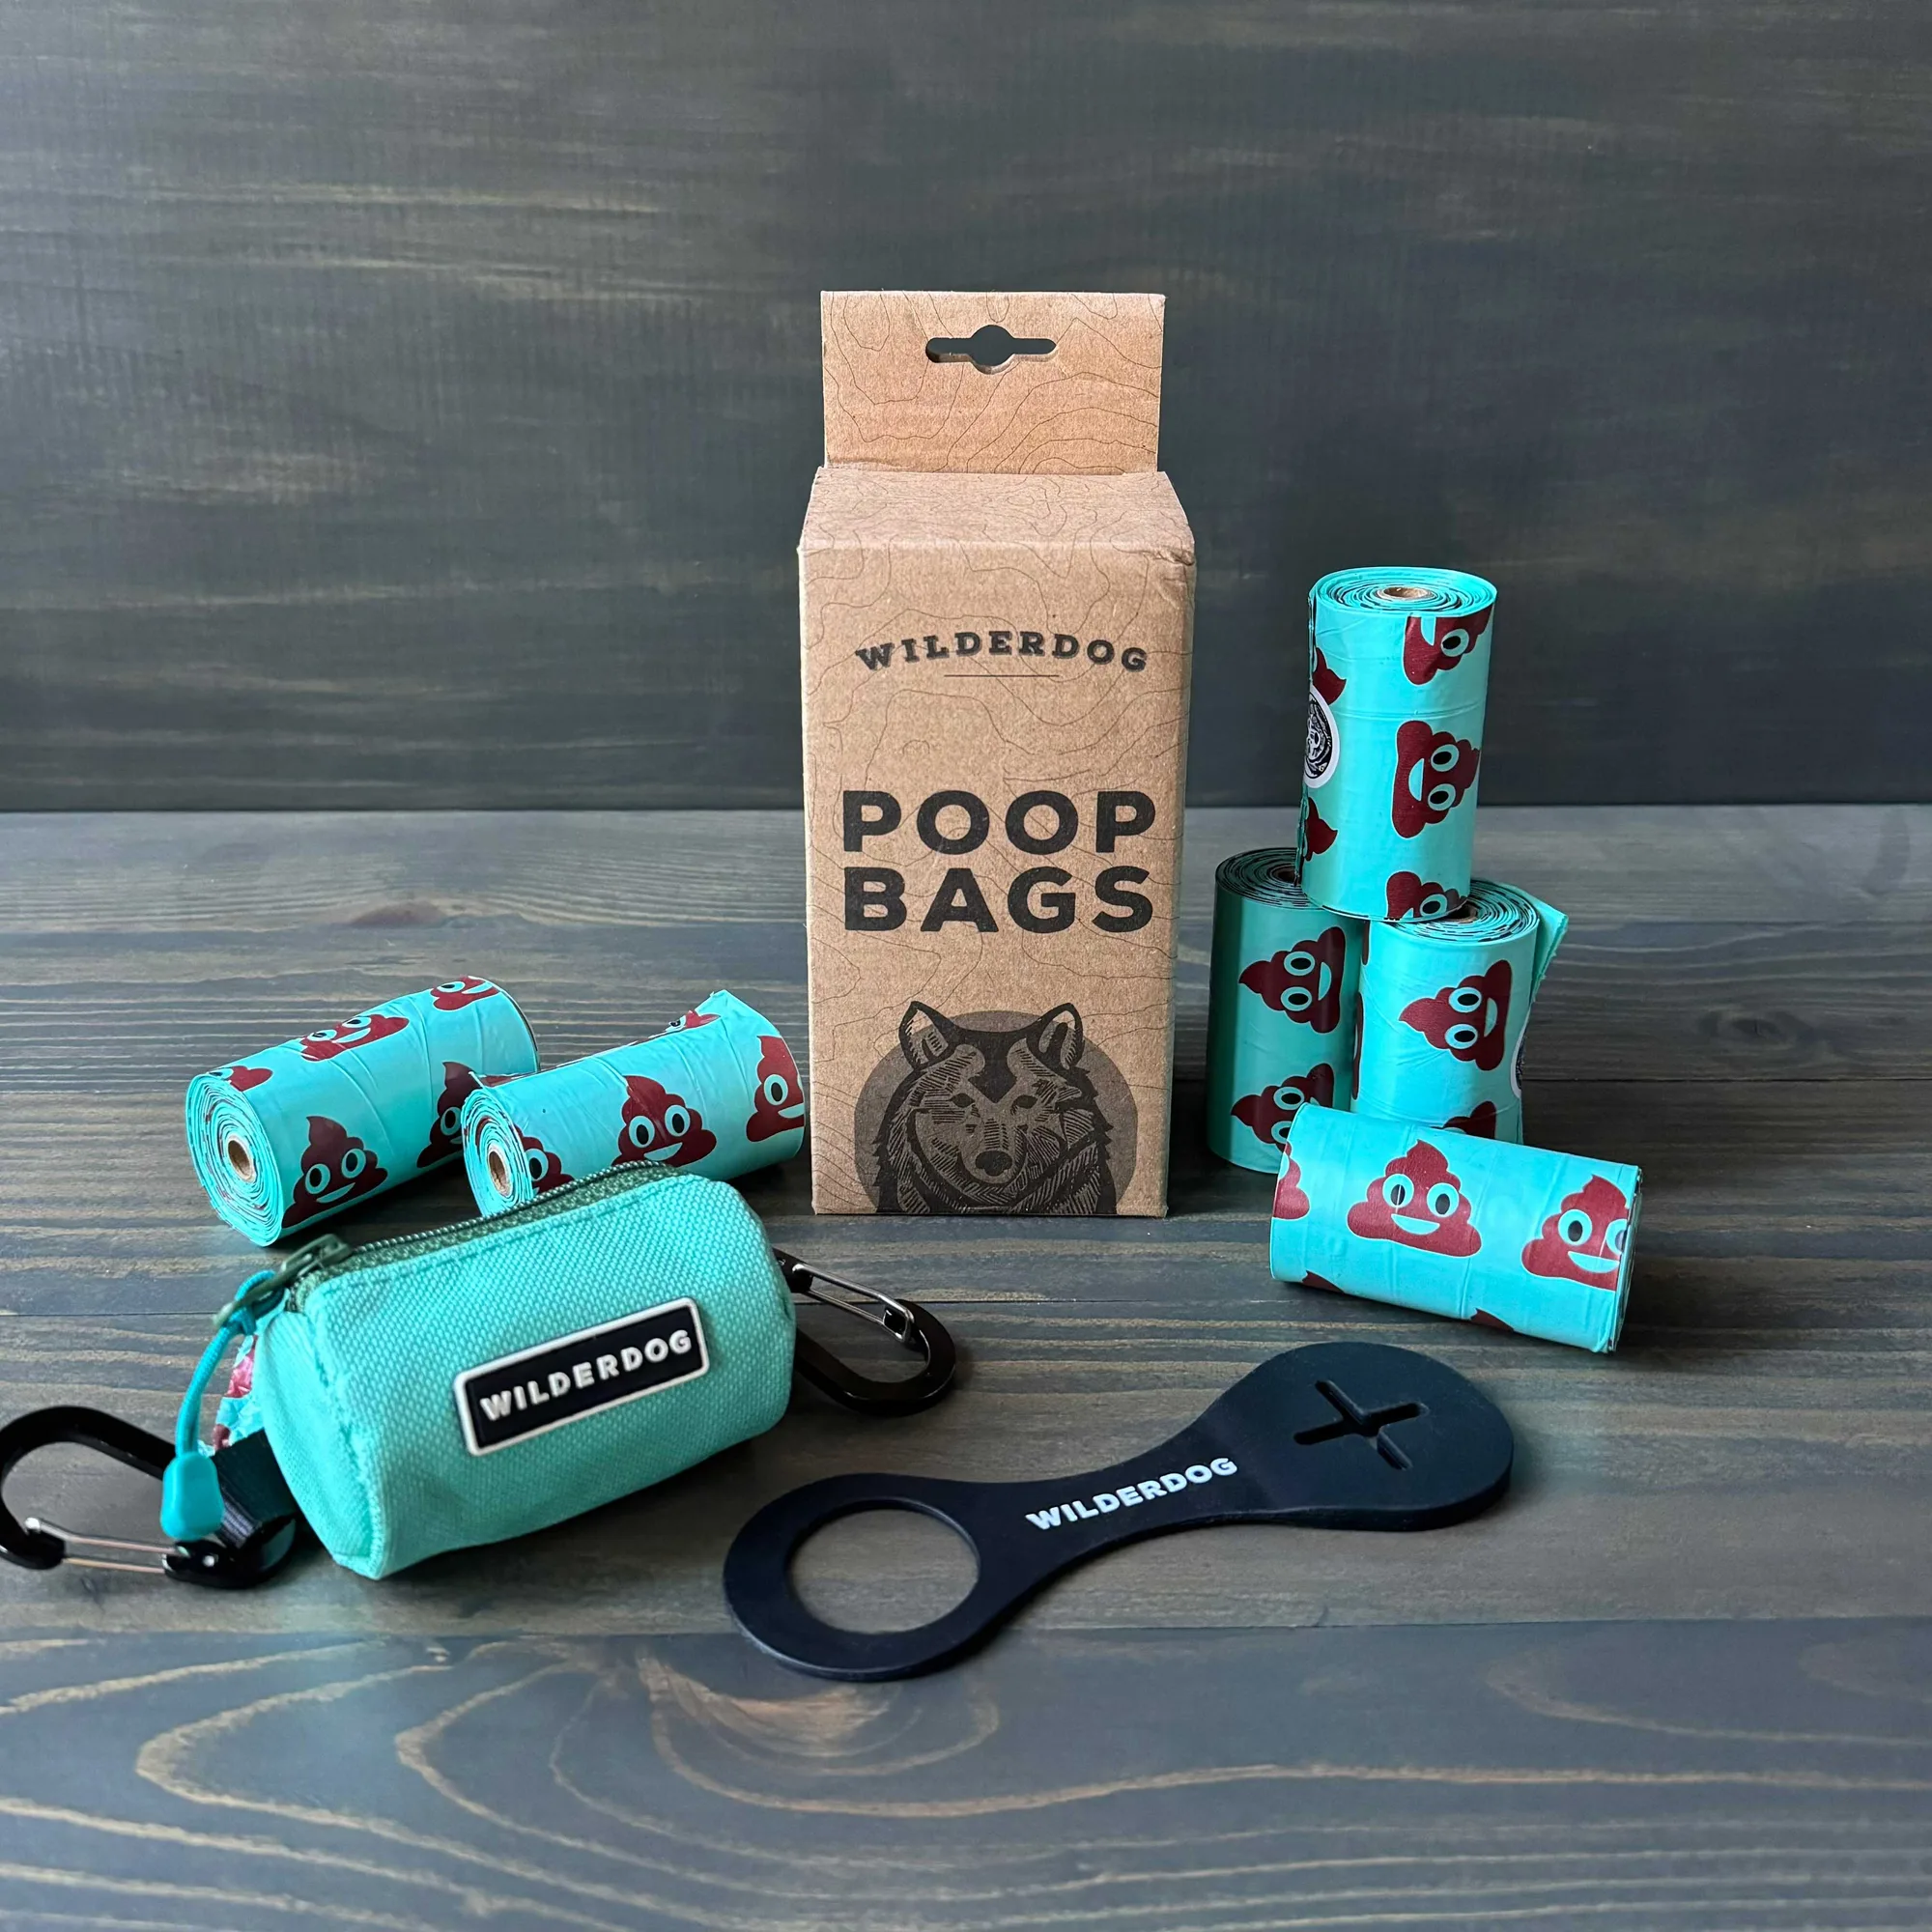
- Sh*t Kit: The Sh*t Kit includes 10 regular boxes and 2 Santa Paws boxes of poop bags, a Poop Bag Holder, and a Crap Carrier. With a dedicated holder and carrier, you can keep a dispenser attached to your leash and always have a backup supply. The included holder is designed to fit on leashes, making attachment straightforward.
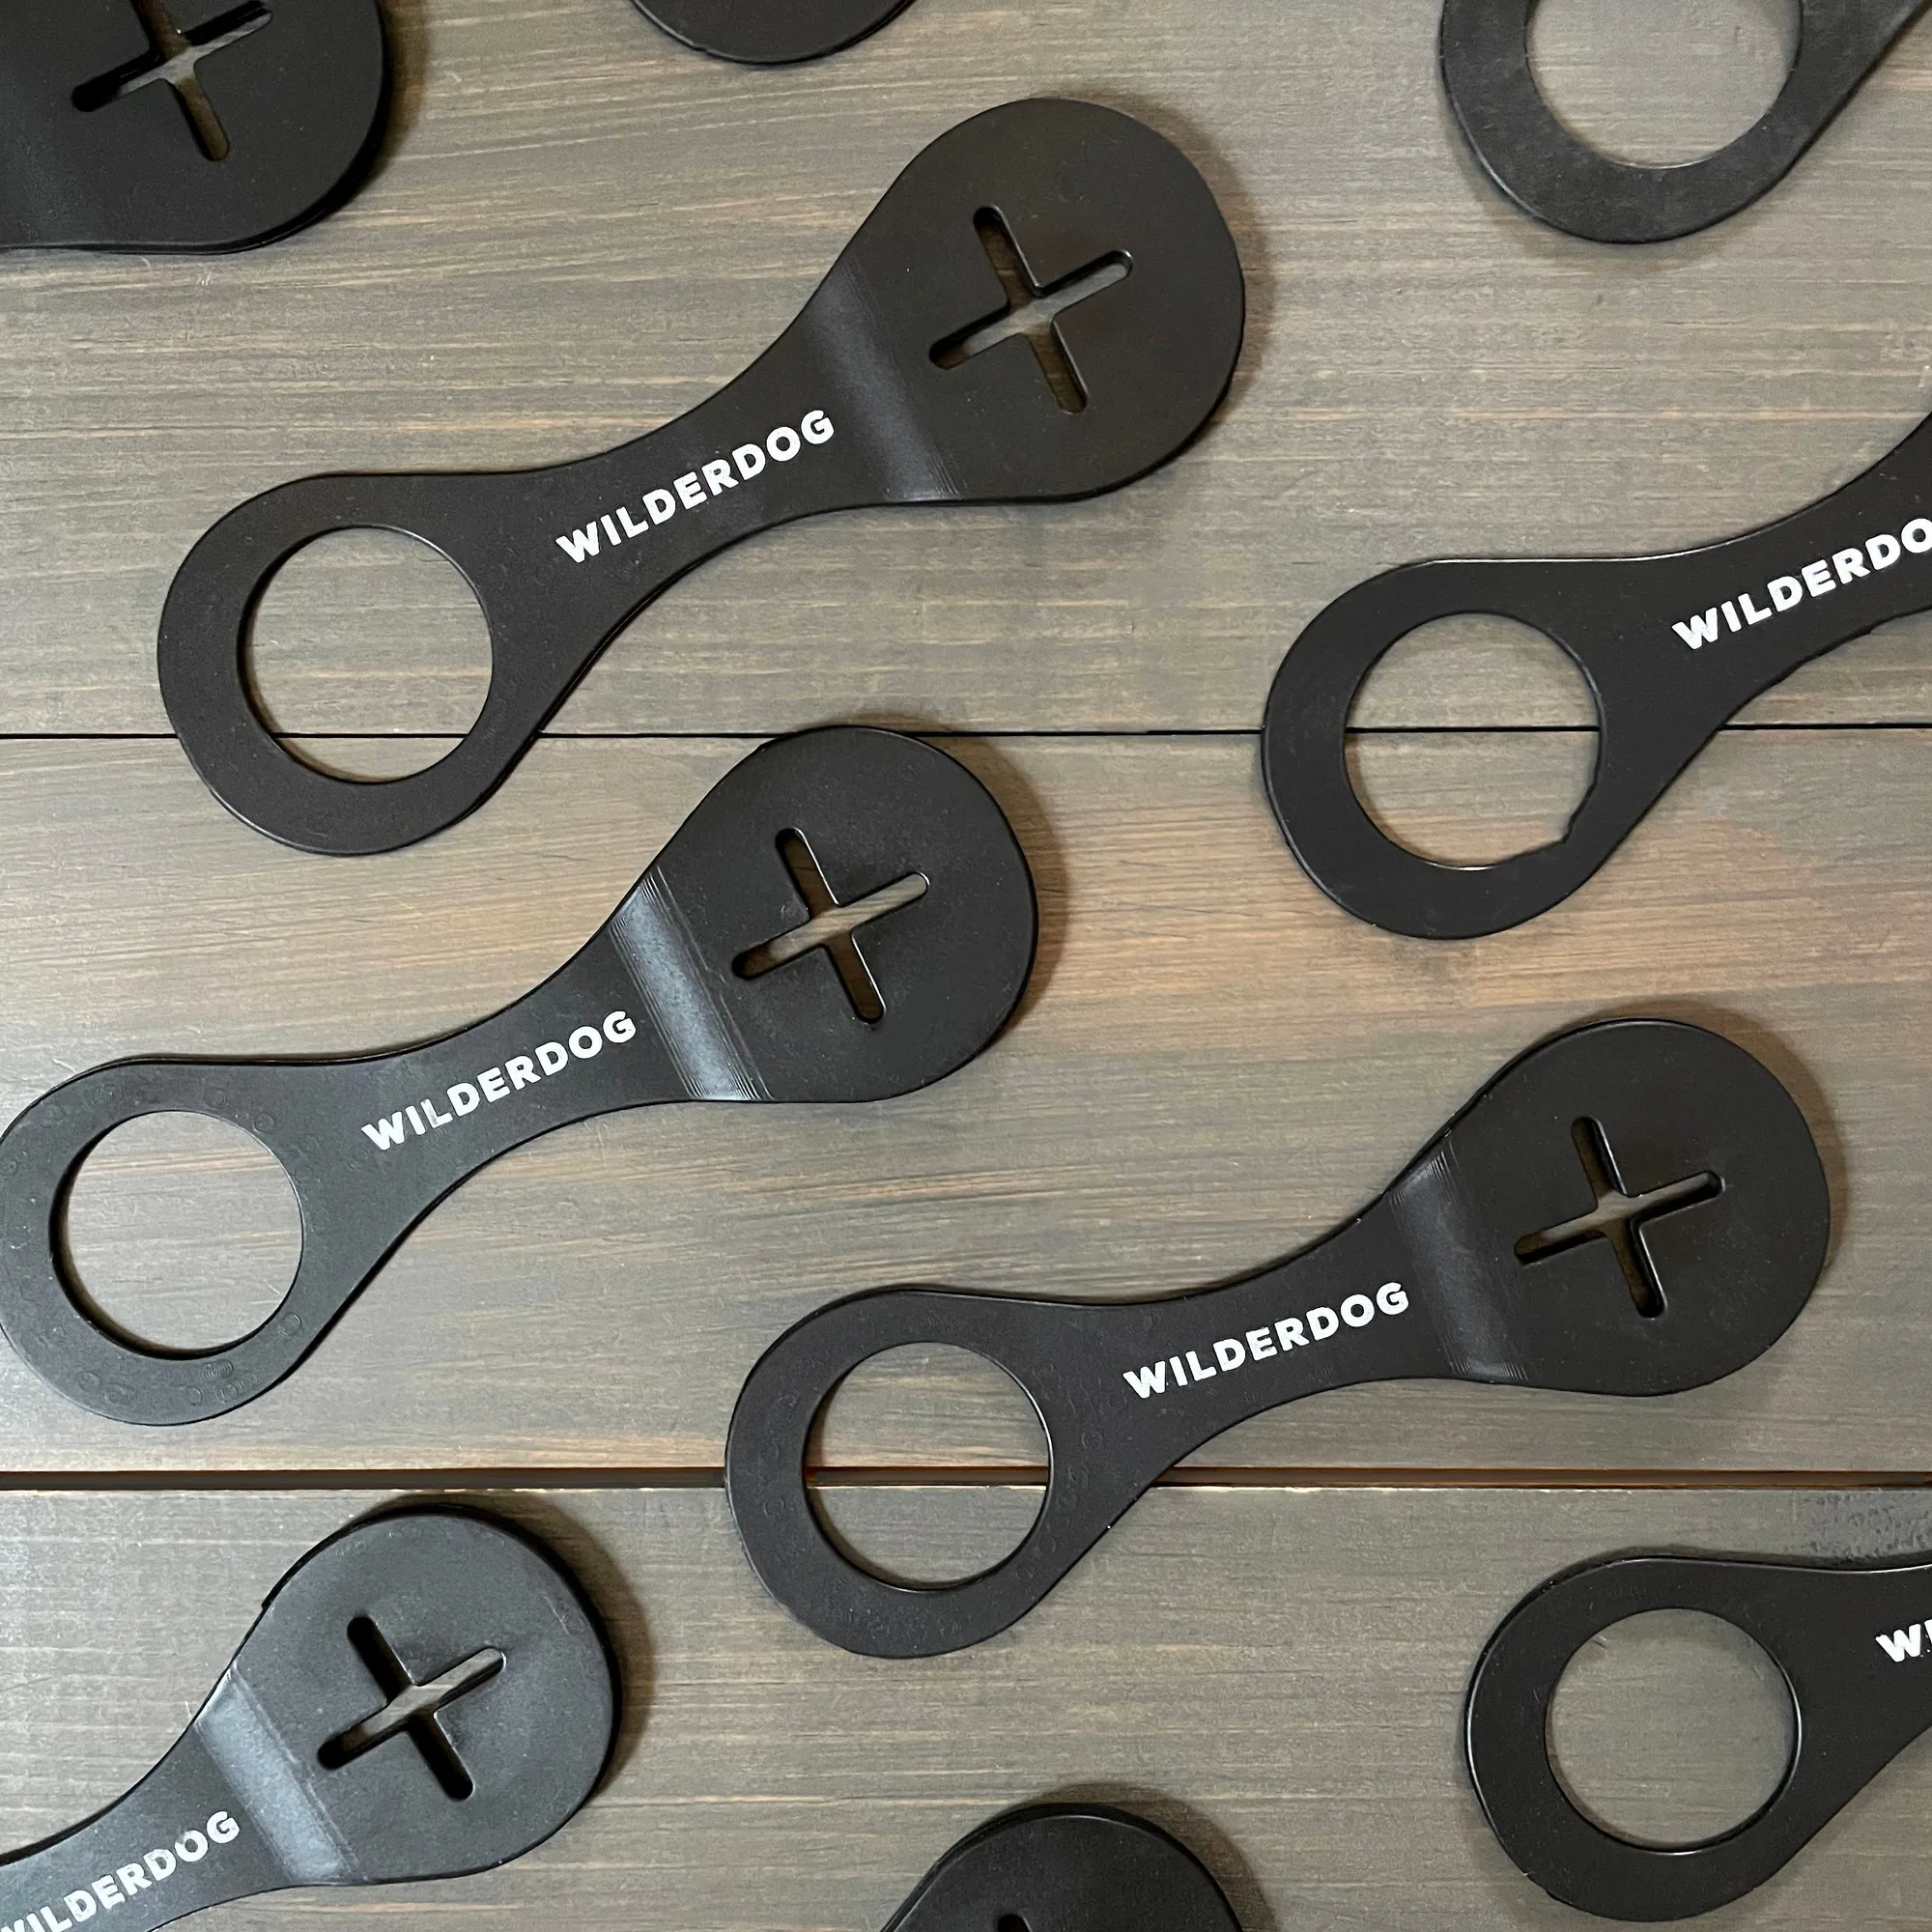
Crap Carrier
- Moab Ultralight Leash: The Moab Ultralight Leash features an iron D-ring at the handle for accessory attachments. This D-ring provides a secure anchor point for clip-on poop bag dispensers, ensuring they stay put without sliding. It's a convenient feature if you prefer a clip-style dispenser.
Attaching a poop bag dispenser to your leash is a simple task that can make a big difference in your daily walks. By following these steps and considering the design of your leash and dispenser, you'll keep bags within reach and avoid mid-walk mishaps. Remember to check your setup regularly to ensure it remains secure, and enjoy hassle-free cleanups on every adventure.