Quick Answer
Set up a classroom loft by first measuring your space and ceiling height, then choosing a loft that fits your room's layout and traffic flow. Prioritize safety by anchoring the loft and using soft flooring underneath. Use the loft for active learning zones like reading nooks or cozy corners, and keep the area below open for flexible activities.
A classroom loft can transform a small or crowded room into a dynamic learning environment. By adding vertical space, you free up floor area for group activities, while giving kids a special elevated spot for reading, playing, or quiet time. But a successful loft setup takes planning—from measuring your space to ensuring safety and functionality.
This guide walks you through the essential steps to set up a classroom loft that maximizes space and fun, whether you're a preschool teacher or a homeschooling parent. We'll cover layout, safety, storage, and how to make the loft a favorite spot for active learning.
Assess Your Space and Ceiling Height
Before purchasing or installing a loft, measure your classroom's floor dimensions and ceiling height. Lofts typically require at least 7-8 feet of ceiling clearance to allow comfortable movement underneath. Also, consider the location of windows, doors, and electrical outlets, as these will affect where the loft can be placed.
Think about traffic flow: the loft should not block main pathways or create blind spots. A common mistake is placing the loft in a high-traffic area, which can lead to congestion and safety hazards. Instead, position it in a corner or along a wall to maximize open floor space.
- Use painter's tape to outline the loft's footprint on the floor to visualize the space it will occupy.
Choose the Right Loft Design
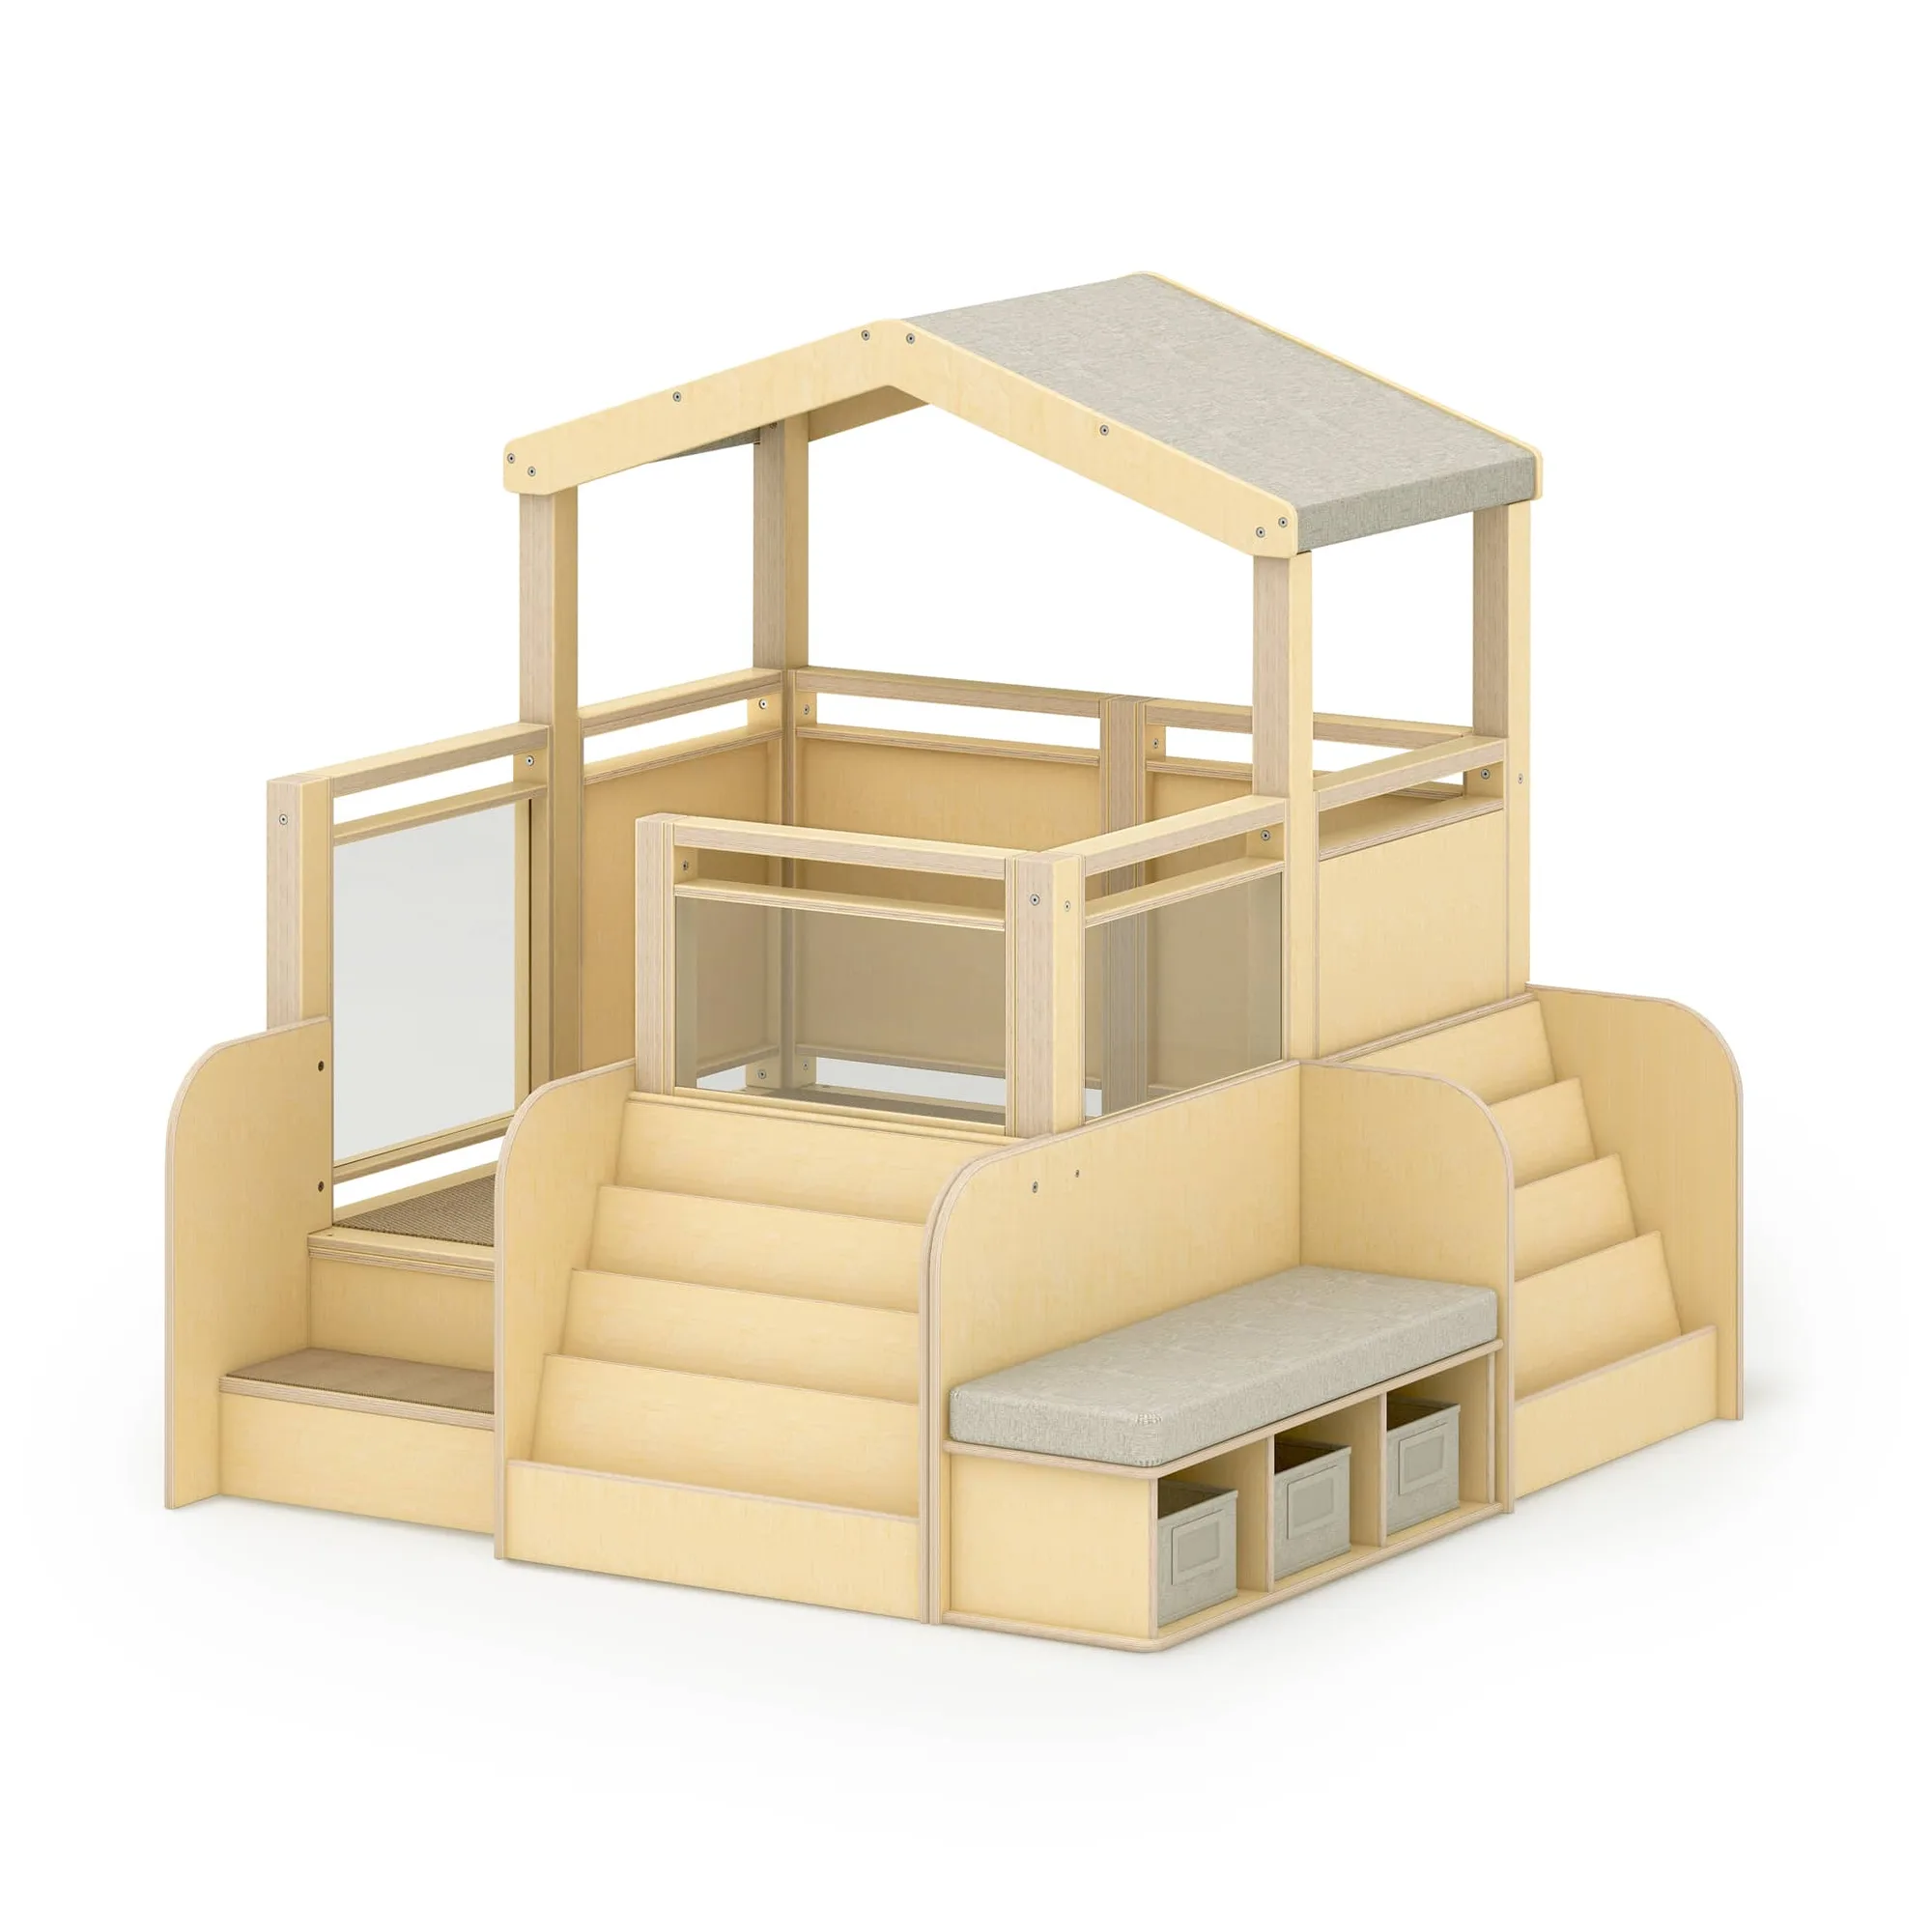
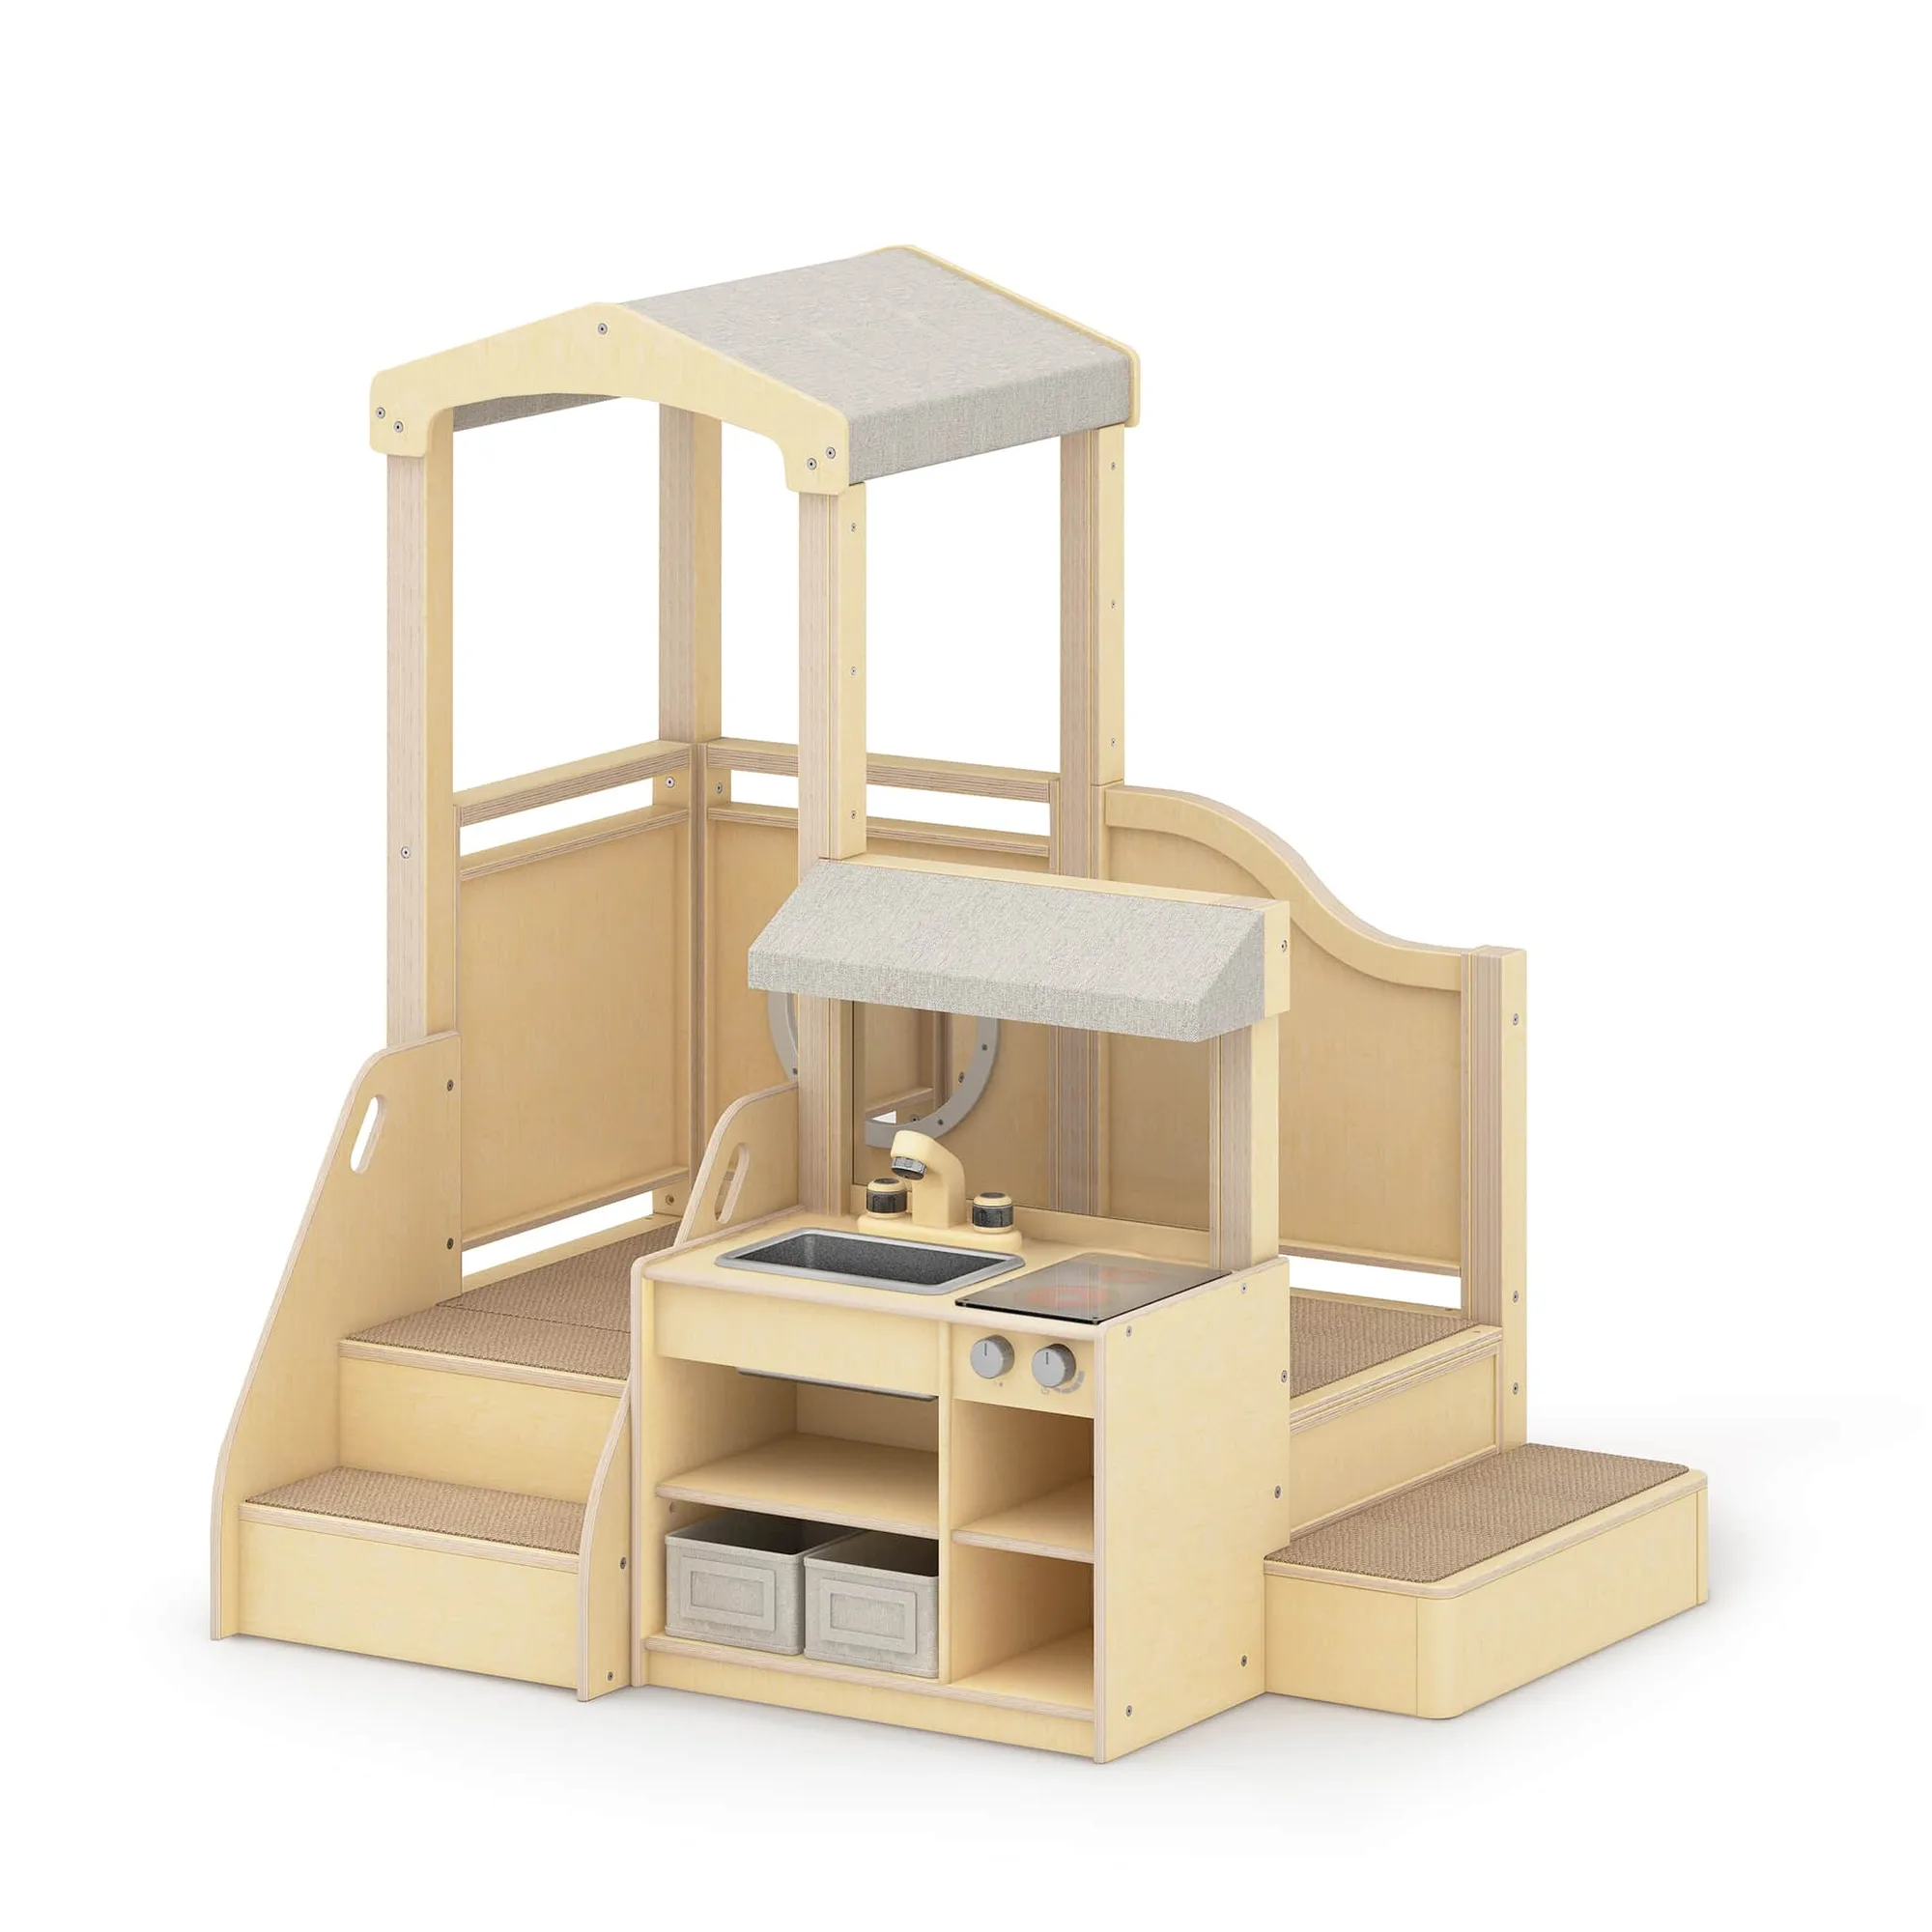
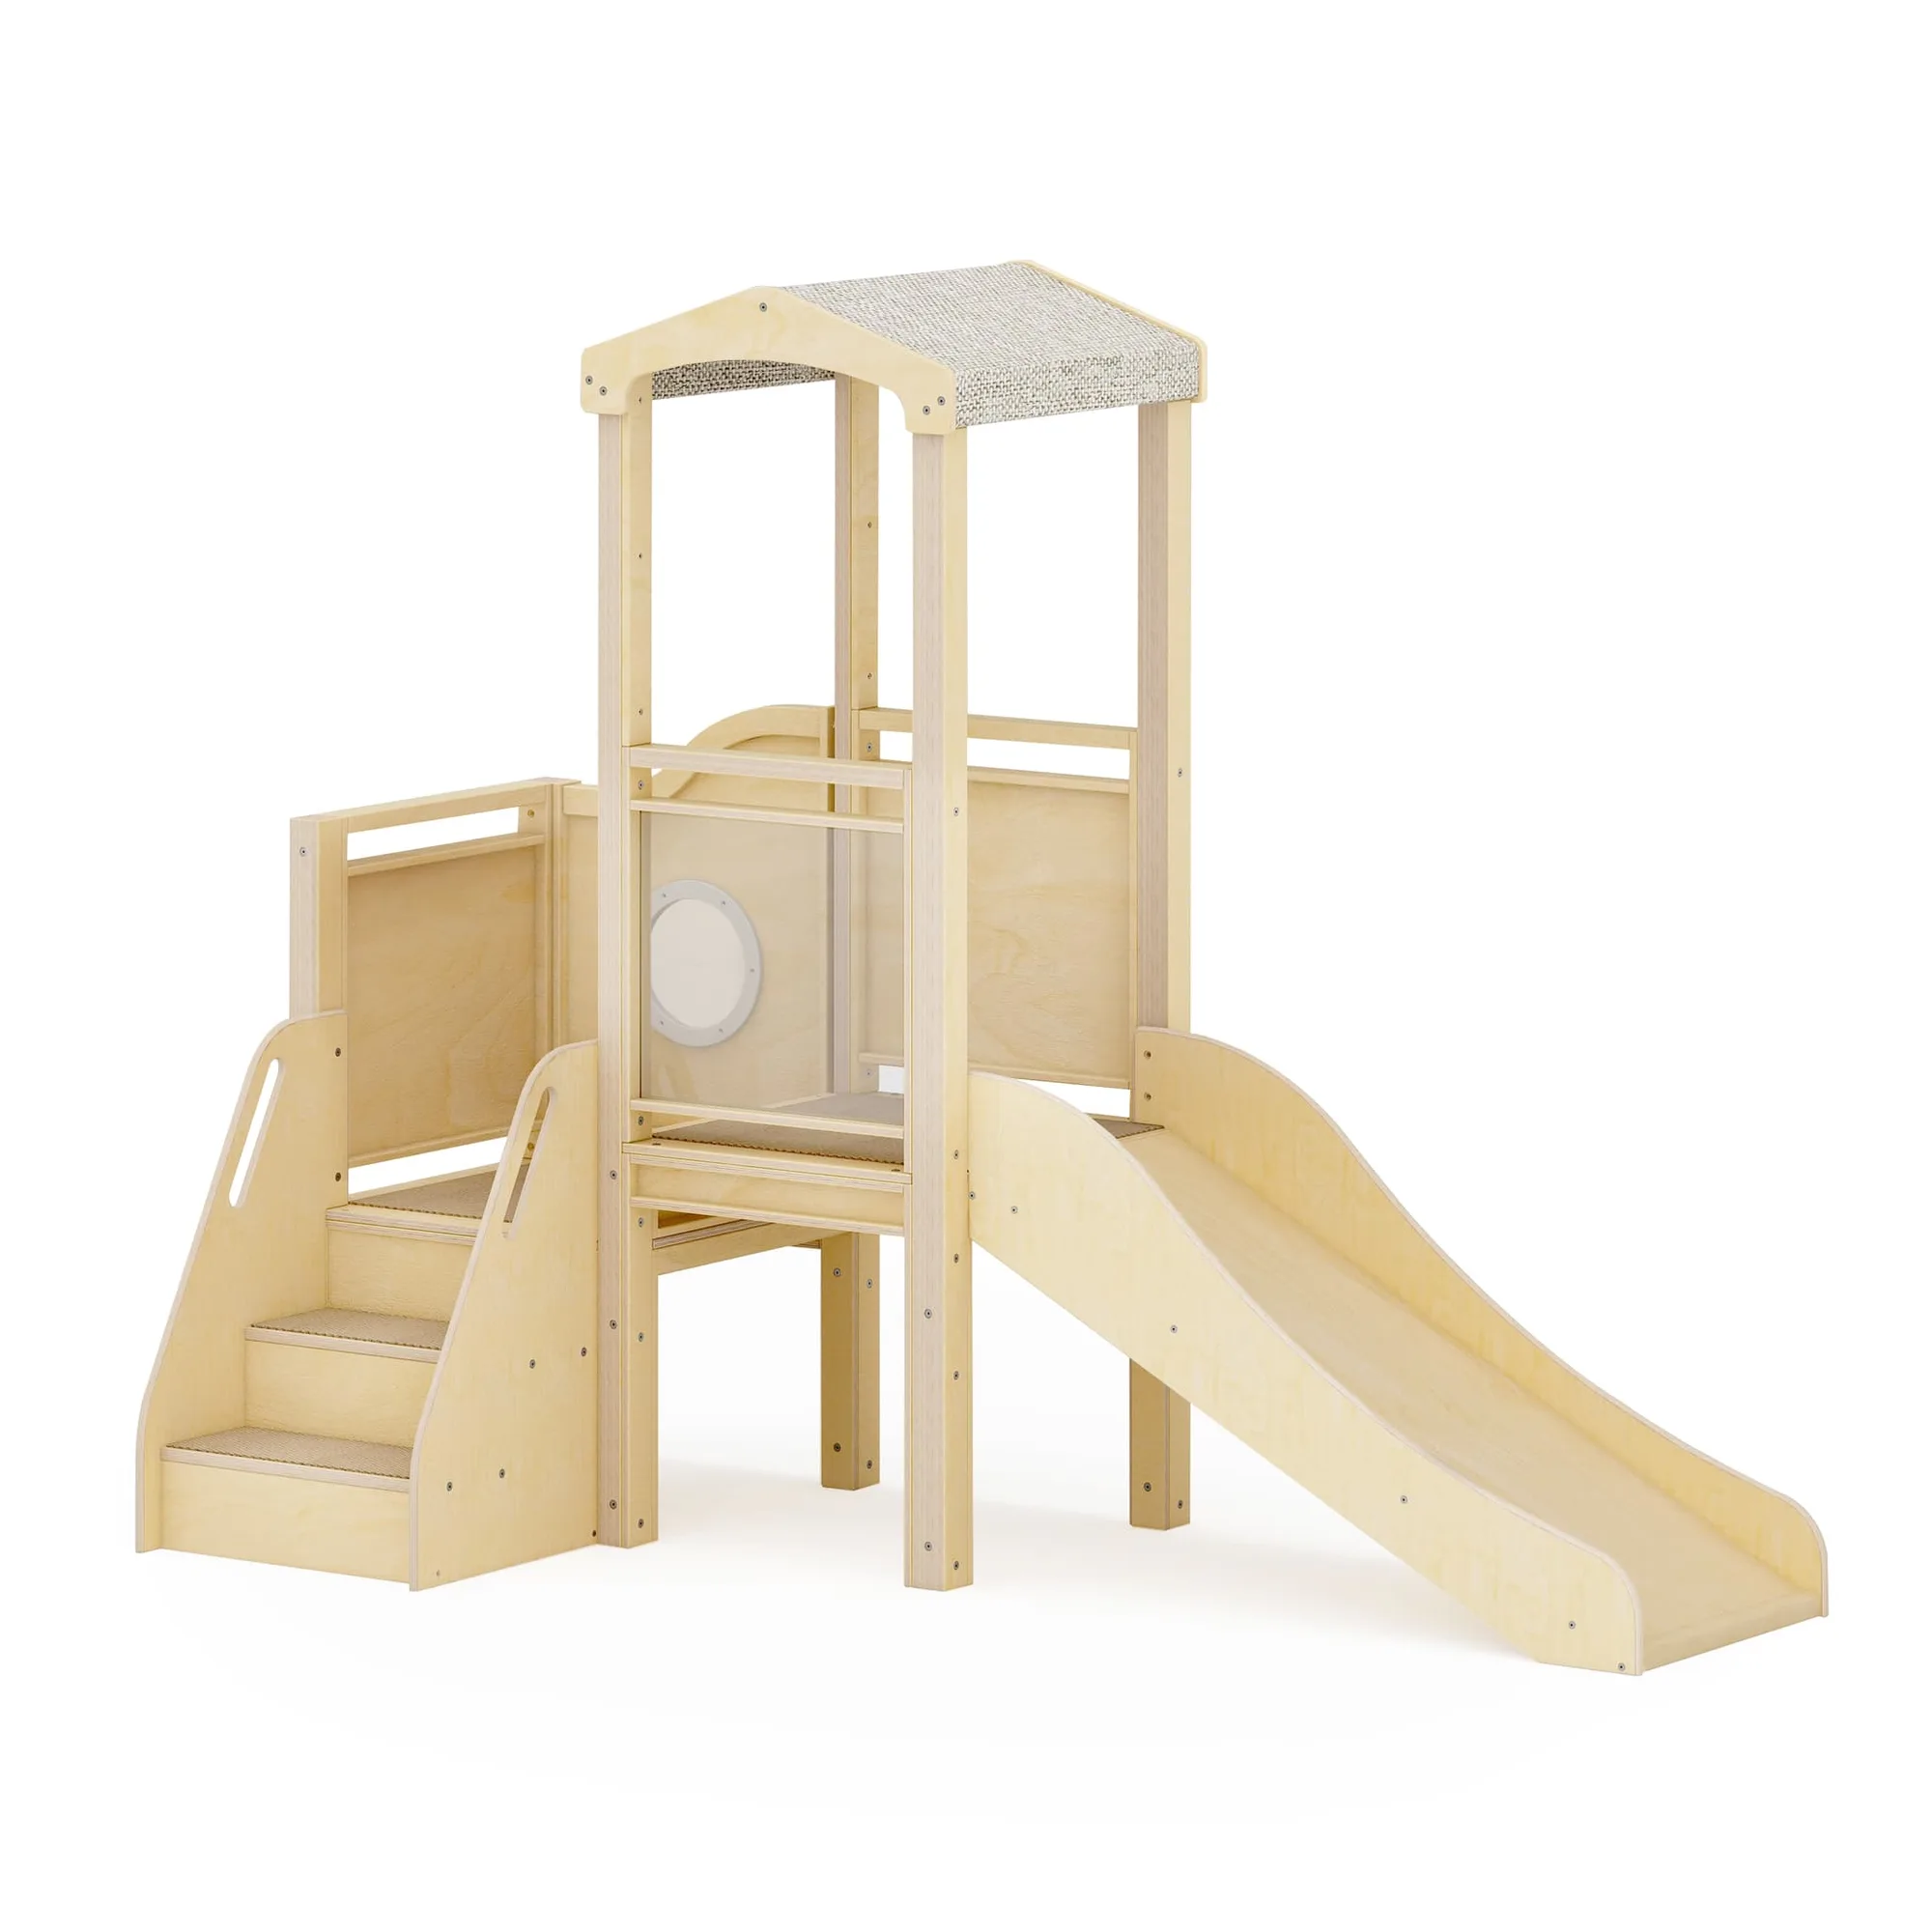
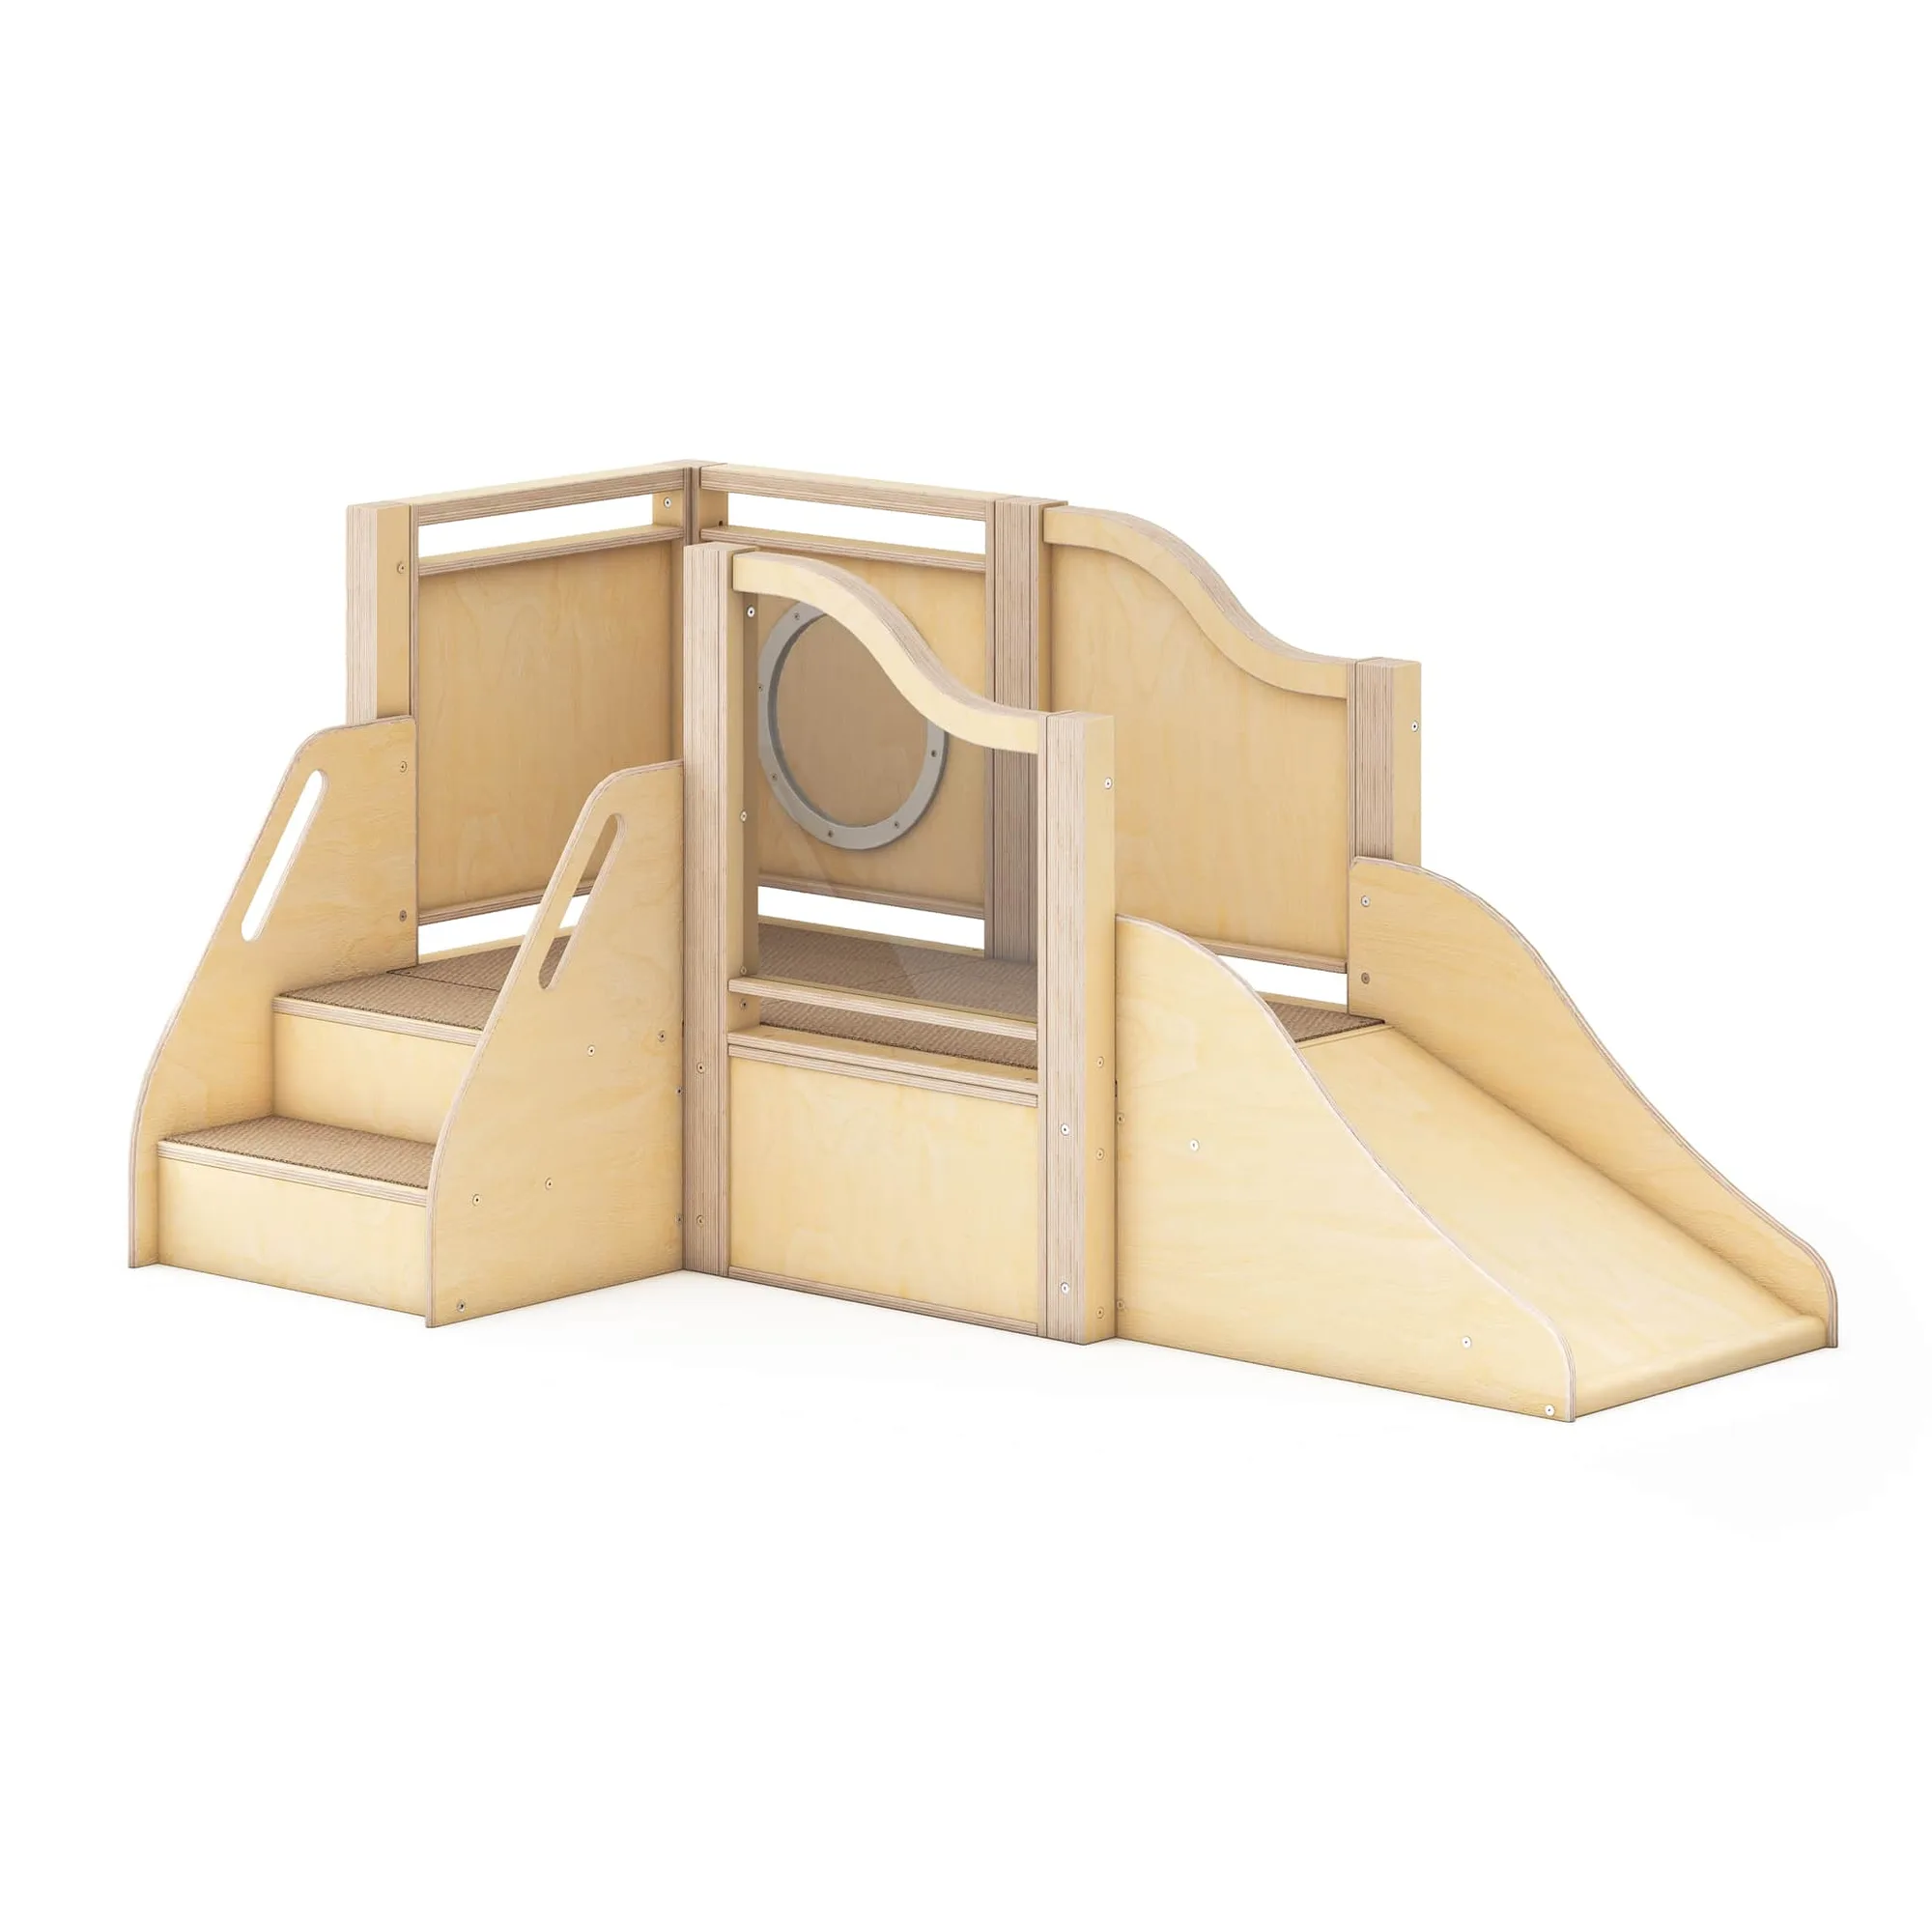
Select a loft design that matches your classroom's needs. Some lofts come with built-in storage, slides, or climbing features, while others are simple elevated platforms. Consider the age of your students: younger children may need lower heights and enclosed sides, while older kids can handle more open designs.
Look for lofts made of sturdy materials like solid wood or birch plywood, which can withstand daily use. If you plan to use the loft for multiple purposes, choose one with a versatile layout that can accommodate different activities. Keep in mind that some lofts require assembly, so factor in installation time and tools.
- Check weight limits and age recommendations before purchasing.
Plan for Safety First
Safety is non-negotiable when it comes to classroom lofts. Ensure the loft is anchored to the wall or floor to prevent tipping. Use guardrails on all open sides, and make sure the ladder or stairs have non-slip steps. Place soft mats or carpet underneath the loft to cushion falls.
Regularly inspect the loft for loose screws, splinters, or damage. Teach children how to use the loft safely: one at a time on the ladder, no pushing, and no jumping from the loft. Establish clear rules and supervise play, especially for younger children.
- Create a visual safety poster near the loft with simple rules and pictures.
Maximize Storage and Functionality
Use the space under the loft for storage or additional activity zones. Install shelves, cubbies, or bins to keep toys and supplies organized. This not only saves space but also encourages children to tidy up after themselves. Consider adding a small table and chairs for a cozy reading corner or art station.
Incorporate storage solutions that are accessible to children, such as low shelves or clear bins. This promotes independence and makes cleanup easier. For example, the EdQ 2-Section Locker with Bench provides a place to store personal items and sit, making it a versatile addition near the loft.
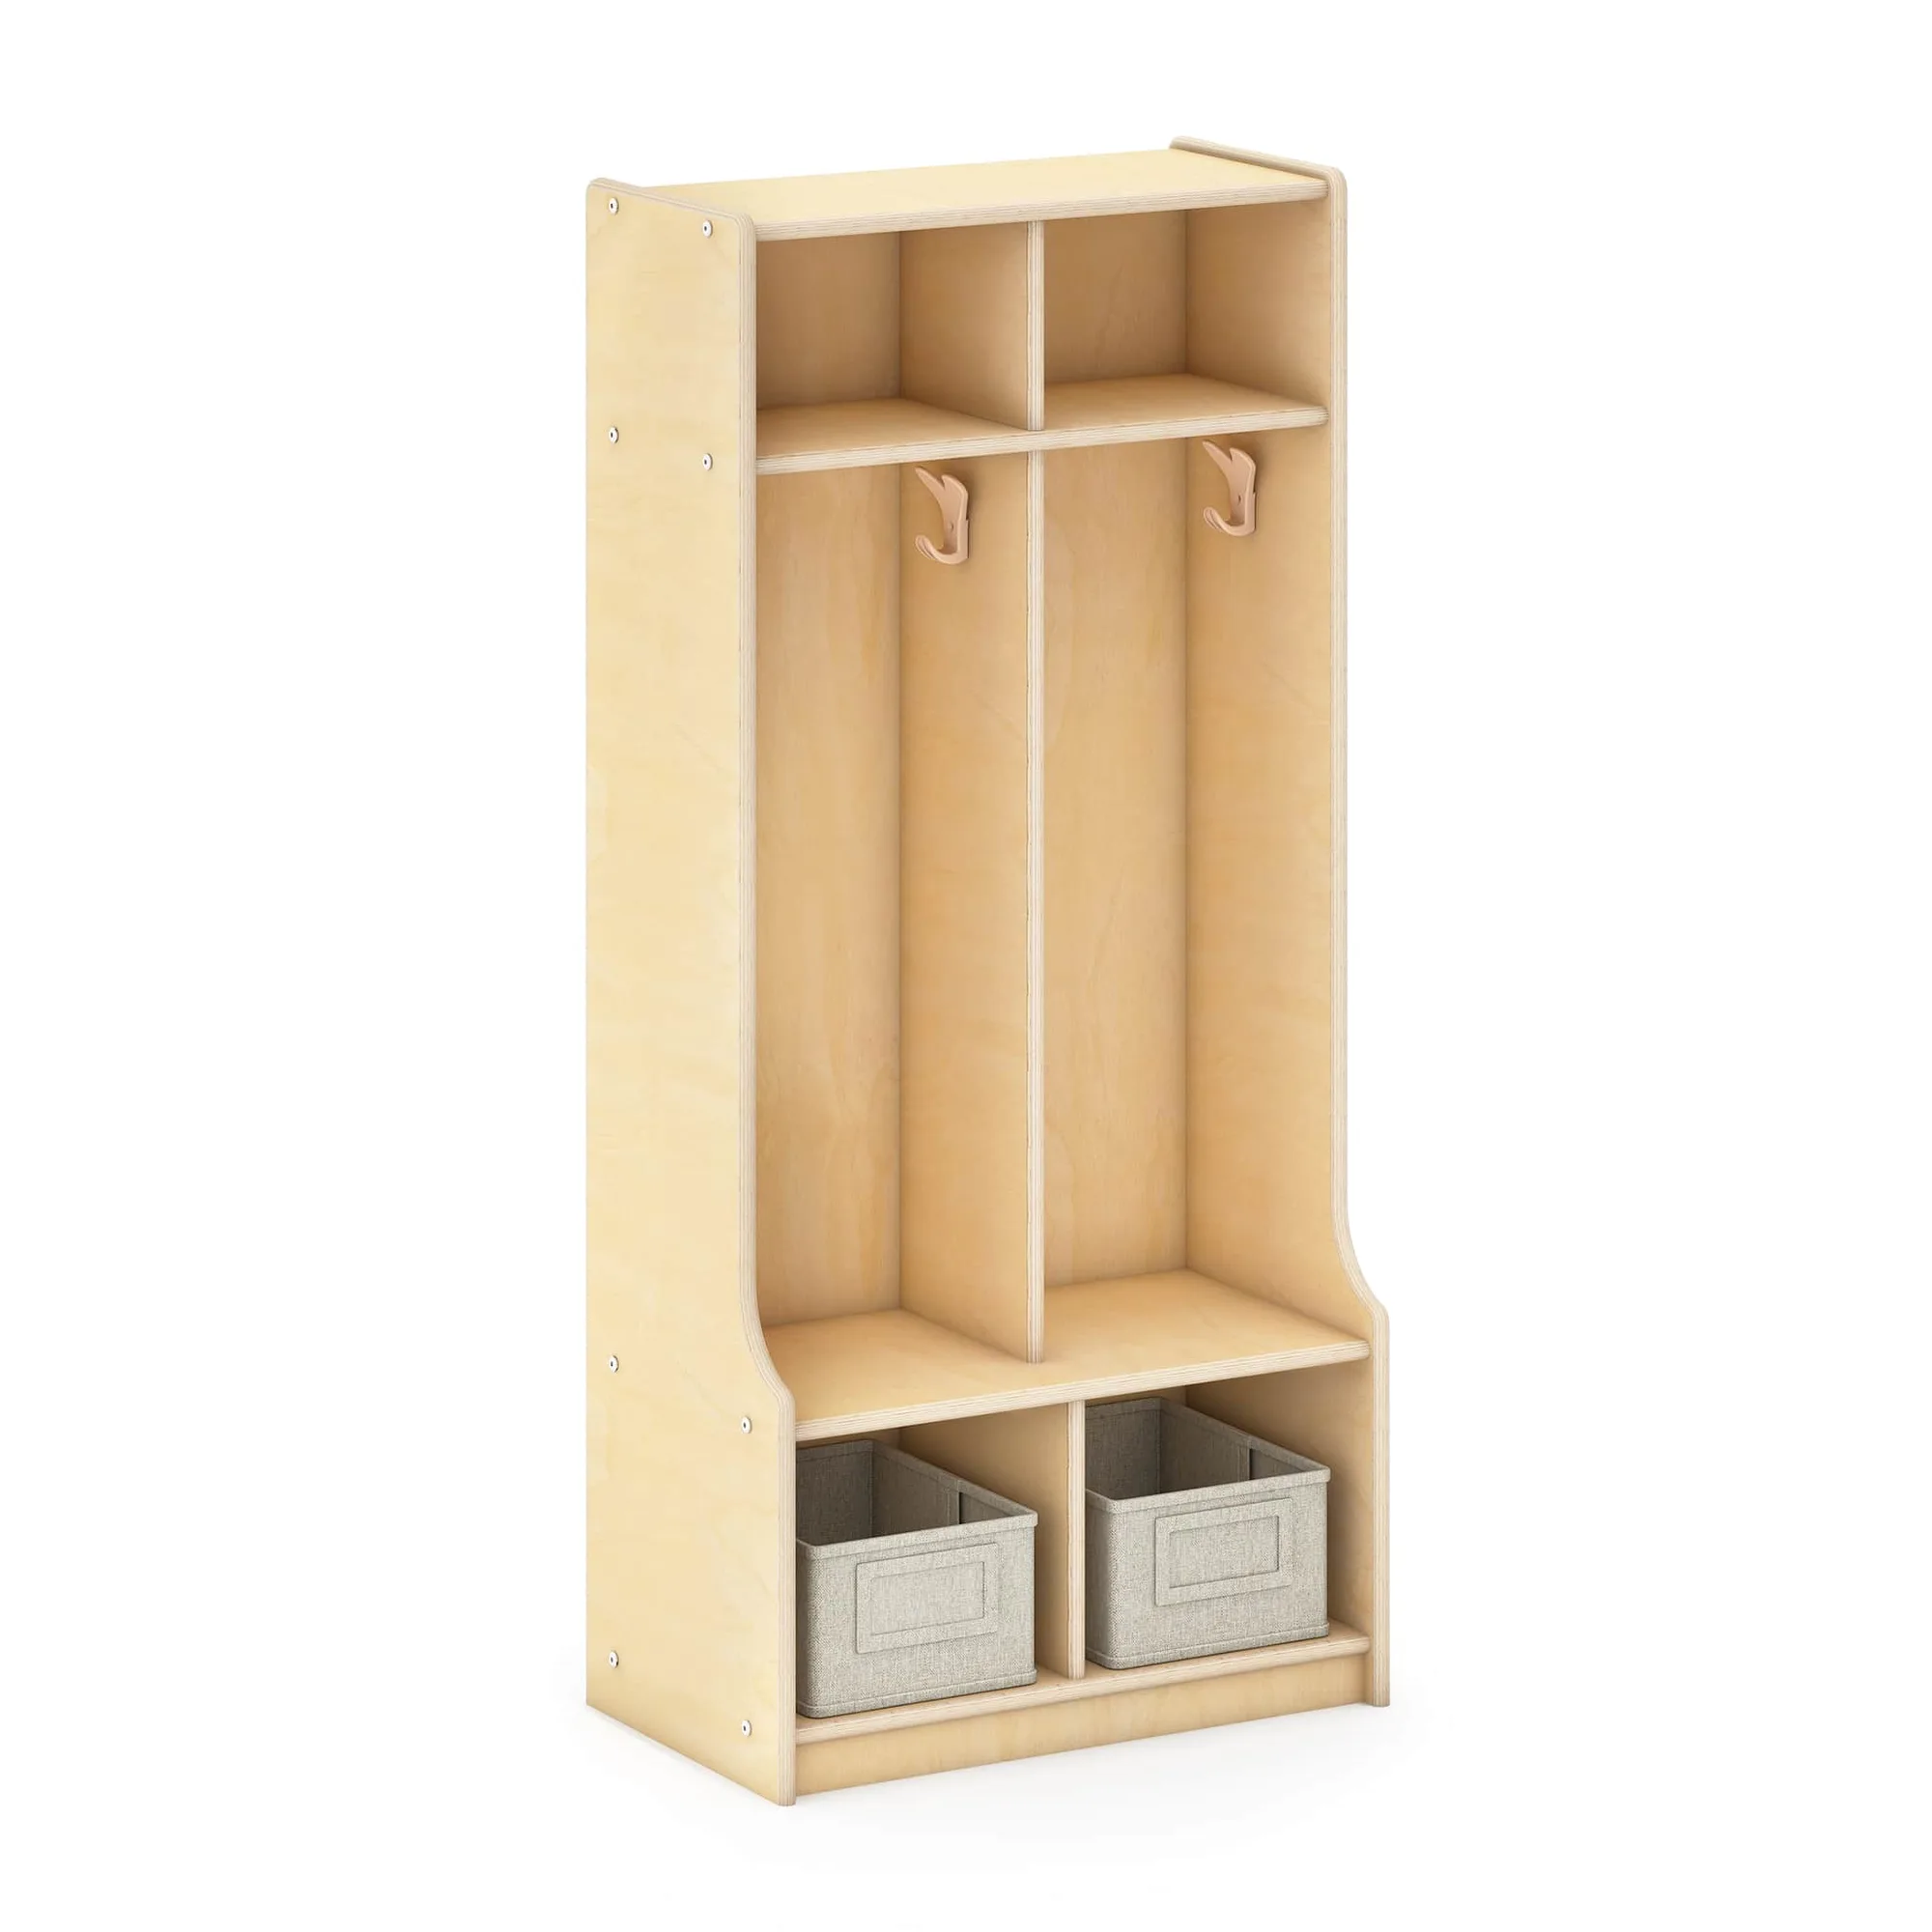
EdQ 2-Section Locker with Bench
- Use labeled bins to help children identify where items belong.
Create Engaging Activity Zones
A loft can serve as a dedicated space for active learning. Use the upper level for quiet activities like reading or puzzles, and the lower level for more energetic play like building blocks or dramatic play. This separation helps manage noise and activity levels in the classroom.
Add comfortable seating, pillows, or soft mats to make the loft inviting. For outdoor or nature-themed classrooms, consider incorporating natural elements like wooden furniture or plush toys that stimulate sensory exploration. The goal is to create a space that children are excited to use.
- Rotate activities in the loft regularly to keep it fresh and engaging.
Step-by-Step Loft Setup Checklist
- Measure and Plan: Measure your room's dimensions and ceiling height. Sketch a layout that includes the loft, existing furniture, and traffic paths. Checkpoint: Ensure there's at least 3 feet of clearance around the loft for safe movement.
- Select and Install: Choose a loft that fits your space and meets safety standards. Follow the manufacturer's instructions for assembly, and anchor it securely. Checkpoint: Double-check that all bolts are tightened and the loft is stable before use.
- Add Safety Features: Install guardrails, non-slip steps, and soft flooring underneath. Create and post safety rules. Checkpoint: Test the loft's stability by gently shaking it; it should not wobble.
- Organize Under-Loft Storage: Add shelves, bins, or a locker to store toys and supplies. Keep frequently used items within children's reach. Checkpoint: Ensure storage doesn't block the loft's entrance or create clutter.
- Design Activity Zones: Set up the upper level for quiet activities and the lower level for active play. Add comfortable seating and engaging materials. Checkpoint: Observe children's use and adjust zones based on their interests and needs.
Products to Enhance Your Loft Area
- EdQ 2-Section Locker with Bench: Guidecraft's EdQ Collection offers a full range of versatile furniture to satisfy all of the unique needs of early childhood classrooms, homeschools and kids' play areas. Complete your learning environment with an EdQ 2-Section Locker with Bench. Available in white or natural finishes to coordinate with any space, these easy-to-clean premium birch plywood lockers are the perfect way to organize your room or to provide personal storage. Place the locker near the loft to give children a dedicated spot for their belongings, keeping the loft area clutter-free and organized.
- EdQ Classroom Rectangle Table - 30" x 36": The EdQ Classroom Tables are thoughtfully designed for everyday learning, creativity, and play. Its smooth, easy-to-clean laminate surface resists scratches, spills, and messes, while the lightweight design makes it easy to move and rearrange. Ideal for group work or snack time, this durable activity table creates a warm, inviting workspace wherever it’s placed. Use this compact table under the loft to create a cozy workspace for small groups, maximizing the use of vertical space.
Setting up a classroom loft is a rewarding project that can significantly enhance your learning space. By following these steps, you'll create a safe, functional, and fun area that children will love. Remember to prioritize safety, plan for storage, and design zones that support both active and quiet learning. With careful setup, your loft will become a favorite spot in the classroom.