Quick Answer
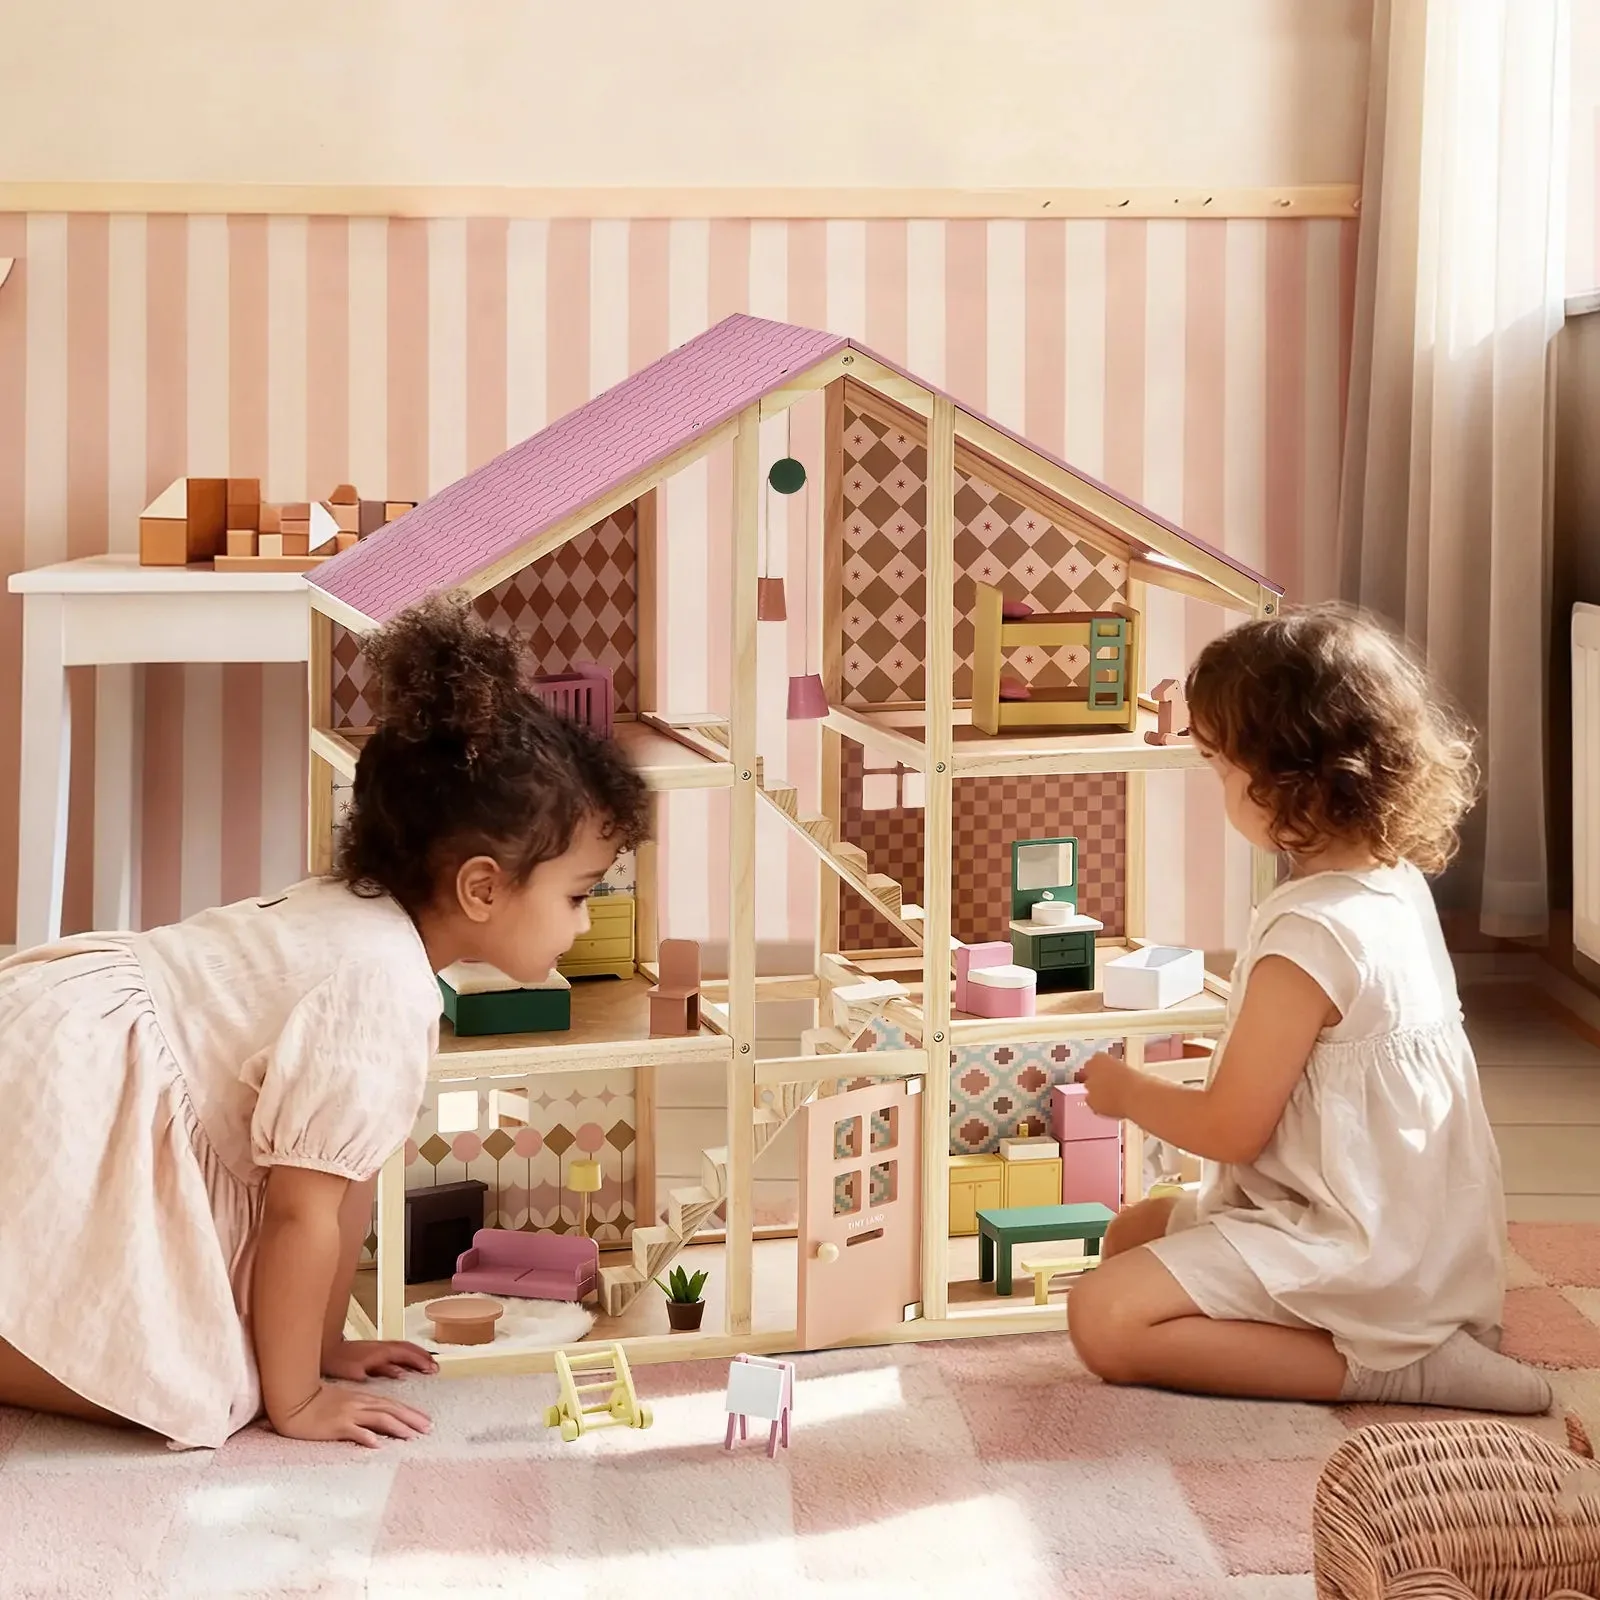
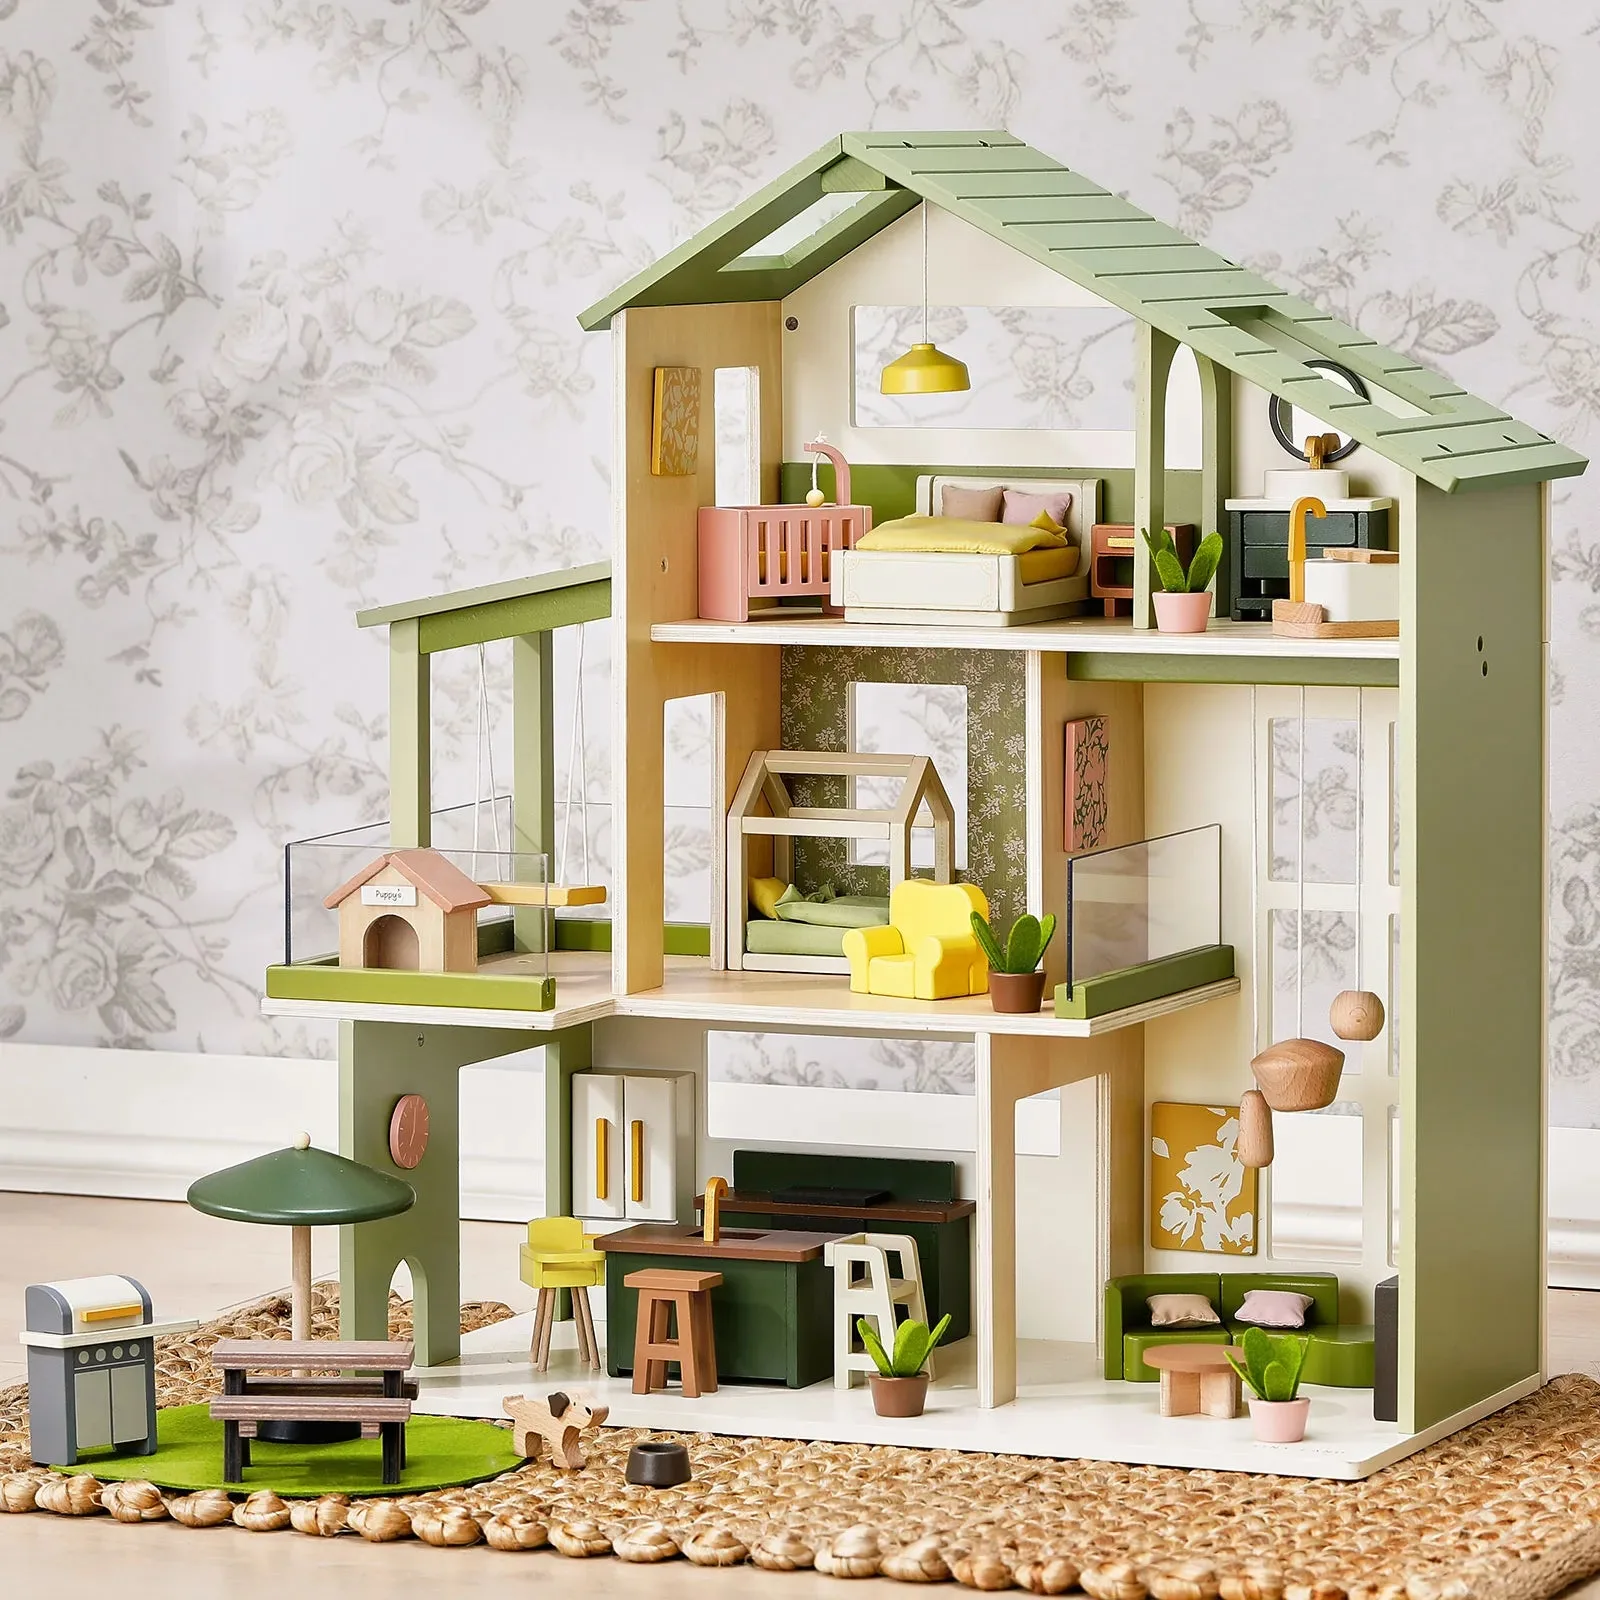
Start by choosing a theme for each room, then arrange furniture to create clear pathways and sightlines. Keep small pieces accessible to your child and rotate accessories to keep play fresh. A well-organized dollhouse encourages storytelling and independent play.
Why Dollhouse Setup Matters
The way you arrange a dollhouse can turn a simple toy into a stage for rich stories. When rooms are cluttered or furniture is pushed against walls, children may feel overwhelmed or unsure where to start. A thoughtful layout gives them a clear starting point and invites them to invent their own scenes.
Think of the dollhouse as a miniature home. Each room should feel distinct and functional, with furniture placed so dolls can 'move' naturally. Leaving open floor space lets kids rearrange and experiment, which is part of the fun.
Choosing a Theme for Each Room
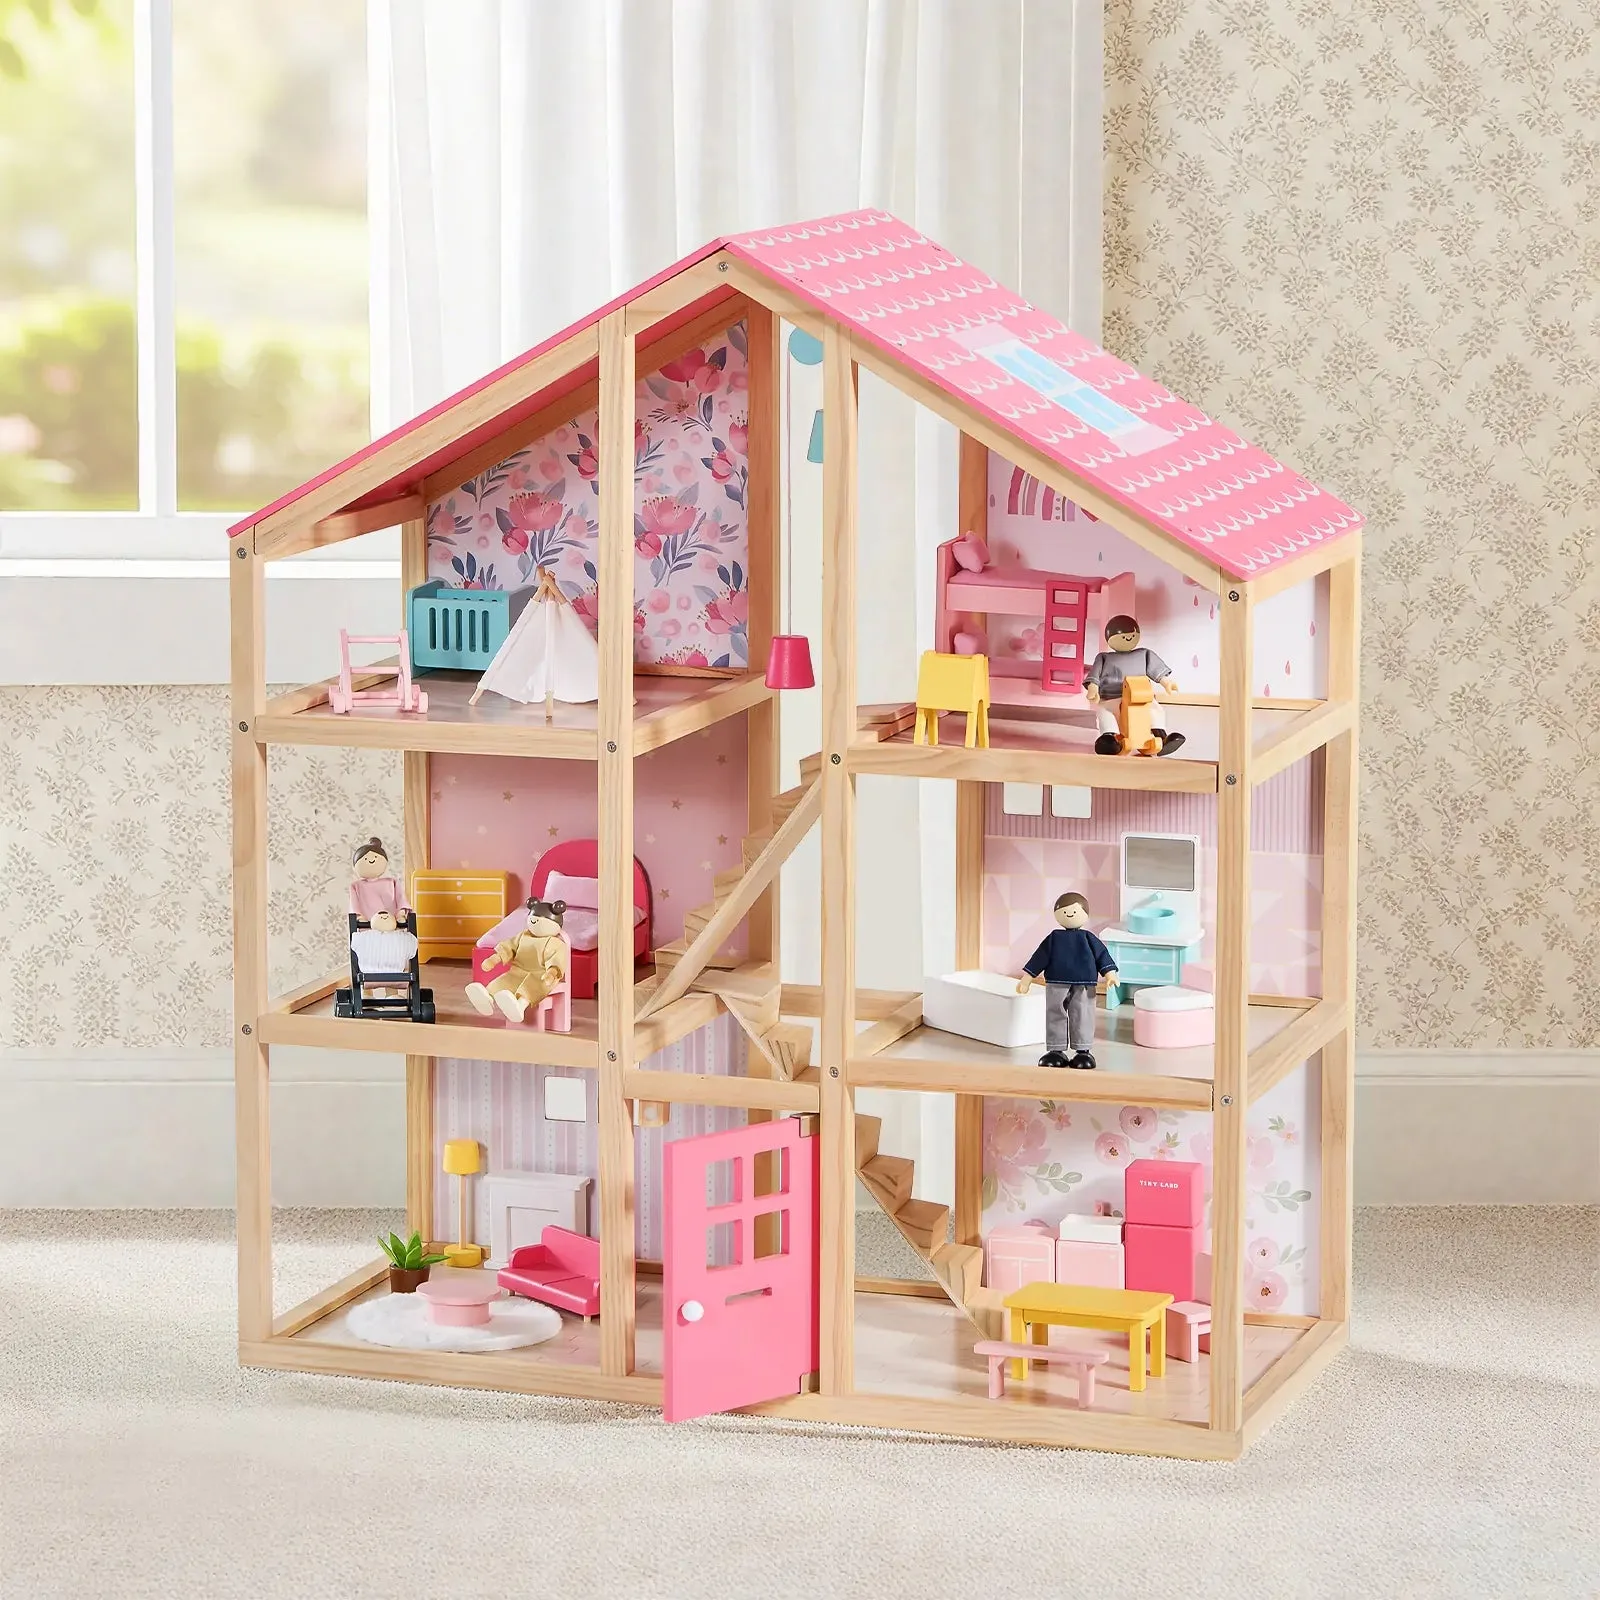
Assign a purpose to every room before you start placing furniture. A kitchen, bedroom, living room, and bathroom are classic choices. You can also create a playroom, garden, or even a tiny home office. Having a clear theme for each space helps your child understand what belongs where and sparks specific story ideas.
Don't worry about matching real-life layouts. Let your child's interests guide the themes. If they love cooking, make the kitchen the biggest room. If they enjoy bedtime stories, add extra pillows to the bedroom.
Step-by-Step Dollhouse Setup
- Clear Out the Dollhouse: Remove all furniture and accessories. Wipe down surfaces and check for any loose parts. This gives you a blank canvas and ensures nothing is broken before you begin. Checkpoint: All pieces are present and clean.
- Assign Rooms and Zones: Decide which room will be the kitchen, bedroom, living room, etc. Consider the size of each room and what furniture you have. For example, a large room works well for a living room with a sofa and bookshelf. Checkpoint: Every room has a clear purpose.
- Place Large Furniture First: Start with big pieces like beds, sofas, and tables. Position them against walls or in corners to create open floor space. Make sure doors and stairways are not blocked. Checkpoint: Dolls can move freely between rooms.
- Add Small Accessories and Decor: Fill in with smaller items like lamps, rugs, and play food. Group similar items together, such as placing a fruit bowl on the kitchen counter. Avoid overcrowding—leave some empty space for imaginative play. Checkpoint: Each room feels inviting, not cluttered.
- Create a Story Scene: Set up a simple scene to get your child started, like a family having breakfast in the kitchen or a doll reading in the bedroom. This gives them a prompt and sparks their own ideas. Checkpoint: The scene invites interaction.
- Rotate and Refresh: Every few weeks, swap accessories or change the room themes. This keeps the dollhouse exciting and encourages new storylines. Let your child help decide what changes to make. Checkpoint: Play stays fresh and engaging.
Tiny Land Products to Enhance the Play
- Tiny Land® Caramel Magnitales Easel & Paper Roll Set: Two-sided magnetic design with a magnetic whiteboard and a magnetic chalkboard. If your dollhouse setup includes a craft or study room, this easel gives kids a place to draw signs, letters, or tiny artworks for the dolls, adding a creative layer to play.
- Tiny Land® Organic Fruit & Veggie Pack: Includes 7 nutritious-inspired toys such as avocado, lemon, peas, asparagus, and carrots. Place these felt and wood play foods in the dollhouse kitchen to encourage healthy eating themes and realistic cooking scenes during pretend play.