Quick Answer
Set up your Maxfield tent by choosing a flat, clear site, laying out the footprint, assembling the poles, and tensioning the fly for stability. Follow the steps below to get it right the first time.
Why Setup Order Matters
The order in which you assemble the Maxfield tent affects how easy it is to pitch and how well it holds up in wind. Starting with a clean, level site prevents stress on the poles and fabric, and orienting the tent correctly improves ventilation and weather resistance.
Because the Maxfield is an ultra lightweight structure, it relies on proper tension and staking to reach its full stability. Skipping steps or rushing can leave the tent loose and more vulnerable to gusts or rain pooling.
What to Know Before You Start
The Maxfield tent packs down small, but you still need to unpack and organize all parts before pitching. Check that you have the tent body, fly, poles, stakes, and guylines. If anything is missing, contact support before heading out.
Practice setting up at home once before your first trip. This helps you learn the pole color coding and clip positions without the pressure of fading daylight or bad weather.
Step-by-Step Maxfield Tent Setup
- Choose and Prepare the Campsite: Find a flat, level spot clear of rocks, sticks, and pinecones. Lay out the footprint or groundsheet to protect the tent floor. Check for a slight slope that could channel water under the tent in rain.
- Lay Out the Tent Body: Spread the tent body over the footprint, with the door facing the direction you prefer (away from prevailing wind is often best). Smooth out wrinkles. Orient the door downwind to reduce wind-driven rain entering when you open it.
- Assemble and Insert the Poles: Connect the pole sections, then feed each pole through its sleeve or clip it to the corresponding color-coded clips. Do not force poles—if they resist, check for twists. Match pole colors to the same-colored clips or sleeves to avoid misalignment.
- Raise the Tent Frame: Starting at one corner, insert the pole ends into the grommets or pins, then work around to the opposite corner, arching the poles evenly. The tent should pop up with balanced tension. Raise opposite corners alternately to keep tension even and avoid stressing one pole.
- Stake Down the Tent: Stake the corners and any loops at a 45-degree angle away from the tent. Pull the fabric taut before securing each stake to eliminate sag. Use all stake points, even in calm weather, to prevent the tent from shifting or collapsing in sudden gusts.
- Attach the Rainfly: Drape the fly over the frame, aligning the door openings. Clip or hook the fly to the poles and secure the fly's corner points. Adjust the tension so the fly is smooth and doesn't sag onto the mesh. Ensure the fly is taut enough that water won't pool on top, but not so tight it strains the seams.
- Set Up Guylines and Final Adjustments: Attach guylines to the loops on the fly and stake them out at a 45-degree angle. Walk around the tent, checking that all clips are secure, zippers close smoothly, and the fly is properly centered. Tighten guylines more if wind is forecast, and double-check that the fly doesn't block vents or doors.
About the Maxfield Tent
-
Maxfield™ Tent: The Maxfield Tent Series offers an ultra lightweight structure without compromises. This means careful setup is key to maintaining its strength-to-weight advantage—proper tension and staking prevent damage in wind.
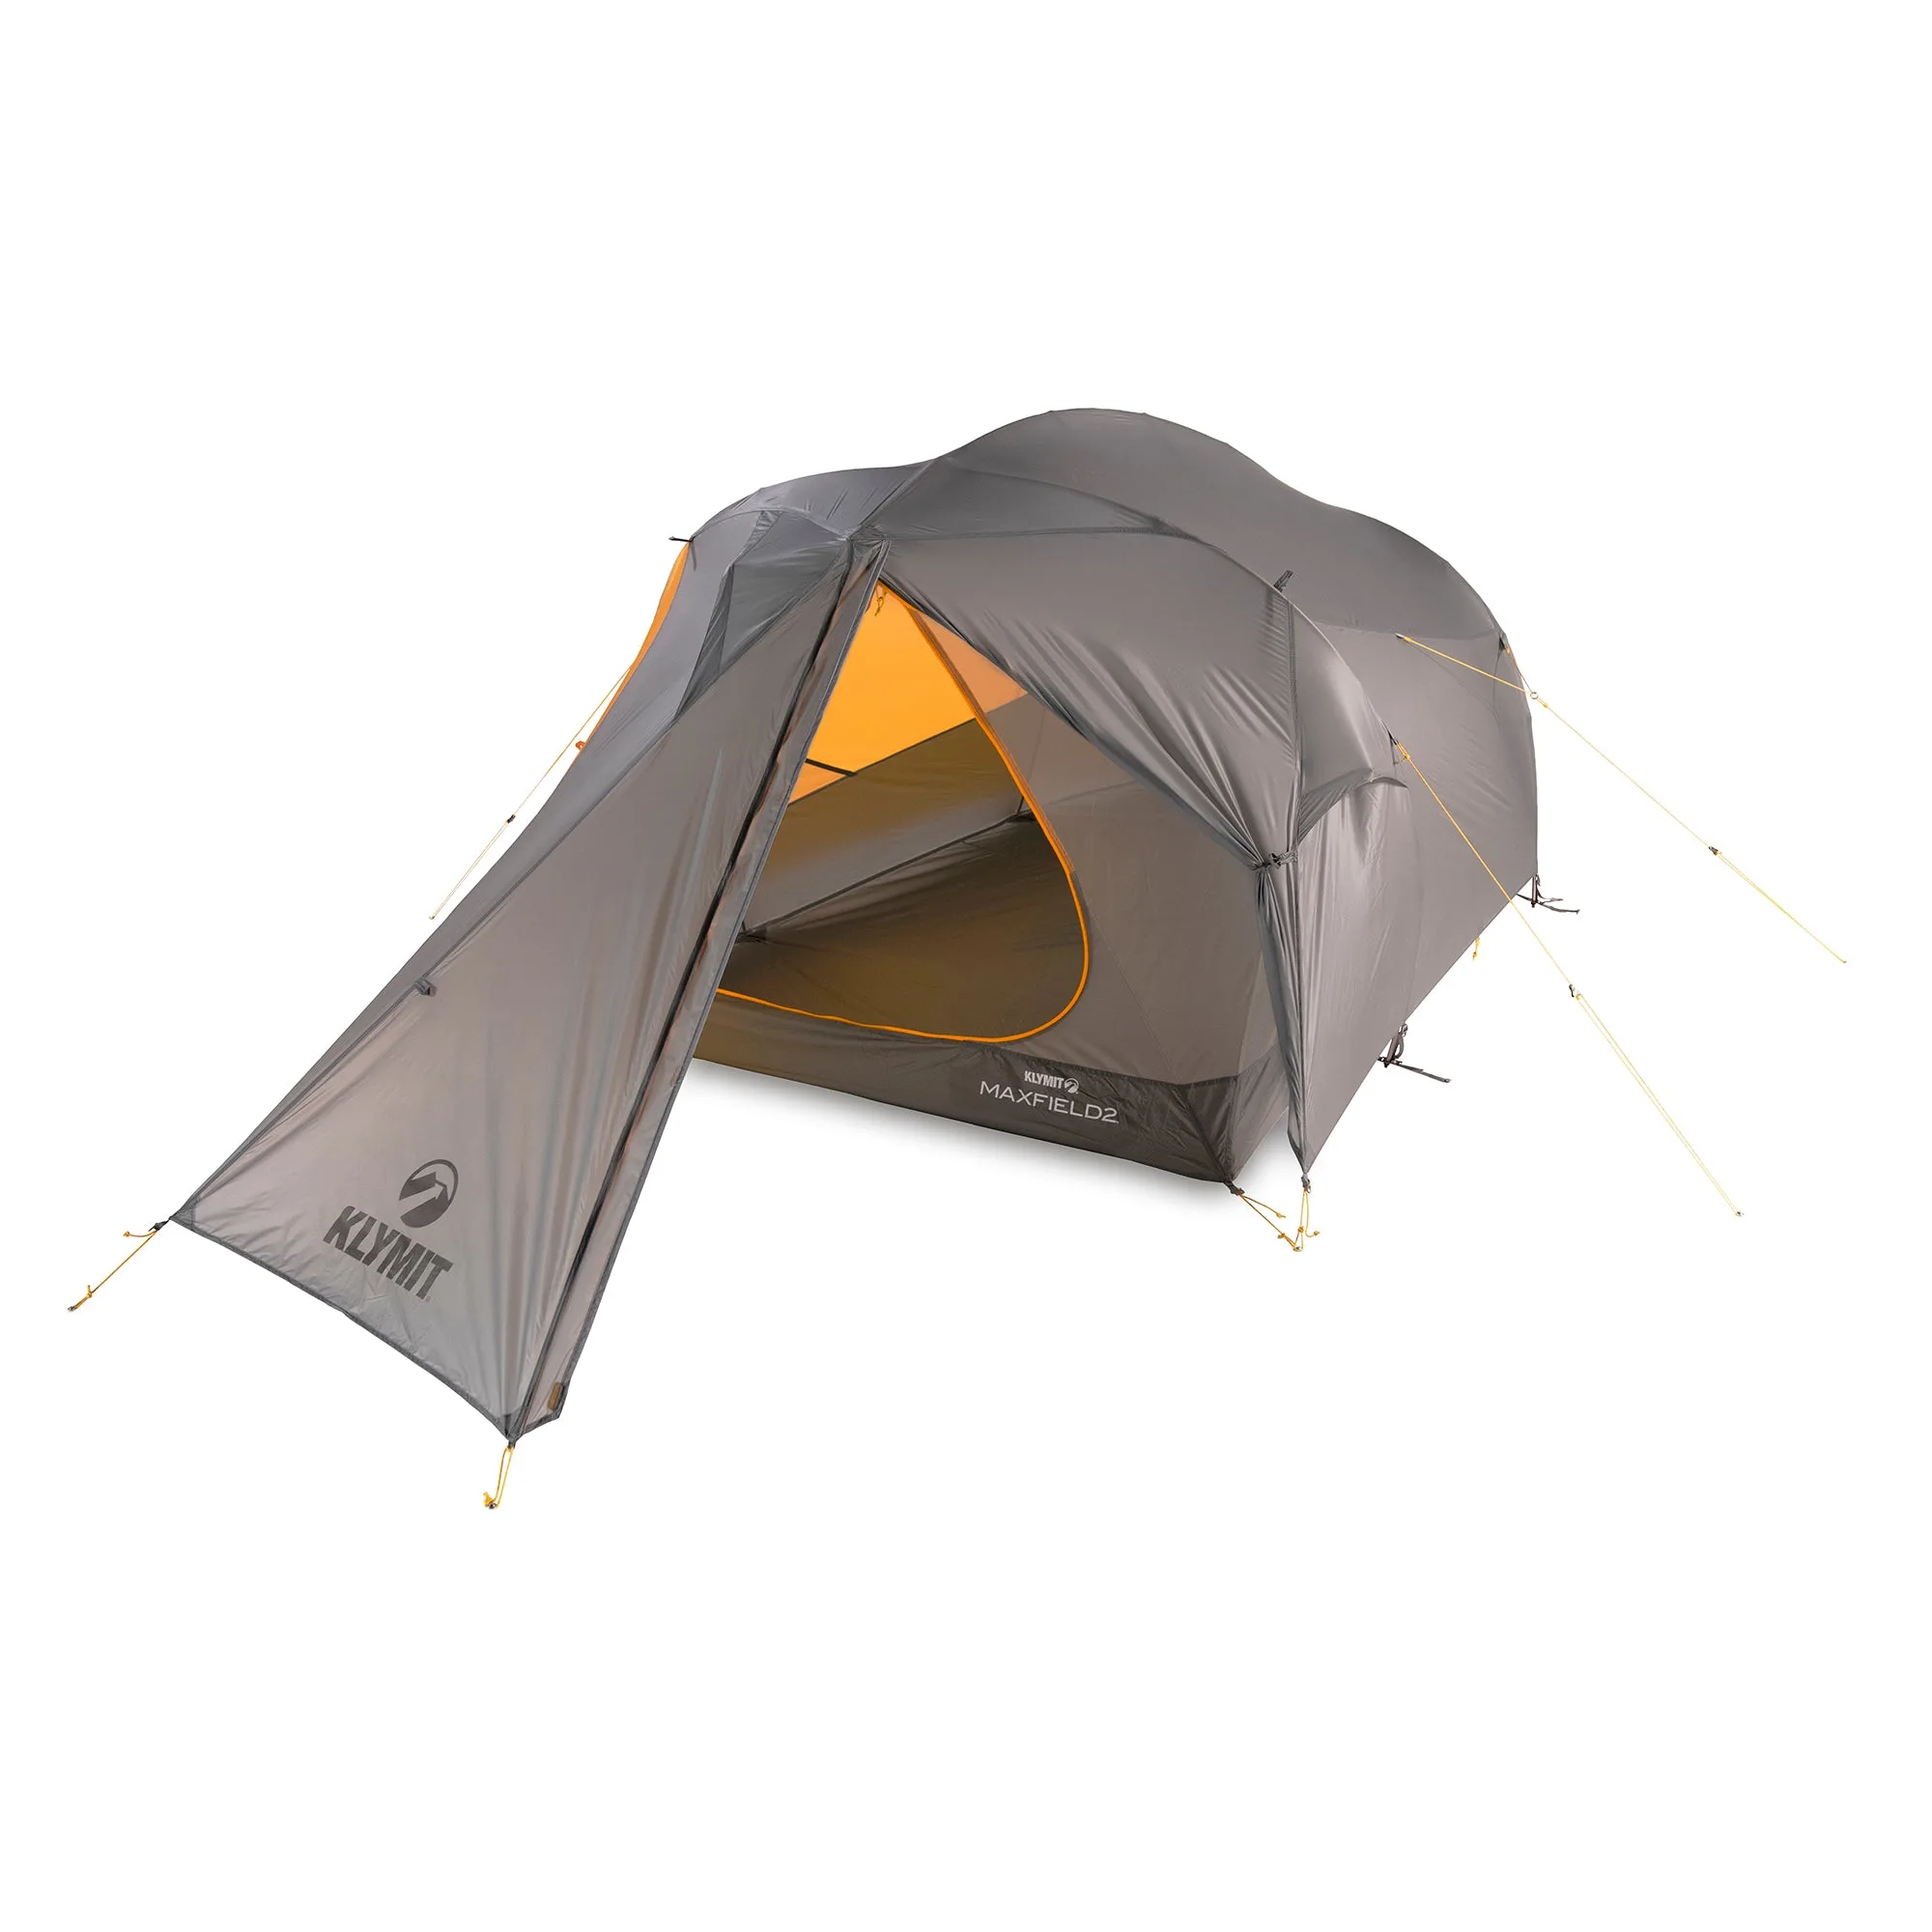
Maxfield™ Tent