Quick answer
Inspect the frame and wire for damage, deep-clean all surfaces, then reassemble with fresh bedding and perches before introducing your flock.
Why ex-display coops need extra attention
Ex-display coops have been assembled, handled, and possibly moved several times. Screws can loosen, wire mesh can develop small gaps, and wood may have absorbed dust or moisture. A thorough inspection and clean give you a coop that is as secure and hygienic as a new one.
What to check before you start cleaning
Look for missing screws, warped panels, or tears in the wire. Check that the roof seals properly and that the door latch still clicks shut. Catching these issues early saves you from doing the same work twice.
Step-by-step transition guide
- 1. Inspect every joint and wire edge: Go over the frame, run panels, and nest box with a flashlight. Tighten any loose screws and push on the wire at several points to confirm it is still embedded securely. Common mistake: skipping this step can leave a gap that a predator can exploit.
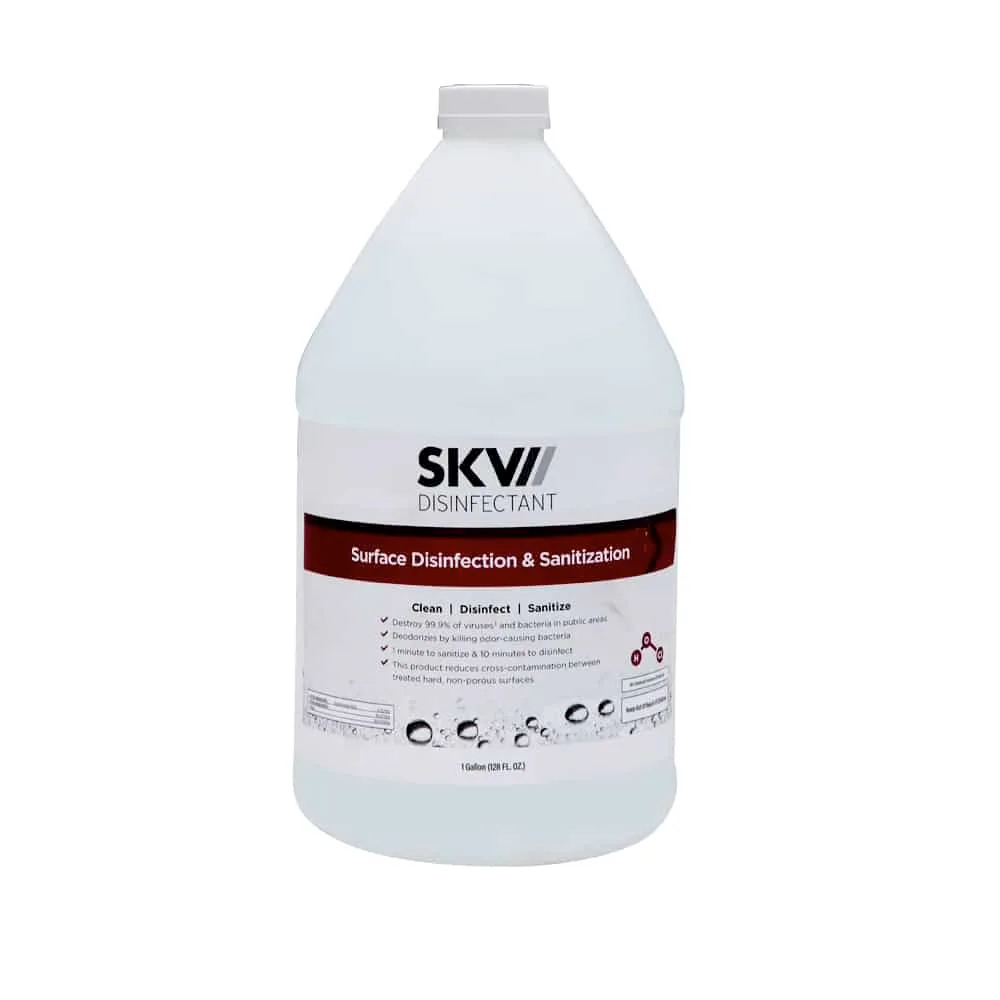
- 2. Deep clean all surfaces: Remove old bedding and debris. Scrub wood with a mild poultry-safe disinfectant and rinse thoroughly. Let everything dry in the sun for at least a few hours. Checkpoint: if the wood still smells musty after drying, repeat the cleaning before adding fresh bedding.
- 3. Reassemble with fresh hardware if needed: Use the original screws or replace any that are stripped. Make sure the roof sits flush and the door closes tightly. Add the perches and nest box compartments as shown in the manual. Common mistake: over-tightening can split the wood – stop as soon as the screw is snug.
- 4. Set up bedding, feeders, and perches: Add a 2–3 inch layer of pine shavings or straw. Place feeders and drinkers away from the nest box to reduce mess. Install perches at different heights so your chickens can choose their roosting spot. Checkpoint: ensure the perches are at least 18 inches above the floor to discourage roosting in the nest box.
- 5. Introduce your flock gradually: Let the coop air out for a day after cleaning. Place a few familiar items (like a favourite treat) inside. Open the coop door and let your chickens explore at their own pace. Common mistake: rushing the introduction can stress the birds – give them at least a few hours to settle in before closing them in overnight.
Product spotlight
-
Starlight Chicken Coop with 2 Meter Run (Ex-display): The Starlight Chicken Coop with 2 Meter Run uses thick 3mm coated wire embedded into the framework rather than stapled. This construction means the wire is less likely to loosen or detach during disassembly and reassembly, giving you a safer run for your birds.
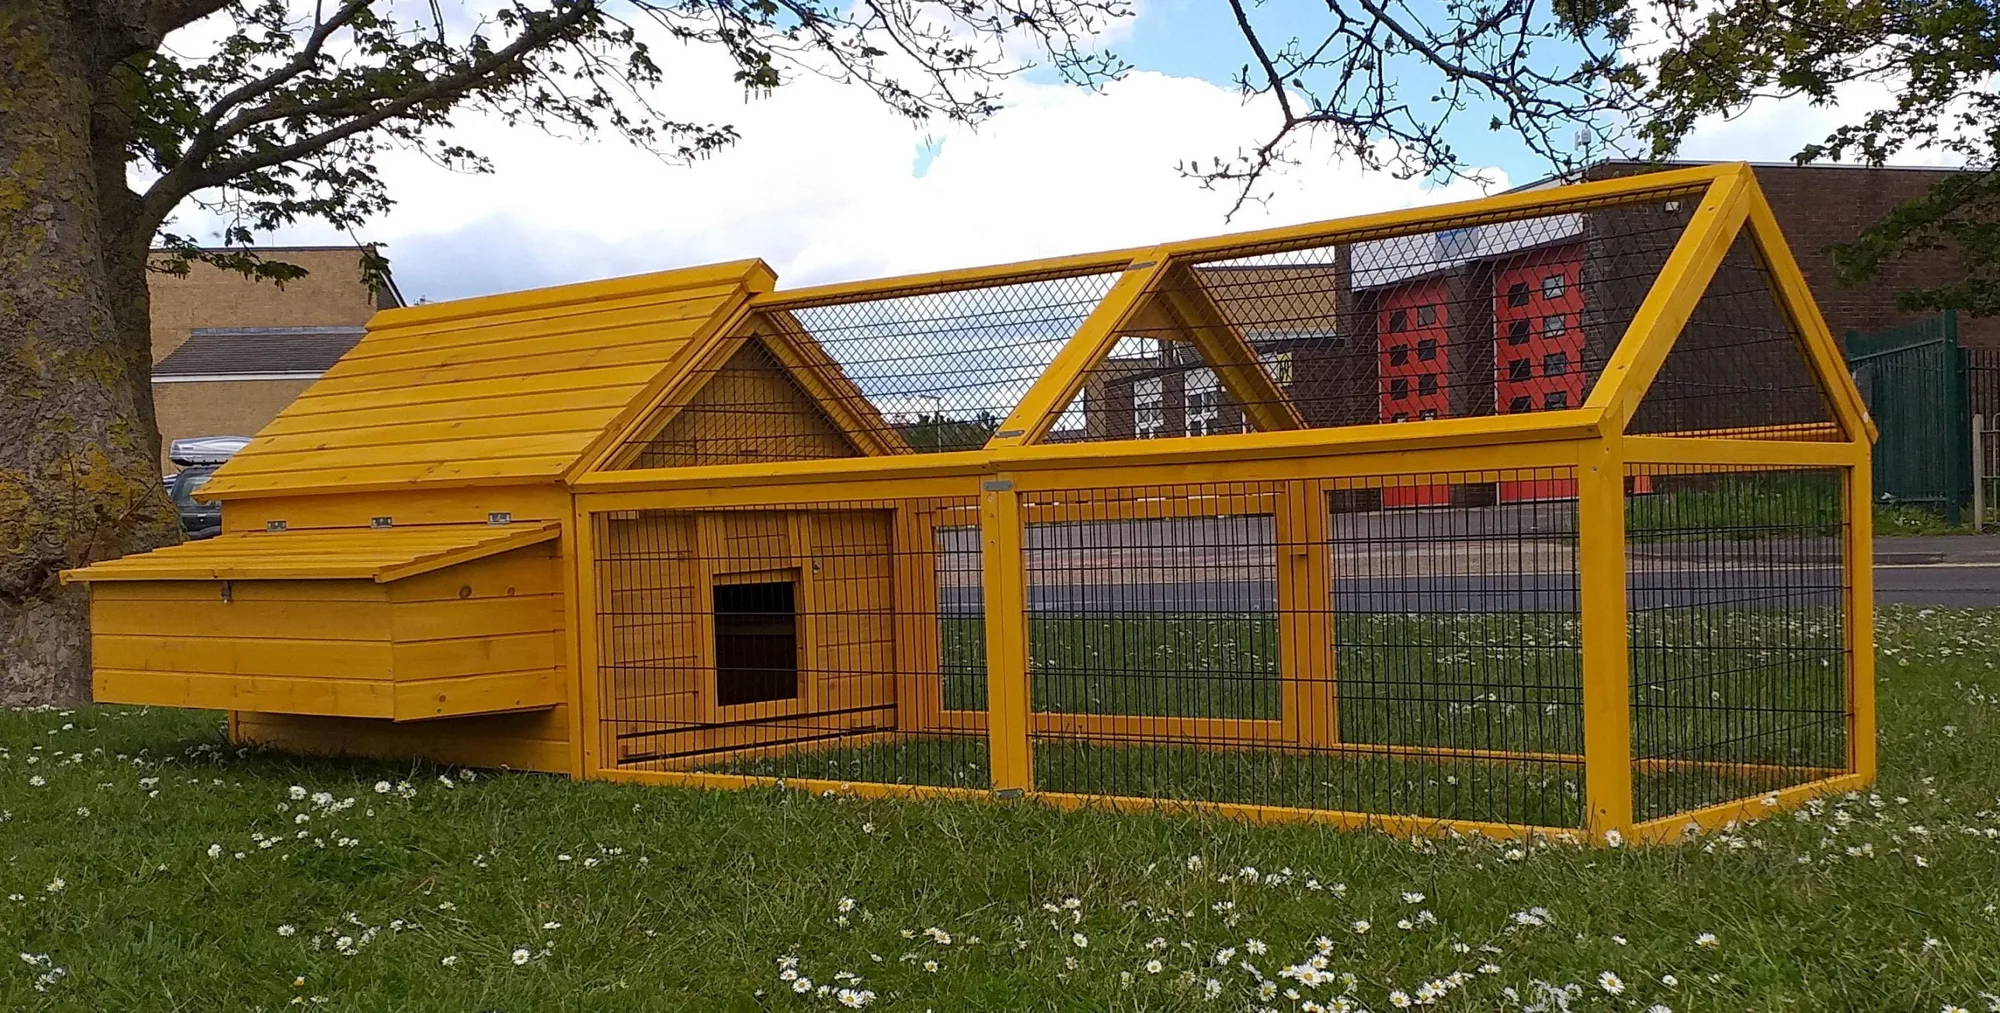
Starlight Chicken Coop with 2 Meter Run (Ex-display)