Quick answer
Set up your campsite in this order: pitch the tent and lay your ground protection first, then raise shade or shelter, then arrange seating around a clear focal point, and finally place small organizers where you actually reach for them. Do the heavy, fixed pieces before the light, movable ones so you never drag a chair across a fresh footprint. If you only fix one thing this trip, fix the order.
Most uncomfortable campsites are not uncomfortable because of bad gear. They are uncomfortable because the gear went down in the wrong sequence. A chair placed before a tarp ends up in the sun. A table placed before the tent ends up in the doorway. DOD furniture is light and packable, which makes it easy to move, and also easy to place badly.
This guide walks through a campsite furniture setup you can repeat at any site, from a car-camping pitch to a base camp under the Kamaboko Super Tent (S). Each step includes the mistake that ruins it, so you can catch the problem before you commit.
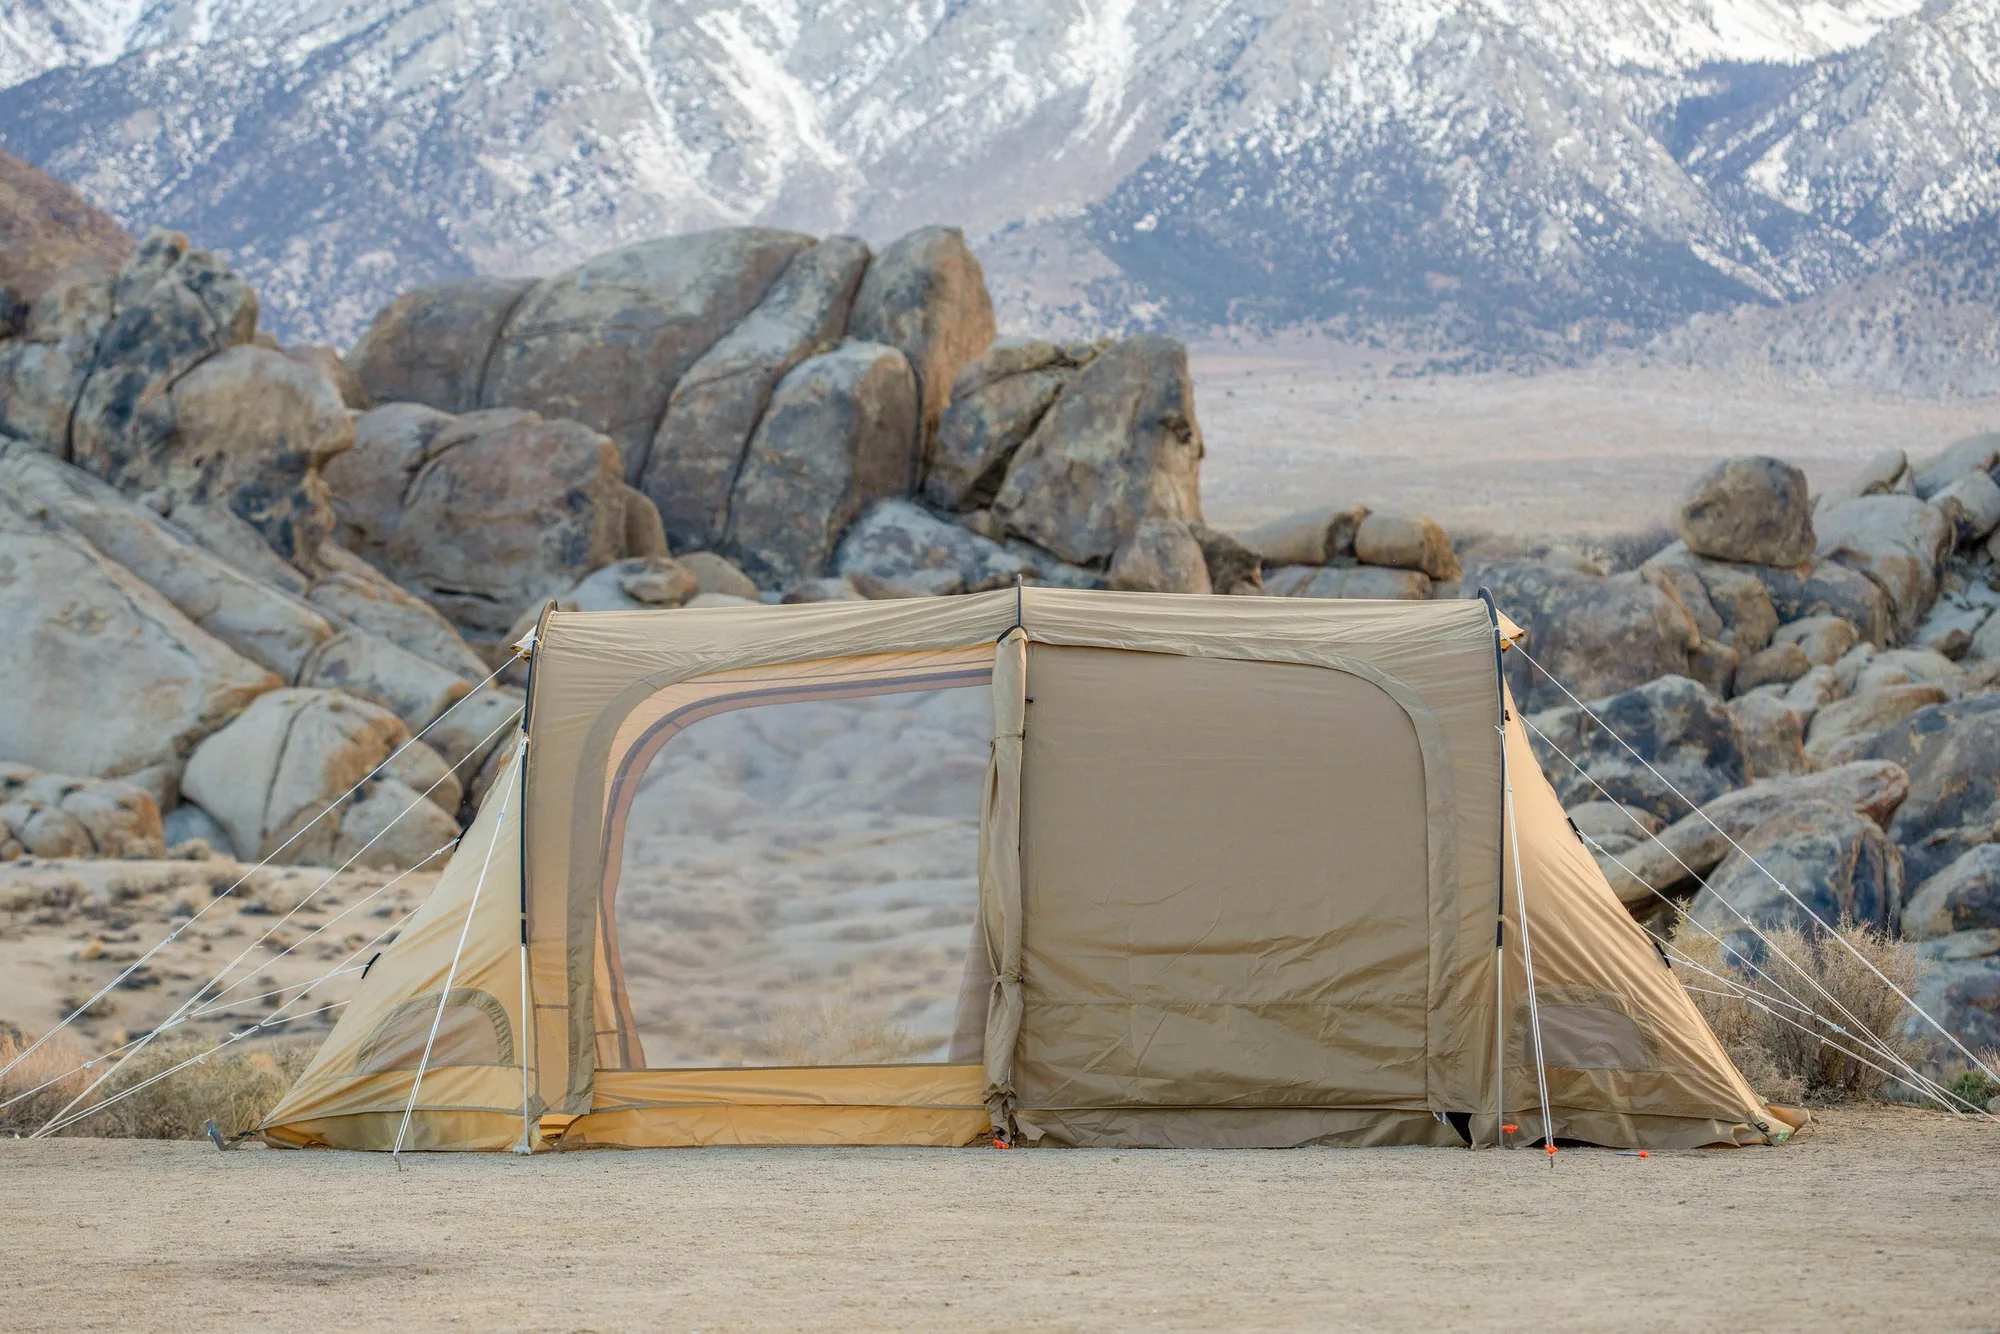
Kamaboko Super Tent (S)
Step 1: Read the site and pick your tent footprint
Walk the site before you unload anything. Find the flattest patch for sleeping, note where the morning sun lands, and check which direction the prevailing wind comes from. Your tent goes on the flat ground; your living space goes on the side that gets shade in the afternoon. Mark both zones mentally, then commit.
The common mistake here is pitching the tent first because it is the biggest item. That locks your layout before you have looked at drainage, tree roots, or where you will actually sit. Two minutes of walking saves an hour of dragging.
- Checkpoint: if you cannot stand comfortably between your planned tent and your planned seating area, you have picked the wrong zones.
Step 2: Protect the tent floor before anything sits on it
Once the tent is pitched, deal with the ground under and inside it. Rocks and debris work through a floor over a weekend of walking, and a damaged floor is the kind of problem you cannot fix at camp. A dedicated mat set handles this in two layers: a ground sheet under the inner tent and an inner mat that fits inside it.
The mistake is treating floor protection as optional because the ground looks clean. It rarely is. The Mat Set for Kamaboko Super Tent uses 210D woven polyester to protect the inner tent floor, which is the layer you least want to repair.
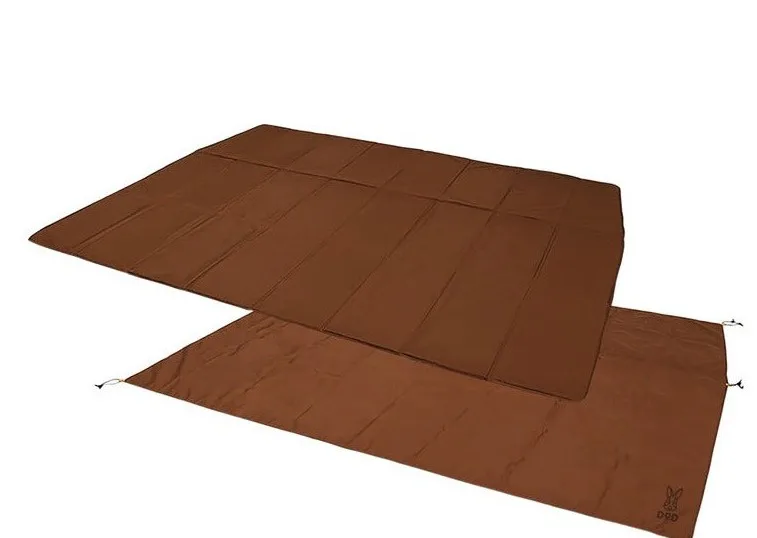
Mat Set for Kamaboko Super Tent
- Do this before you move in sleeping bags, pads, or furniture. Once gear is inside, you will not want to lift it again.
Step 3: Raise shade and shelter before seating
Shade decides where people sit, so it has to exist first. If you are using a tarp, set it now while the ground underneath is still clear and you have room to move poles and guy lines. If your shelter is a tent with an open living area, orient that opening away from the afternoon sun and toward your view.
The mistake is setting chairs out first and then trying to fit a tarp around them. Guy lines end up crossing walkways, and someone trips at night. Shelter first, seating second, always.
- Leave at least one clear walking lane between the tent door and the shelter edge.
Step 4: Arrange seating in a conversation arc, not a row
Chairs work best in a shallow arc facing a shared focal point: a fire pit, a stove, a table, or a view. A straight row forces people to talk sideways, and a full circle makes it awkward to get in and out. An arc of three to five chairs covers most camping groups.
The mistake is spacing chairs evenly around a circle. Leave a gap where people walk in, and keep at least a forearm's length between chairs so nobody is climbing over armrests. If your site is tight, angle the chairs inward rather than pulling them closer.
- Checkpoint: sit in each chair once before you call the layout done. If you cannot reach a surface to set a mug on, move something.
Step 5: Place tables and organizers where your hands actually go
The most-used surfaces should be within arm's reach of a seated person. That usually means one low table near the seating arc for drinks and plates, and one prep surface near the cooking area. Anything you have to stand up and walk to will end up on the ground instead.
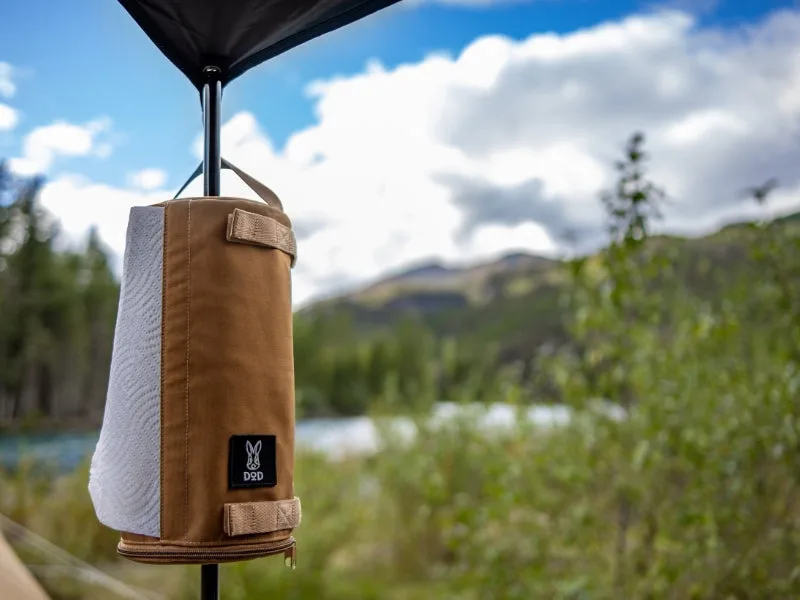
Small organizers matter more than people expect. A paper towel holder, a toilet paper bag, and a wet wipe holder bag keep the messy essentials off the dirt and out of the wind. Put them at the edge of the living zone, not in the middle of it.
- Keep a clear path from the seating area to the organizer zone so nobody steps over sleeping gear to grab a wipe.
Step 6: Do a walk-through and fix the friction points
Before dark, walk the whole site the way you will move at night: tent to seating, seating to cooking, cooking to organizer zone. Any spot where you have to step over a guy line, duck under a tarp edge, or squeeze between chairs is a problem you will hit again in the dark.
The mistake is skipping this because the camp looks fine from one angle. Move the one chair, re-stake the one line, and you are done. Then leave the layout alone for the rest of the trip.
- Final checkpoint: if a guest arrived at your camp right now, could they find a seat and a surface without asking where to go?
Campsite setup order at a glance
- Walk and zone the site: Pick flat ground for sleeping and a shaded side for living, before you unload anything. Mistake to avoid: pitching the tent before you have looked at drainage and sun.
- Pitch tent and protect the floor: Set the tent, then add a ground sheet and inner mat so rocks and debris never reach the floor. Do this before moving gear inside; you will not want to lift it twice.
- Raise shade and shelter: Set tarps and shelter openings while the ground underneath is still clear of chairs. Mistake to avoid: fitting a tarp around furniture and crossing your walking lane with guy lines.
- Arrange seating in an arc: Face chairs toward a shared focal point, leave an entry gap, and keep a forearm's length between them. Sit in each chair once and confirm you can reach a surface.
- Place surfaces and organizers: Put a low table within arm's reach of seating and keep paper and wipe holders at the edge of the zone. Anything out of reach ends up on the ground.
- Walk the site before dark: Trace your night route from tent to seating to cooking and clear anything you would trip over. Fix the one friction point now, then leave the layout alone.
DOD gear that supports this setup
- Mat Set for Kamaboko Super Tent: The set comes with a ground sheet that goes under the Inner Tent and an inner mat that fits inside it, with 210D woven polyester protecting the Inner Tent floor from rocks and debris. It handles floor protection as one purchase instead of two, and it is the step most campers skip until a floor is already damaged.
- Kamaboko Super Tent (S): The Kamaboko is a multi-functional super tent designed as the center of a base camp, with a range of accessories sold separately to customize it. Because accessories are separate, you can build the living space in stages and add shade, floor protection, or privacy as your setup grows.
- Paper Holder Bundle: A three-piece set with a paper towel holder, a toilet paper bag, and a wet wipe holder bag, made from durable materials to keep things clean and dry outdoors. These are the small items that otherwise end up on the ground, so placing them at the edge of your living zone keeps the main area usable.
- Ninjin Pull: A carrot-shaped zipper pull designed to make opening and closing zippers more convenient, and it fits most zippered items like jackets and bags. A small upgrade that makes tent and bag zippers easier to find and grab in low light, when fumbling with a zipper is most annoying.
A comfortable campsite is mostly a sequencing problem, not a gear problem. Protect the floor, raise shade, arc the seating, and put surfaces where your hands already are. Repeat that order and your camp works the same way every trip.