Quick answer
Build your relaxing campsite in zones: sleep, cook, and lounge. Put adjustable seating at the center of the lounge zone, add a windbreak and ground layer, then keep everything you need within arm's reach. A DOD Sugoi Chair and a Fire Break do most of the comfort work, and a ground sheet under the seating area keeps the setup clean and stable.
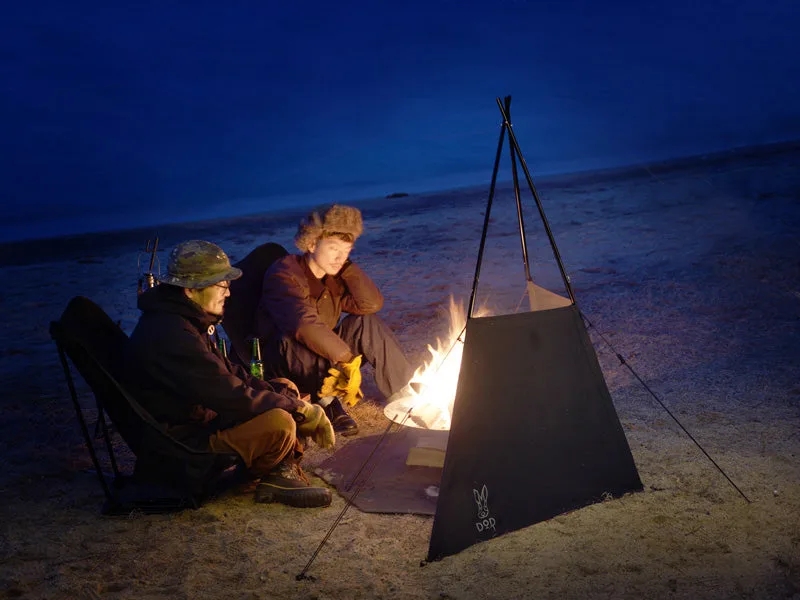
Fire Break
A relaxing campsite rarely happens by accident. It comes from deciding where you will sit, what you will look at, and how far you have to reach for a drink or a blanket before you ever unpack the car.
This guide walks through a relaxing campsite setup in the order you would actually build it. Each step includes the mistake that most often ruins the result, so you can fix it before it costs you an evening.
Start with zones, not gear
Before you place a single chair, walk the site and mark three rough zones: where you sleep, where you cook, and where you sit. Keep the cooking zone upwind of the sleeping zone and give the lounge zone the best view or the flattest ground. This one decision prevents most of the frustration people feel at camp, because you stop carrying things back and forth.
A comfortable campsite is mostly about reducing friction. If the seating area sits between the tent and the cooking area, you will naturally use it. If it is tucked behind the tent, you will stand around the stove instead.
- Checkpoint: stand in each zone and ask whether you would want to spend two hours there.
- Common mistake: putting the lounge zone on a slope because the view is better.
Pick seating that adjusts, not just seating that folds
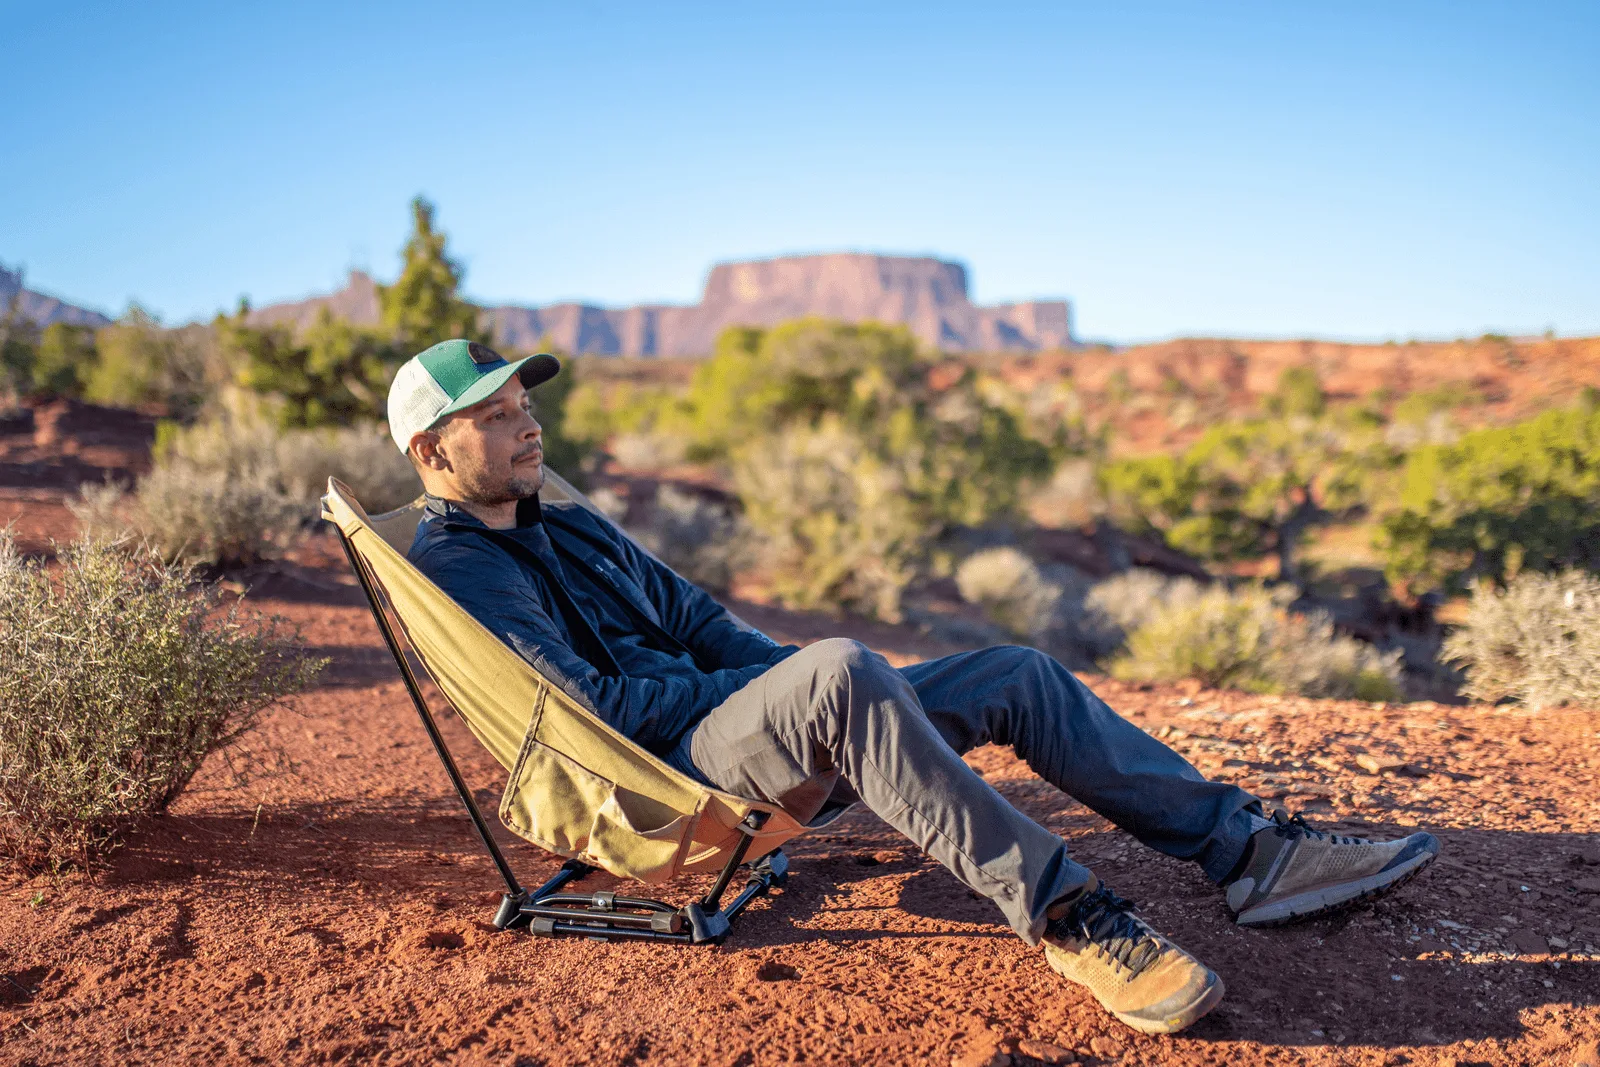
Most camping chairs lock you into one posture for the whole trip. The DOD Sugoi Chair is built around the opposite idea: its height and angle adjust so the same chair works for eating at a table, leaning back around a fire, or sitting upright with a book. That flexibility matters more than any single feature when you are trying to make a campsite feel relaxing.
If you camp as a pair, the Sugoi Chair x 2 set covers two people with the same adjustable seating. For solo trips, one chair plus a small side surface is usually enough.
- Checkpoint: sit in the chair at the height you will actually use before committing to a spot.
- Common mistake: buying chairs by packed size alone and discovering they only recline.
Set the ground layer under your seating area
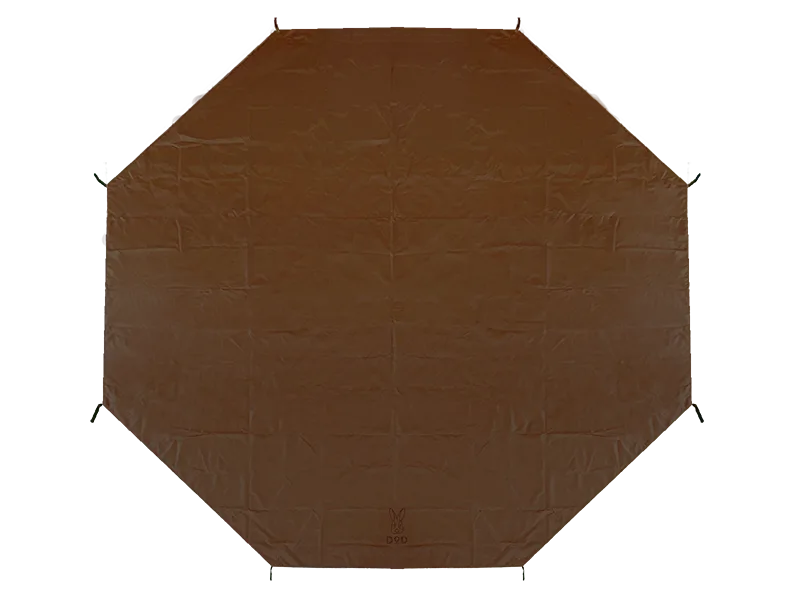
A ground layer does two jobs: it keeps your feet out of damp grass or dust, and it defines the lounge zone so gear does not drift into it. The Takenoko Ground Sheet is cut to match the Takenoko Tent, with loops positioned to line up with the tent pegs. You peg the sheet first, then spread the tent over it and hook the loops, so the two fit together exactly.
Even if you use a different shelter, the principle holds: put something down where you sit. It makes the space feel intentional and keeps chairs from sinking into soft ground overnight.
- Checkpoint: peg the ground sheet before the tent, not after.
- Common mistake: laying a sheet over guy lines and creating a trip hazard.
Shape the air around the fire
Wind is the quiet enemy of a relaxing evening. The Fire Break is a teepee-style windbreak that shields a bonfire, helps prevent sparks from flying, and reflects heat back toward you. It adjusts easily and is sized to accommodate up to three people comfortably, and the cotton material resists spark damage.
Place it so the opening faces your seating, not the direction you want to look. The goal is warm, stable air where you sit, not a bigger flame.
- Checkpoint: confirm the windbreak is stable before lighting anything.
- Common mistake: crowding the fire so close that the reflected heat becomes uncomfortable.
Convert a tent corner into a lounge
If you use a Kamaboko Super Tent, the Kama Zashiki turns part of the floor into a removable lounge. You spread it out, hook it to the tent frame, then pile up rugs, blankets, and pillows. The raised edges keep everything in place, and when you need that section for something else you roll it up and set it aside. It fits the free area of a Kamaboko Super Tent with one inner tent installed.
This is the step that makes a campsite comfortable in bad weather, when sitting outside is no longer appealing.
- Checkpoint: leave enough floor space to stand up and move through the tent.
- Common mistake: overfilling the lounge until the tent door is blocked.
Stage the small things within reach
Once the big pieces are in place, do a reach test from your chair. A drink, a light, a layer, and a place to set a mug should all be within arm's length without standing up. Anything you have to get up for repeatedly will pull you out of the relaxed state you built the site for.
Keep the space behind the chairs clear. That is where people walk, and it is where you will want to set a cooler or a storage box.
- Checkpoint: sit down and see whether you can reach everything you need.
- Common mistake: using the lounge zone as a storage dump.
Your campsite comfort sequence
- Mark your three zones: Walk the site and decide sleep, cook, and lounge before unloading anything. Checkpoint: lounge gets the flattest ground and the best view.
- Place adjustable seating first: Set the Sugoi Chair where you want to spend the evening, then adjust height and angle to the activity. Common mistake: placing chairs last and squeezing them into leftover space.
- Lay the ground layer: Peg the Takenoko Ground Sheet, then hook the tent loops over it so the two align. Checkpoint: no loose corners and no trip hazards.
- Set the Fire Break before lighting up: Position the windbreak with the opening facing your seating, and confirm it is stable. Common mistake: lighting the fire first and moving the windbreak around it.
- Build the indoor lounge: Hook the Kama Zashiki into the Kamaboko Super Tent, add rugs and blankets, and keep the doorway clear. Checkpoint: you can still stand up and walk through the tent.
- Do a reach test: Sit in your chair and confirm drink, light, and a layer are all within arm's length. Common mistake: leaving the lounge zone as a storage pile.
DOD gear that does the comfort work
- Sugoi Chair: Adjusts to all seating positions rather than locking into one height or angle. One chair covers meals, fire time, and reading without you bringing two seats.
- Sugoi Chair x 2: A pair of Sugoi Chairs in a single set. The simplest way to give two campers the same adjustable seating.
- Takenoko Ground Sheet: Loops are positioned to match the pegs on the Takenoko Tent, so you peg the sheet first and hook the tent over it. A precise fit means no bunching, no exposed ground, and a defined lounge area.
- Fire Break: A teepee-style windbreak that shields a bonfire, helps prevent sparks from flying, and reflects heat toward you; it accommodates up to three people comfortably. Warmer, calmer evenings with less smoke and spark risk around the seating area.
A relaxing campsite is a sequence, not a purchase. Zone the site, put adjustable seating at the center, add a ground layer and a windbreak, and keep the small things within reach. Do those steps in order and the evening takes care of itself.