Quick Answer
Start by fitting the harness snugly on your dog, adjust the CaniX belt around your waist, then attach the bungee line at the correct length so your dog can pull comfortably without dragging you off balance.
Why Proper Setup Matters for Canicross
A well-adjusted canicross kit keeps both you and your dog safe and comfortable during runs. The harness should transfer pulling force evenly across your dog's chest and back, not the neck. The belt must sit on your hips, not your waist, to protect your lower back. And the bungee line needs the right tension to absorb shock without tangling.
Skipping any of these adjustments can lead to chafing, poor running posture, or even injury. Taking a few minutes to set up correctly before your first run makes a big difference in how much you both enjoy the activity.
Choosing the Right Kit for Your Dog's Size
Canicross kits are designed for different dog sizes and running styles. For small dogs, a kit with a lighter harness and shorter bungee helps them pull without strain. For medium to large dogs, a full-sized kit with a wider harness and longer bungee gives them room to stride.
The Non-stop dogwear Small dog CaniX kit includes a Freemotion harness and Touring bungee tailored for smaller breeds. The standard CaniX kits, like the Pink/gray or Black/orange versions, come with the Freemotion harness 5.0 and a longer Bungee leash for larger dogs. Matching the kit to your dog's size is the first step to a good setup.
Step-by-Step Canicross Kit Setup
- Fit the harness on your dog: Place the harness over your dog's head and adjust the chest and belly straps so it sits snugly but not tight. You should be able to slide two fingers under any strap. The D-ring should rest on the upper back, not the neck. Common mistake: leaving the harness too loose. A loose harness can shift sideways and cause chafing or reduce pulling efficiency.
- Adjust the CaniX belt around your hips: Put the belt on so it sits on your hip bones, not your natural waist. Tighten the side straps so the belt doesn't slide down when you lean forward. The center ring should be at your lower back. Checkpoint: if the belt rises above your hips when your dog pulls, it's too high. Lower it and re-tighten.
- Attach the bungee line to your dog's harness: Clip one end of the bungee to the D-ring on the dog's harness. Make sure the clip is fully closed and the line isn't twisted. The bungee should hang straight between you and your dog. Common mistake: attaching the line to a collar instead of the harness. This can injure your dog's neck during pulling.
- Connect the bungee to your belt: Clip the other end of the bungee to the center ring on your CaniX belt. Adjust the bungee length so there's about 1.5–2 meters (5–6.5 feet) between you and your dog when the line is slack. Checkpoint: too short and your dog can't stride; too long and the line may drag or get caught on obstacles.
- Test the setup with a short walk: Before running, walk a few minutes with your dog to check for any rubbing, slipping, or discomfort. Watch how the harness moves on your dog's body and how the belt feels on your hips. Adjust straps if needed. If your dog keeps looking back or stopping, the harness may be too tight or the bungee tension is off. Re-check both.
Product Facts
-
Small dog CaniX kit: Includes Freemotion harness, Touring bungee, CaniX belt 2.0, and a free gift. The lighter harness and shorter bungee give small dogs a comfortable pull without excess gear weight.
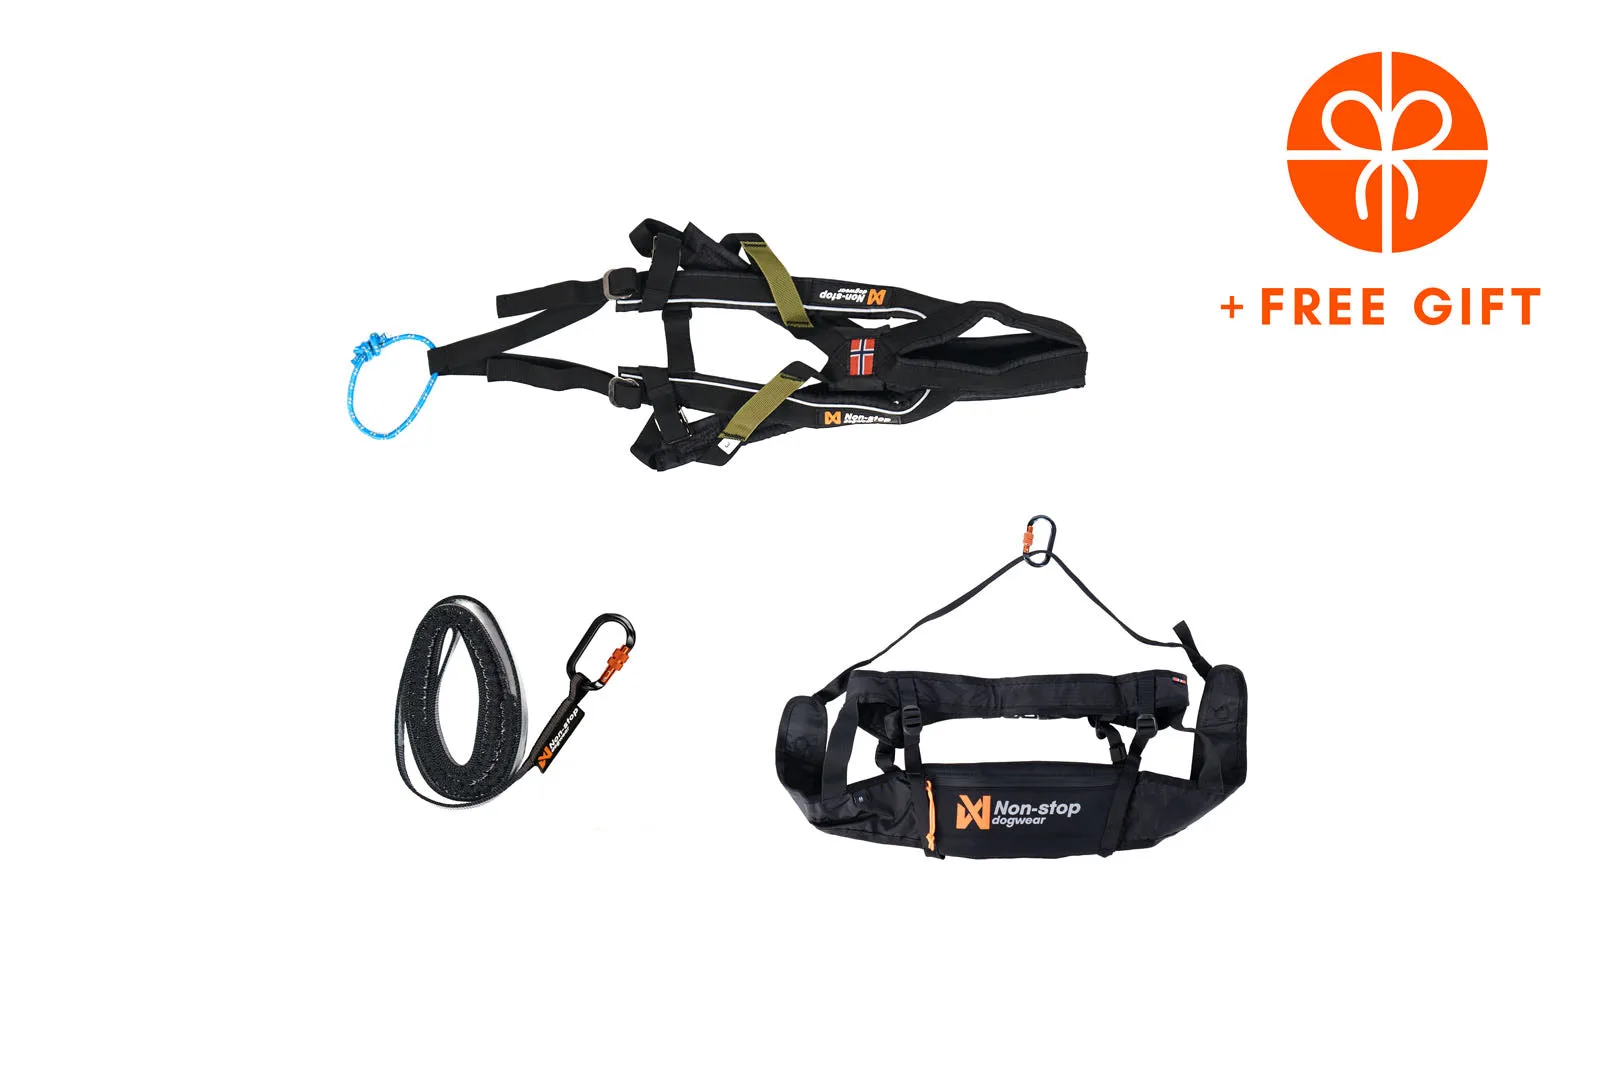
Small dog CaniX kit
-
CaniX kit Pink/gray: Includes Freemotion harness 5.0, Bungee leash, CaniX belt 2.0, and a free gift. The harness 5.0 distributes pulling force across the chest and back, ideal for medium to large dogs during longer runs.
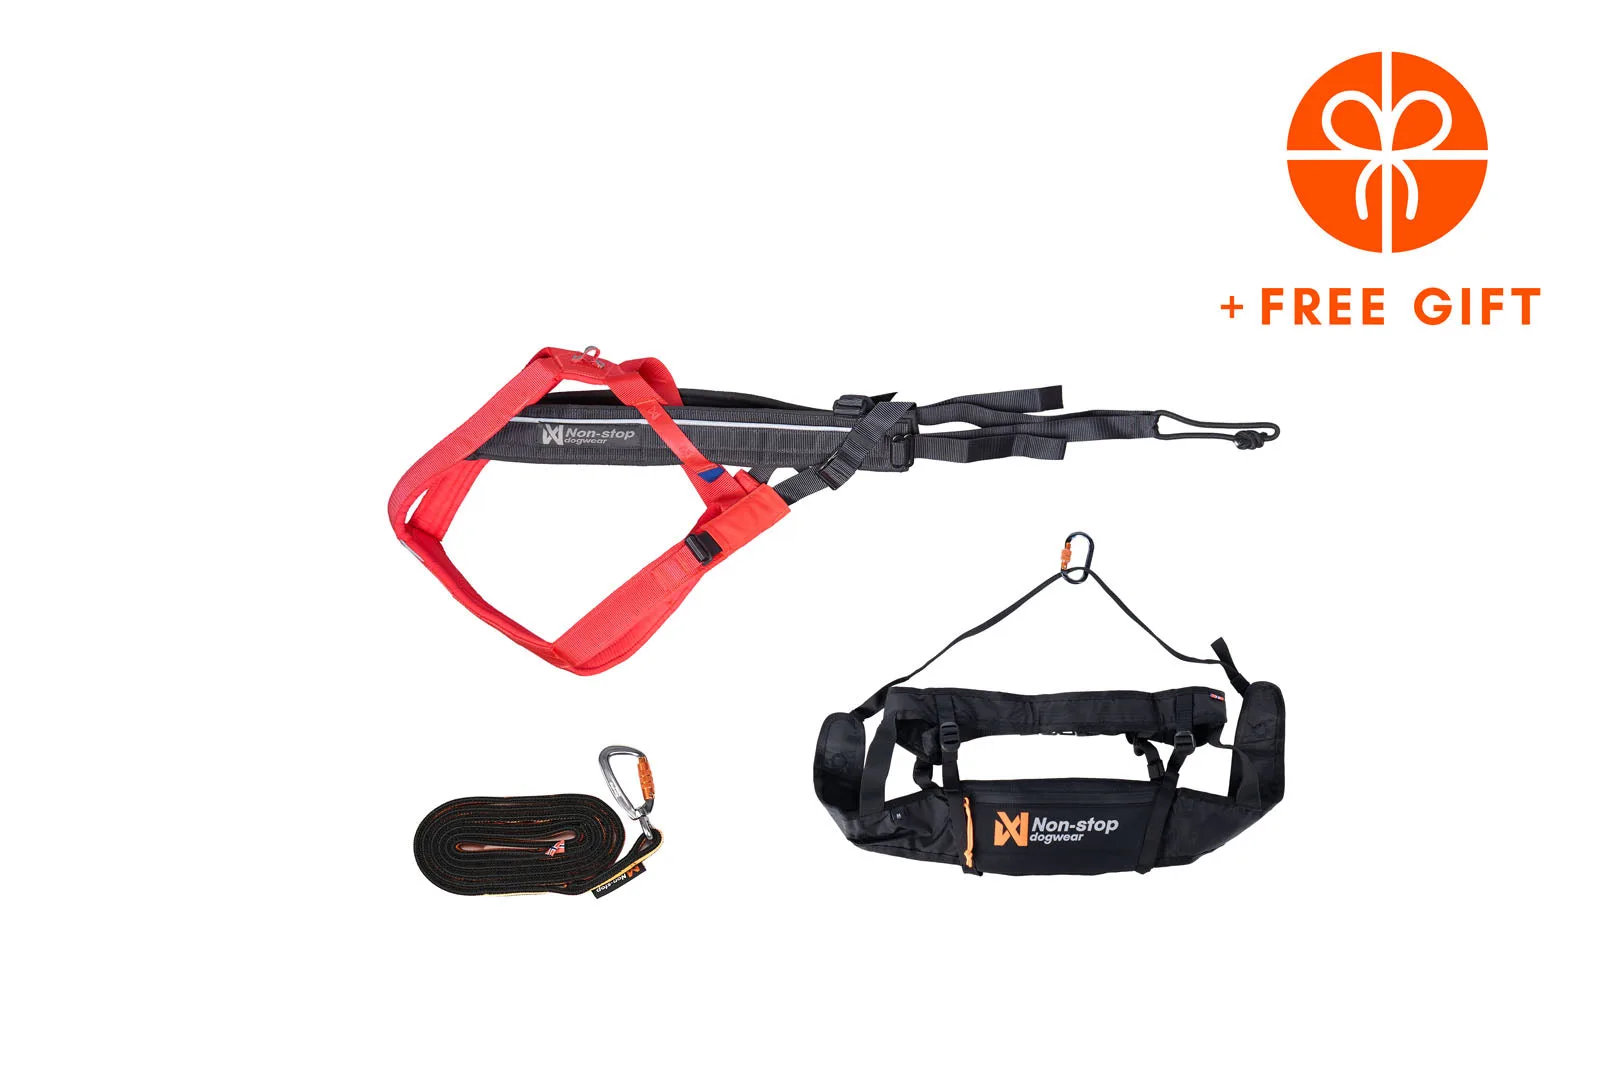
CaniX kit Pink/gray