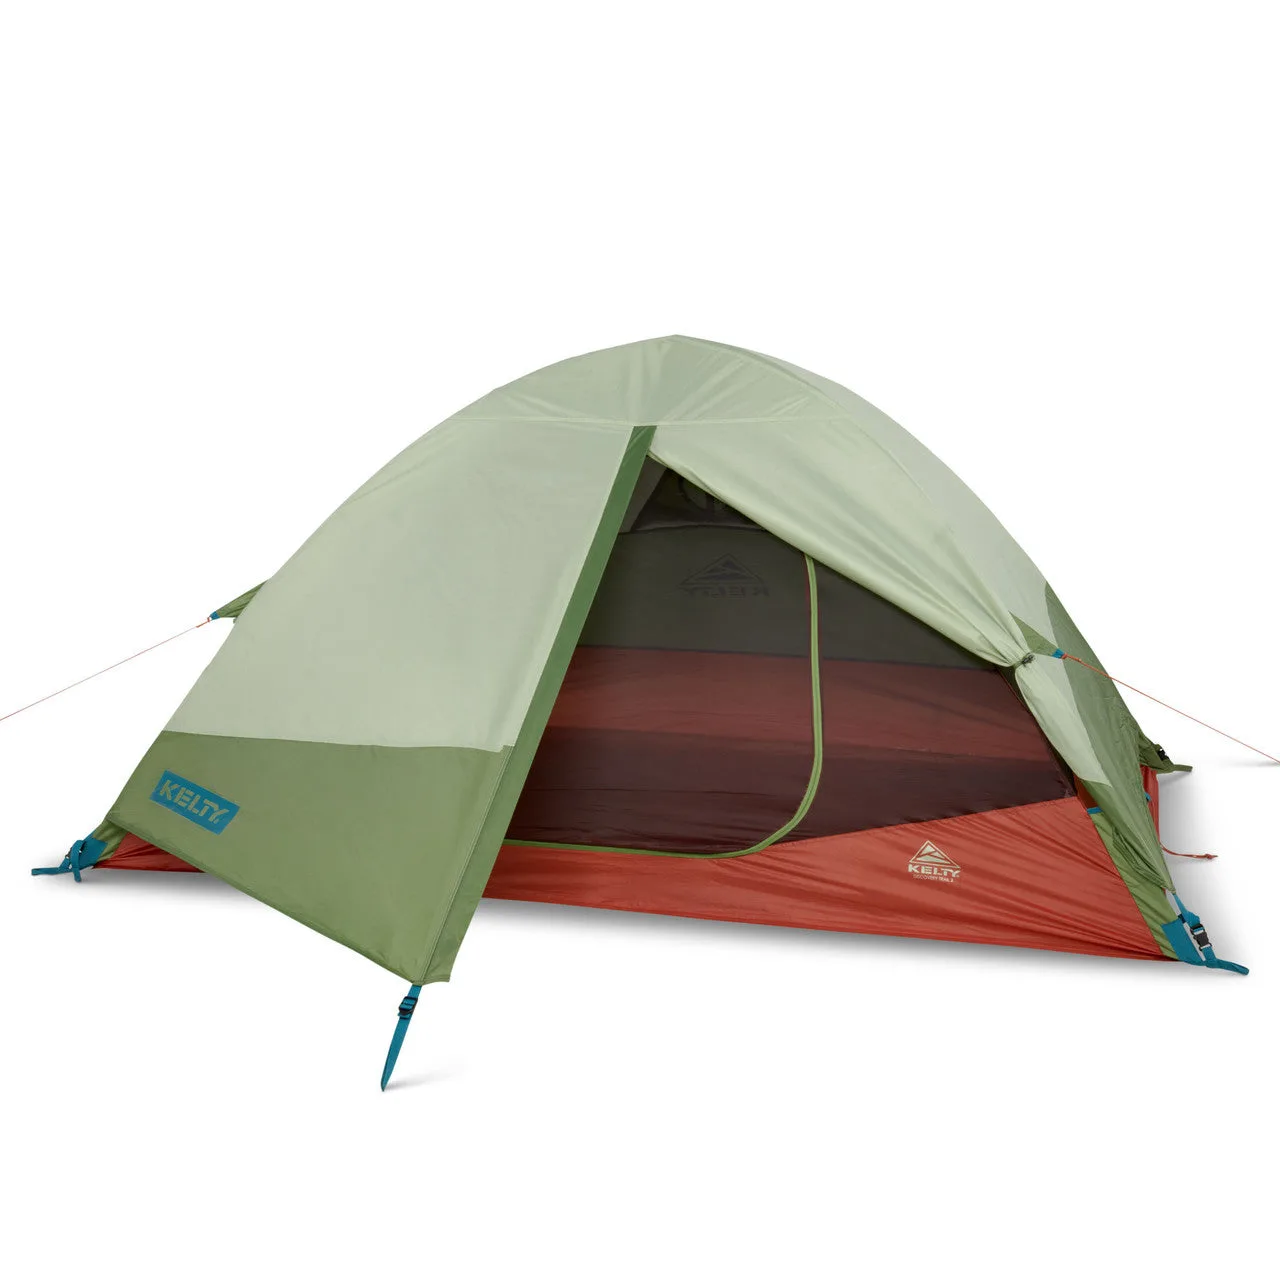
There's nothing quite like the feeling of arriving at a campsite after a long hike, ready to relax, only to realize you have to wrestle with a tent for the next hour. For beginners, dome tents can seem intimidating with their poles, clips, and rainflies. But with the right technique and a little practice, you can set up a dome tent in under 10 minutes—even on your first try.
In this guide, we'll break down the process of dome tent assembly into simple, manageable steps. We'll also share pro tips to speed up your setup, highlight common mistakes to avoid, and recommend some of our favorite Kelty dome tents that make the job even easier.
Why Dome Tents Are Great for Beginners
Dome tents are among the most popular tent styles for good reason: they're simple, stable, and relatively quick to set up. Unlike tunnel or cabin tents that require complex pole structures, dome tents typically use two or more crossing poles that form an arch. This design creates a self-supporting structure that stands on its own once the poles are in place.
For beginners, the dome shape offers several advantages. First, it's easier to handle in windy conditions because the low profile reduces wind resistance. Second, the interior space is more efficient—there are no steep walls that waste space. And third, most dome tents have color-coded poles and clips, making assembly almost foolproof.
- Look for color-coded poles and clips to simplify setup.
- Practice at home before your trip to build confidence.
- Choose a tent with a footprint to protect the floor.
Step-by-Step Dome Tent Assembly
Before you start, find a flat, clear area free of rocks and debris. Lay out the tent body on the ground and smooth out any wrinkles. Remove all poles, stakes, and the rainfly from their bags. It's helpful to organize these pieces so you can grab them quickly.
The first step in dome tent assembly is to connect the poles. Most dome tents use two or three poles that cross at the top. Assemble each pole by connecting its segments, then lay them out next to the tent. If your tent has color-coded sleeves or clips, match the pole colors to the corresponding attachment points.
Next, insert the poles through the sleeves or attach them to the clips. For sleeve-style tents, gently push the pole through the fabric sleeve, being careful not to snag the fabric. For clip-style tents, simply snap the pole into each clip along the tent body. Once both poles are in place, cross them at the top to form the dome shape.
Now, stake down the tent. Start with the corners, pulling the fabric taut, then stake the remaining loops. Make sure the tent is evenly tensioned to prevent sagging. Finally, drape the rainfly over the tent, aligning the corners and attaching it with clips or hooks. Stake out the rainfly's corners and guy lines for extra stability.
- Practice at home to reduce setup time.
- Use a footprint to protect your tent floor.
- Always stake out guy lines for wind resistance.
Pro Tips for Fast Tent Setup
Speed comes with practice, but there are several tricks to accelerate your setup time. First, always lay out the tent body in the same orientation every time. This creates muscle memory, so you'll know exactly where each pole goes without thinking. Second, keep your stakes and mallet in an easily accessible pocket—fumbling for gear slows you down.
Another tip is to use a footprint. A footprint not only protects your tent floor but also marks the exact spot where your tent should sit, so you don't have to adjust it later. If you're setting up in windy conditions, stake the windward side first to prevent the tent from blowing away.
Finally, consider investing in a tent with an easy setup design. Kelty's dome tents, like the Discovery Trail 2P Tent and the Wireless 4P Tent, feature intuitive pole systems and color-coded clips that make assembly a breeze. These tents are designed with beginners in mind, so you can spend less time pitching and more time enjoying the outdoors.
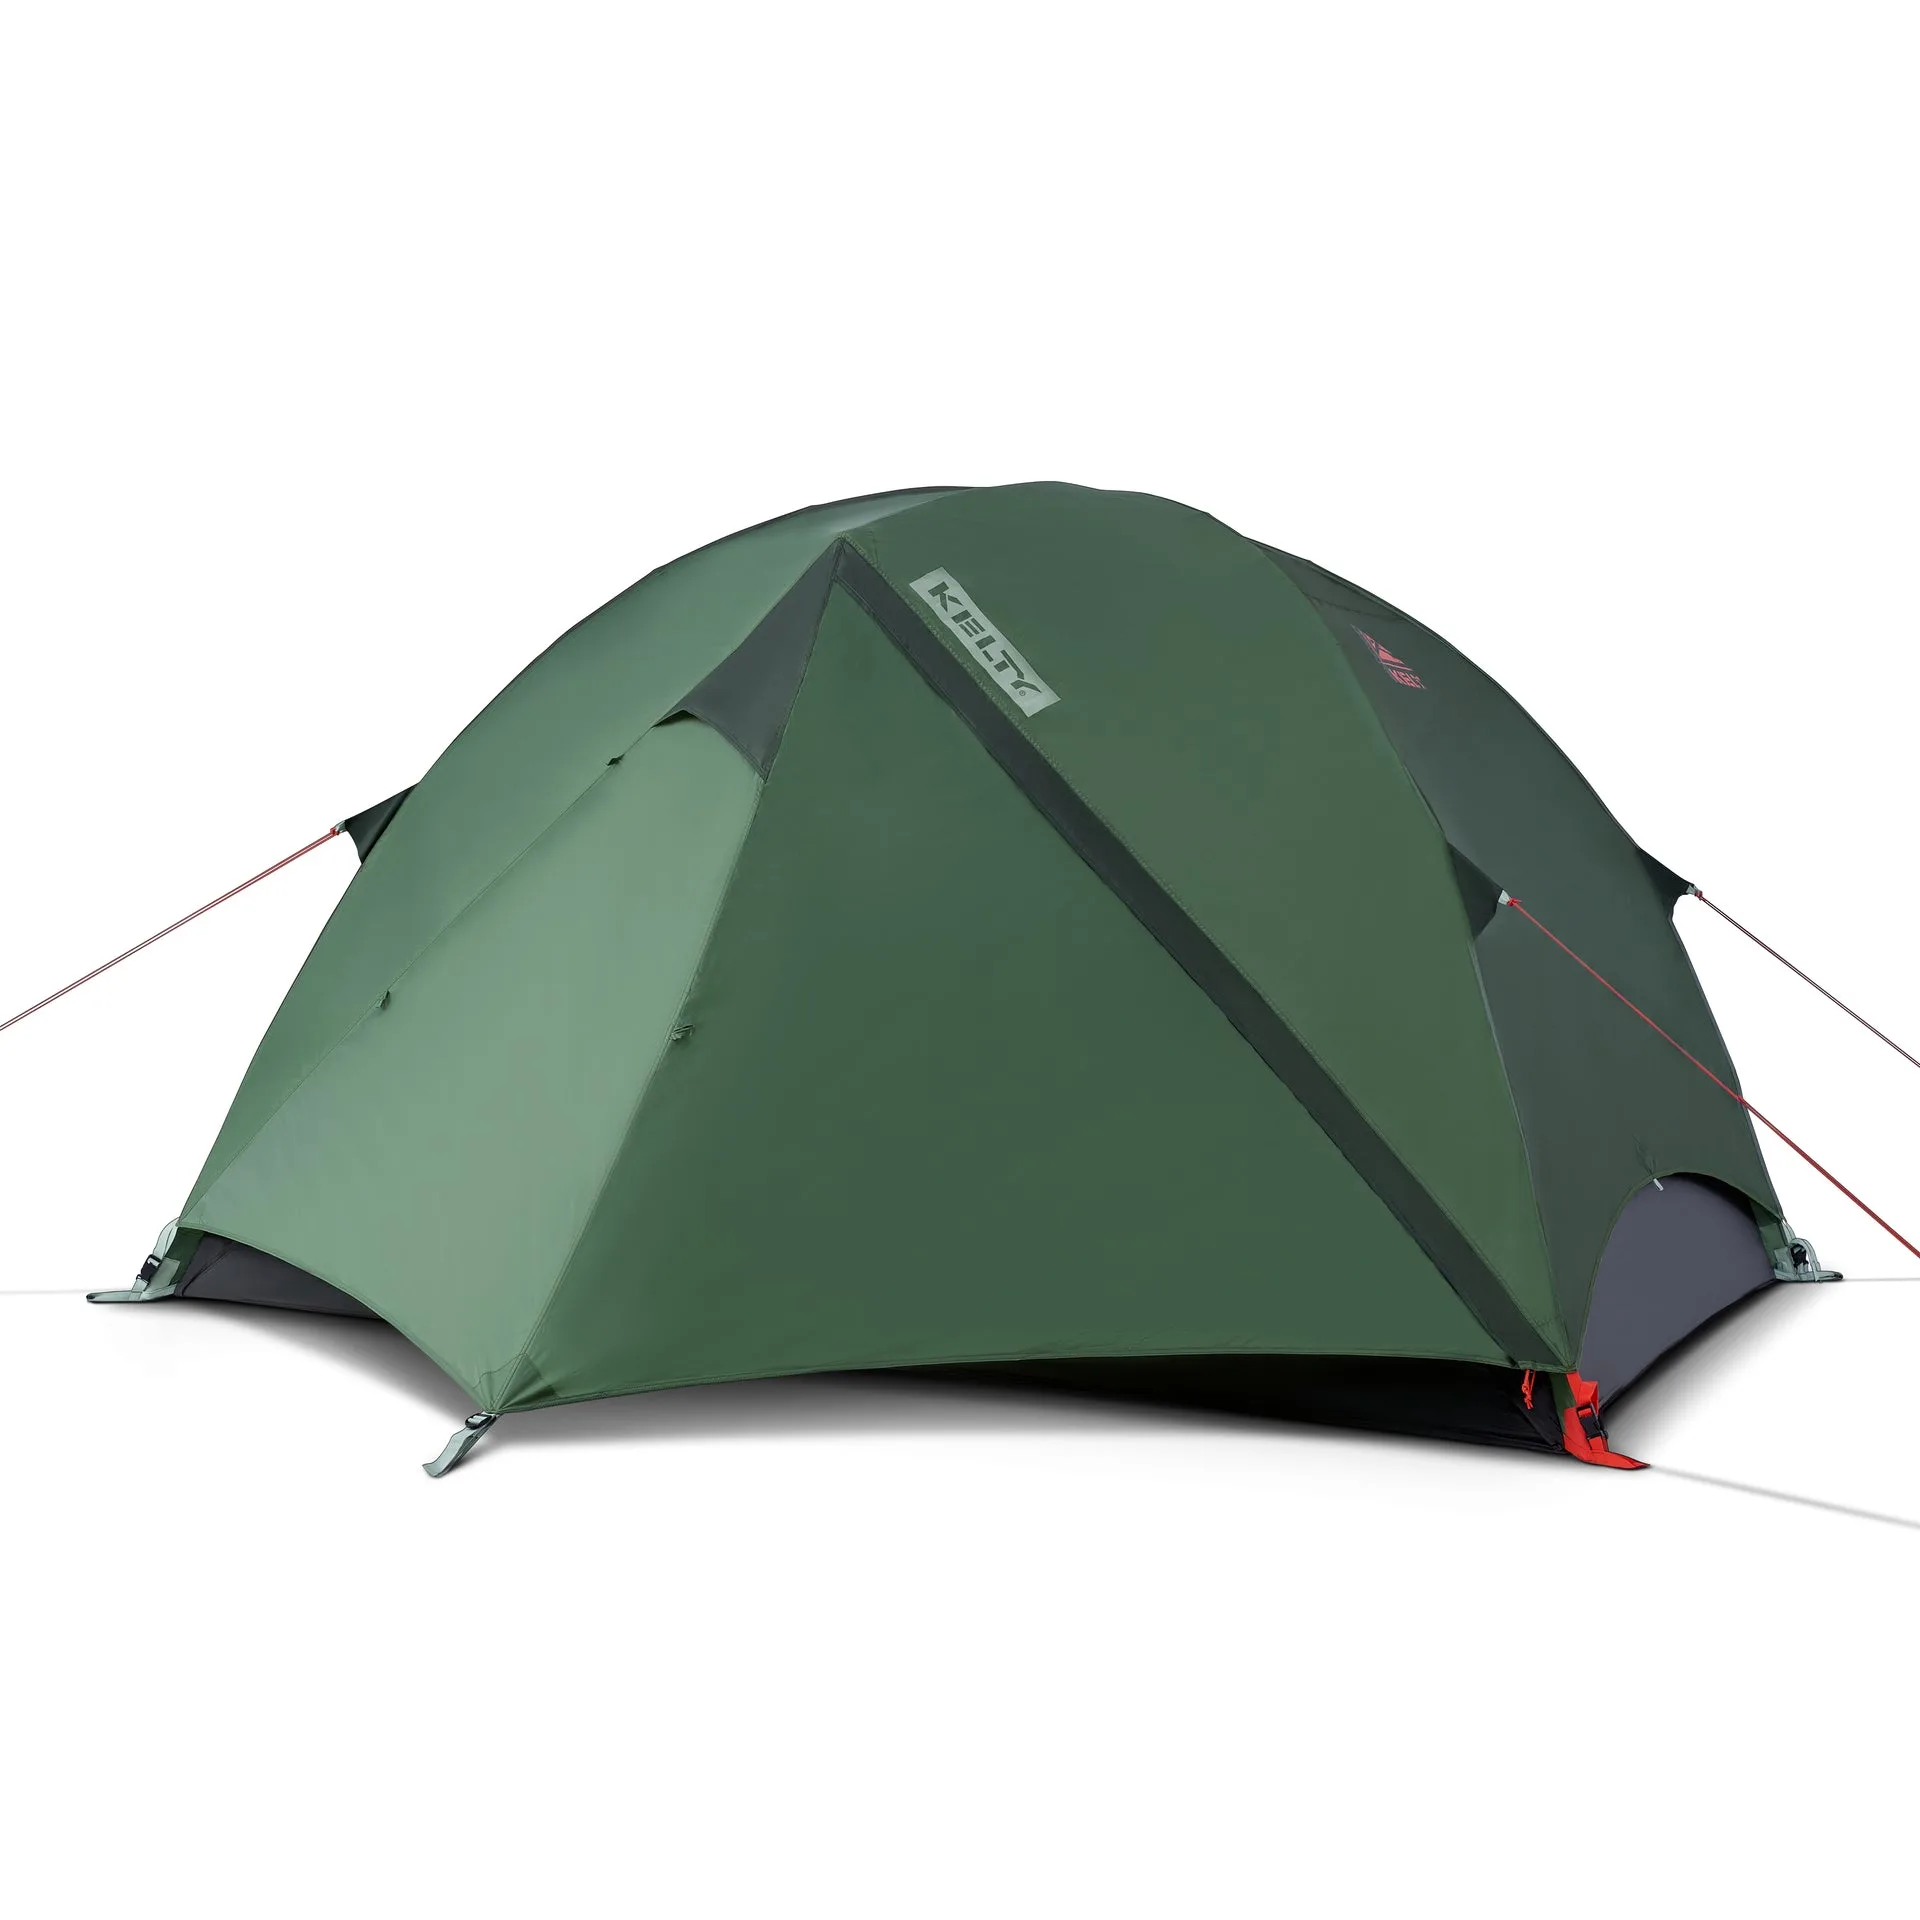
Wireless 4P Tent
- Use a footprint to mark your tent's position.
- Stake windward side first in windy conditions.
- Invest in a tent with color-coded poles.
Common Mistakes to Avoid
Even experienced campers make mistakes when setting up a tent. One common error is not staking the tent down properly. If you skip staking or leave stakes loose, your tent can collapse in the wind or become a tripping hazard. Always stake all corners and loops, and pull the fabric taut.
Another mistake is rushing the pole assembly. Forcing poles into sleeves can damage the fabric or break the pole. Take your time to feed the pole through smoothly, and never step on the poles to bend them into shape. If a pole gets stuck, back it out and try again rather than forcing it.
Finally, don't forget to attach the rainfly correctly. A poorly attached rainfly can cause condensation buildup or leaks. Make sure the rainfly is centered and all clips are secured. Also, stake out the guy lines to keep the rainfly taut and improve ventilation.
- Always stake all corners and loops.
- Feed poles gently through sleeves to avoid damage.
- Center the rainfly and secure all clips.
Recommended Kelty Dome Tents for Quick Setup
If you're in the market for a new dome tent, Kelty offers several models that excel in fast setup and ease of use. The Discovery Trail 2P Tent is perfect for solo campers or couples. Its simple two-pole design and color-coded clips make assembly a snap, and it's lightweight enough for backpacking.
For families or groups, the Wireless 4P Tent provides ample space and a straightforward setup. The freestanding dome design means you can move it easily, and the included footprint adds durability. Both tents are excellent choices for beginners looking to master dome tent assembly.
Remember, the key to fast tent setup is practice. With these tips and the right gear, you'll be pitching your dome tent like a pro in no time. Happy camping!
- Discovery Trail 2P Tent: ideal for two-person trips.
- Wireless 4P Tent: spacious and easy to set up.
Setting up a dome tent doesn't have to be a chore. With a little preparation and the right techniques, you can have your camp ready in minutes. Whether you choose the Discovery Trail 2P Tent for a quick overnight or the Wireless 4P Tent for a family getaway, Kelty's dome tents are designed to make your outdoor adventures more enjoyable. So get out there, practice your setup, and embrace the great outdoors with confidence!