Quick Answer
To set up the F810 Wireless Dog Fence for a large yard, place the transmitter centrally, set a circular boundary that fits your space, and train your dog with clear flags and positive reinforcement.
Why the F810 Works Well for Large Yards
The F810 Wireless Dog Fence uses a circular boundary, which makes it a flexible option for large yards without the need for burying wire. Its upgraded chip provides a stronger, more consistent signal, which helps reduce dropouts in bigger spaces.
Because the boundary is circular, you need to plan placement carefully. If your yard is irregularly shaped, the fence may cover areas you don't want or miss corners you do. Consider whether a circular range fits your actual layout before committing.
Planning Your Boundary
Before powering on the system, walk your yard and mark the areas where you want your dog to roam. Keep in mind that the F810 creates a circular zone, so the transmitter must be positioned so the circle covers the safe areas and excludes hazards like pools, roads, or gardens.
For very large yards, you may need to place the transmitter near the center of the desired area. If your yard is wider than the maximum range, you may need to consider an in-ground fence or a system with multiple transmitters.
Step-by-Step Setup Guide
- Choose the Transmitter Location: Place the F810 transmitter near the center of the area you want to cover, ideally indoors or in a weather-protected spot. Ensure it's on a flat surface and within range of a power outlet. Avoid placing it near large metal objects or other electronics that could interfere with the signal. Check that the transmitter is not in a basement or behind thick walls, as this can reduce signal strength.
- Set the Boundary Range: Adjust the range dial to the desired radius. Start with a smaller range and gradually increase it as your dog learns. For a large yard, set the range to cover the safe play area, but leave a buffer from hazards. A common mistake is setting the range too large initially; this can overwhelm your dog. Increase gradually over several days.
- Mark the Boundary with Flags: Walk the perimeter of the boundary with the receiver collar in hand. When the collar beeps, place a flag at that spot. Continue around the entire circle, placing flags every few feet so your dog can see the boundary. Make sure flags are visible and not hidden by tall grass or bushes.
- Fit the Receiver Collar: Fit the collar snugly on your dog's neck, leaving enough room to slip two fingers underneath. Ensure the contact tips touch the skin. The F810 includes skin-friendly titanium tips to reduce irritation, but you should still check the skin regularly. Do not leave the collar on for more than 8-12 hours a day to prevent skin irritation.
- Train Your Dog with Positive Reinforcement: Introduce your dog to the flags and the warning tone. Walk your dog on a leash near the boundary; when the collar beeps, praise and lead them back to the safe zone. Repeat this for several sessions, then practice off-leash under supervision. Never punish your dog for approaching the boundary; the goal is to associate the tone with staying inside.
- Test the System Regularly: Periodically walk the boundary with the collar to confirm the signal is consistent. Check for any dead zones or areas where the collar doesn't beep. Also verify the collar battery and that the transmitter is still powered. If you notice inconsistent signal, move the transmitter slightly or adjust the range, as large yards can have signal variations.
Product Facts
-
F810 Wireless Dog Fence: Upgraded stability: Advanced chip for a stronger, more consistent signal. A stronger signal helps maintain a reliable boundary across a large yard, reducing false corrections or escape opportunities.
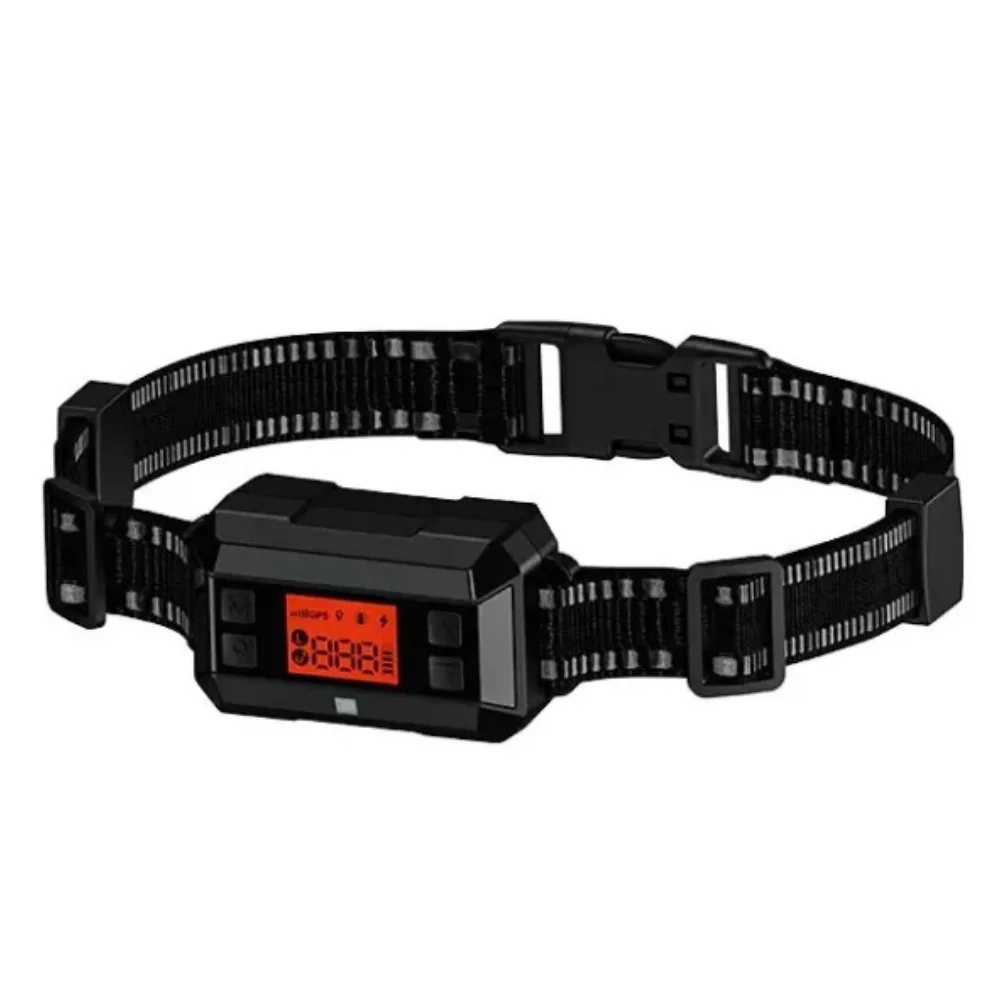
F810 Wireless Dog Fence
-
F810 Wireless Dog Fence: Flexible boundary: Circular range. The circular shape means you can adjust the radius to fit your yard, but you must plan around the shape to avoid covering unwanted areas.