Quick answer
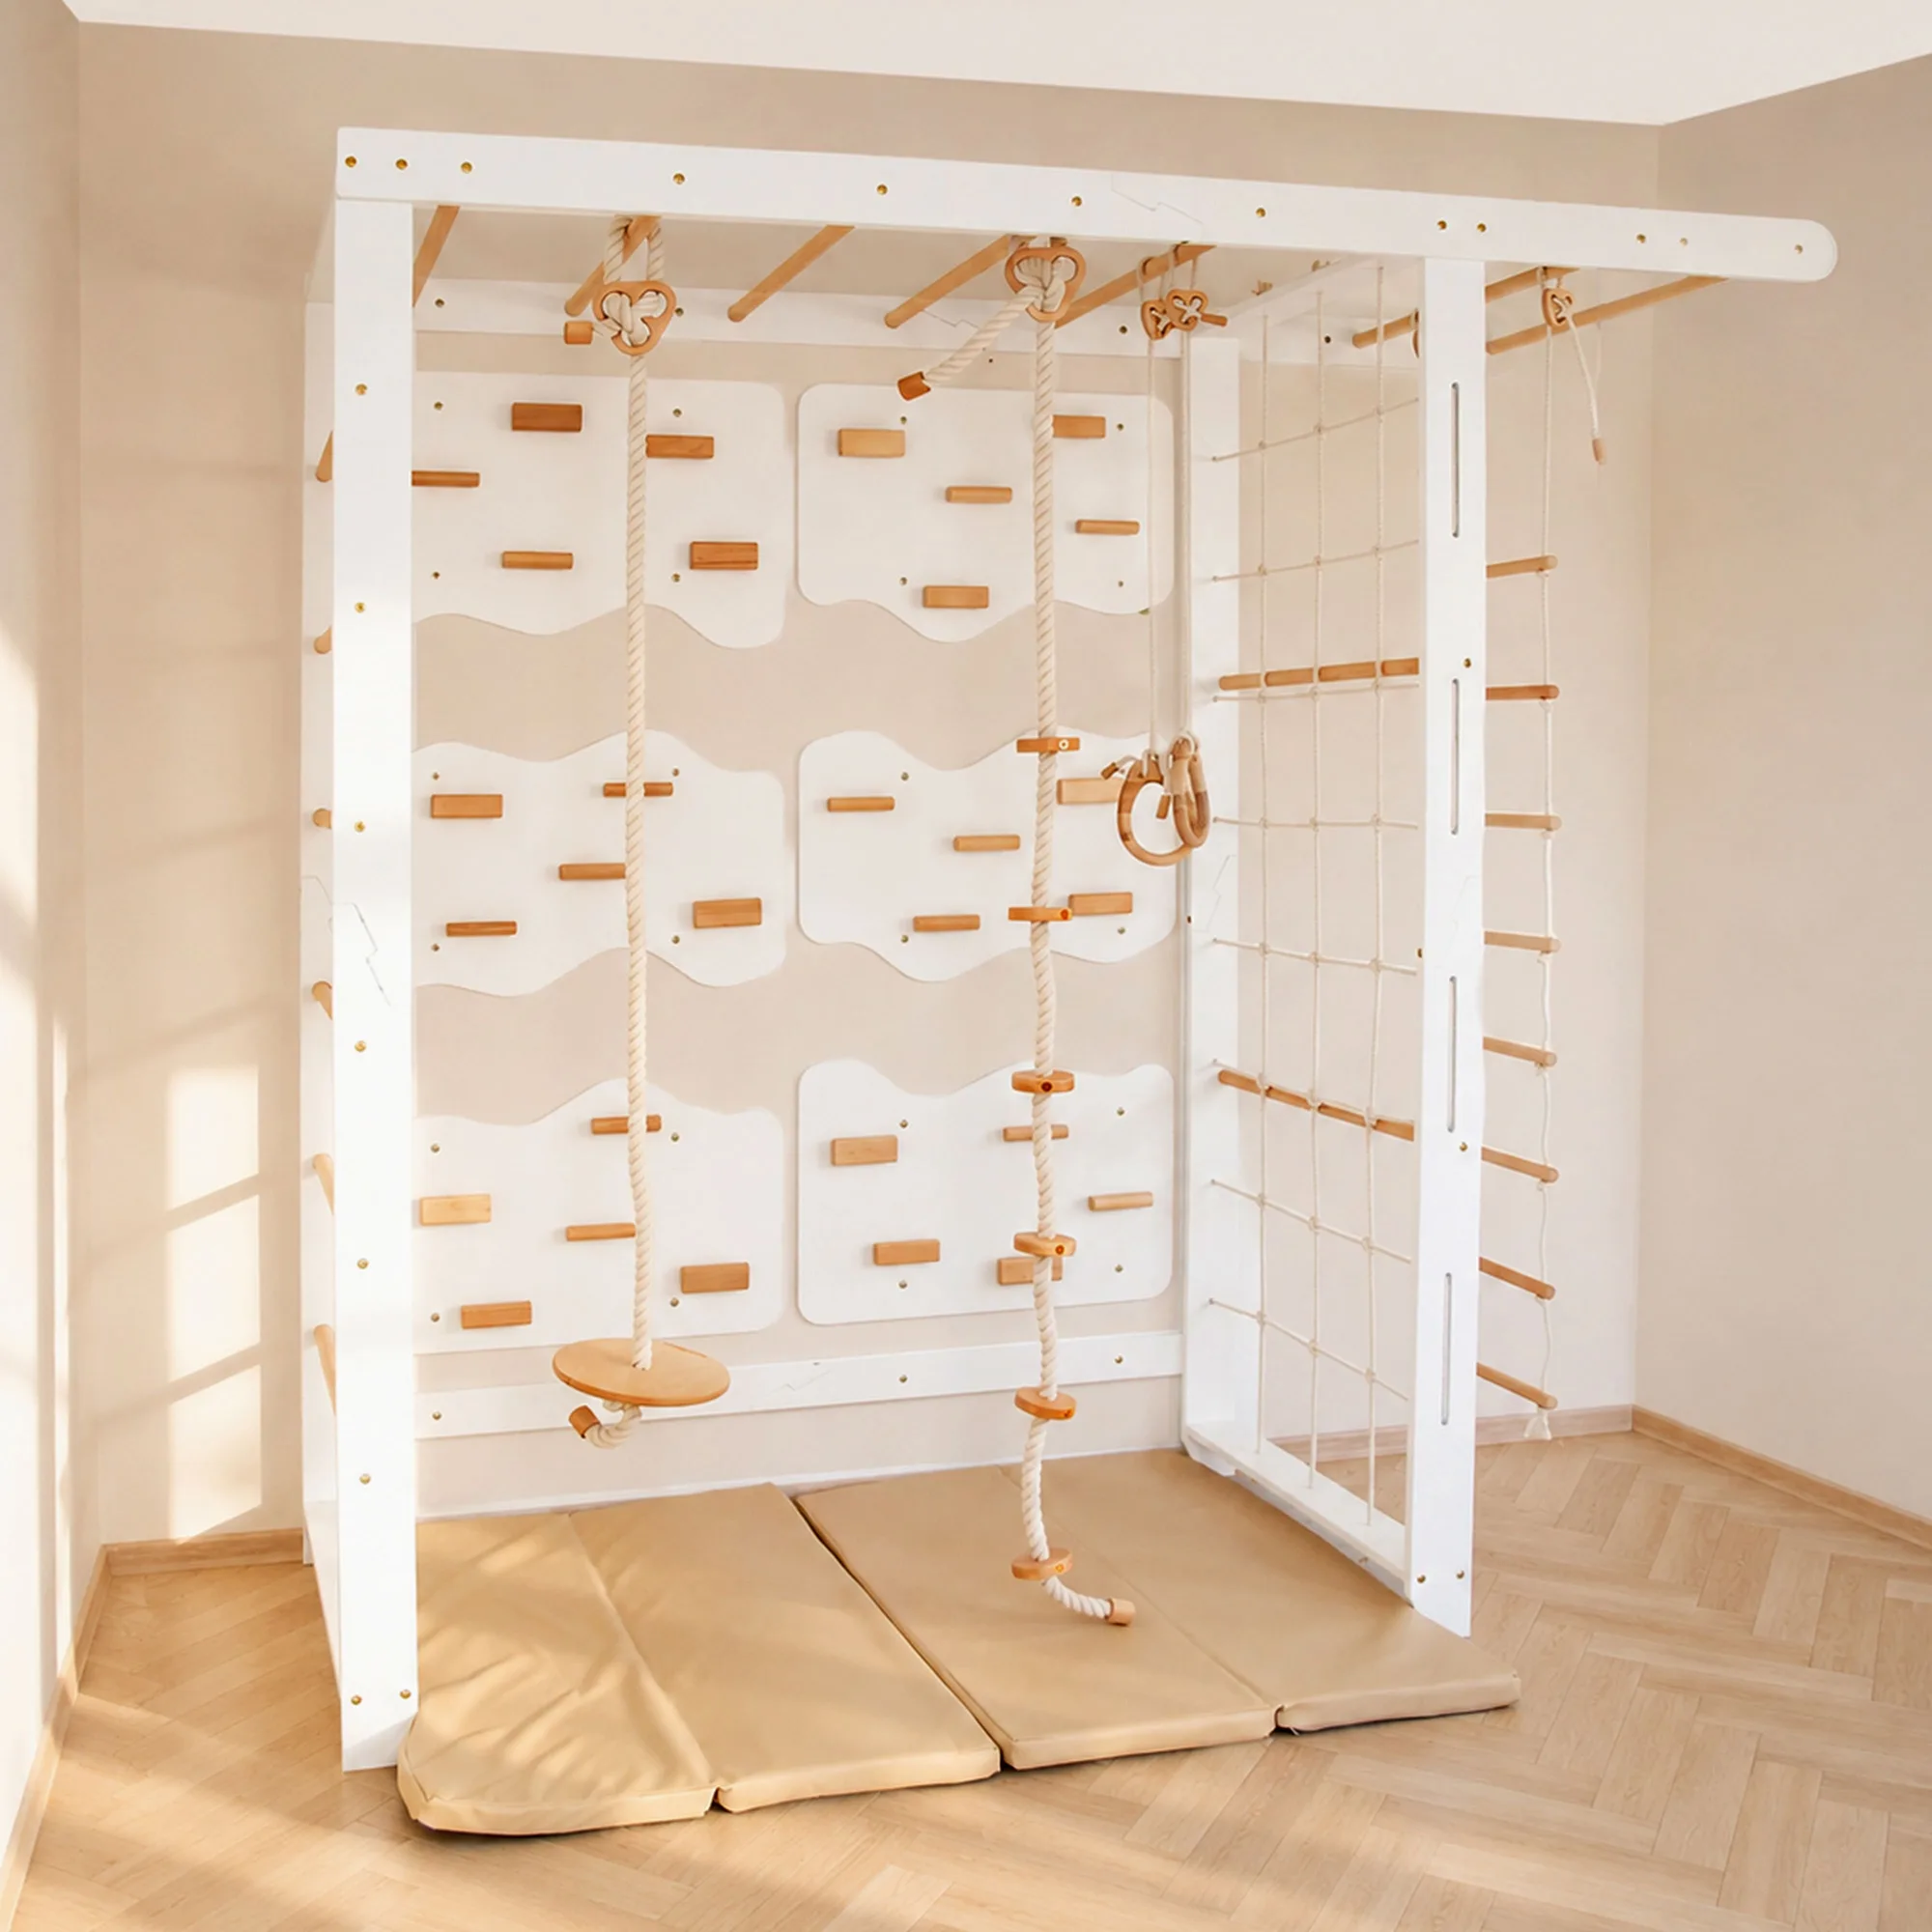
Treat a home climbing wall kids will actually use as a three-part job: choose a wall that can take the load, mount the climbing surface and its accessories at the right heights, then test every fixing before your child touches it. Pick the wall first, not the accessories. If you want one order that covers climbing, swinging, and sliding together, a complete set such as the Climbing Wall Playground removes most of the matching guesswork.
home climbing wall
Before you drill: pick the wall and clear the landing zone
Walk the room and choose a wall that is solid, unobstructed, and away from windows, radiators, and furniture corners. You need clear floor space in front of the wall that is at least as deep as your child is tall, so a fall lands on a mat rather than a table edge. Check that the wall you chose can carry a pulling load, not just a picture-frame load; if you are unsure whether it is masonry, stud, or a hollow partition, that is the point to ask a builder rather than guess.
Measure the usable height and width before ordering anything. A climbing surface that runs out of headroom forces you to lower the top holds, which shortens the climb and makes the whole setup feel cramped.
Match the wall to your child's age and the room you have
Age changes what you mount. Younger children need lower, closely spaced holds and a short fall to the mat; older children want more reach between holds and enough width to traverse sideways. If two children will share the wall, plan for the older child's reach and keep the youngest child's starting zone at the low end.
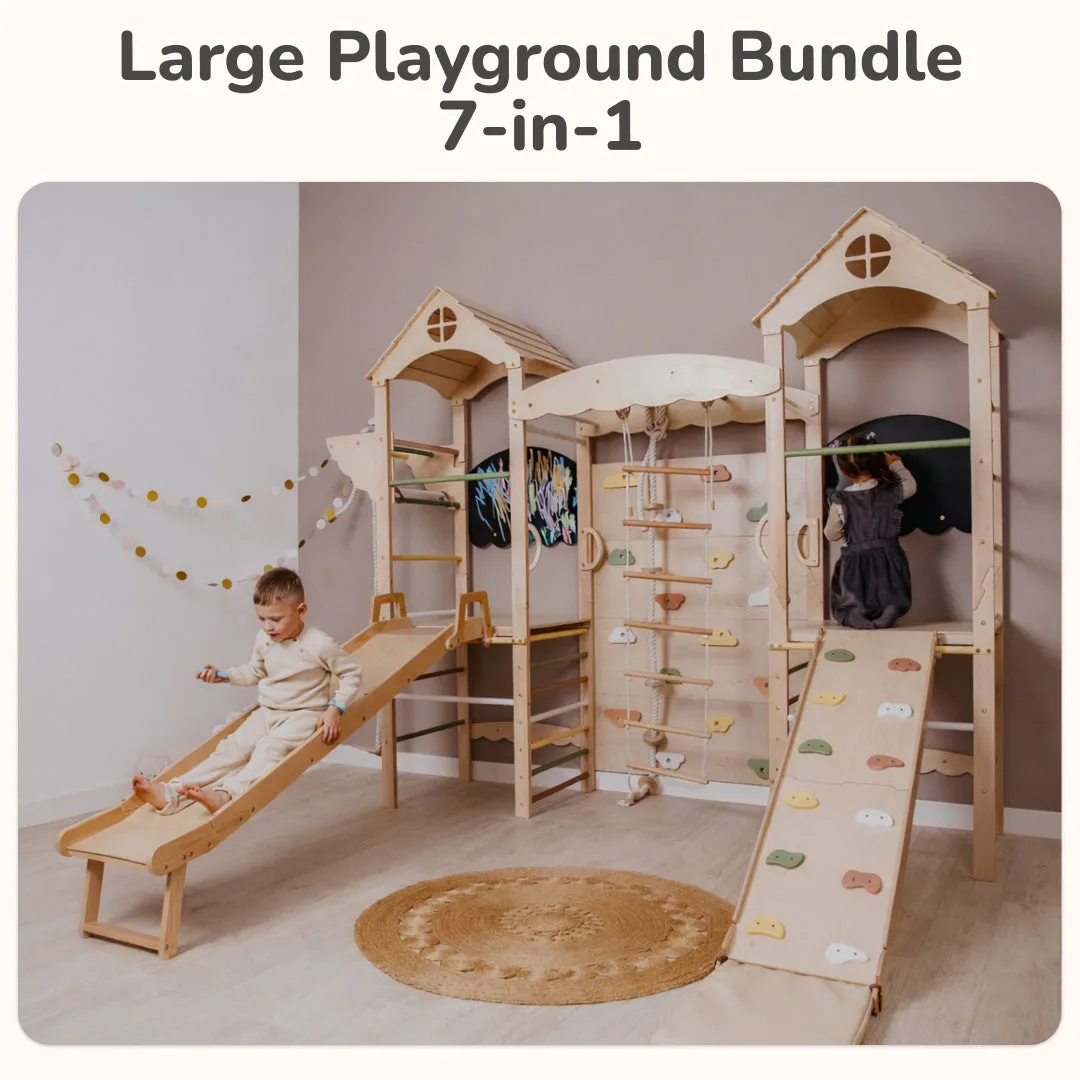
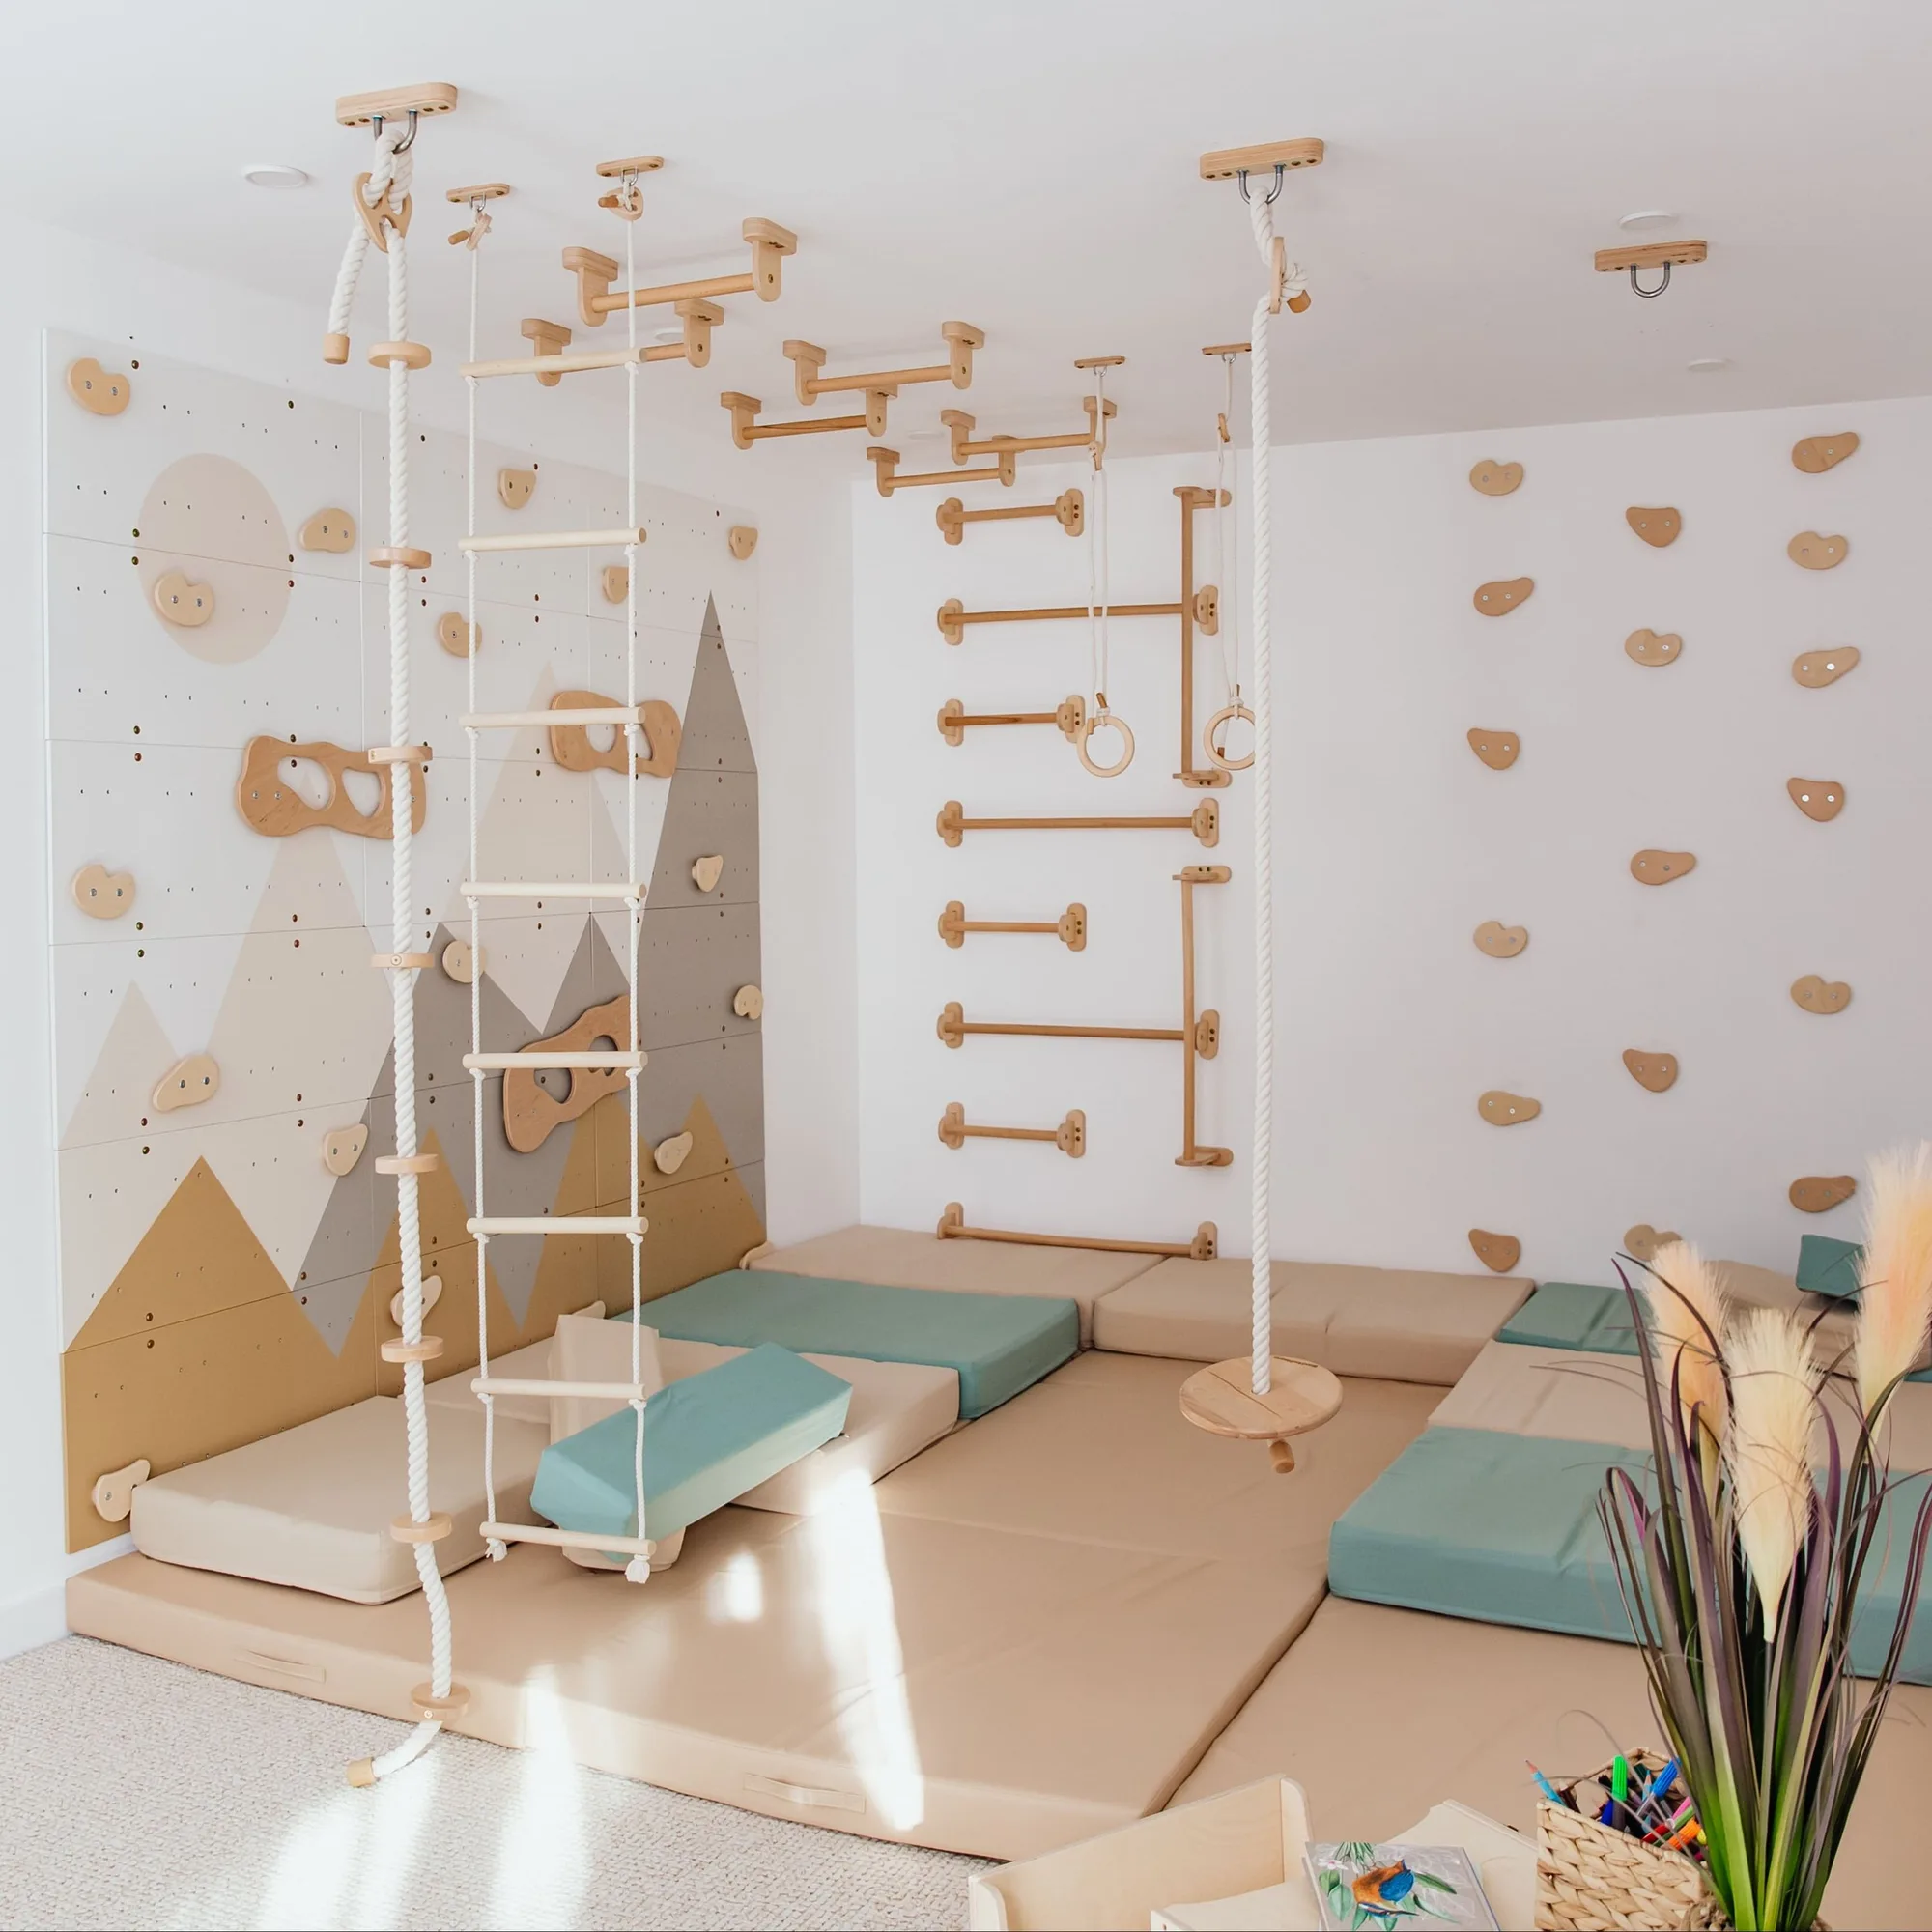
Room size decides whether you mount a wall on its own or build a fuller playroom. A single wall fits narrow rooms and hallways; a full playroom setup needs more floor space but keeps climbing, swinging, and sliding in one footprint. Decide this before you buy, because adding swing or slide elements later usually means re-checking the mounting points.
Mount the wall, then add holds and accessories
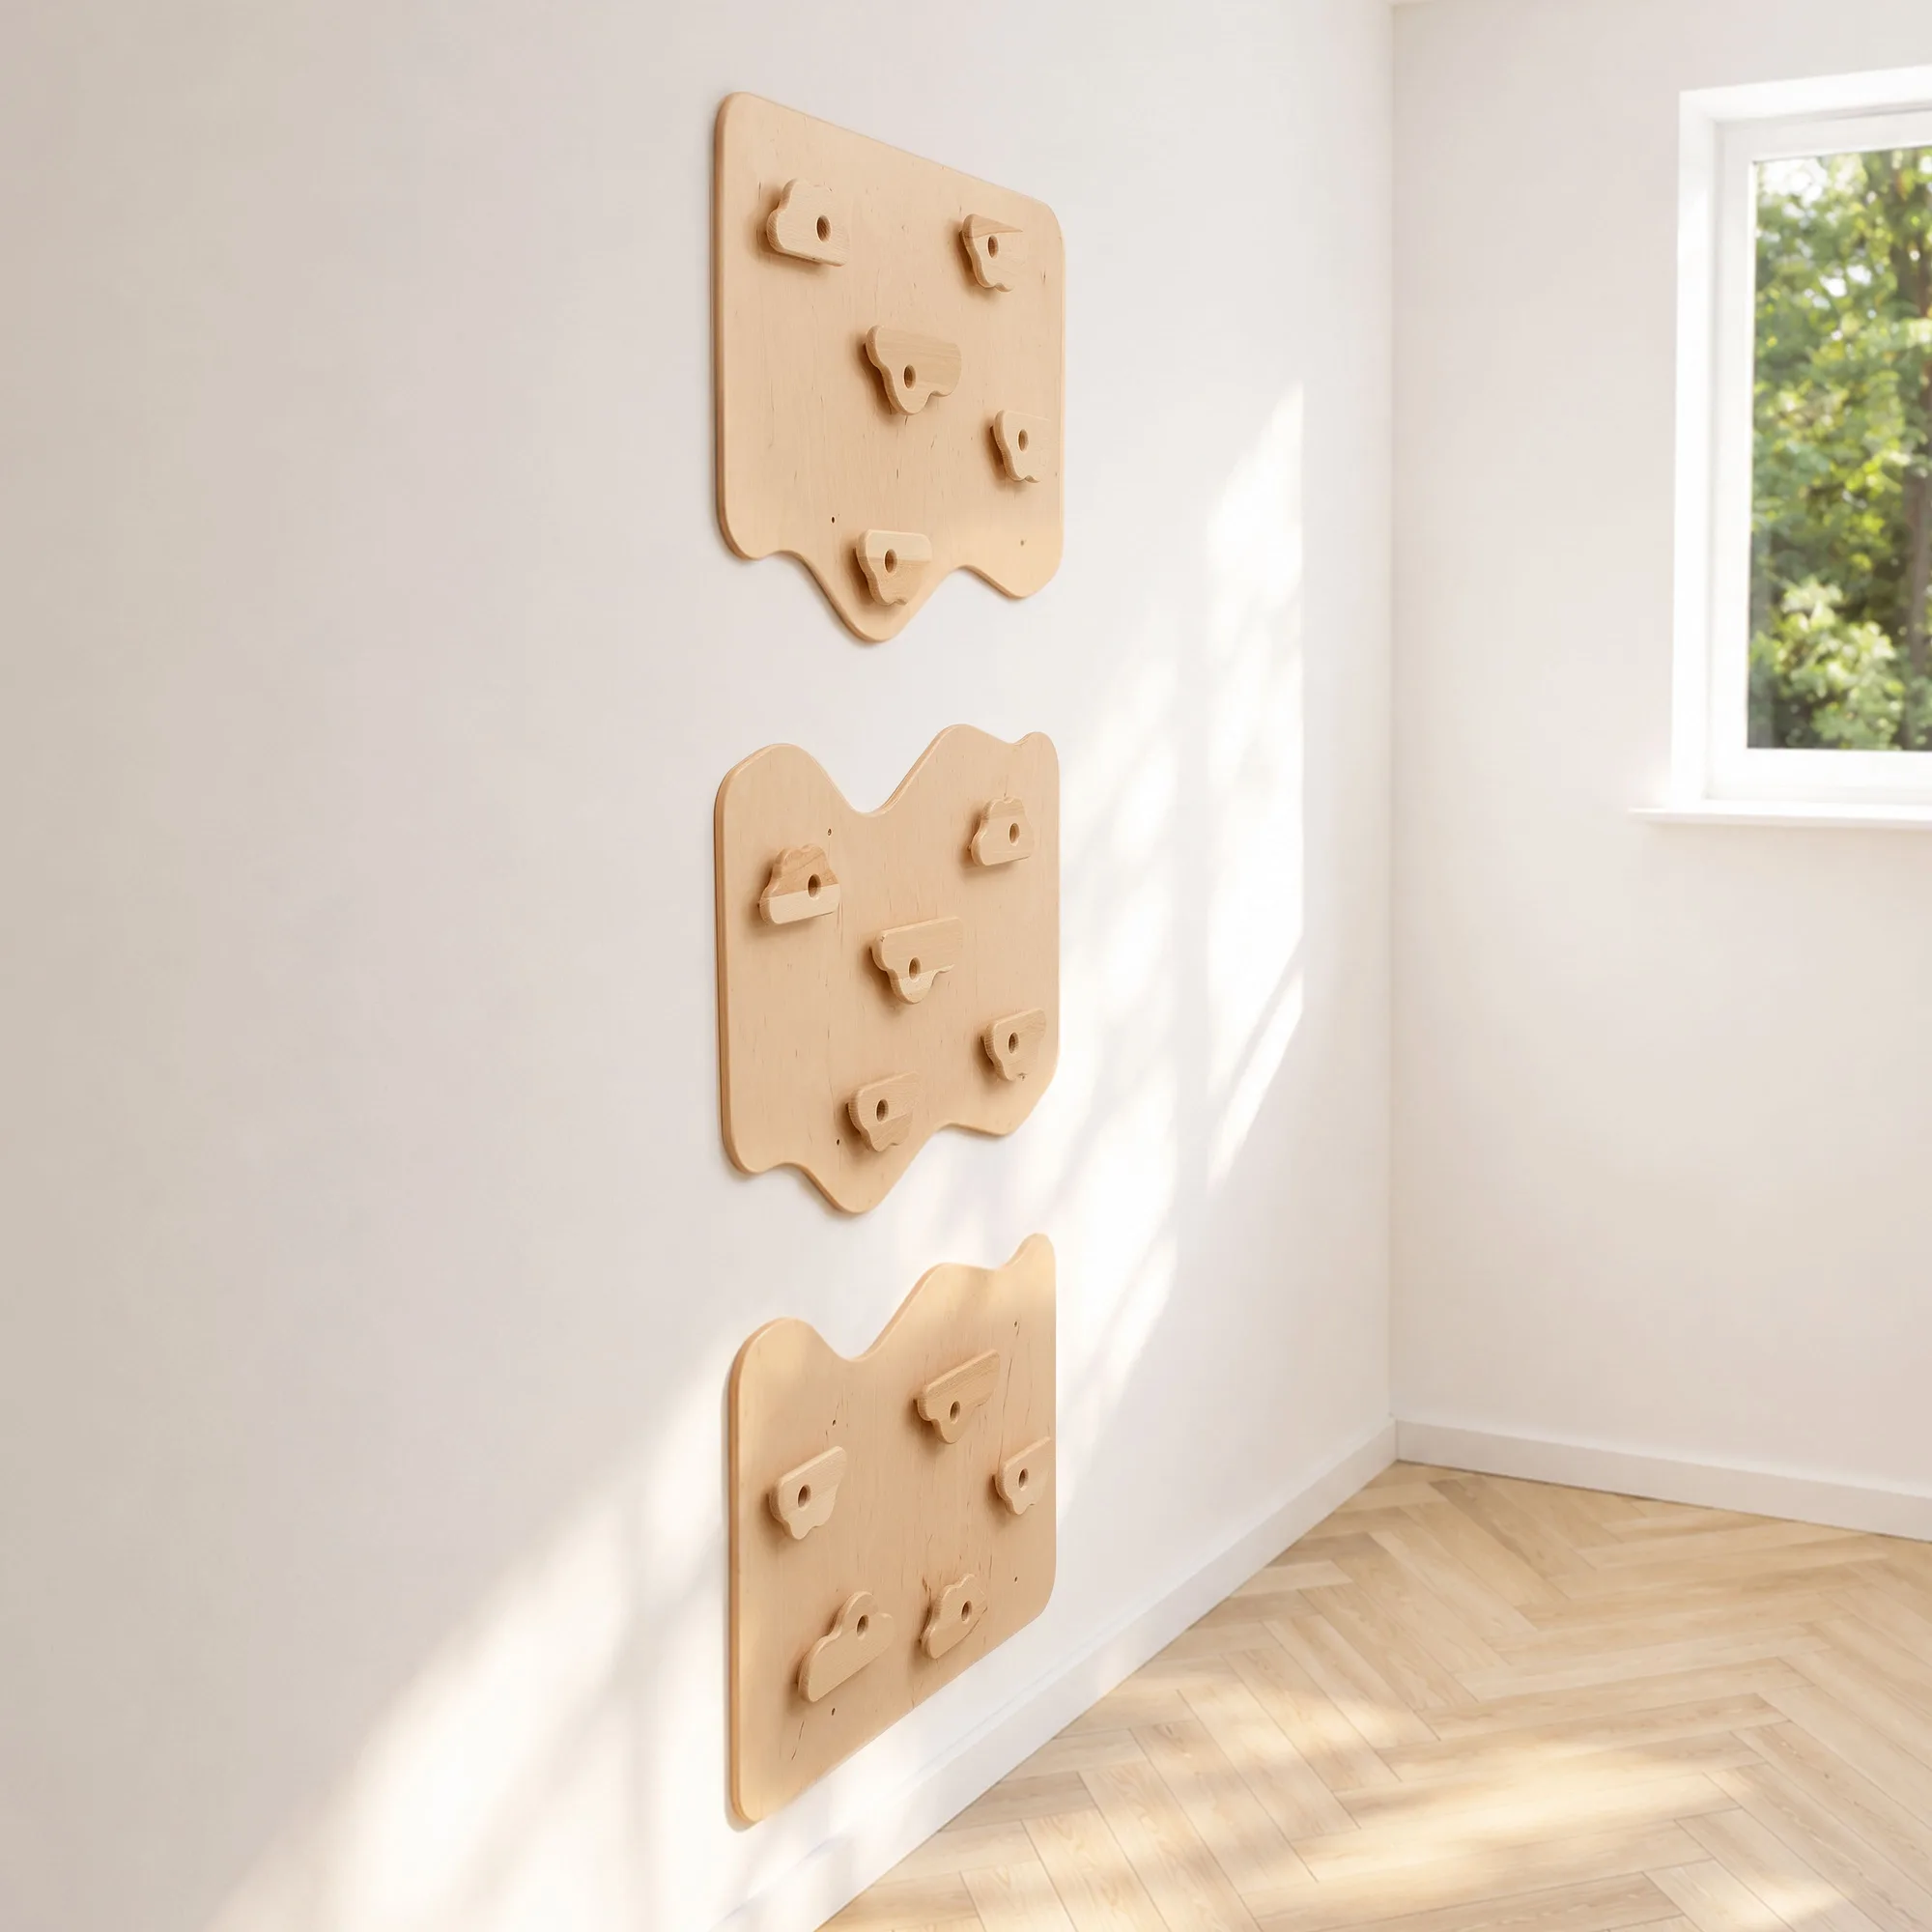
Fix the climbing surface to the wall first and confirm it is level and rigid. Only then add holds, and stagger them rather than lining them up in a ladder pattern, so your child has to shift weight and plan a route instead of climbing straight up. Tighten each hold so it cannot rotate under a hand or foot.
If your setup includes a swing or slide, mount those elements only after the climbing surface is solid, and keep their swing arc clear of the wall itself and of any hard furniture. Re-check every fixing after the first week of use, since wood and wall fixings can settle once they are loaded repeatedly.
Set the safety rules before the first climb
Agree on the ground rules on day one: one climber at a time, no climbing in socks, and no hanging from the top edge. Put a proper mat under the wall and keep it there, not folded against the wall where it gets pushed aside.
Inspect the setup monthly. Look for loose holds, wobbling joints, frayed rope or straps, and any movement in the wall itself. If something moves when you push it firmly by hand, stop using it until it is fixed.
Setup steps, with the mistake to avoid at each one
- Step 1: Confirm the wall can take the load: Identify whether the wall is masonry, stud-framed, or hollow, and use fixings rated for that material. Do not assume a wall that holds shelves will hold a climbing child. Checkpoint: push firmly on the mounted surface by hand before anyone climbs.
- Step 2: Mark the height and mat zone: Set the top of the climbing surface so your child has headroom, then mark the floor area the mat must cover. Common mistake: mounting too high because it looks better, which leaves no room for the upper holds. Checkpoint: the mat should sit fully under the climbing zone, not half under it.
- Step 3: Fix the surface before the holds: Secure the climbing surface, confirm it is level and rigid, and only then attach holds. Common mistake: adding holds first and using them as handles while mounting the board. Checkpoint: no flex or rattle when you press the centre of the surface.
- Step 4: Stagger the holds for real movement: Spread holds so your child shifts weight sideways and plans a route. Common mistake: a straight ladder pattern that only trains going up and down. Checkpoint: each hold should be tight enough that it cannot rotate by hand.
- Step 5: Add swing or slide elements last: Mount any swing or slide after the climbing surface is solid, and keep the swing arc clear of the wall and hard furniture. Common mistake: mounting them first and then working around them. Checkpoint: nothing in the swing path can be struck at full extension.
- Step 6: Re-tighten after the first week: Wood and fixings settle under repeated load, so go over every bolt and joint again after the first week of use, then move to a monthly check. Checkpoint: if anything moves when you push it firmly, stop use until it is fixed.
Products that fit this setup
- Climbing Wall Playground: The Climbing Wall Playground is a complete playroom solution built around an Indoor Climbing Wall, intended for children from 3 years and up, and it supports motor skill development, balance, and confidence. If you want the climbing surface and the surrounding play elements to arrive as one matched kit, this removes the step of sourcing compatible accessories separately.
- Large Kids Indoor Playground, Complete Playspace for Kids: The Large Kids Indoor Playground is a Montessori-inspired playspace combining climbing, swinging, and sliding elements for children aged 3–8. Choose this when you have the floor space for a full adventure zone and want movement, coordination, and strength work in one area rather than a single wall.
- Climbing Playground: The Climbing Playground is a bundle that includes everything needed for climbing, swinging, and active fun in one set, so no extra shopping is required. A sensible middle option when you want more than a bare wall but are working with a tighter budget or a smaller room than a full playspace needs.