Quick Answer
Set up a kids craft station at home by choosing a spot near a washable surface, setting a child-height table, and storing only the supplies your child can use independently. Keep the setup simple: one clear work zone, one reachable supply zone, and one drying or display zone. Add materials gradually so the space stays tidy and easy to reset.
A craft station works best when it is small, reachable, and easy to reset. You do not need a full art room. A corner with a child-height table, a few clear bins, and a wipeable surface gives kids the independence to start making without asking for help every two minutes.
The trick is to build the station around your child's actual habits. If they paint standing up, skip the chair. If they lose small parts, use one tray per project. The steps below walk through a craft space setup that stays usable after the first enthusiastic afternoon.
Pick a Spot That Can Get Messy
Choose a location with hard flooring or a washable rug, good light, and a wall you do not mind taping artwork to. Kitchens, dining room corners, and hallway nooks usually beat bedrooms because you can see the space while you cook or tidy nearby. Avoid carpeted rooms and spots directly under shelves that hold important items.
Check the outlet situation before you commit. If you plan to use a glue gun or a small lamp, you need a socket nearby, but cords should run behind furniture rather than across the walking path. A spot with a window is ideal for natural light, but direct afternoon sun can fade paper and make crayons soft.
- Common mistake: choosing a spot for looks instead of for cleanup.
Set the Table and Seating at the Right Height
A child-height table is the single biggest upgrade for a kids craft station at home. When feet rest flat on the floor or on a stable footrest, kids can press harder with crayons and control scissors better. A dining table with a booster seat works, but a dedicated low table means you do not have to clear the family meal every time inspiration strikes.
If you use a chair, check that elbows sit near the tabletop when your child is seated. For toddlers, a floor mat or low tray may work better than a chair they climb on and off. Keep the table clear except for the current project so the work zone does not become a storage shelf.
- Checkpoint: your child can sit, reach the middle of the table, and get up without help.
Organize Art Supplies for Kids in Open Bins
Clear, open bins beat lidded boxes for everyday supplies. If your child can see the crayons, they are more likely to put them back. Use one bin per category: drawing tools, paper, glue and tape, and small parts. Label each bin with a simple word or a drawn symbol so pre-readers can match the item to the bin.
Keep only what your child can use safely without supervision in the reachable zone. Scissors, permanent markers, and anything small enough to swallow go on a higher shelf that you control. Rotate supplies every few weeks so the station feels fresh without buying anything new.
- Craft organization ideas: use a shoe organizer over a door for paper and sticker sheets.
Add a Drying and Display Zone
Wet paintings need somewhere to sit while they dry, and finished work needs somewhere to live before it goes on the fridge. A small wire rack, a length of string with clips, or a shallow tray on a shelf solves both problems. This zone keeps wet art off the work table so the next project can start right away.
Displaying work matters more than parents expect. When a child sees their project on the wall, the craft station becomes a place they return to. Swap the display every week or two and ask your child which piece should stay up. That small ritual keeps the space from turning into clutter.
- Common mistake: stacking wet paintings on top of each other.
Set Simple Reset Rules
A craft space setup only survives if cleanup is easy. Decide on one reset cue, such as a timer, a song, or the end of a snack, and make tidying part of the activity rather than a punishment. A five-minute reset where everyone puts items back in the labeled bins keeps the station ready for the next session.
Give each child one job during reset: one gathers paper, one caps markers, one wipes the table. If a project is not finished, use a tray or a zip bag with the child's name so the work can continue later without losing pieces.
- Checkpoint: the table is clear and the floor is walkable before the station is considered reset.
Choose Materials That Fit the Station
You do not need a huge supply closet. A few good tools cover most projects: sturdy paper, washable markers, child-safe scissors, glue sticks, and a roll of tape. Add one specialty item at a time, such as watercolor pans or a stamp set, and see whether it actually gets used before adding more.
If you want a themed starting point, sets like ARTISSIMO crafts group materials around a single project idea, which makes it easier to keep the station focused. A ready-made kit also gives you a natural container for storage once the project is done.
- Common mistake: buying a large mixed craft box that becomes a jumble within a week.
Make the Station Safe and Age-Appropriate
Anchor tall shelving to the wall, keep cords short, and store anything hazardous out of reach. For toddlers, skip small beads and sharp tools entirely and focus on chunky crayons, large paper, and washable paint. For older kids, a locked drawer for sharp items gives them access with a clear boundary.
Check the station from your child's height once a month. What looks tidy from adult eye level can be a tangle of loose parts at kid level. Move anything broken, dried out, or no longer used out of the station so it stays inviting.
- Checkpoint: nothing in the reachable zone is a choking hazard for the youngest user.
Seven Steps to a Craft Station That Stays Usable
- 1. Pick a washable spot: Choose hard flooring or a washable rug with good light and a wall you can tape art to. Checkpoint: you can see the space from where you usually are.
- 2. Set a child-height table: Use a low table or a booster seat so feet rest flat and elbows sit near the tabletop. Common mistake: a table so high your child stands to reach it.
- 3. Add open, labeled bins: Sort drawing tools, paper, glue, and small parts into clear bins your child can reach and return. Checkpoint: pre-readers can match the label to the bin.
- 4. Create a drying and display zone: Use a rack, string with clips, or a shallow tray so wet work has a home off the table. Common mistake: stacking wet paintings.
- 5. Set one reset cue: Use a timer, song, or snack time as the signal to tidy, with one job per child. Checkpoint: table clear and floor walkable.
- 6. Add materials gradually: Start with paper, washable markers, child-safe scissors, glue, and tape, then add one specialty item. Common mistake: a giant mixed craft box that becomes a jumble.
- 7. Re-check safety monthly: Anchor shelving, shorten cords, and move hazardous items out of the reachable zone. Checkpoint: nothing reachable is a choking hazard for the youngest user.
Products That Fit a Craft Station
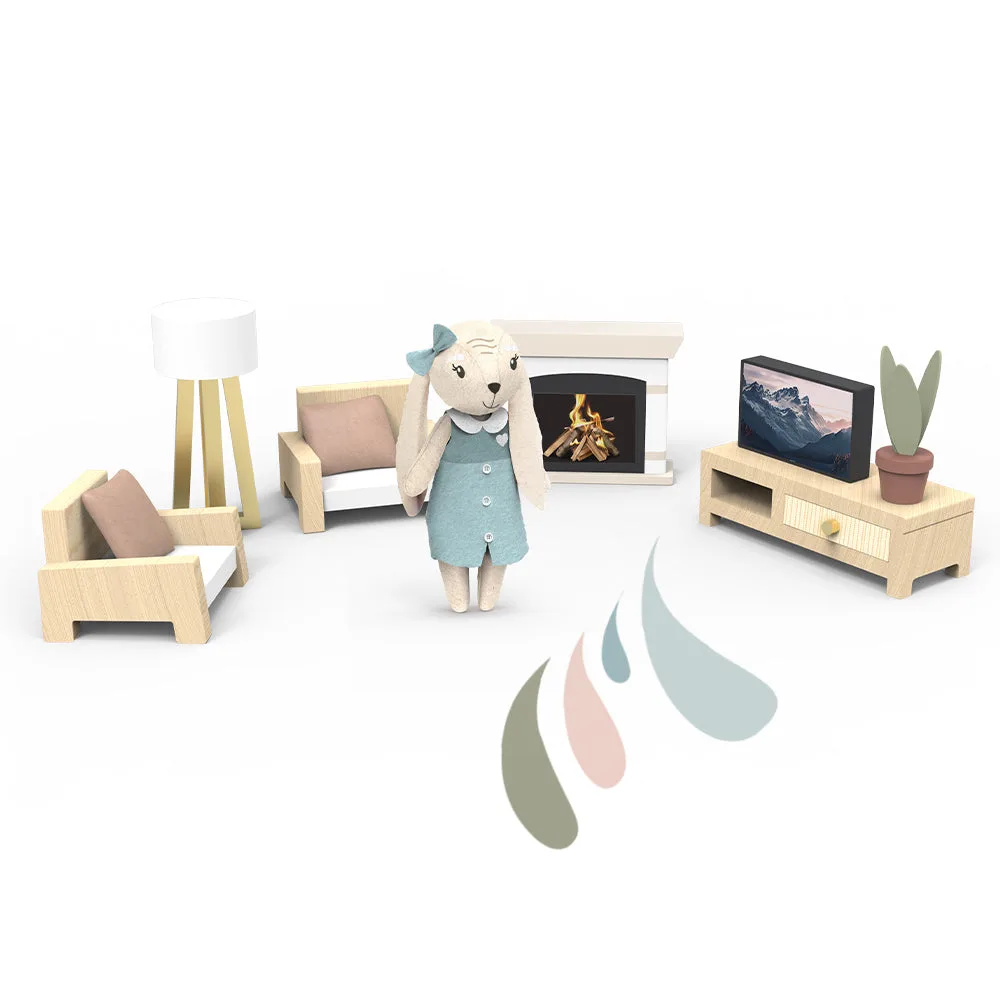
- Doll House Living room set incl. 1 character: Made with FSC-certified wood from a certified supplier via an FSC-certified manufacturing partner, and non-toxic materials. If your craft station doubles as a small-world play corner, a wooden set like this keeps the materials natural and safe for kids who still put things near their mouths.
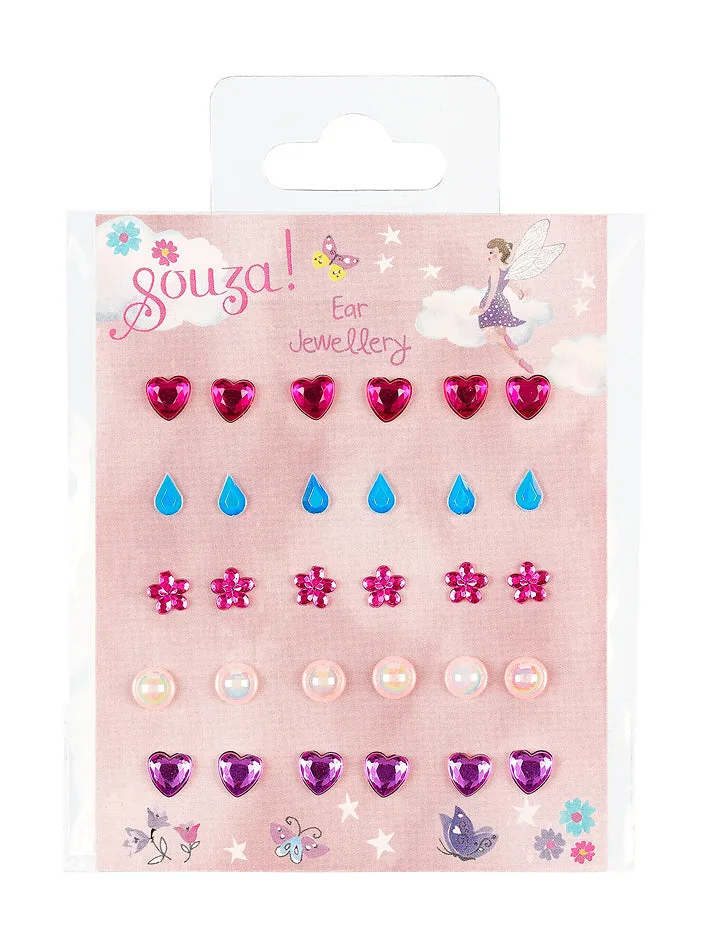
- Ear stickers - Hearts: Self-adhesive, skin-safe stickers designed to decorate ears, easy to apply and remove, with multiple heart-shaped stickers per pack. A low-mess option for the station when you want a quick creative activity that does not need drying time or a table reset.
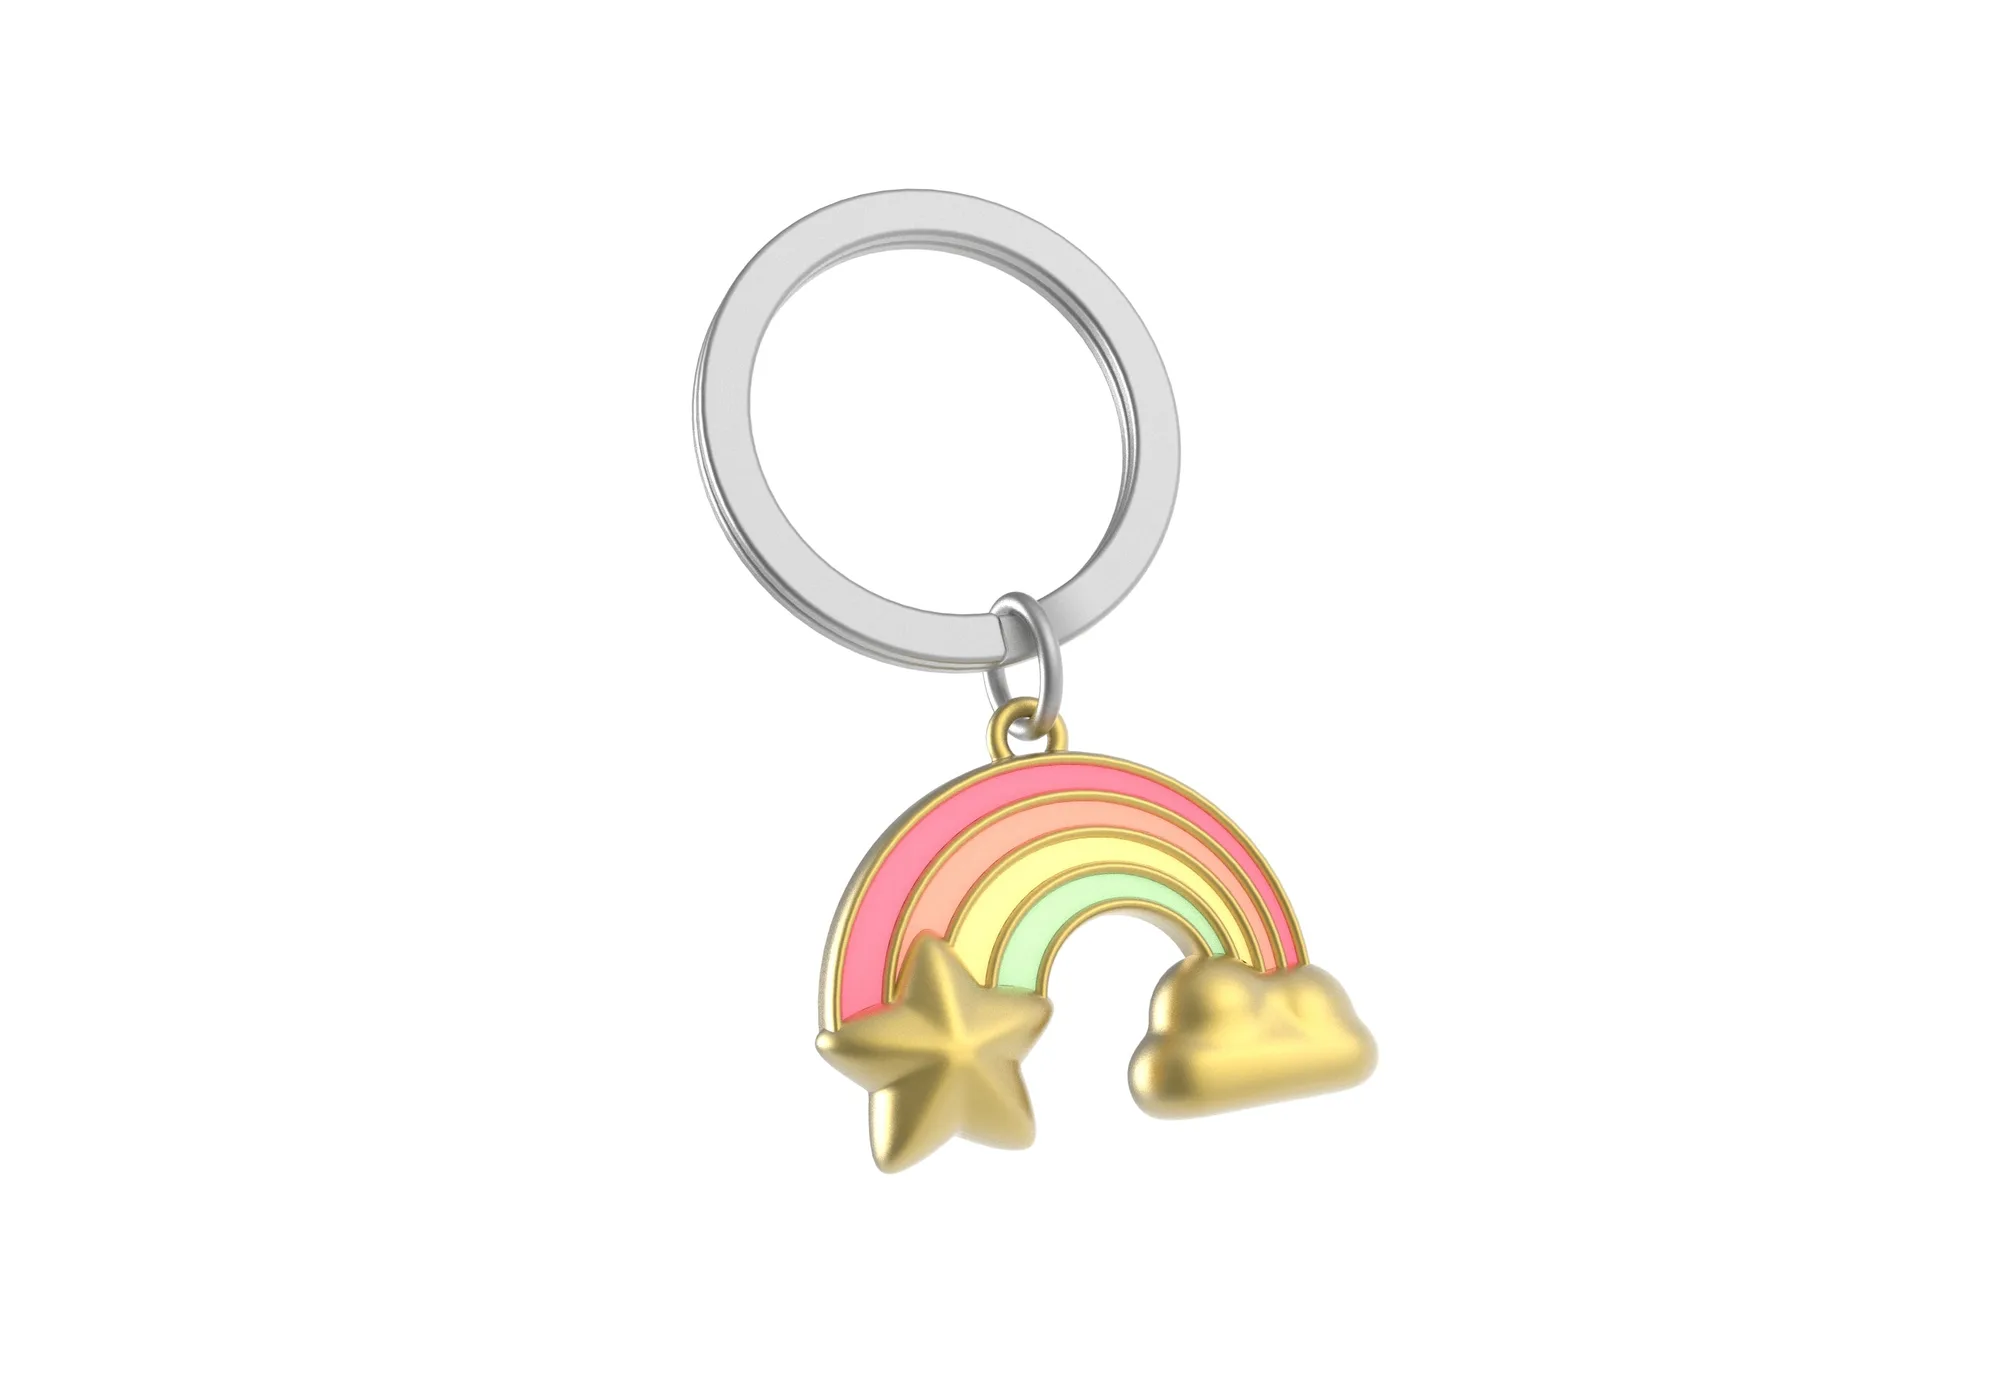
- Rainbow Keychain: Pearl gold finish with pastel epoxy rainbow filling, designed as a small gift or reminder. A finished example to show kids how small handmade-style items can become gifts, which gives the craft station a purpose beyond the table.
A kids craft station at home does not need to be big or expensive. Pick a washable spot, set the table at your child's height, organize art supplies for kids in open labeled bins, and add one reset rule. Review the station every month and adjust it as your child grows. The setup that gets used is the one your child can start and finish without waiting for you.