Setting up a battery-powered Wi-Fi camera is one of the most flexible ways to add security to your home. The Lorex 2K battery-powered Wi-Fi camera offers crisp 2K video, easy installation, and the freedom to place it virtually anywhere—no wiring required. Whether you want to monitor your front porch, backyard, or a room inside your home, this guide walks you through the entire setup process.
In this article, we'll cover everything from unboxing and charging to connecting the camera to the Lorex Home app, choosing the best placement for indoor and outdoor use, and troubleshooting common issues. By the end, you'll have your camera up and running in no time, with clear footage and reliable performance.
What's in the Box and Initial Charging
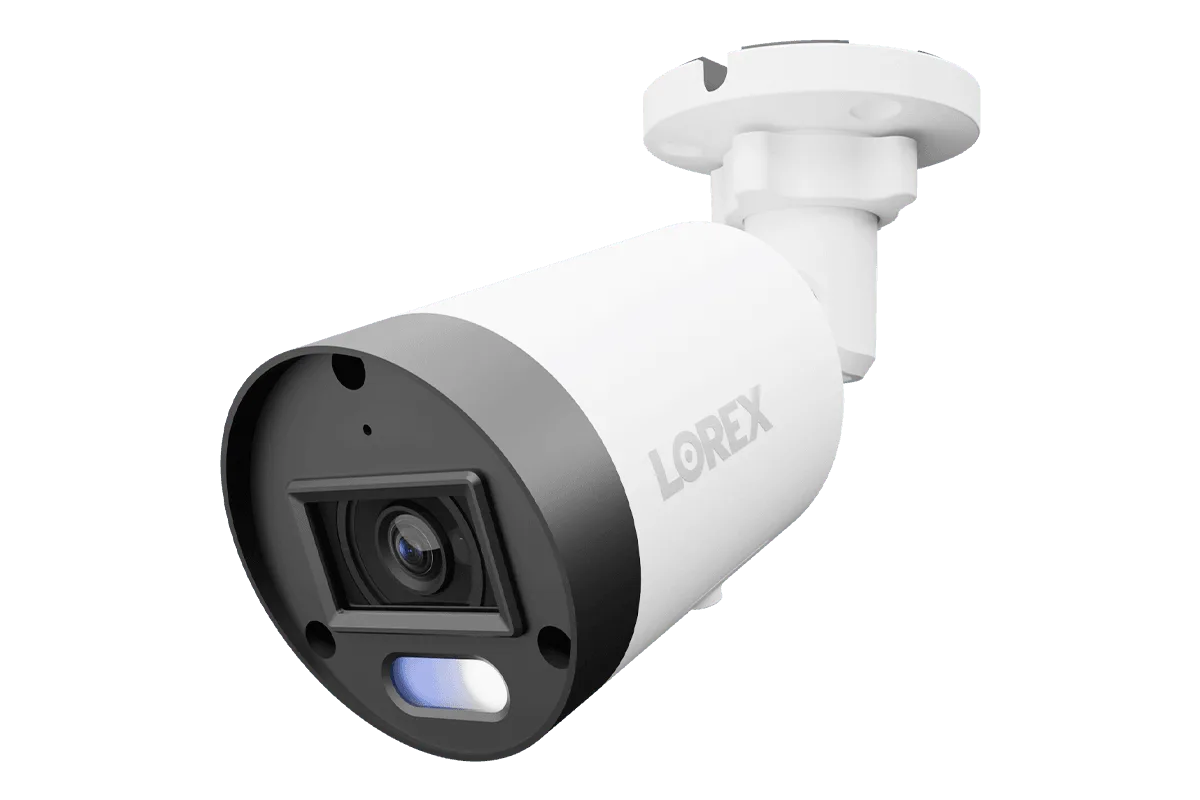
When you unbox your Lorex 2K battery-powered Wi-Fi camera, you'll find the camera itself, a mounting bracket, screws and anchors, a charging cable, and a quick start guide. Before you do anything else, it's crucial to fully charge the camera's battery. A full charge ensures you won't have to interrupt setup to recharge. Plug the included cable into a USB power adapter (not included) and let it charge until the LED indicator turns solid green. This typically takes about 4-6 hours.
While the camera charges, download the Lorex Home app from the App Store or Google Play. Create an account or log in if you already have one. Make sure your smartphone is connected to the same 2.4GHz Wi-Fi network that you plan to use for the camera—Lorex cameras do not support 5GHz networks, so this step is essential for a smooth connection.
- Check the battery level by pressing the power button once; a green LED indicates full charge.
- Use a high-quality USB adapter with at least 5V/2A output for fastest charging.
Connecting the Camera to the Lorex Home App
Once the camera is charged, open the Lorex Home app and tap the '+' icon to add a new device. Select 'Camera' and then choose 'Battery Camera' from the list. The app will prompt you to power on the camera by pressing and holding the power button until you hear a beep and see a blinking LED. This indicates the camera is in pairing mode.
Follow the on-screen instructions to connect the camera to your Wi-Fi network. You'll need to enter your Wi-Fi password, and the app will guide you through the process. After the camera connects, you'll be asked to scan the QR code displayed on your phone using the camera's lens. Hold the phone about 6 inches away and align the QR code within the camera's field of view. Once scanned, the camera will sync and appear in your app. You can then give it a name like 'Front Yard' or 'Living Room'.
- If the camera fails to connect, reset it by pressing and holding the reset button for 5 seconds, then try again.
- Ensure your smartphone is close to the camera during setup to avoid signal interference.
Choosing the Best Location for Indoor and Outdoor Use
The beauty of a battery-powered camera is that you can place it almost anywhere. For outdoor use, position the camera at a height of 7-10 feet to get a good angle while keeping it out of easy reach. Angle it slightly downward to capture faces and activity clearly. Avoid pointing it directly at the sun to prevent glare and washed-out images. For indoor use, place it on a shelf, countertop, or mount it on a wall in a corner to cover the room's main entry points.
Consider the camera's field of view—most Lorex battery cameras offer a wide 130° diagonal view, which is great for covering large areas. If you need to monitor a long driveway, position the camera at one end to see the entire length. For indoor rooms, place it near the entrance to capture anyone coming in. Remember that the camera is weather-resistant (IP65) so it can handle rain and snow, but avoid submerging it in water or exposing it to extreme temperatures beyond its rated range.
- For outdoor placement, use the included mounting bracket and screws to secure the camera to a wall or eave.
- Indoor, you can use the adjustable stand to place the camera on a flat surface or mount it with adhesive tape.
Configuring Motion Detection and Alerts
The Lorex 2K battery camera comes with smart motion detection that can distinguish between people, pets, and vehicles. In the Lorex Home app, go to the camera's settings and tap on 'Motion Detection'. Here you can enable or disable motion alerts and adjust sensitivity levels. For outdoor use, you might want to set a higher sensitivity to catch any movement, but be aware of false alerts from passing cars or swaying trees. Indoor, you can lower sensitivity to avoid notifications from pets.
You can also set up activity zones to define specific areas where you want motion detection to be active. For example, if your camera overlooks a sidewalk, you can draw a zone that covers only your front door, ignoring activity on the public path. This reduces unnecessary alerts and saves battery life. Additionally, you can schedule when motion detection is active—like only at night or when you're away—to further conserve power.
- Use 'Person' detection to get more relevant alerts and reduce false notifications.
- Set up a schedule to automatically turn off motion detection when you're home and awake.
Managing Battery Life and Storage
Battery life varies based on usage, but with typical settings, your Lorex 2K camera can last up to 6 months on a single charge. To maximize battery life, reduce the frequency of recordings by lowering motion sensitivity, shortening the recording length, and turning off continuous recording if you don't need it. Also, keep the camera's firmware updated, as updates often include performance improvements.
The camera supports local storage via a microSD card (sold separately) and cloud storage through Lorex's subscription plans. Inserting a microSD card allows you to store footage directly on the camera, which is convenient and secure. The Lorex Home app lets you view and playback recorded clips, and you can download important footage to your phone. For cloud storage, you can enable it in the app's settings, which provides off-site backup and easier access from anywhere.
- Use a high-endurance microSD card (Class 10 or higher) for reliable recording.
- Check the battery level in the app regularly and recharge when it drops below 20%.
Troubleshooting Common Issues
If your camera goes offline, first check the Wi-Fi signal strength in the app. If it's weak, move the camera closer to your router or consider a Wi-Fi extender. Also, ensure the camera's firmware is up to date. If the camera doesn't record, verify that the microSD card is inserted correctly and has enough free space. If the app isn't receiving notifications, check your phone's notification settings and ensure that the 'Motion Alerts' toggle is enabled in the camera's settings.
For connectivity issues, power-cycle the camera by turning it off and on, and restart your router. If problems persist, reset the camera to factory defaults by holding the reset button for 10 seconds, then re-add it to the app. Remember that the camera's battery can drain faster in cold weather; if you live in a freezing climate, consider bringing the camera indoors during extreme cold snaps or invest in a solar panel accessory if available.
- Test the camera's Wi-Fi signal at the intended location before permanently mounting it.
- Keep the camera away from metal surfaces and thick walls that can block Wi-Fi signals.
Setting up your Lorex 2K battery-powered Wi-Fi camera is a straightforward process that gives you peace of mind with minimal effort. By following these steps, you can enjoy reliable indoor and outdoor security with crisp 2K video and smart alerts. For those looking to expand their system, consider pairing this camera with other Lorex devices like the Lorex 2K Dual Lens Indoor Pan-Tilt Wi-Fi Security Camera for comprehensive coverage. Explore the full range of Lorex cameras to find the perfect fit for your home.
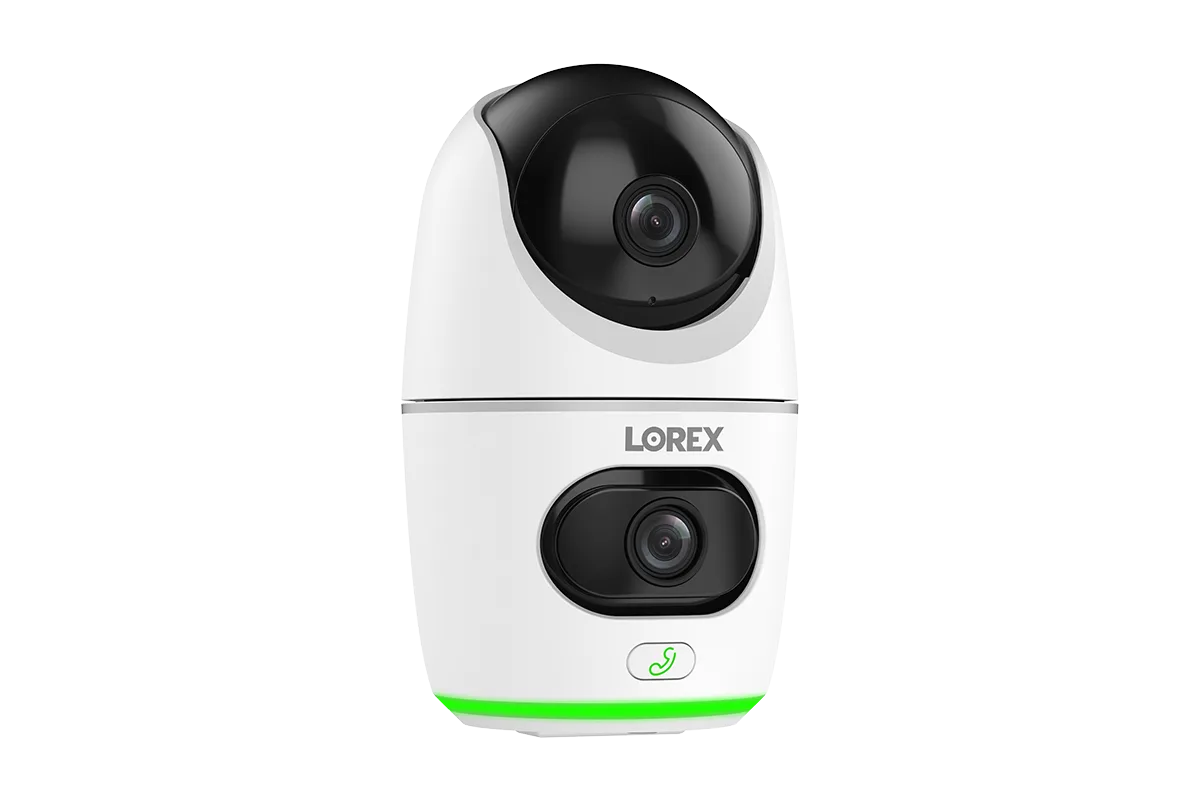
Lorex 2K Dual Lens Indoor Pan-Tilt Wi-Fi Security Camera