Quick answer
Set up the station where your child already plays, keep only no-mess supplies within reach, and rotate a small set of reusable activities instead of stocking everything at once. A low table or tray, one open bin, and a wipe-clean surface cover most needs. Test the setup for a week before adding anything new, and judge it by whether your child can start and finish without you.
Most art stations fail for a boring reason: they are built for storage, not for a child's reach. If the crayons are on a high shelf, the glitter is in the mix, and the table is in a room you do not use, the station becomes a chore for you and a locked door for your child. A mess-free art station setup flips that order. You pick the spot first, decide what is allowed to live there, and only then choose the activities.
The payoff is independence. When supplies are contained and the materials are self-limiting, kids can start a project, finish it, and put it away without an adult hovering. That is also why reusable formats and no-mess kits do so much work in a small home: they remove the two things that create the most cleanup, loose liquid and loose powder. This guide walks through the setup in order, with the checkpoint that tells you each step is actually done.
Step 1: Choose the spot by traffic, not by square footage
Put the station in a room your child already uses, within sight of where you usually sit. A corner of the living room or kitchen beats a perfect spare bedroom every time, because supervision drops to a glance instead of a walk. You want a hard, wipeable surface at child height, ideally a low table or a sturdy tray on the floor. If the only available surface is fabric or carpet, add a washable mat underneath before anything else.
Measure the surface before you buy bins or organizers. A station that overhangs its table gets knocked over, and a station that is too tall for your child gets abandoned. For toddlers, sitting height matters more than standing height, so test the reach while your child is seated.
- Common mistake: building the station in a room you do not spend time in, then wondering why it is never used.
- Checkpoint: you can see your child at the station from your usual seat without standing up.
Step 2: Set a supply limit and hold it
Decide how many activities live at the station at one time, and pick a number small enough that a child can see every option at a glance. One open bin plus one flat tray is a workable starting point. Everything else goes into closed storage elsewhere, not on the table. This is the step most families skip, and it is the reason art corners turn into a pile within a month.
Choose supplies that do not need water, glue bottles, or loose powder to work. Sticker-based and foil-based activities fit this rule naturally, and so do reusable formats that can be wiped and used again. Keep one small waste container at the station so finished scraps have somewhere to go that is not the floor.
- Common mistake: keeping the full craft cupboard accessible because it feels generous. It usually means more mess and less actual making.
- Checkpoint: a child can name every activity at the station without moving anything.
Step 3: Rotate activities instead of adding more
When interest drops, swap one activity out rather than adding a new one on top. Rotation keeps the station feeling new without growing the mess surface. A simple rhythm works well: keep two activities out, store the rest, and change one every week or two. If your child asks for something specific, that is your signal to rotate, not to expand.
Reusable formats make rotation cheap because they do not get used up in one sitting. A reusable activity mat set can go out for a week, come back in its box, and return later without any restocking. That is the practical argument for reusable over consumable when you are building a station that has to survive months, not one rainy afternoon.
- Common mistake: buying a new kit every time your child is bored, which crowds the station and hides the good options.
- Checkpoint: the station still fits in its original bin after a rotation.
Step 4: Make cleanup part of the activity, not a separate job
Build a closing routine that takes under a minute: scraps in the waste container, pieces back in the bin, surface wiped. Practice it the first three times together so it becomes the expected end of the activity rather than a punishment. If cleanup takes longer than the activity, the station is overstocked or the materials are wrong for the space.
This is where no-mess formats earn their place. Sticker art, foil art, and poke-in crafts leave no liquid or powder residue, so a wipe-down is genuinely enough. If your closing routine needs a vacuum, a drying rack, or a sink, you have chosen materials that do not match a mess-free setup.
- Common mistake: cleaning up for your child to save time, which removes the routine before it forms.
- Checkpoint: your child can complete the closing routine alone in under a minute.
Your setup sequence, in order
- Pick the spot in a room you already use: Choose a wipeable, child-height surface within sight of your usual seat, and add a washable mat if the floor or table is fabric. Checkpoint: you can supervise from where you sit.
- Cap the supplies at one bin plus one tray: Move everything else to closed storage. Favor sticker, foil, and reusable formats that need no water, glue, or powder. Checkpoint: every activity is visible at a glance.
- Rotate one activity at a time: Swap rather than add. Keep two activities out, store the rest, and change one every week or two based on what your child asks for. Checkpoint: the station still fits its original bin.
- Teach a one-minute closing routine: Scraps in the bin, pieces back in the box, surface wiped. Practice it together the first three times. Checkpoint: your child finishes alone in under a minute.
- Run it for a week before changing anything: Watch what gets used and what gets ignored. Adjust the activity mix, not the size of the station. If cleanup still needs a vacuum or a sink, the materials are wrong for the space.
Activities that fit a no-mess station
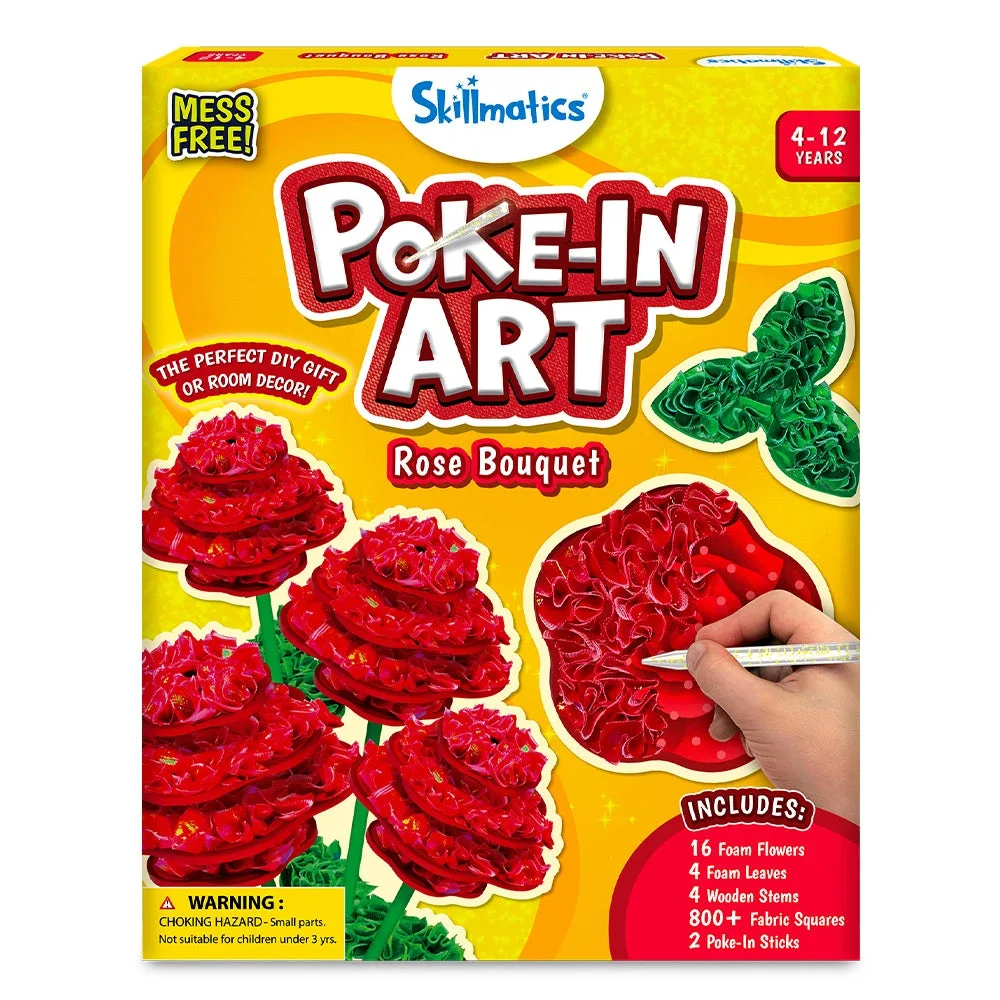
- Skillmatics Poke-in Art - Rose Bouquet, Mess-Free Fun for Kids, DIY Wood Craft Kits: A mess-free activity set with fabric squares, foam flowers, and wooden stems that kids use to create a DIY rose bouquet, which can be kept as decoration or given as a gift. No liquid or powder means the closing routine is a wipe-down, and the finished bouquet gives the activity a natural endpoint instead of an open-ended mess.
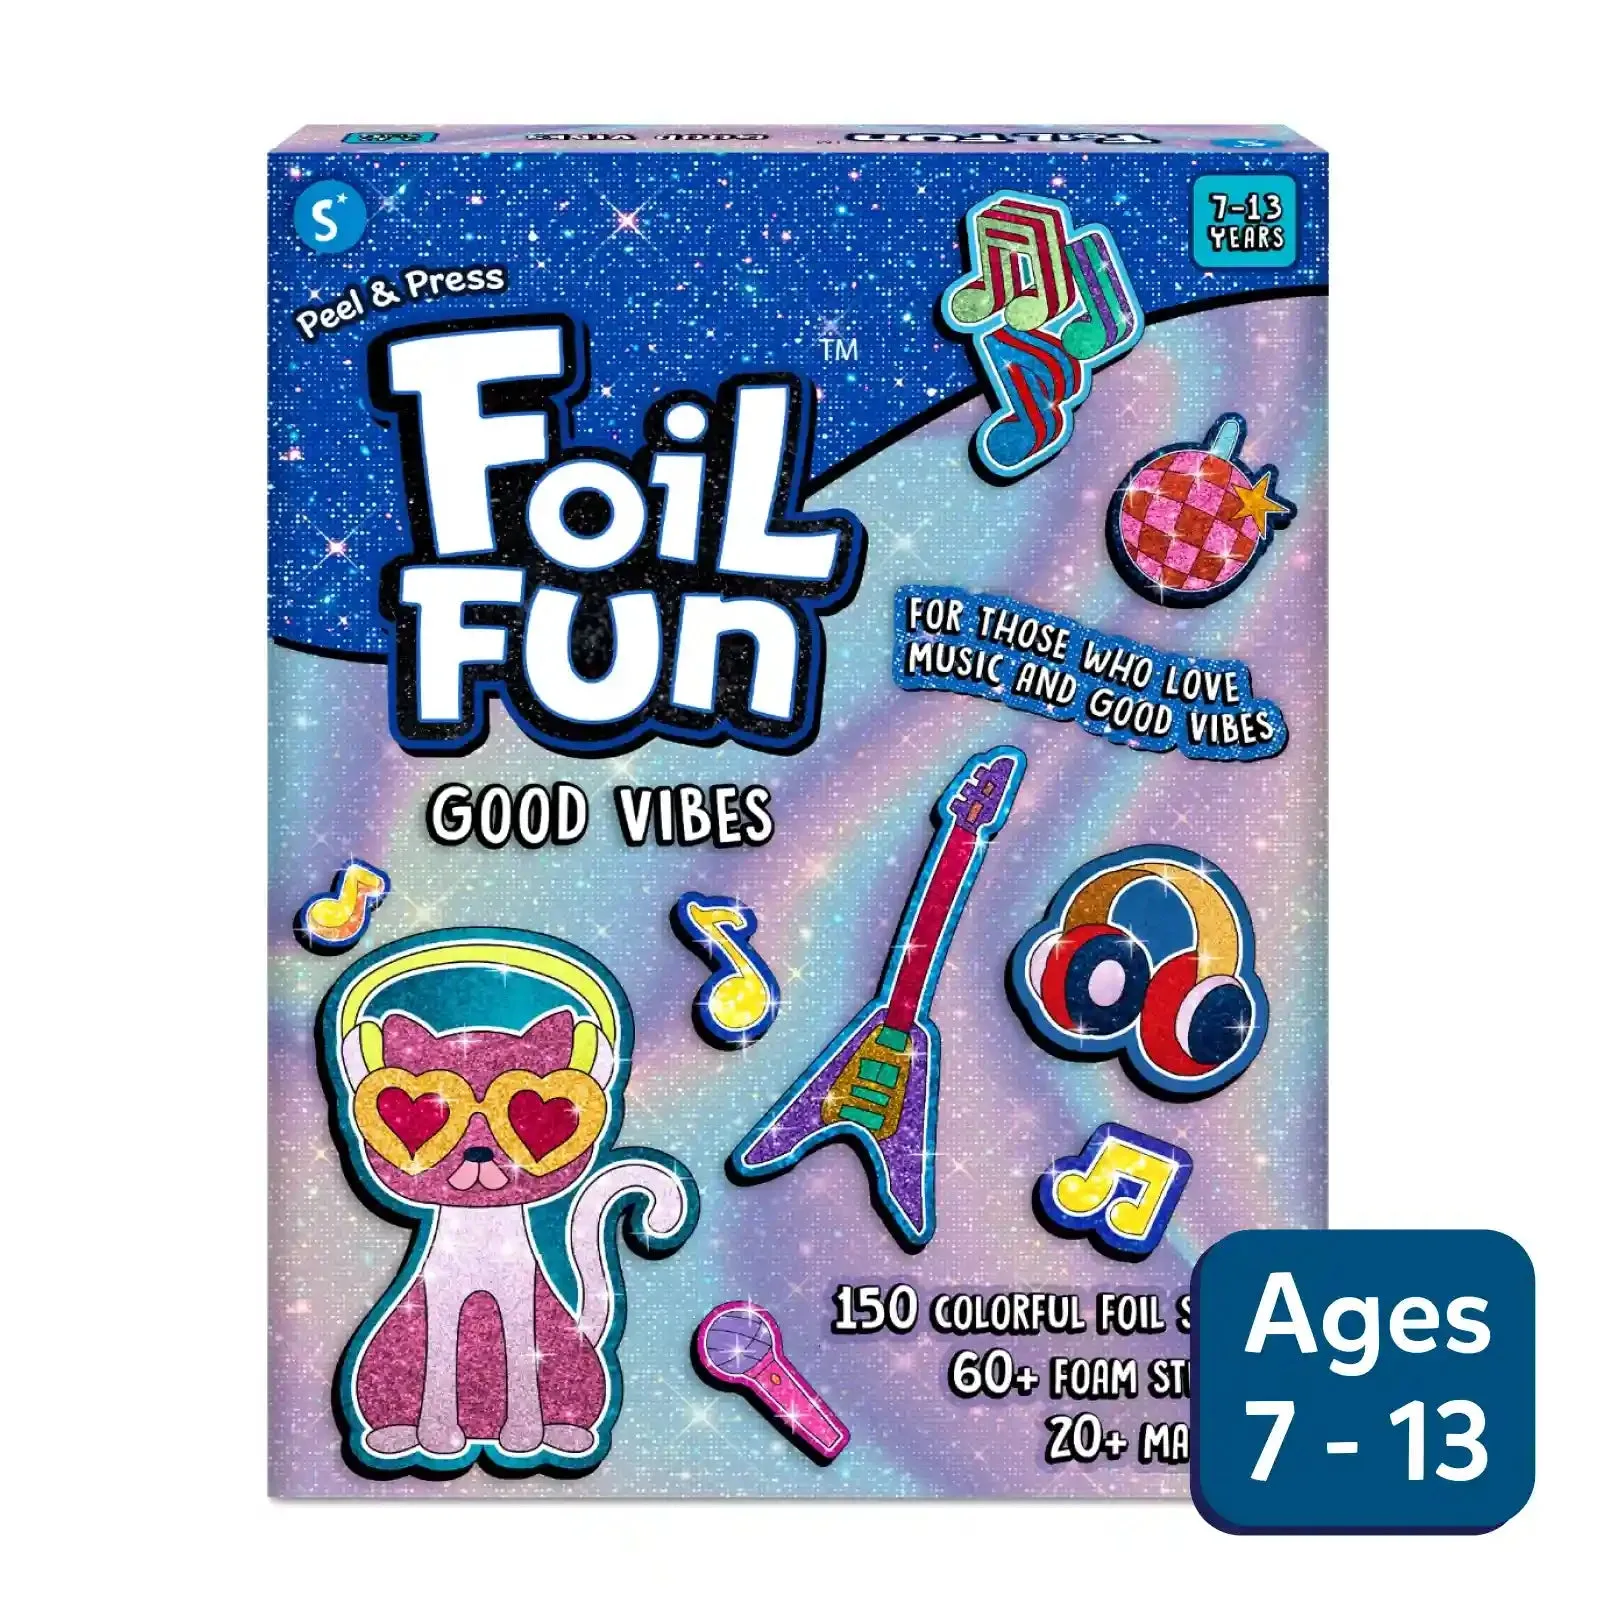
- Foil Fun: Solar System | No Mess Art Kit (ages 4-12): Kids build a solar system with all the planets, the Sun, and stars using sparkly foil sheets and foam stickers, then assemble and hang the finished piece as room decor. The kit is self-contained and ends in a display piece, so it works as a rotating station activity rather than an ongoing supply you have to restock.
- https://skillmaticsworldfs.com/products/i-can-write-disney-princess-reusable-activity-mats-ages-dde7a076ca9b4d266f74435b-939473I Can Write: Disney Princess | Reusable Activity Mats (ages 3-6): The set offers 12 repeatable writing activities that advance in difficulty, featuring Disney Princess characters including Moana, Cinderella, Ariel, and Belle. Reusable mats can be wiped and reused, so they rotate back into the station repeatedly without being used up, which keeps the supply limit stable.
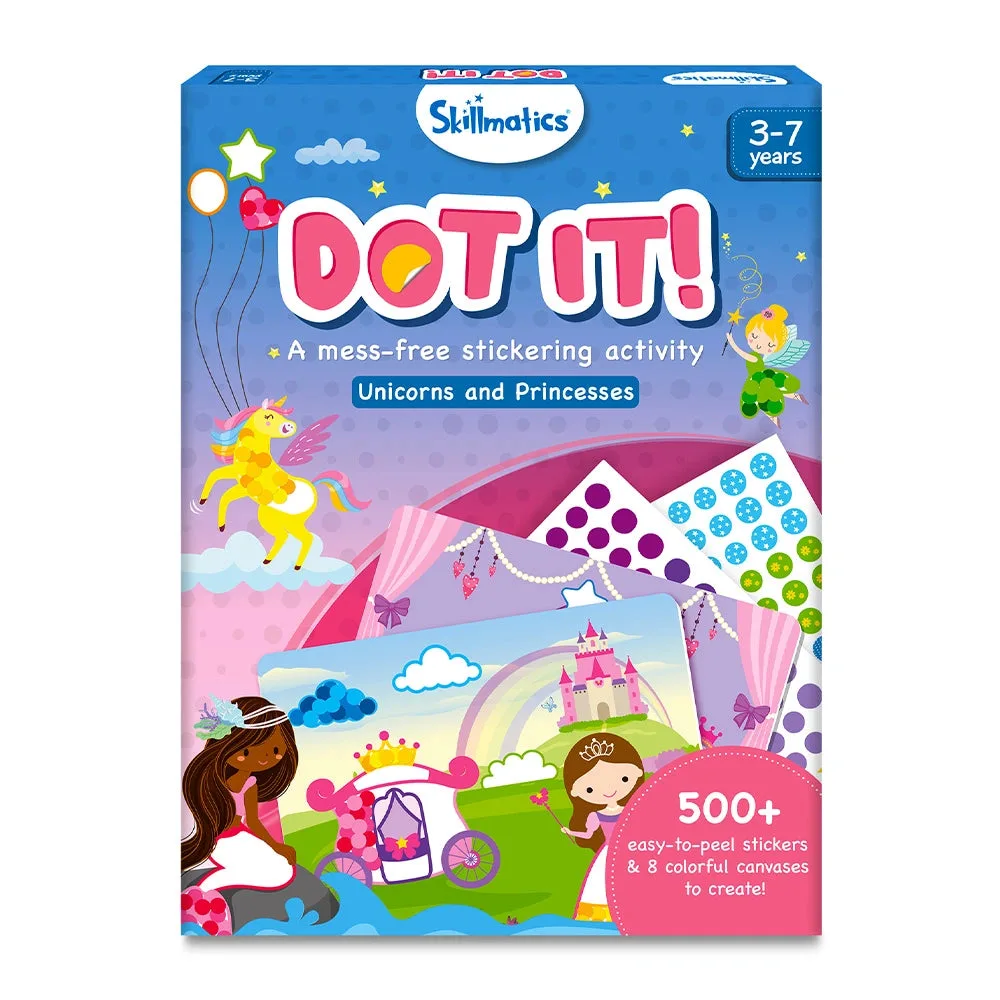
- Dot it! Sparkle Edition: Unicorns & Princesses | No mess sticker art (ages 3-7): This edition lets kids create with sparkly stickers within the Skillmatics Dot It! range. Sticker-only art has no drying time and no loose powder, making it a good low-commitment option for younger children at a shared station.
A mess-free art station is mostly a set of decisions, not a shopping list: the right spot, a hard supply limit, steady rotation, and a closing routine short enough that kids actually do it. Start with one bin and one activity, run it for a week, and let your child's choices tell you what to rotate in next.