Quick answer
To set up a portable projector for outdoor movies, choose a flat, dark area, position the projector on a stable surface like a floor stand, connect your media source, and adjust focus and keystone for a clear image.
Why placement matters more than the projector
The biggest mistake in outdoor setups is placing the projector too close or too far from the screen. Most portable projectors, including laser models like the Capsule 3 Laser Projector, have a fixed throw ratio, so the image size depends entirely on distance. Measure your screen or wall space first, then set the projector accordingly.
Ambient light is another factor. Even a bright laser projector will look washed out if you aim it toward a sunset or a streetlight. Set up on the side of the house that stays shaded longest, or wait until dusk to start the movie.
Stability is the secret to a sharp picture
A wobbly table or a stack of books will ruin focus the moment someone walks by. A dedicated projector floor stand keeps the unit at a consistent height and angle, and it's easier to level on uneven grass or pavement. If you're using a stand, make sure it's rated for your projector's weight and that the mounting plate fits.
If you don't have a stand, a sturdy cooler or a flat rock can work in a pinch, but you'll lose the ability to fine-tune the tilt. For a permanent outdoor setup, a floor stand is worth the small investment.
Step-by-step outdoor projector setup
- Choose the right spot: Pick a flat, dark area with a clear wall or screen. Measure the distance from the projector to the screen based on the projector's throw ratio. For the Capsule 3 Laser Projector, check the manual for the recommended distance range. Check for ambient light sources and set up on the shaded side.
- Set up a stable base: Place the projector on a secure, level surface. A dedicated floor stand like the Anker Projector Floor Stand is ideal because it's adjustable and sturdy. Avoid wobbly tables or uneven stacks. Level the projector using the stand's adjustment knobs or built-in level.
- Connect your media source: Plug in a streaming stick, HDMI cable, or use the projector's built-in smart features to play content. Ensure the source is fully charged or plugged into power to avoid interruptions. Test the connection before starting the movie to avoid mid-film disconnects.
- Focus and adjust the image: Turn on the projector and use the focus ring to sharpen the image. Adjust keystone correction if the picture is trapezoid-shaped. For the Capsule 3 Laser Projector, use the built-in auto keystone if available. Walk to the screen to check focus from the actual viewing distance.
- Set up audio: Use the projector's built-in speaker for casual viewing, or connect an external Bluetooth speaker for better sound. Position the speaker near the screen for synchronized audio. Test audio volume and sync before the movie starts.
Gear that helps
-
Capsule 3 Laser Projector: The Capsule 3 Laser Projector uses laser projection technology to deliver bright, clear images with rich colors and contrast, and its compact, portable design makes it easy to set up in any room. Laser projection gives you a brighter image outdoors without needing a completely dark space, and the compact size means you can carry it to any viewing spot.
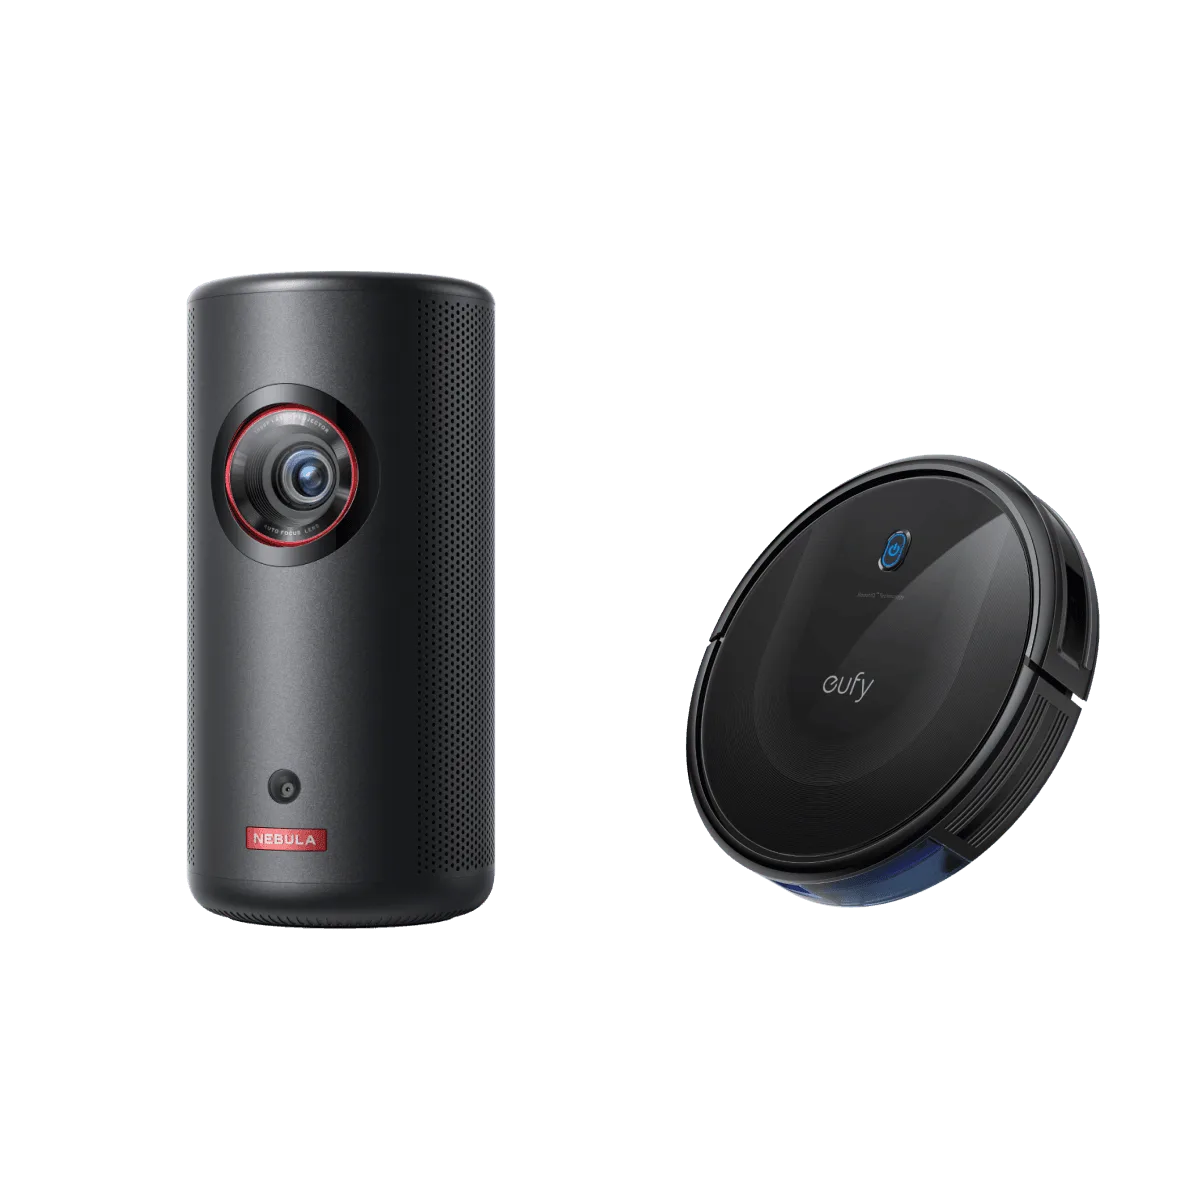
Capsule 3 Laser Projector
-
Projector Floor Stand: The Anker Projector Floor Stand is designed for floor use, offers a sturdy construction to keep your projector secure, and is easy to assemble and adjust. A stable floor stand keeps your projector level and at the right height, preventing blurry images and making setup faster on uneven ground.
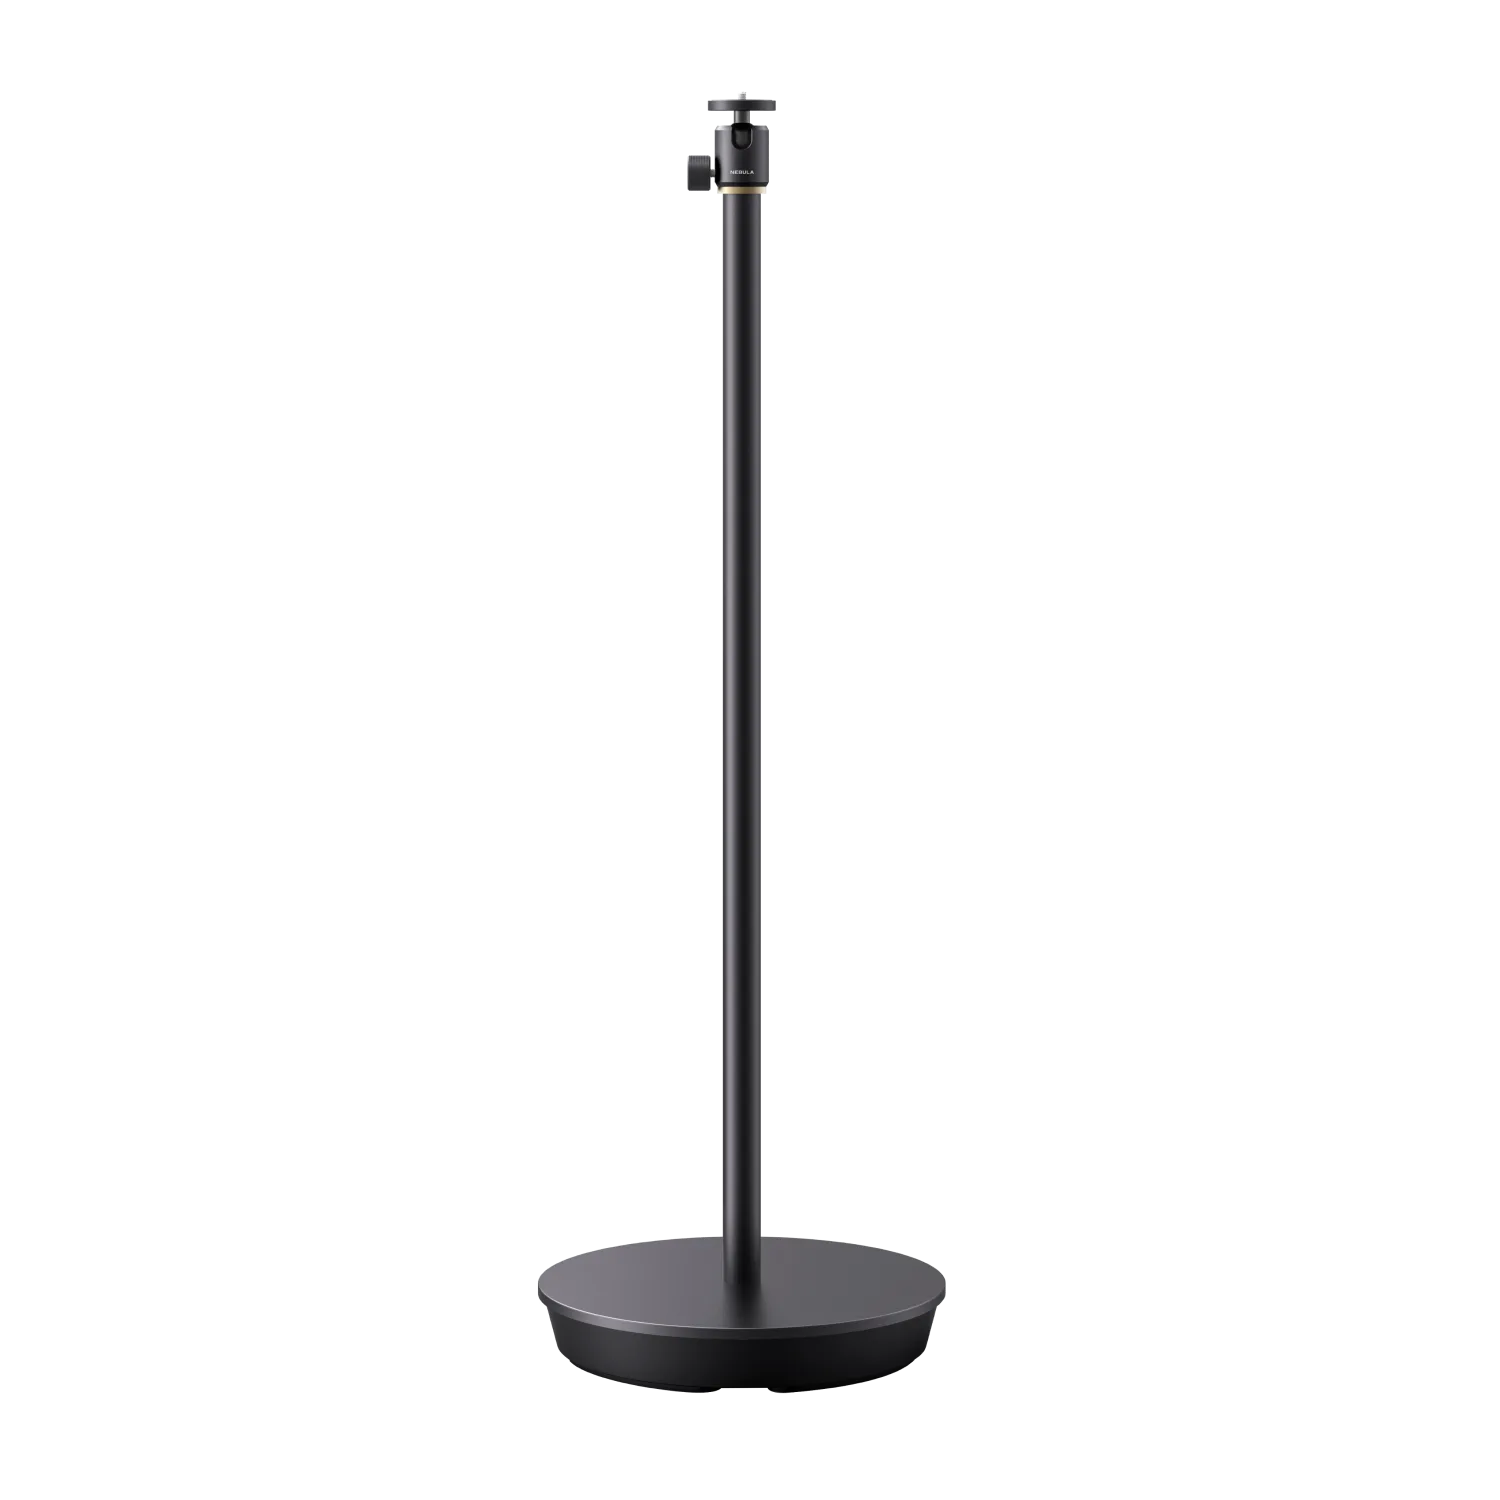
Projector Floor Stand