Quick answer
Set up your tent in wind by picking a sheltered spot with natural windbreaks, keeping the tent low and weighted until it is fully anchored, and staking the windward corners first. Use strong pegs driven at an angle, tighten guy lines in stages, and avoid fully deploying the tent until the base is secure. If gusts are strong, wait for a lull before raising the tent body.
Wind is the enemy of an unanchored tent. A sudden gust can turn a relaxed pitch into a tumbling mess, bending poles or sending your shelter across the campsite. The good news is that a windy pitch is manageable if you change the order of your setup and anchor as you go.
This guide walks through a practical tent setup in wind, from reading the site to staking the last guy line. It applies whether you are camping in windy conditions on an exposed ridge or just dealing with a breezy afternoon by the lake.
Pick a spot that breaks the wind
Before you unbag anything, study the site. The best wind protection comes from natural features: a hedge, a rock wall, a stand of trees, or a gentle slope. Position the tent so its lowest, strongest side faces the wind. If you are on open ground, use your vehicle or a tarp as a windbreak, but keep a safe distance from anything that could fall or funnel gusts.
Avoid ridgelines, exposed lakeshores, and the gap between two hills where wind accelerates. Also check for dead branches overhead and loose rocks that could become projectiles. A few minutes of scouting saves a lot of wrestling later.
- Pitch with the tent door facing away from the wind if possible.
- On a slope, sleep with your head uphill and the tent's narrow end into the wind.
Lay out the tent and anchor the windward corners first
With the tent still flat, find the two corners that will face the wind. Stake those first, driving pegs at a 45-degree angle away from the tent so the ground holds them against pull. This single habit is the most important part of how to set up tent in wind: the windward side becomes your anchor before the tent can act like a sail.
If the ground is soft or sandy, use longer pegs or double them up in an X pattern. For rocky ground, you may need to tie off to rocks or use sandbags. Do not rely on the tent's own weight; a gust will lift an unanchored floor.
- Checkpoint: give each windward peg a firm tug before moving on.
- If a peg pulls out easily, reposition it or use a larger size.
Insert poles with the tent low and controlled
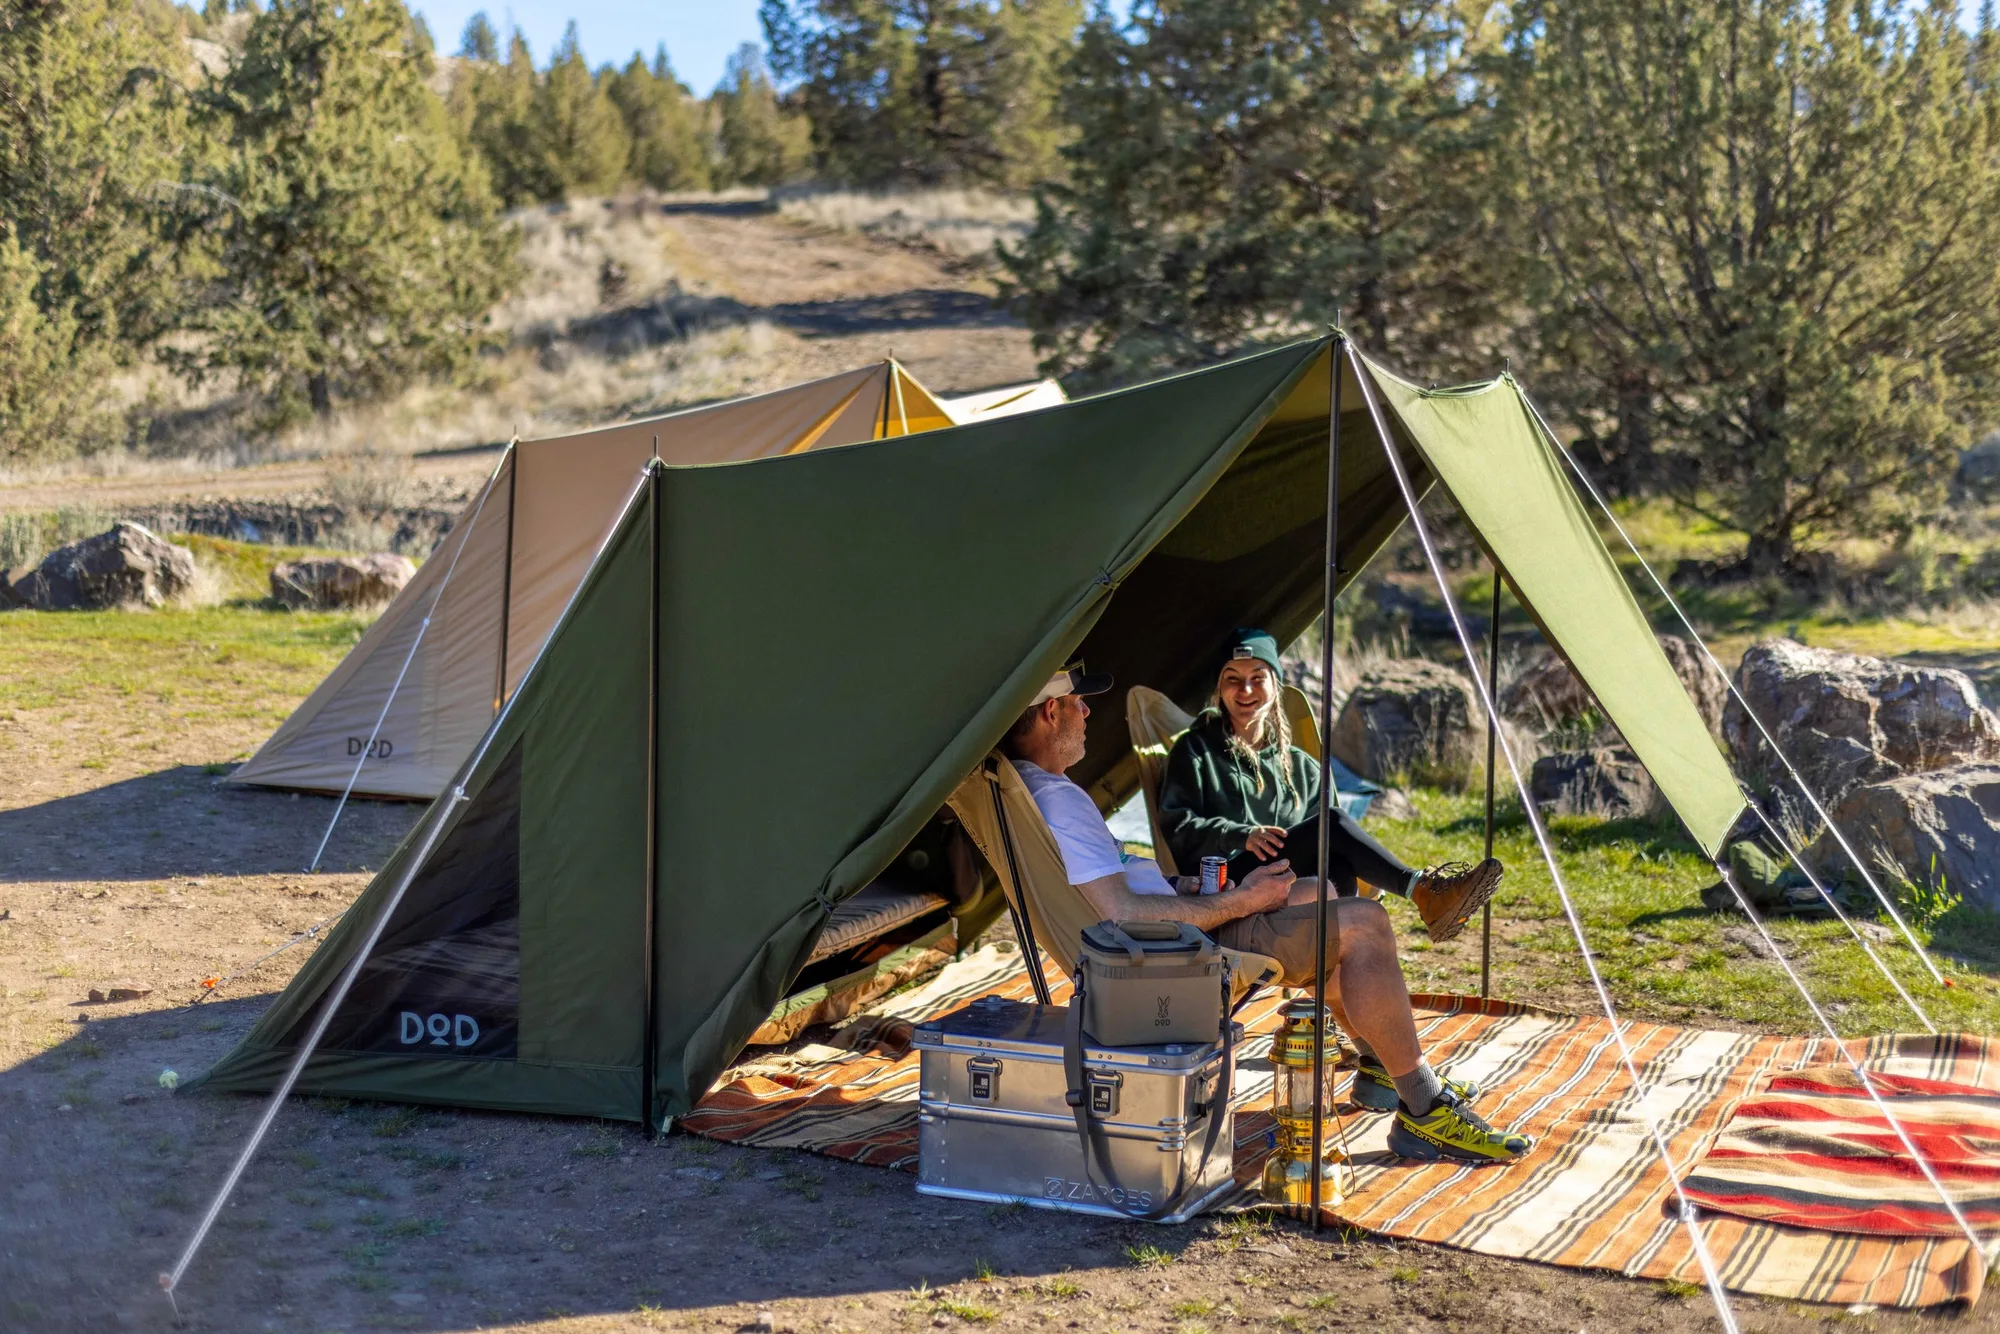
Keep the tent body flat or partially raised while you feed the poles. If you fully raise a large tent in a gust, it can flip before you have a chance to secure it. Work from the windward side, clipping or threading poles in order, and keep a hand on the fabric so it does not balloon.
For a tent with a rainfly, leave the fly off until the inner tent is standing and staked. A separate rainfly can be added once the base is stable, and it is easier to manage in wind when you are not fighting two layers at once.
- Common mistake: assembling the full tent upright before staking anything.
- If a pole section pops apart, reconnect it before continuing; do not force a bent pole.
Raise the tent and stake the remaining corners
Once the windward corners are set, lift the tent into shape and immediately stake the leeward corners. Then stake the remaining corners and any mid-point loops. Work around the tent in one direction so you do not miss an anchor point. Keep the tent as taut as the design allows without distorting the fabric.
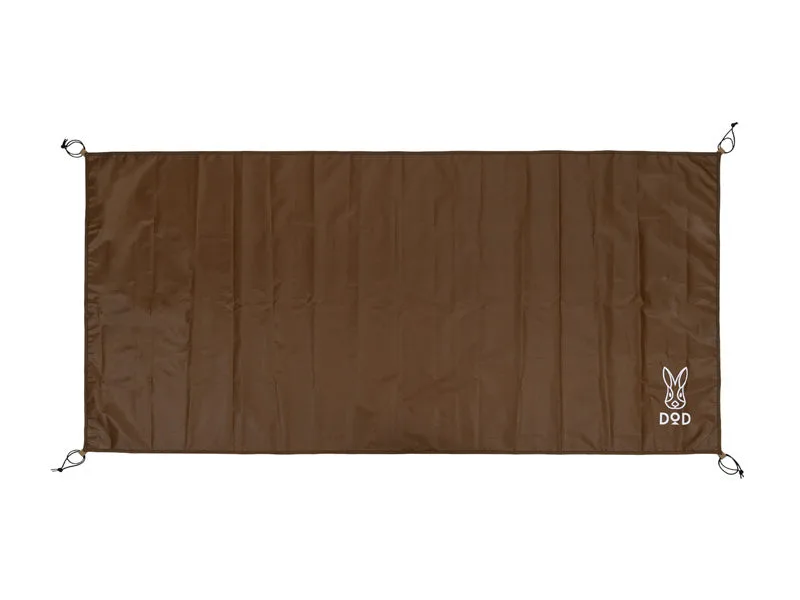
If you are using a tarp or a tent with a separate ground sheet, secure the ground sheet first so it does not flap. The https://dodoutdoorspgf.com/products/pup-like-tent-ground-sheet-834e3472f3c83a424ddfb039-1921184Pup Like Tent Ground Sheet, for example, is cut for the Pup Like Tent and adds a protected layer that stays put once the tent is staked.
- Checkpoint: walk the perimeter and confirm every corner loop has a peg.
- Re-tension the windward corners after the tent is fully up.
Tension guy lines in stages
Guy lines are what keep a tent from shaking itself apart in gusts. Attach them to the designated loops and stake them out at a shallow angle, roughly in line with the wind direction. Tighten them a little at a time, alternating sides, so the tent stays centered rather than pulled to one side.
Use line tensioners or sliders if your tent has them; they let you adjust without retying knots. In strong wind, add extra guy lines to the windward side if the tent has attachment points. Do not over-tension to the point where the fabric or pole sleeves deform.
- Common mistake: tightening one guy line all the way before the opposite side.
- If a guy line vibrates or hums, it is too loose; tighten until the hum stops.
Choose pegs that match the ground and the weather
The pegs that come with a tent are a starting point, not always the final answer. In wind, you want pegs with good surface area and a length that reaches firm soil. A set like the Shakeen Peg Set gives you eight stainless steel pegs in Large (11 inches) or Medium (8 inches), which is useful when you need to replace thin stock pegs or add extras for guy lines.

Shakeen Peg Set
Stainless steel resists bending better than soft aluminum, and the larger size gives more bite in loose ground. Carry a mix: long pegs for the windward corners and guy lines, shorter ones for sheltered corners and mid-points.
- Checkpoint: after setup, re-check pegs once the wind has been blowing for 10 minutes.
- In sand or snow, use wide pegs or bury them as deadmen anchors.
Add a rainfly and final checks
If your tent has a separate rainfly, fit it now, starting from the windward end and working back. Secure all fly attachments and guy out the fly's own points. A flapping rainfly is noisy and can damage itself, so take the time to tension it properly.
Walk around the tent one last time. Look for loose fabric, missing pegs, and anything that could catch the wind. If a storm is coming, consider lowering the tent or moving to a more sheltered spot before conditions worsen.
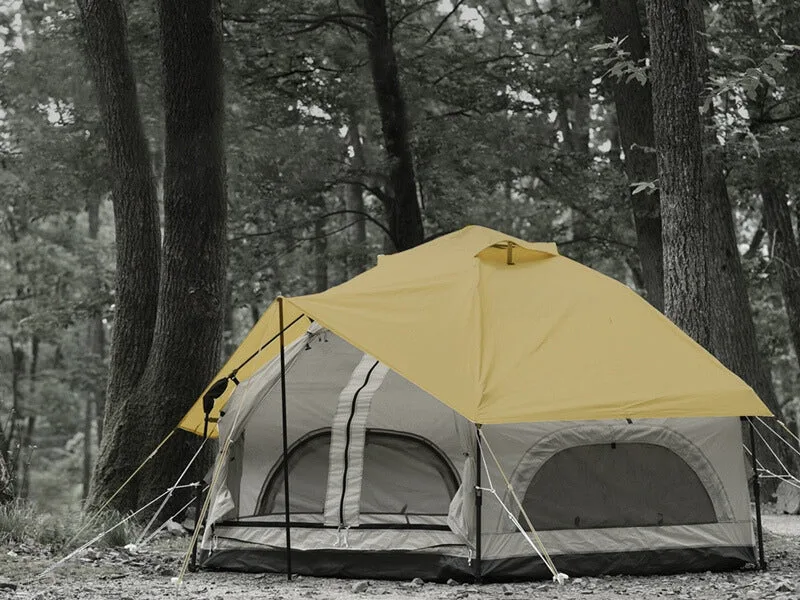
- A rainfly that changes the tent's look, like the Kinoko Rainfly, still needs full guy-line tension to stay stable in wind.
- Keep the tent door zipped and vents closed on the windward side.
Windy tent setup steps at a glance
- Scout and orient: Choose a sheltered spot with natural windbreaks and point the lowest, strongest side of the tent into the wind. Checkpoint: identify the windward corners before unbagging the tent.
- Stake windward corners first: Drive pegs at a 45-degree angle away from the tent on the two corners facing the wind. Common mistake: staking the door side first because it is easiest to reach.
- Assemble poles low: Feed and connect poles while the tent body is still flat or only partly raised. Checkpoint: keep a hand on the fabric so it does not balloon.
- Raise and stake the rest: Lift the tent into shape, then stake leeward corners and all remaining loops in one direction. Common mistake: leaving mid-point loops unstaked, which lets the walls flap.
- Tension guy lines in stages: Attach and tighten guy lines a little at a time, alternating sides, at a shallow angle. Checkpoint: stop tightening before the fabric or pole sleeves distort.
- Add rainfly and re-check: Fit the rainfly from the windward end, secure all attachments, then walk the perimeter after 10 minutes. Next step: if gusts increase, add extra guy lines or lower the tent.
Gear that helps in wind
- Shakeen Peg Set: Available in Large (11 inches) and Medium (8 inches), each set includes 8 pegs made from high-hardness stainless steel. Longer stainless steel pegs hold better in loose ground and resist bending when wind pulls on guy lines, so you can anchor windward corners and add extras without worrying about peg failure.
- Pup Like Tent Ground Sheet: Constructed with 300D Oxford polyester and a water pressure resistance of 5000mm, and comes with a dedicated carry bag. A fitted ground sheet adds a durable, water-resistant layer under your tent and stays in place once staked, reducing drafts and protecting the floor from grit and moisture in exposed campsites.
- Kinoko Rainfly: A swappable rainfly for the Kinoko Mushroom Tent, available in color options; the tent itself is not included. If you already own the Kinoko Mushroom Tent, a replacement rainfly lets you refresh the look, but it still needs to be fully guyed out to stay stable in wind.
Windy camping is far more comfortable when you anchor before you raise. Stake the windward corners first, keep the tent low until it is secure, and tension guy lines in stages. With the right pegs and a fitted ground sheet, your tent will stay put while you enjoy the view.