Quick answer
Pitch your tipi tent with the door facing away from the wind, stake the windward side first, and keep the center pole slightly angled into the gusts until the shelter is fully tensioned. If the wind is strong enough to flatten the fabric before you get inside, wait for a lull or find a more sheltered spot. A tipi tent setup in wind is less about brute force and more about sequence and tension.
Wind changes everything about pitching a tipi tent. A shelter that goes up easily on a calm afternoon can turn into a flapping, self-collapsing mess when gusts hit an exposed ridge. The good news is that tipis are naturally aerodynamic, and with the right order of operations you can get one standing securely even when the wind is pushing hard.
This guide walks through a practical, step-by-step process for pitching a tipi tent in windy conditions. It focuses on decisions that matter: where you stand, which stake goes in first, how to handle the center pole, and when to stop and reset. The goal is a taut, quiet shelter that lets you focus on the hunt instead of fighting your tent all night.
Choose a pitch site that works with the wind, not against it
Before you unroll anything, study the terrain and the wind direction. Look for a natural windbreak such as a rock outcrop, a stand of timber, or a small depression that still drains well. If you must camp in the open, pick a spot where the ground is firm enough to hold stakes and where you can orient the tipi door away from the prevailing gusts.
Avoid ridgelines, exposed saddles, and the lee side of a sharp drop where wind can swirl and reverse direction. A site that is calm for five minutes can turn violent when the wind shifts. Take an extra minute to watch the grass, dust, or tree tops before you commit.
- Checkpoint: If you cannot stand comfortably without leaning, it is too windy to pitch without a solid backup plan.
Lay out the tipi and stake the windward side first
Spread the tipi flat and locate the door. Position the shelter so the door faces away from the wind, then stake the two or three windward corners before anything else. This anchors the fabric so it cannot balloon and drag. Use a low, angled stake technique, driving stakes at roughly 45 degrees away from the shelter with the tops pointing into the wind.
If the ground is soft or sandy, look for rocks or logs to reinforce the windward stakes. Do not rely on the center pole to hold the tent down; the perimeter stakes carry that load. Once the windward side is secure, move to the sides and finally the downwind corners.
- Common mistake: Staking the door side first. It leaves the windward fabric free to lift and slap.
Insert the center pole with control, not force
With the perimeter anchored, raise the center pole inside the tipi. If the wind is gusting, keep the pole slightly angled into the wind as you extend it, then straighten it once the fabric is tensioned. This reduces the chance of the pole slipping or the tipi collapsing onto you. For tipis that use trekking poles, adjust them to the same length before you step inside.
Do not fully extend the pole in one motion. Raise it in stages, checking that the fabric is not snagged on the pole tip or twisted around the apex. A clean, gradual lift is easier to control and less likely to damage the shelter.
- Checkpoint: The pole should stand with light tension. If it feels like it is fighting you, lower it and reset.
Tension the shelter evenly and adjust guylines
Once the pole is up, work around the tipi and tension each stake line so the fabric is taut but not stretched to the point of distortion. In wind, a flapping panel is a weak panel. Tighten the windward guylines first, then the sides, then the downwind lines. If your tipi has adjustable tensioners, use them to fine-tune rather than re-staking.
Add extra guylines on the windward side if the shelter has attachment points. Angling these lines into the wind creates a stronger triangulation. Keep the lines low and visible so you do not trip over them in the dark.
- Common mistake: Over-tensioning one side. It pulls the apex off-center and makes the whole shelter unstable.
Recheck stakes and shelter orientation as the wind shifts
Wind direction rarely stays constant. After the initial pitch, walk the perimeter and push each stake with your foot to confirm it is still firm. If the wind has shifted, you may need to add a stake or move a guyline to match the new direction. A tipi that was quiet an hour ago can start loading a different panel as the wind veers.
If the wind is forecast to increase overnight, consider lowering the center pole slightly to reduce the shelter's profile. This sacrifices some interior height but can make a meaningful difference in survival conditions. Always keep your headlamp and a repair kit within reach.
- Checkpoint: After any significant gust, inspect the windward stakes before you sleep.
Use the right accessories to make windy pitches easier
The right gear reduces the guesswork. A dedicated footprint protects the floor from abrasion when the wind drags the shelter during setup, and an optional nest adds an inner layer that can cut drafts. If your tipi relies on trekking poles, make sure they lock securely and are set to the correct height before you raise the shelter.
For nighttime navigation and storm checks, a reliable headlamp keeps your hands free while you inspect stakes and guylines. Keep a spare charging cable in your repair kit so you are not caught with a dead light during a windy night.
- Tip: Practice your tipi tent setup in calm conditions first so the windy pitch feels familiar.
Windy Tipi Pitch Checklist
- Step 1: Read the wind and pick a protected site: Watch the terrain for at least a minute. Choose a spot with a natural windbreak and firm ground, and orient the door away from the gusts. Checkpoint: If you cannot stand without leaning, wait for a lull or move.
- Step 2: Stake the windward side first: Lay the tipi flat, find the door, and drive the windward corner stakes at a low angle before touching the center pole. Common mistake: Staking the door side first, which lets the windward fabric lift.
- Step 3: Raise the center pole in stages: Insert the pole and extend it gradually, keeping it slightly angled into the wind until the fabric is tensioned. Checkpoint: The pole should stand with light tension, not a fight.
- Step 4: Tension guylines evenly: Work around the shelter, tightening windward lines first, then sides, then downwind. Add extra windward guylines if you have attachment points. Common mistake: Over-tensioning one side and pulling the apex off-center.
- Step 5: Recheck after gusts and before sleep: Walk the perimeter, push each stake, and adjust for wind shifts. Lower the center pole slightly if stronger wind is forecast. Checkpoint: Inspect windward stakes after any significant gust.
Gear that helps in a windy pitch
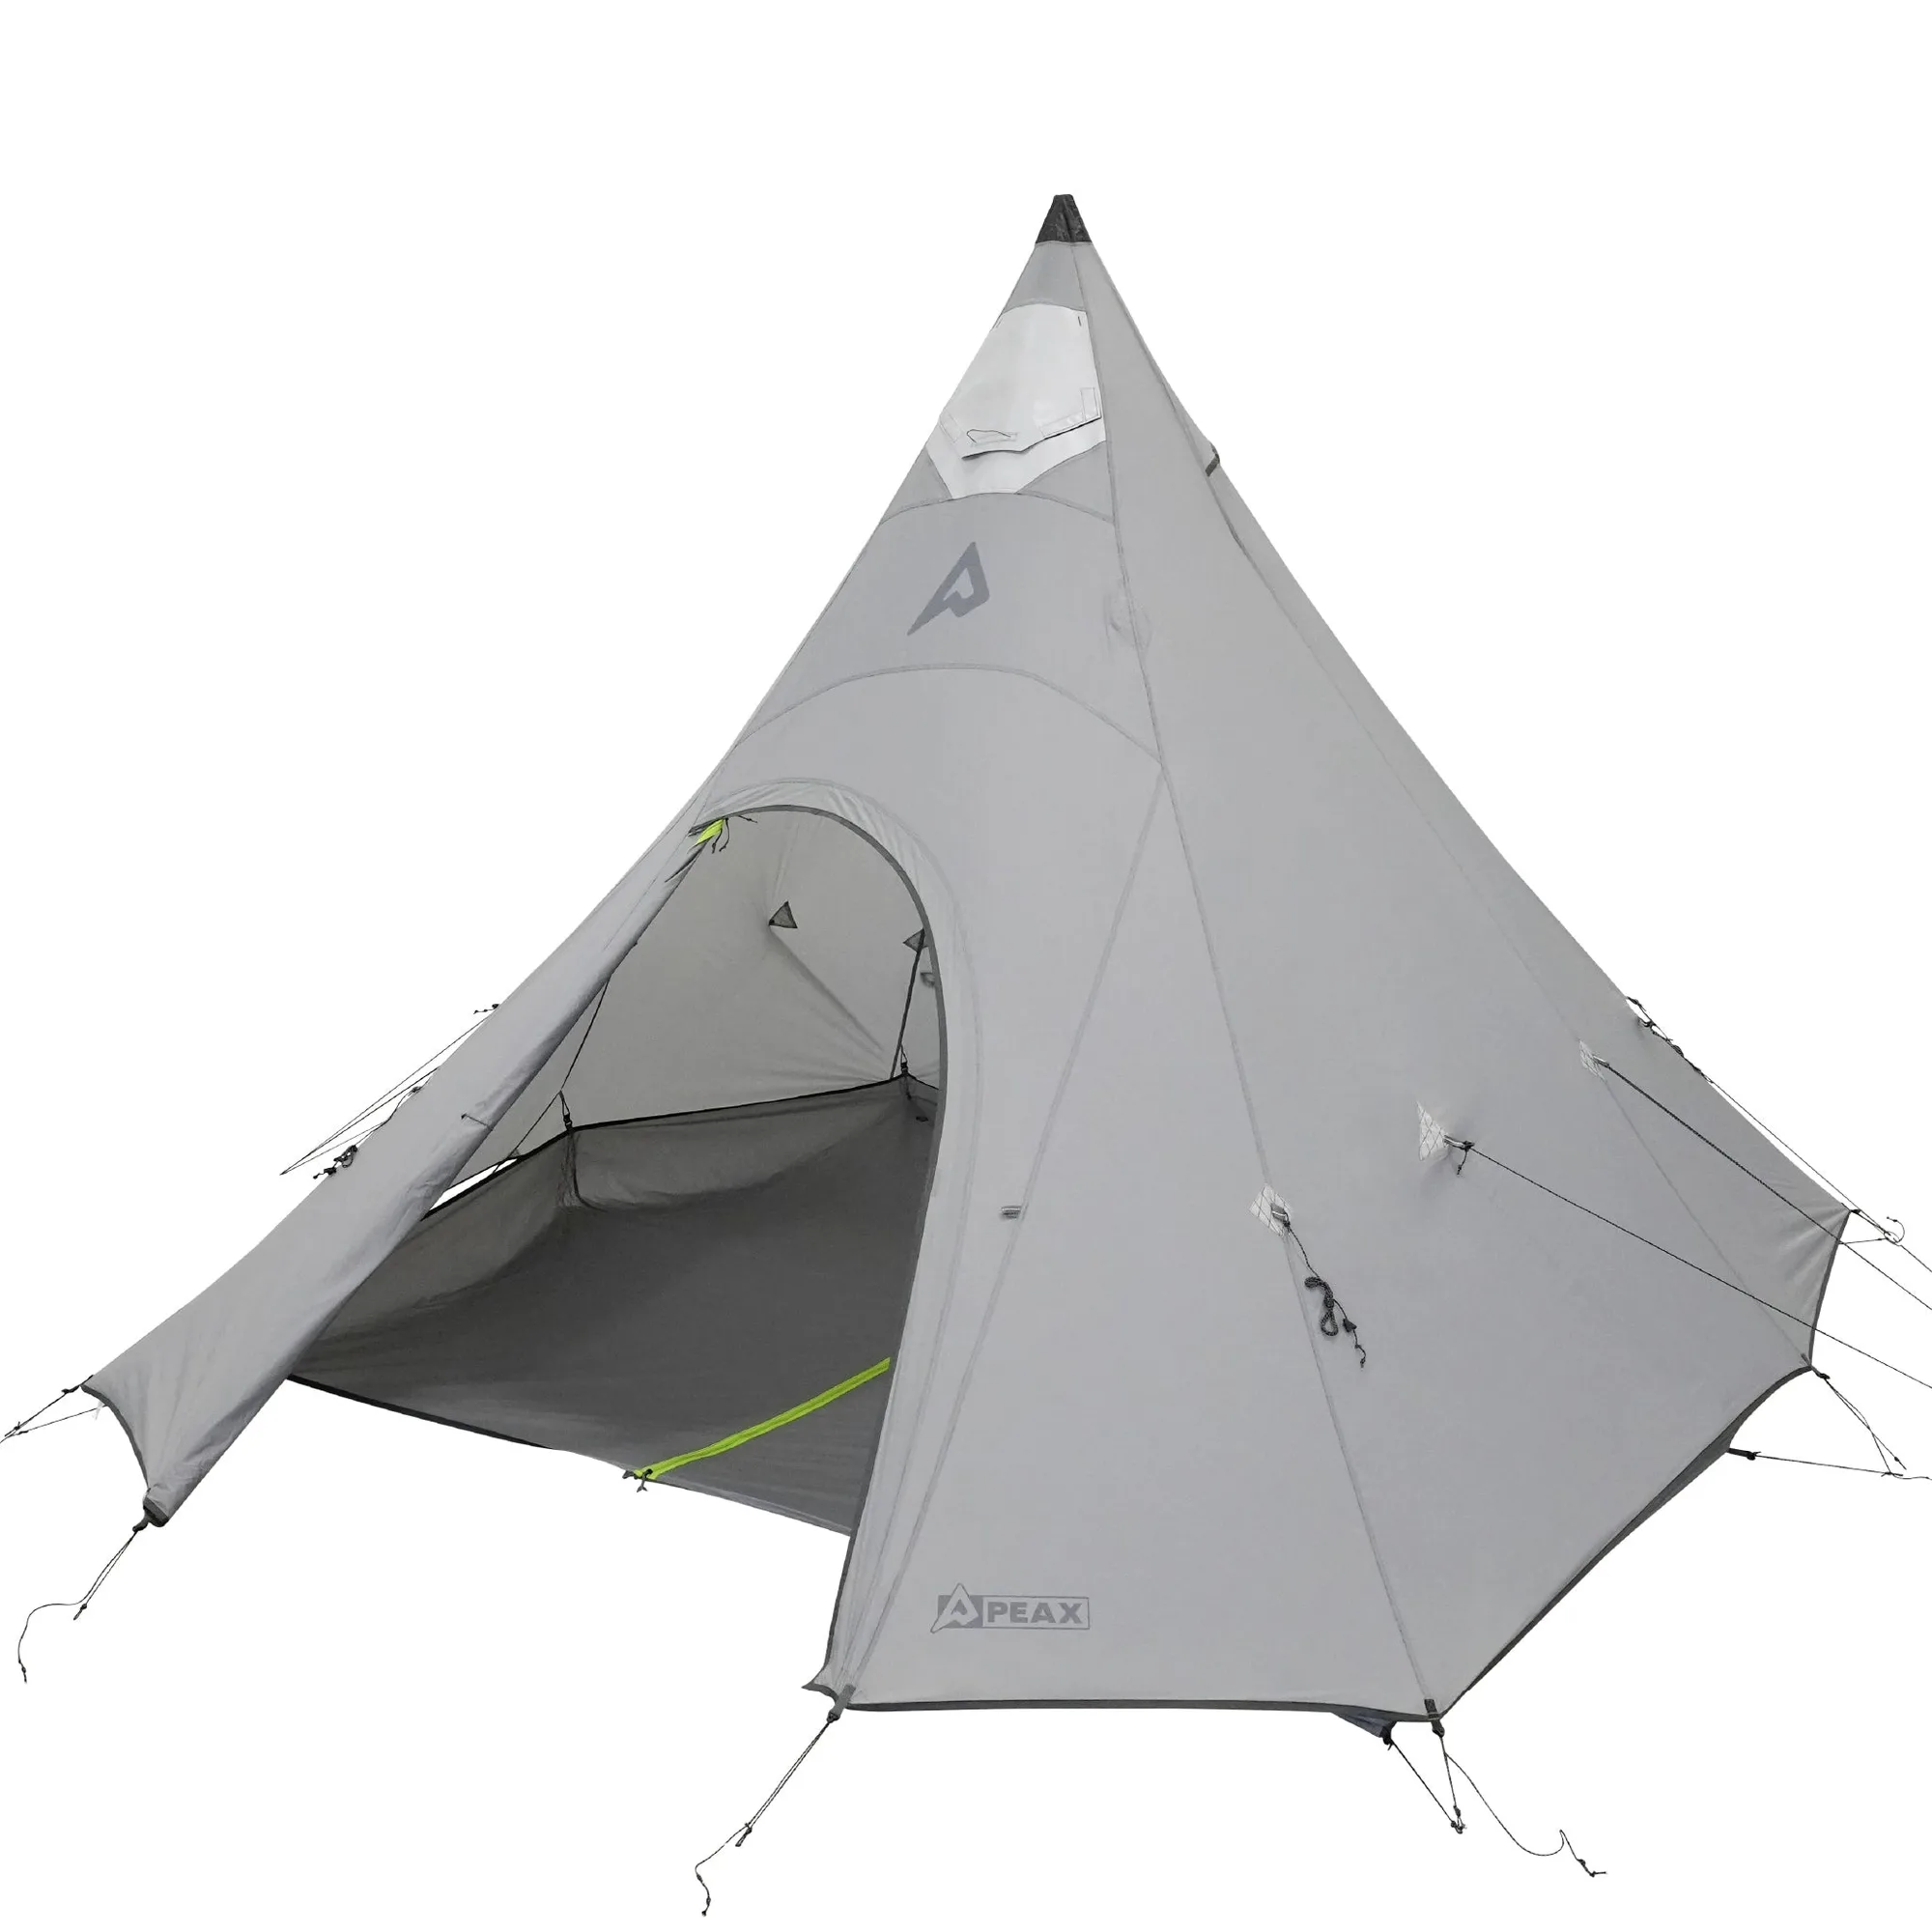
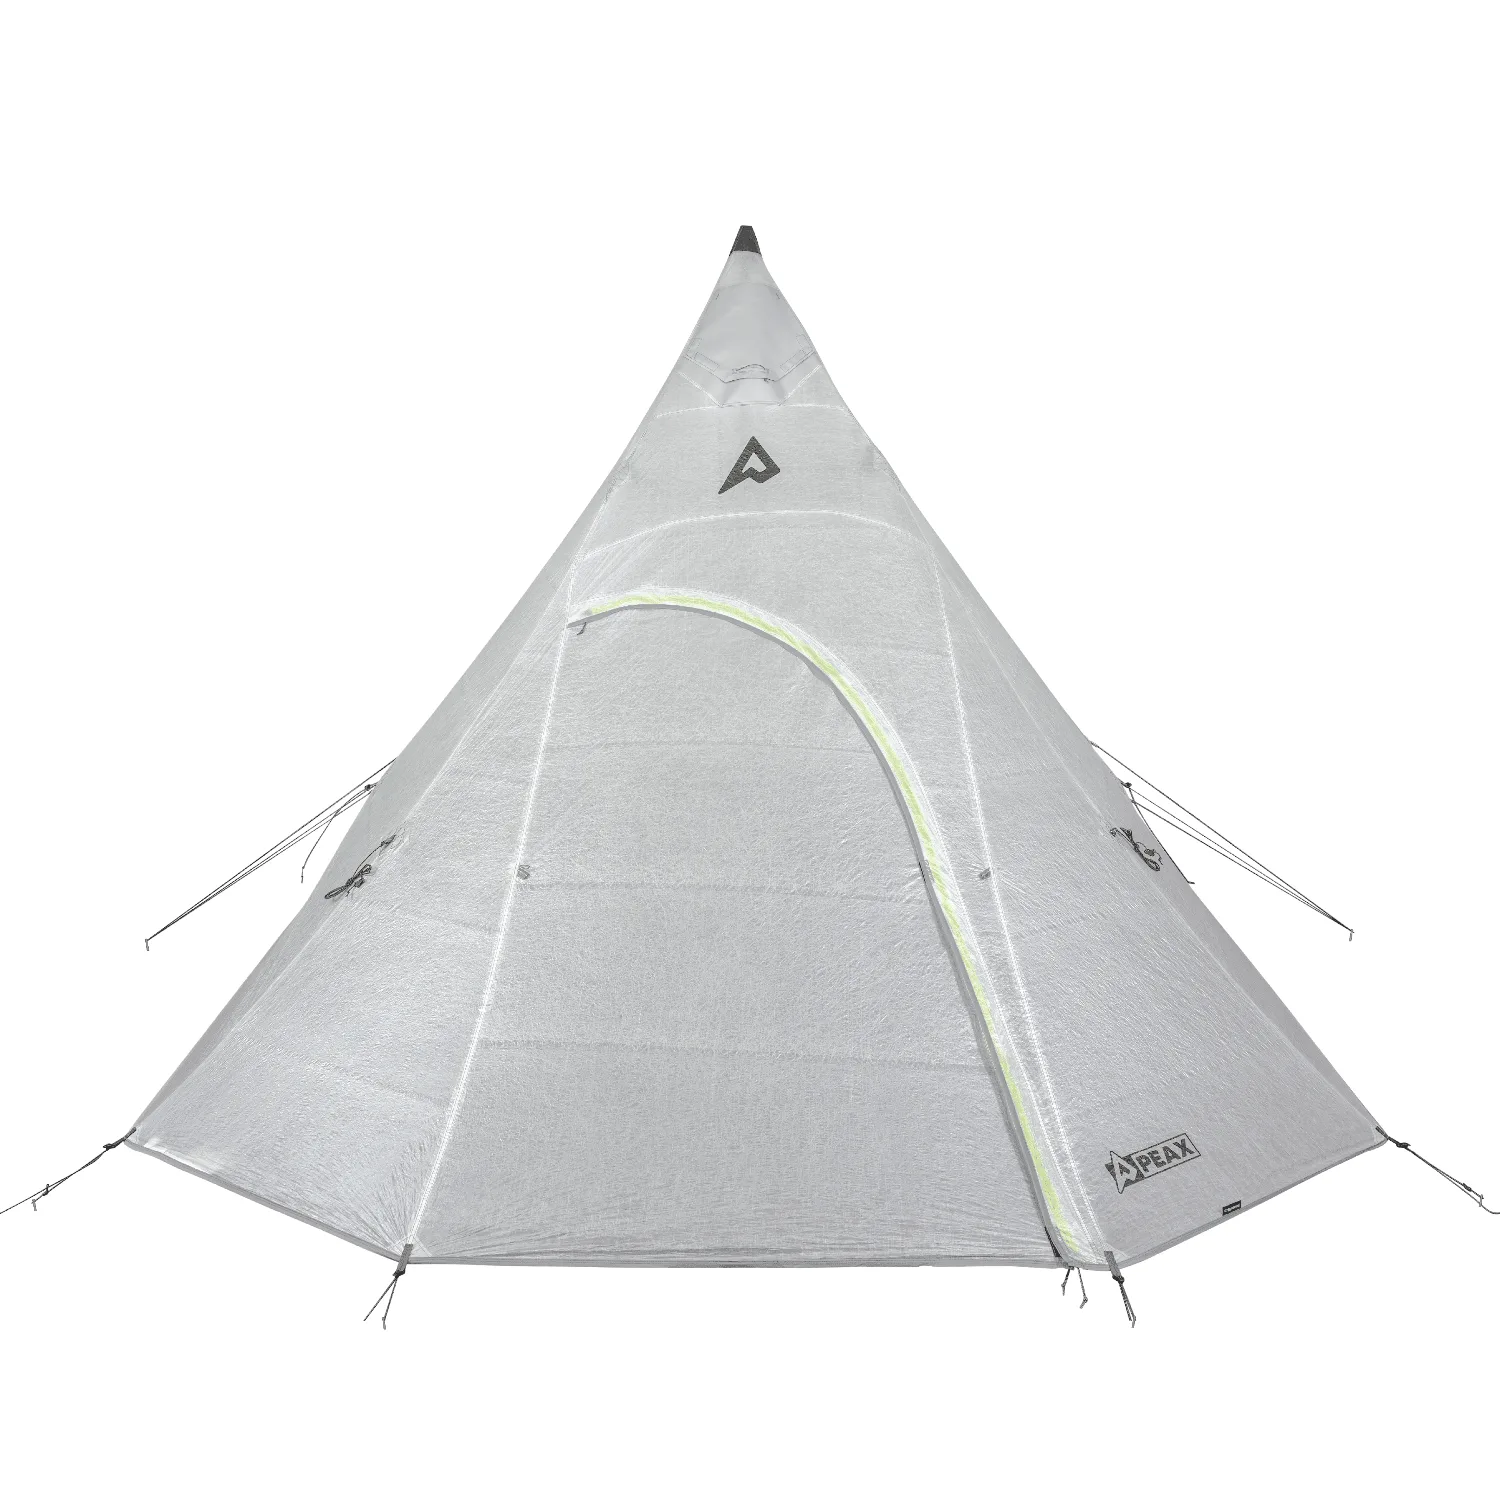
- SOLITUDE 4 TIPI TENT [DYNEEMA®]: Combines the livability of the Solitude shelter platform with the strength-to-weight ratio of Dyneema®, creating a lightweight tipi tent built for demanding mountain conditions. A strong, lightweight fabric handles wind loading better than heavier, less dimensionally stable materials, and the optional footprint and nest let you adapt the shelter to the conditions.
- SOLITUDE 1 TENT [SILNYLON]: An ultralight 1 person tent designed to maximize interior living space while maintaining lightweight performance, with a compact footprint and weather-resistant construction. A compact footprint gives you more options for tucking the tent behind natural windbreaks, and the optional footprint, nest, and poles let you configure it for exposed camps.
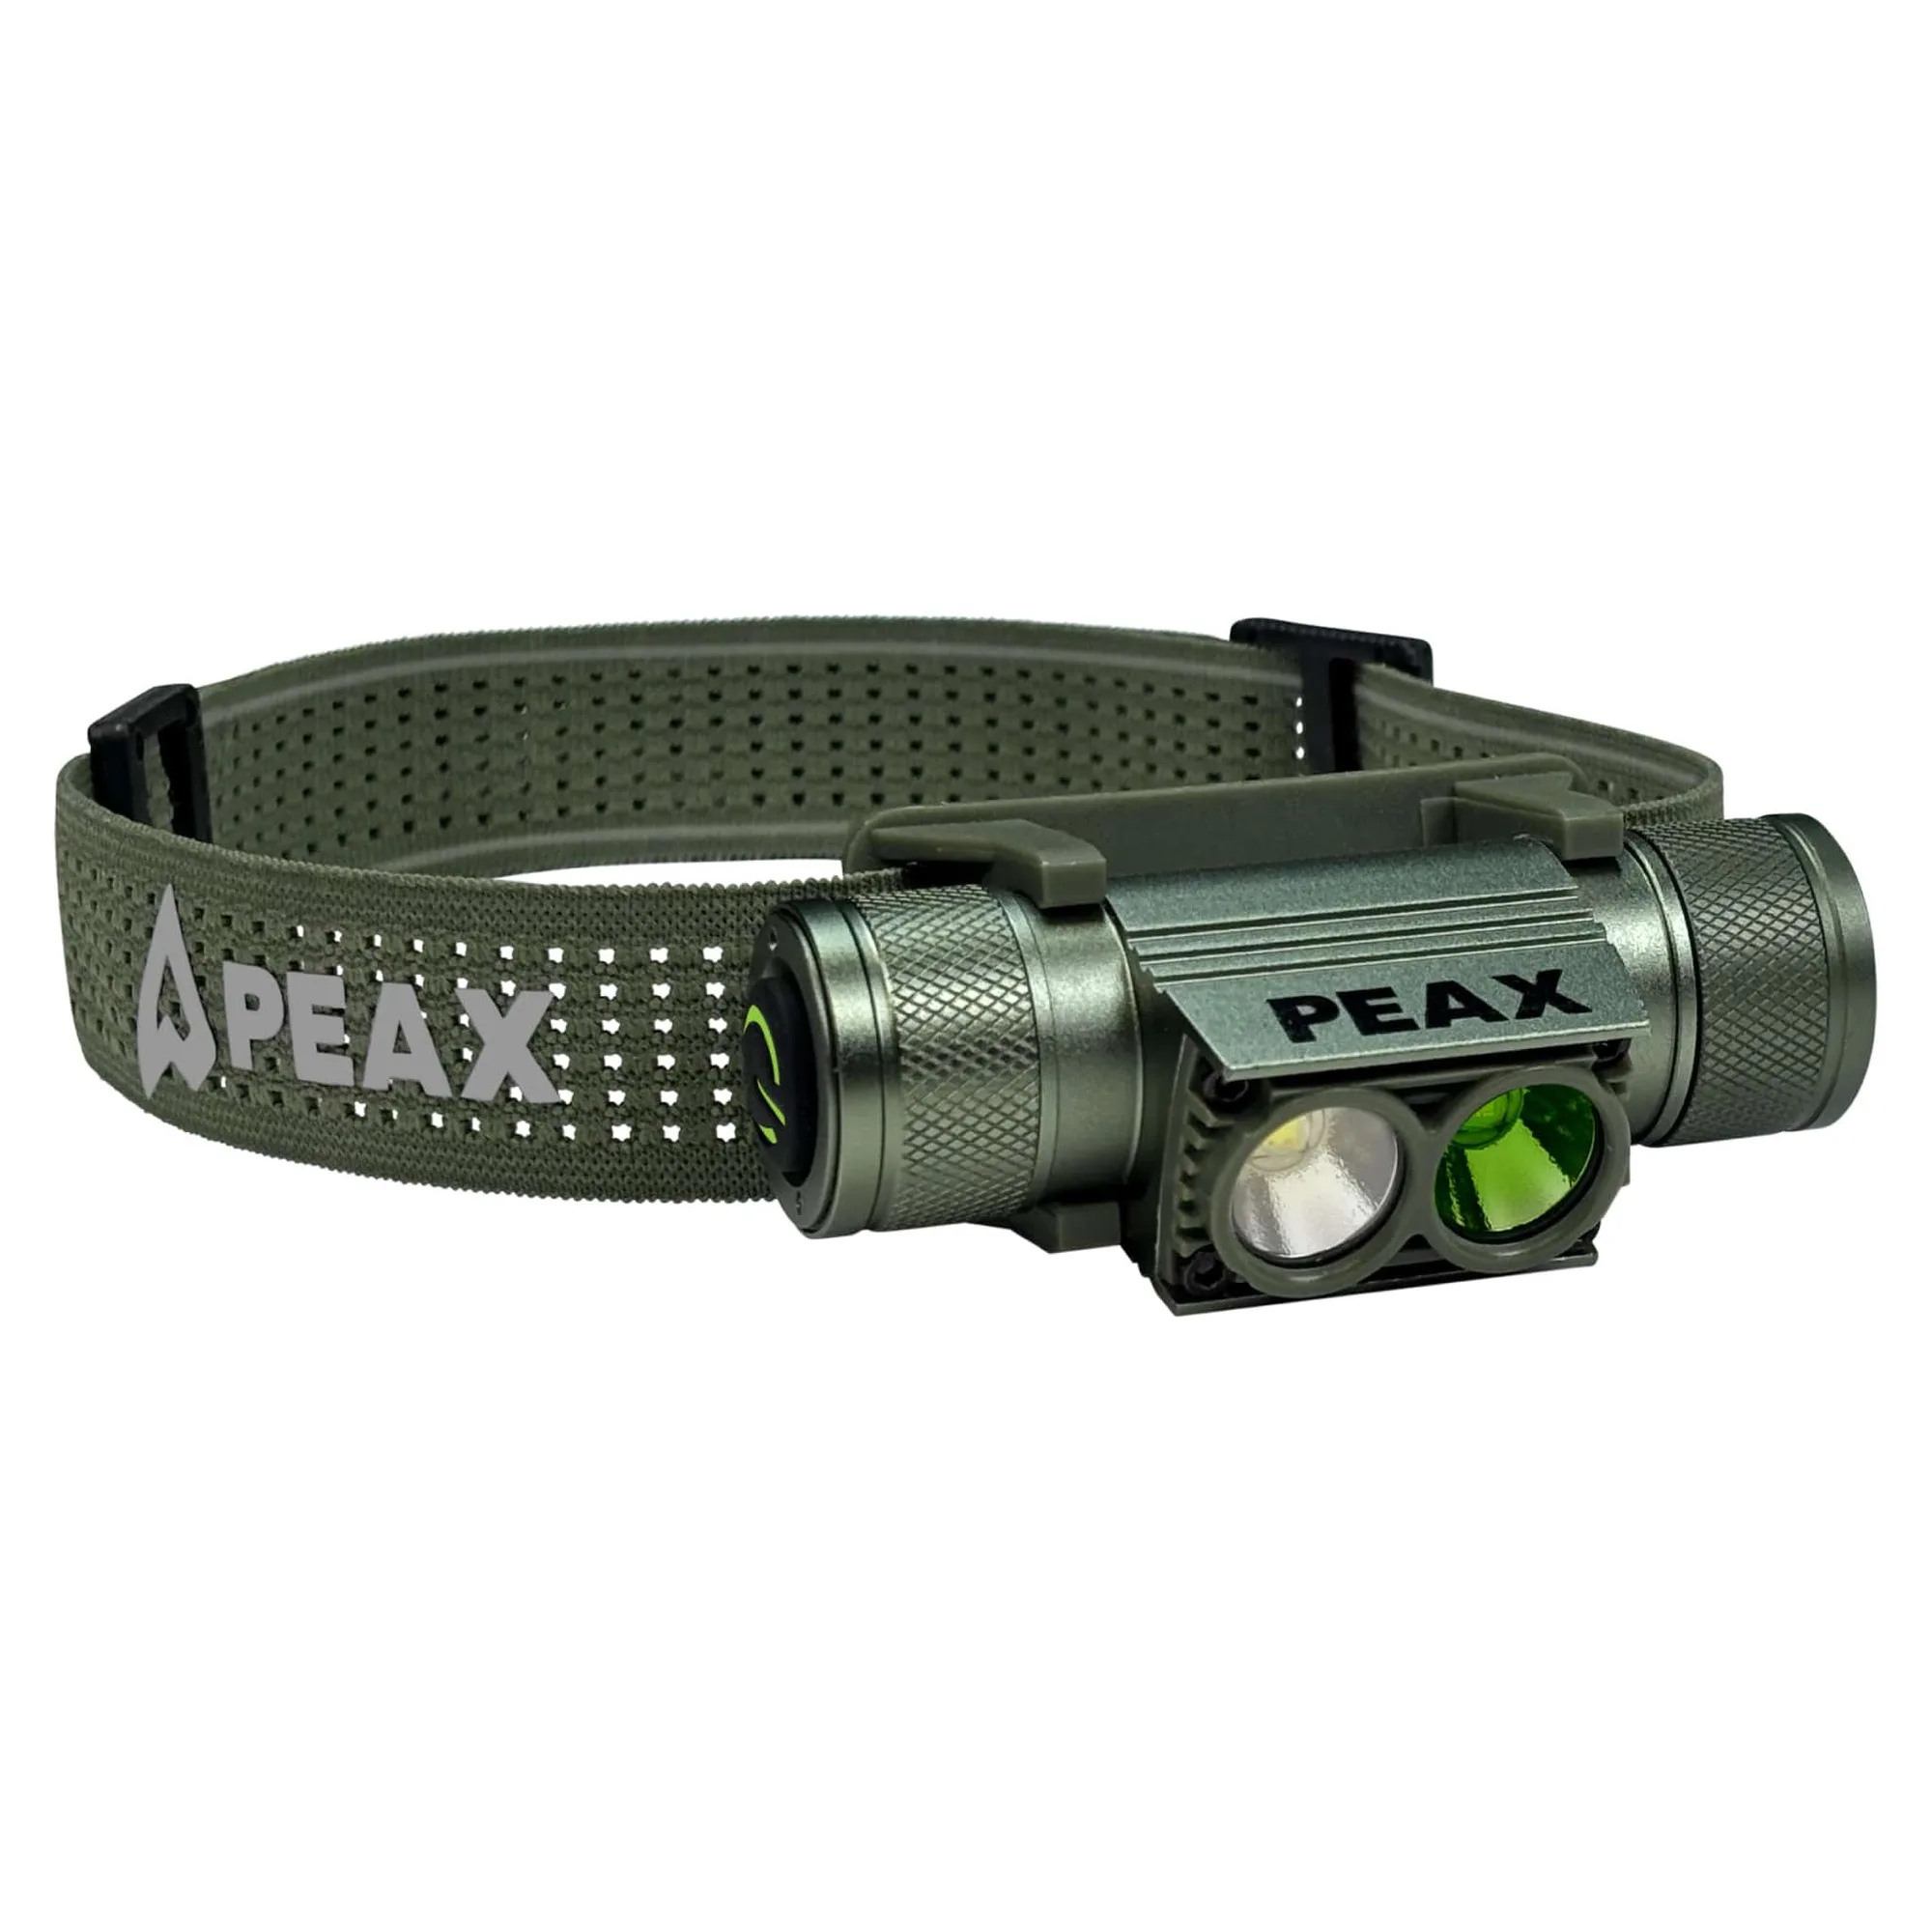
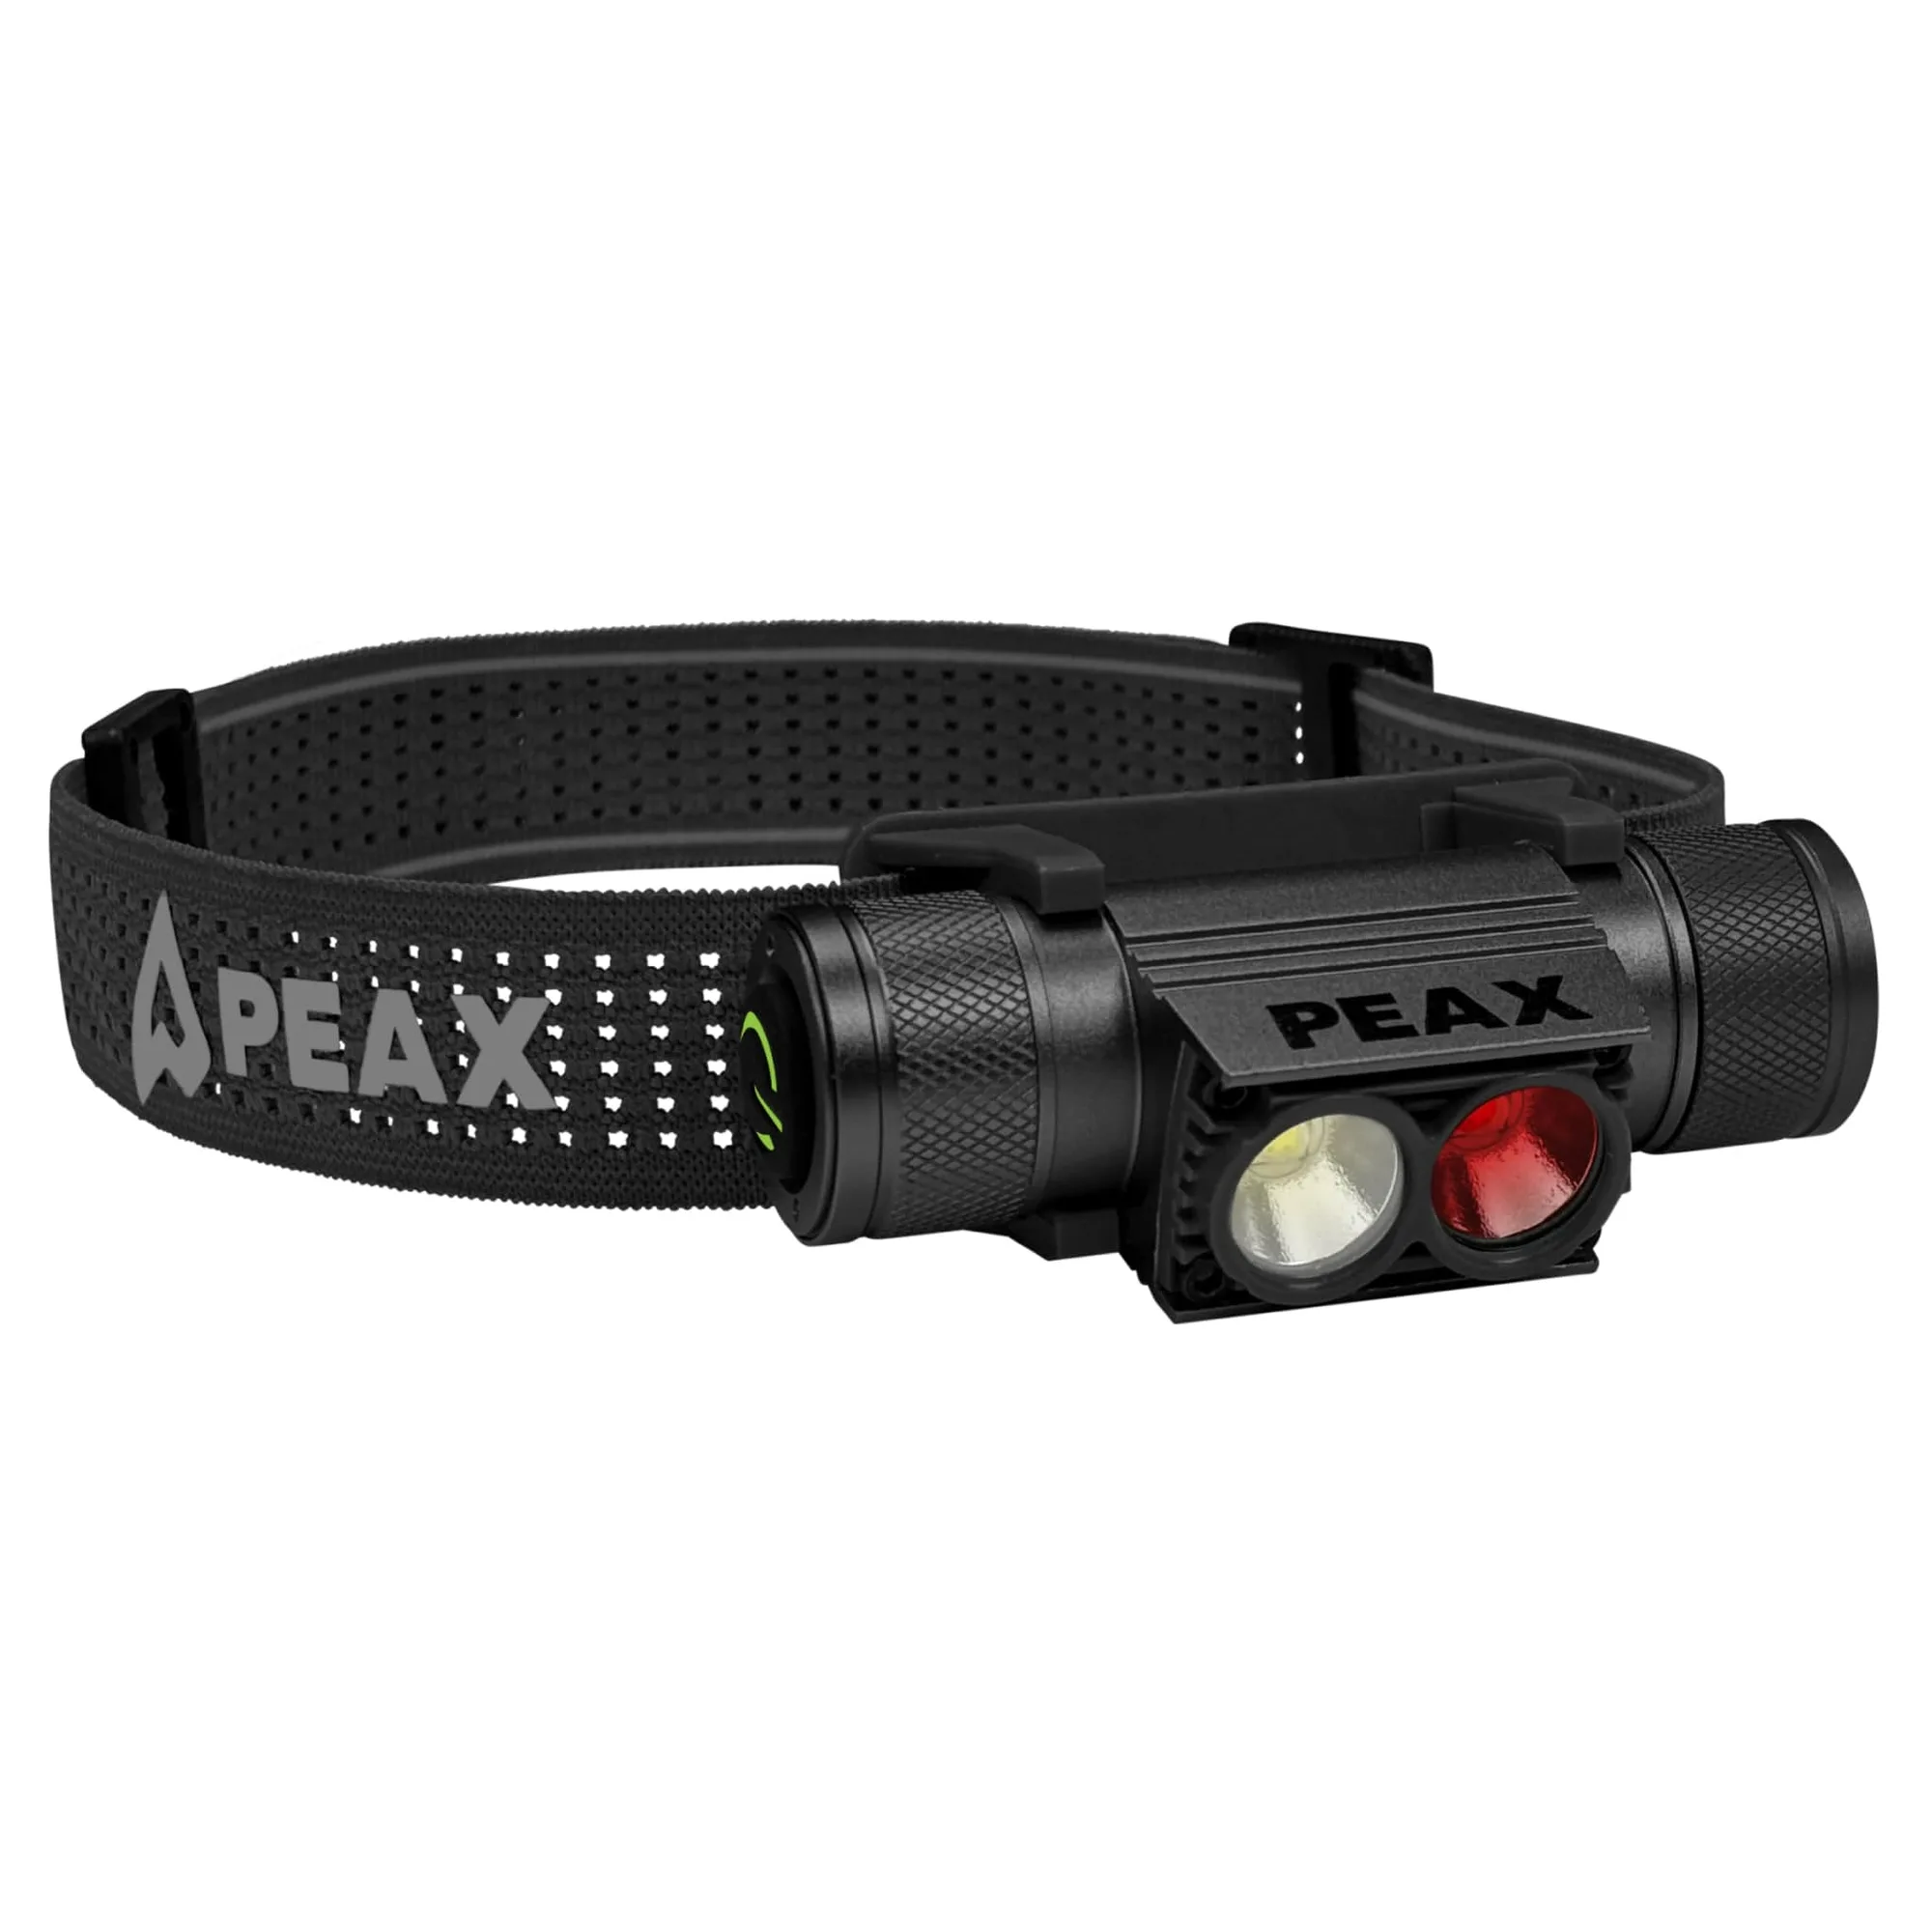
- https://peaxequipmentpo.com/products/backcountry-duo-headlamp-green-58c9e9547d88c722b744ea78-1925038PEAX BACKCOUNTRY DUO HEADLAMP - GREEN: A green headlamp built for backcountry hunters who need dependable visibility, long battery life, and confident navigation in low-light mountain conditions. When wind forces you to recheck stakes after dark, a hands-free light with long battery life keeps the job quick and safe.
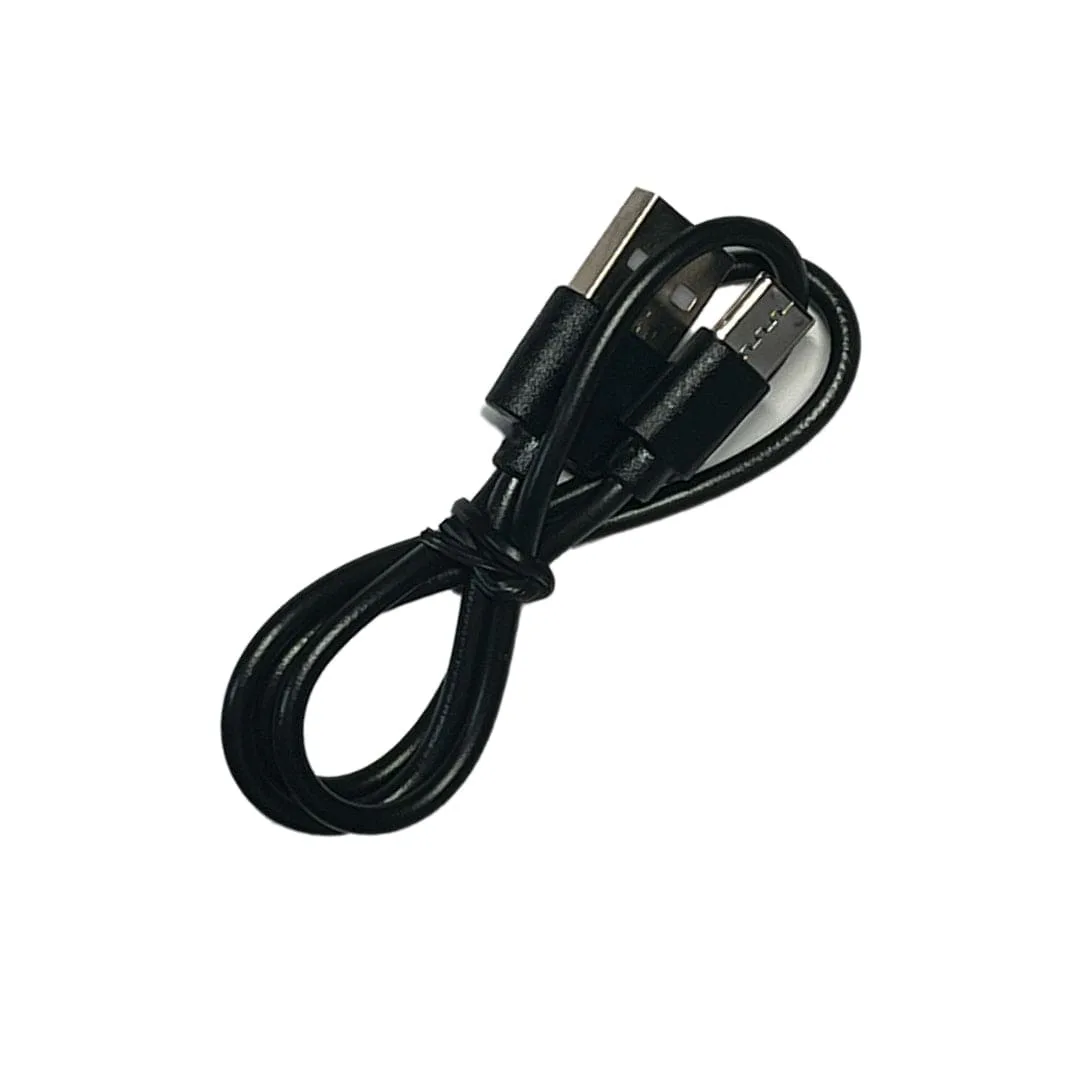
- PEAX BACKCOUNTRY DUO HEADLAMP CHARGING CABLE: USB to USB-C charging cable for the BACKCOUNTRY DUO headlamp, with a slightly longer metal end to fit the headlamp's circular housing. A spare cable that seats correctly means you can recharge after a windy night without discovering your standard cable will not connect.
Pitching a tipi tent in windy conditions comes down to sequence, tension, and a willingness to reset when the wind changes. Anchor the windward side first, raise the pole with control, and keep checking your stakes as the night goes on. With the right shelter and a little practice, a windy pitch becomes just another part of the hunt.