Quick answer
Set up the tipi first and stake it tight, then confirm your stove jack and flashing are intact before cutting or opening anything. Place the stove on a level, non-combustible base directly under the jack, install the pipe through the flashing, and secure every joint with a compatible stove pipe ring. Keep at least 3 feet of clearance between the stove and any fabric, and never leave a burning stove unattended.
Before you cut or open the stove jack
A tipi tent stove jack is the heat-resistant panel or opening where the pipe exits the shelter. On many tipis it is already built in; on others you must install it. Before you cut anything, read the shelter's instructions and confirm the jack's rated pipe size matches your stove pipe. If the jack is too small or the flashing is cracked, replace it before the trip—not at camp in the dark. If your tipi has no jack and no manufacturer guidance, do not improvise a cut; choose a shelter designed for stove use instead.
Place the stove for safe clearance and airflow
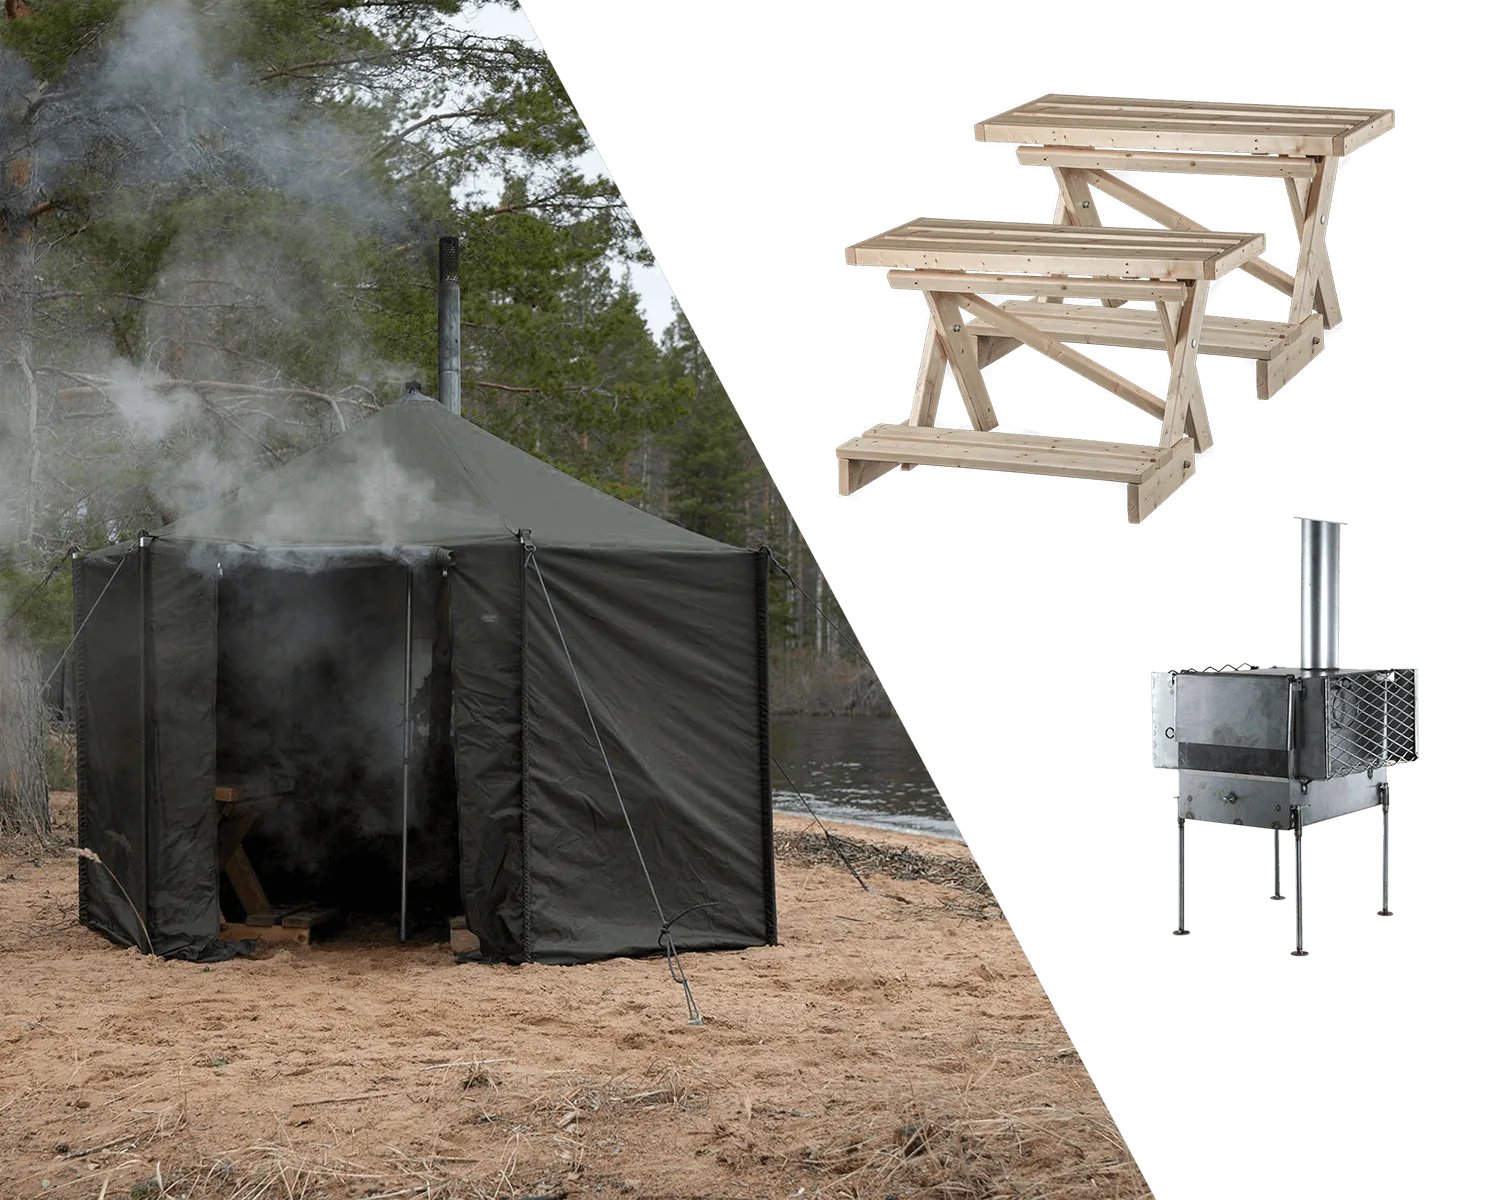
Put the stove on a level, non-combustible surface such as a stove board or bare mineral ground, not on pine needles, dry grass, or a wooden floor. Center it under the stove jack so the pipe runs straight up with no sharp bends; offsets and elbows create creosote traps and weak points. Leave enough room around the stove for loading wood and for the door to swing, and keep sleeping bags, packs, and firewood outside the clearance zone. If the floor is floorless, the stove area should still be clear of duff and roots.
Install the pipe and secure every joint
Assemble the pipe from the stove upward, twisting each section to lock it, then slide the assembly through the jack. The pipe should extend well above the jack and be supported so wind cannot push it sideways. Stove pipe rings are the small stainless collars that lock sections together; if a ring is missing or bent, the joint can separate and drop hot pipe onto fabric. Check that the flashing sits snug around the pipe with no gaps, and that no fabric touches the pipe anywhere along its run.
Vent, test, and monitor the first fire
Before lighting, open the stove's air control and make sure the damper, if fitted, is open. Start with a small kindling fire and watch the smoke: it should rise steadily out of the pipe, not roll back into the tipi. If smoke spills into the shelter, check for a blocked spark arrestor, a cold pipe, or a downdraft from the door orientation. Once the fire is drawing well, add larger wood gradually. Keep a bucket of water or dirt and a fire extinguisher within reach, and never sleep with the stove door open or the air control wide open.
Safe tipi stove setup, step by step
- Pitch and tension the tipi: Stake the tipi so the walls are taut and the peak is centered over your planned stove spot. A loose shelter can flap into the pipe or shift the jack alignment. Checkpoint: the stove jack should hang directly above the stove base with no side pull.
- Inspect the jack and flashing: Look for cracks, scorching, or gaps around the jack opening. Confirm the jack's rated pipe size matches your pipe, and replace damaged flashing before the trip. Common mistake: assuming a jack fits any pipe; a loose fit lets heat and embers reach fabric.
- Build a level, non-combustible stove base: Clear duff, roots, and dry grass, then set the stove on a stove board or bare mineral soil directly under the jack. Keep the base stable so the pipe stays vertical. Common mistake: setting the stove on a slope or on flammable ground cover.
- Assemble and lock the pipe: Twist each pipe section together and fit a compatible stove pipe ring at every joint. Slide the pipe through the jack and confirm the flashing seals around it. Checkpoint: gently tug each joint; if it separates, the ring is missing or the wrong size.
- Maintain clearance and airflow: Keep at least 3 feet between the stove and any fabric, and keep gear, firewood, and bedding out of that zone. Open the air control and damper before lighting. Common mistake: stacking firewood next to the stove, where it can catch from radiated heat.
- Light small and watch the draw: Start with kindling and confirm smoke rises out of the pipe rather than spilling into the tipi. Add larger wood only after the draw is steady. Checkpoint: if smoke rolls back, check for a blocked arrestor, a cold pipe, or a downdraft before adding more fuel.
- Monitor and extinguish before sleep: Keep water or dirt and an extinguisher within reach. Let the fire burn down and close the air control before sleeping, and never leave a burning stove unattended. Next step: do a final clearance and pipe check each time you refuel.
Gear that supports a safer setup
- STOVE PIPE RING: The STOVE PIPE RING is a 3-inch spare ring built from durable stainless steel to secure a Torrid Stove Pipe or any compatible 3-inch pipe. The Torrid Stove comes with 6 rings. Carrying a spare ring means a damaged or lost joint lock does not end your stove use mid-trip; check your ring count before you leave and match the ring to your pipe diameter.
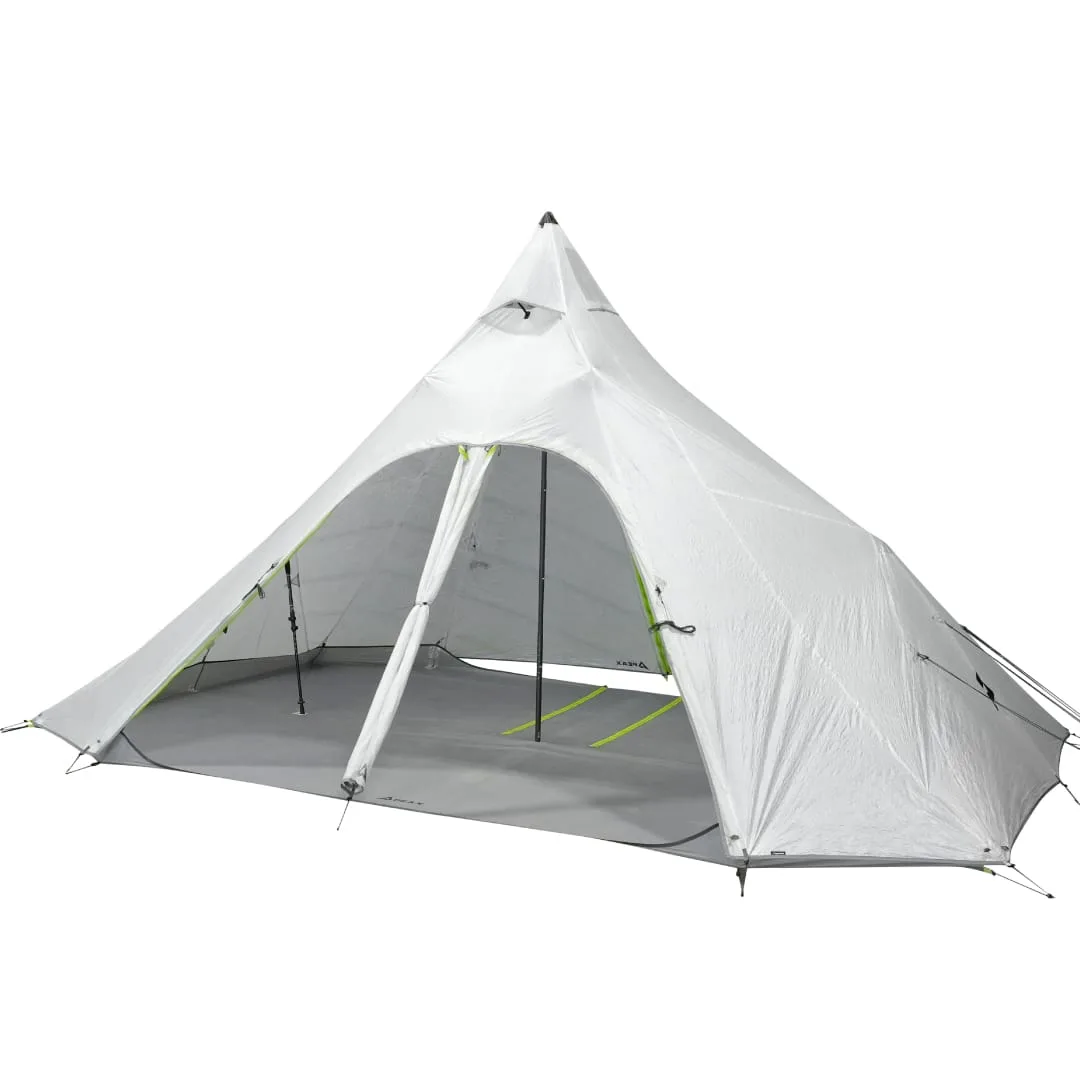
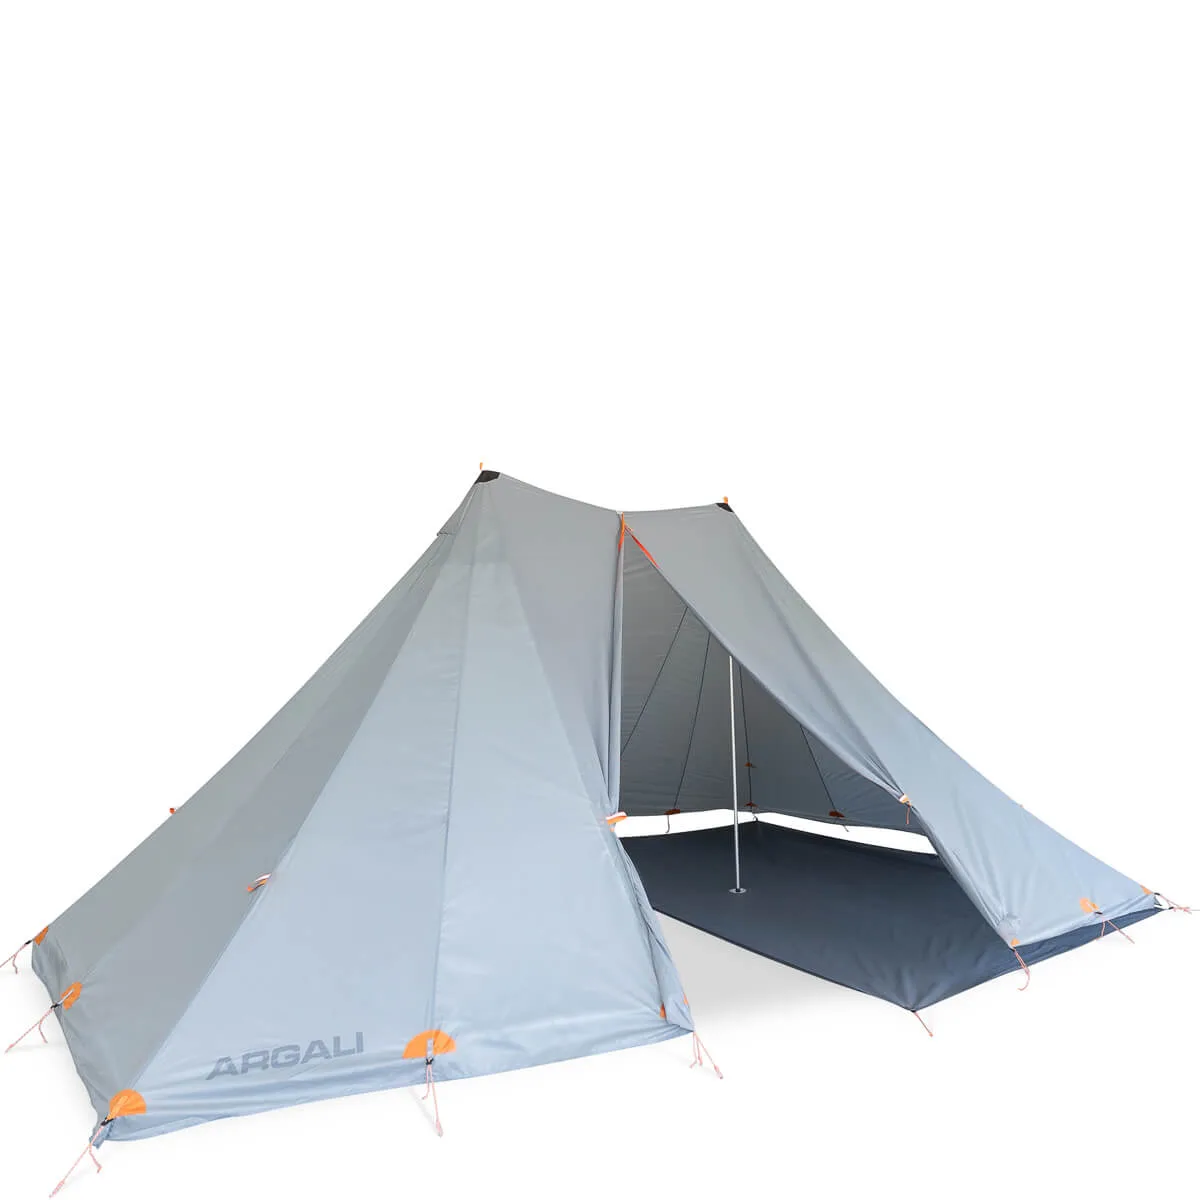
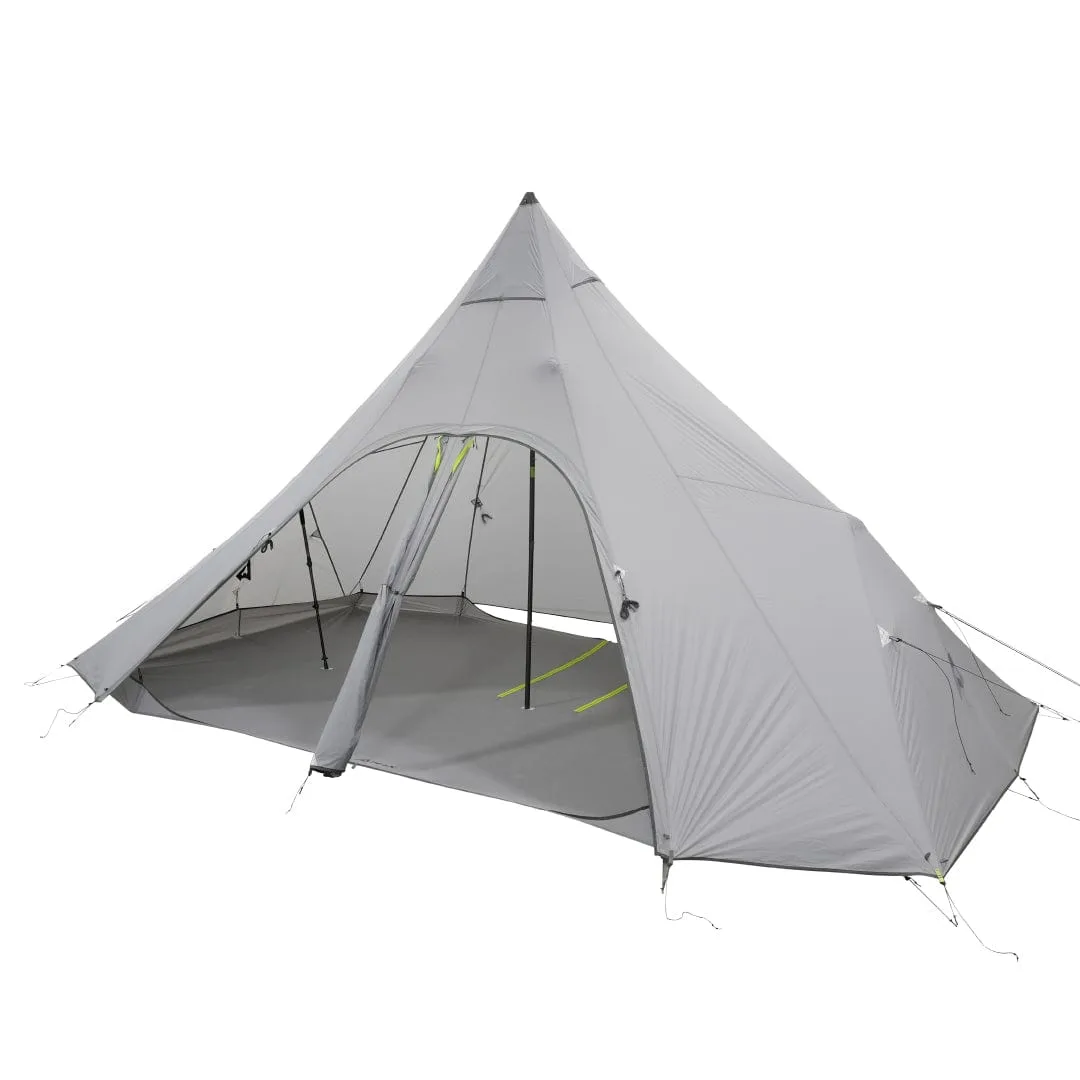
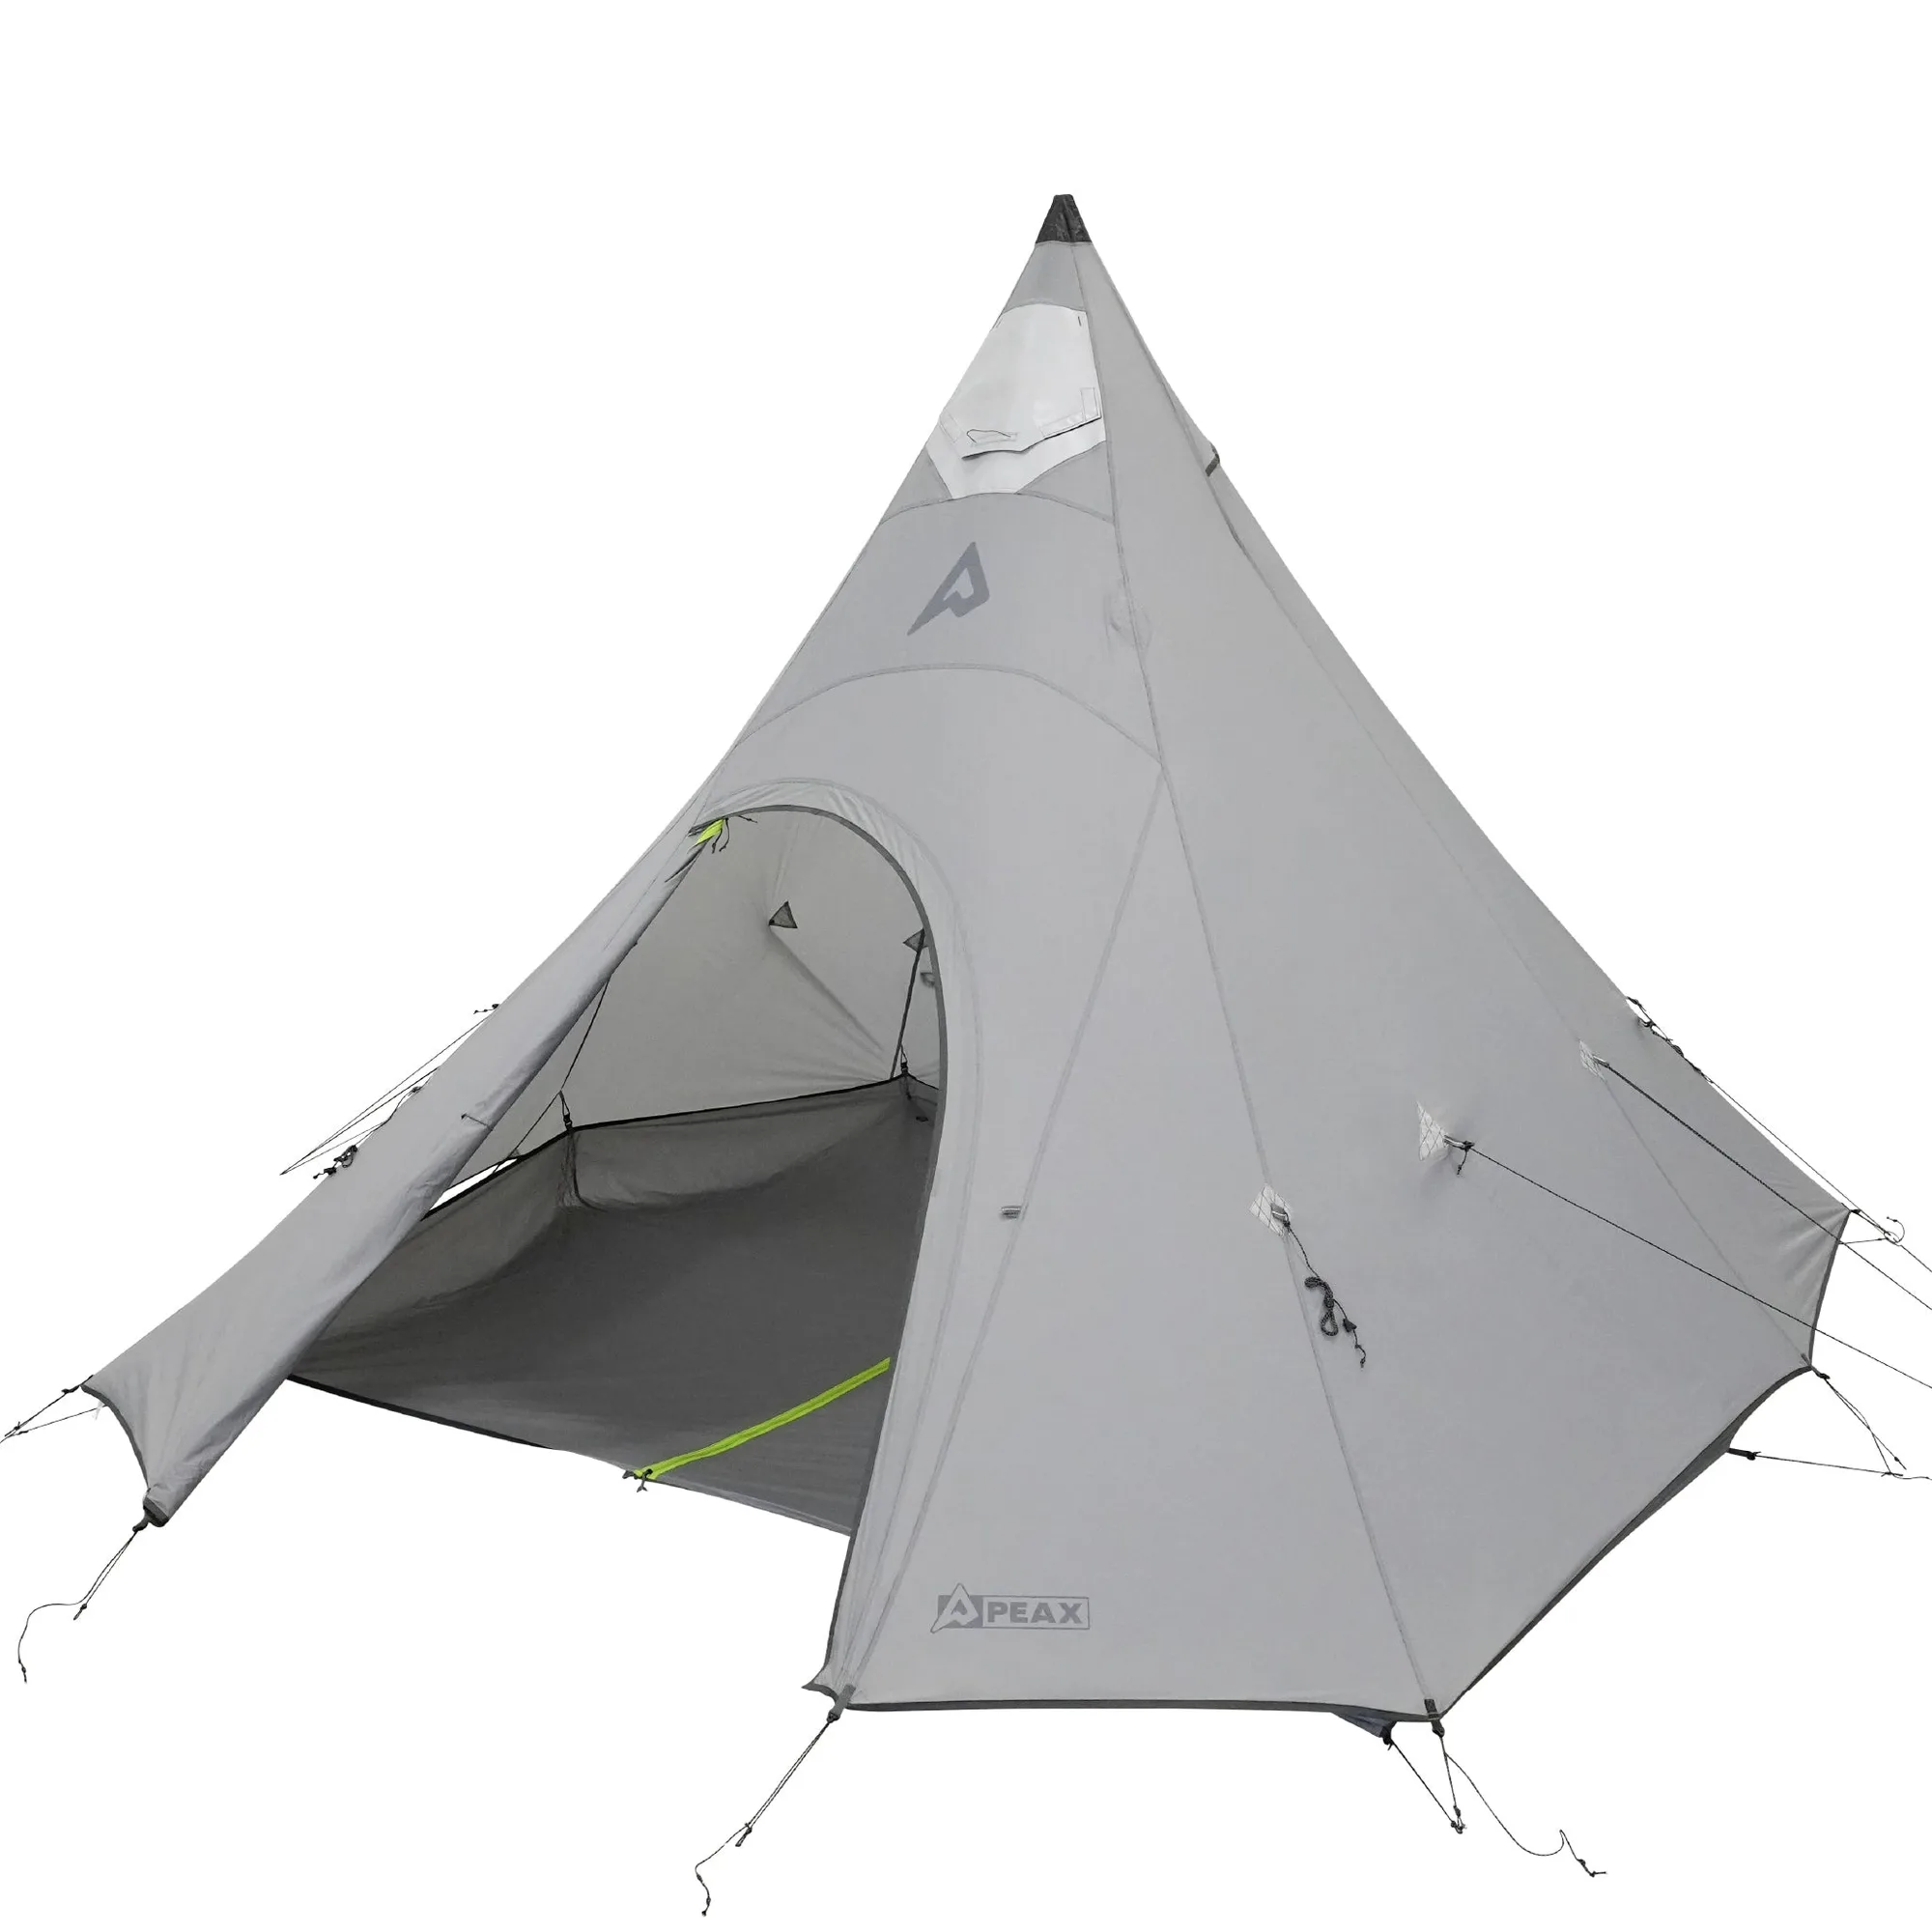
- SOLITUDE 6 TIPI TENT [DYNEEMA]: The SOLITUDE 6 TIPI TENT [DYNEEMA] is a 4-season tent with stove compatibility, built for larger groups and changing weather. Optional footprint, nest, and trekking poles are available. A shelter that is already stove-compatible removes the guesswork of cutting a jack; the optional nest and footprint let you adapt the interior without changing the stove zone.