Quick Answer
Use the two aluminum poles from The One and Two Pole Sets at the peak and one side to create a stable A-frame pitch for your Gossamer Gear shelter. Proper tension and staking are key to preventing sag.
Why Use Dedicated Shelter Poles vs. Trekking Poles
While many ultralight shelters rely on trekking poles, dedicated poles like The One and Two Pole Sets offer a consistent, known length and weight. This removes the guesswork of adjusting your trekking pole to the correct height and can be faster to set up, especially if you don't hike with poles. The trade-off is carrying the extra weight of the aluminum poles versus using gear you already have.
Common Stability Challenges
The biggest stability issue with any trekking pole tent is the pole base sinking into soft ground or the pole shifting in wind. The One and Two Pole Sets' aluminum construction is durable, but you must ensure the pole tips are firmly planted or use the included snow baskets if available. Another common mistake is not tensioning the shelter fabric evenly, which can cause the poles to lean and the shelter to collapse.
Step-by-Step Setup for a Stable Shelter
- 1. Choose Your Site and Stake the Footprint: Find a flat, well-drained area. Stake out the four corners of your shelter's floor or footprint first. Make sure the stakes are at a 45-degree angle away from the shelter for maximum holding power. A common mistake is staking straight down; this provides less resistance to wind and can pull out easily.
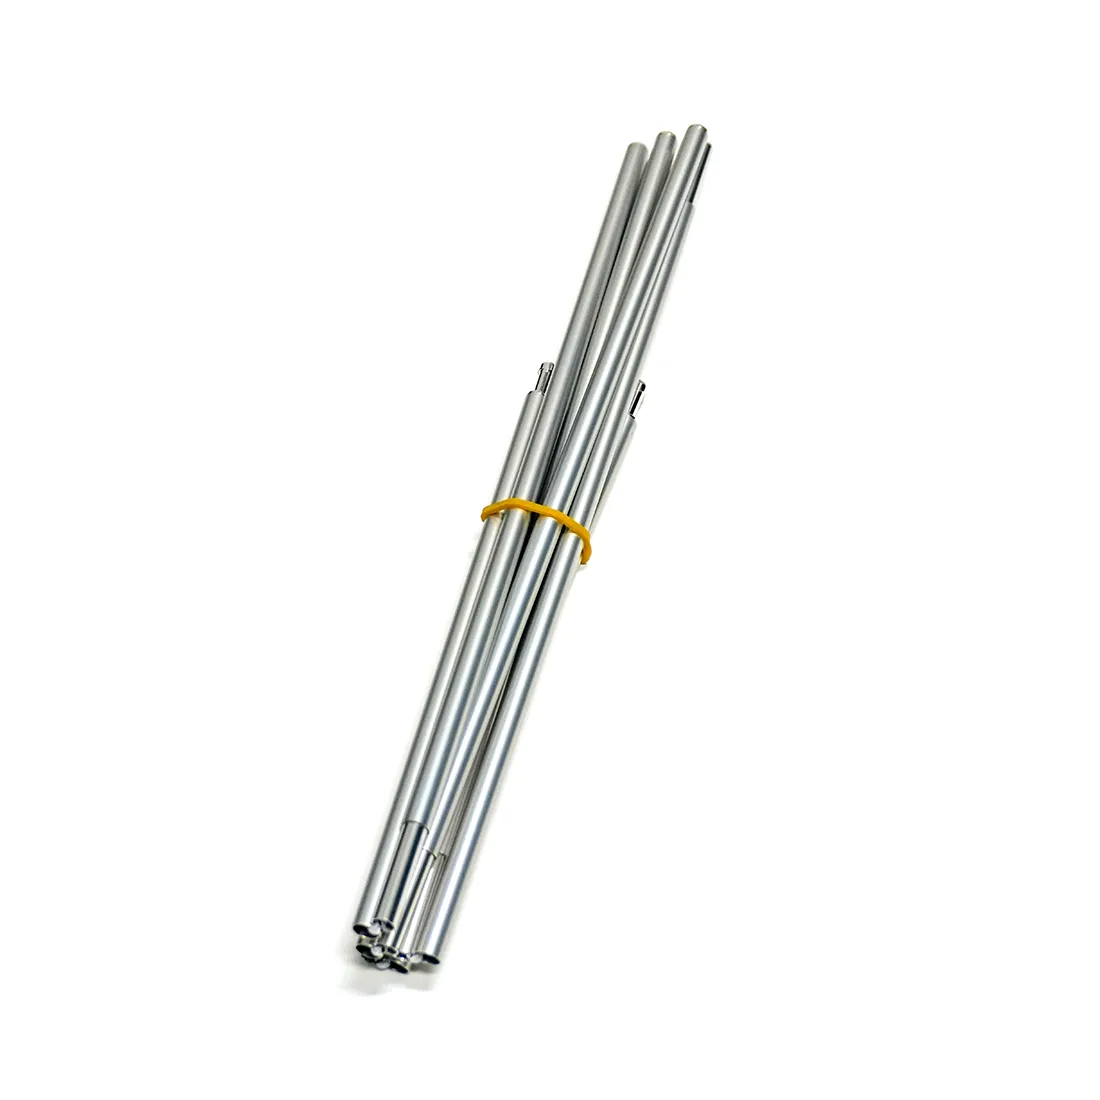
- 2. Assemble and Insert the Pole Set: Connect the two aluminum poles from The One and Two Pole Sets. For The One and Two Shelters, insert the pole set into the peak grommet. The pole tip should seat fully in the grommet, not just rest on the fabric. Ensure the pole sections are fully seated together; a partially connected pole can collapse under tension.
- 3. Attach the Second Pole to the Side: For the A-frame configuration, attach the second pole to the side panel's reinforced tie-out point. This pole provides the lateral stability needed to keep the shelter from swaying. If you skip this pole or attach it to a non-reinforced point, the shelter will be unstable in any breeze.
- 4. Tension the Ridgeline and Side Panels: After the poles are up, adjust the guylines on the ridgeline and side panels. Pull the ridgeline taut to remove sag, then tension the side panels evenly. The shelter fabric should be drum-tight but not distorting the seams. Over-tensioning can stress the pole grommets and seam tape; under-tensioning leads to a floppy shelter that catches wind.
- 5. Check Pole Base Stability: Inspect where the pole bottoms touch the ground. If the ground is soft, place a small flat rock or stake under the pole base to prevent it from sinking. In snow or sand, use a snow stake or a larger platform. A sinking pole base will lower your shelter's headroom and make the fabric sag, reducing stability.
- 6. Final Wind Test and Adjustment: Gently push on the shelter from different sides. If it sways more than a couple of inches, tighten the guylines or add a stake to the windward side. For high wind, consider adding a third tie-out point to the peak. A stable shelter should resist moderate pushes without major movement. If it feels loose, re-tension before you get inside.
Product Details
-
The One and Two Pole Sets: The One and Two Pole Sets are sold as a set of two aluminum poles designed for use with The One and Two Shelters from Gossamer Gear. This means you get the exact poles needed for the intended pitch, ensuring compatibility and eliminating the need to adjust or purchase separate trekking pole sections.
The One and Two Pole Sets
