Quick Answer
To set up Lorex smart security lighting on wired cameras, access the camera's settings via the Lorex app or web interface, enable smart deterrence features, and adjust the light schedules and sensitivity. For optimal performance, position the camera to cover entry points and ensure the lighting is synchronized with motion detection.
Smart security lighting is a game-changer for home security, especially when integrated with your wired camera system. Lorex cameras with built-in deterrence lights and floodlights not only capture clear footage but also actively discourage unwanted activity. In this guide, we'll walk you through the setup and optimization of Lorex smart security lighting on your wired cameras.
Whether you have a single camera or a full system, understanding how to configure lighting features can significantly enhance your property's safety. We'll cover everything from initial setup to advanced settings, ensuring you get the most out of your Lorex equipment.
Understanding Lorex Smart Security Lighting
Lorex wired cameras often come with smart security lighting, which includes features like red and blue deterrence lights, floodlights, and spotlights. These lights can be programmed to activate based on motion, schedules, or even manually, providing both a visual deterrent and improved visibility for your camera's footage.
The key to effective smart lighting is integration with your camera's motion detection. When the camera detects movement, the lights can turn on automatically, startling potential intruders and illuminating the area for clearer video capture. This not only helps in deterring crime but also ensures that any recorded footage is usable for identification.
- Check if your camera model supports smart lighting features in the specifications.
- Ensure your camera is powered and connected to your network before configuring lighting.
Step-by-Step Setup for Lorex Smart Security Lighting
Setting up smart lighting on your Lorex wired camera is straightforward. First, open the Lorex app on your smartphone or access the camera's web interface. Navigate to the camera settings and look for 'Lighting' or 'Deterrence' options. Here, you can enable the smart lighting features and customize their behavior.
You'll typically have options to set the light's brightness, color (if applicable), and trigger modes. For example, you can choose to have the lights turn on when motion is detected, or set a schedule for them to be active during certain hours. Some models also allow you to manually control the lights from the app.
If you have a camera with red and blue deterrence lights, you can often select the color pattern or have it alternate. These lights are designed to mimic police lights, which can be an effective deterrent. Make sure to test the lights after configuration to ensure they respond correctly to motion events.
- For cameras with deterrence lights, consider using the red and blue pattern for maximum visual impact.
- Adjust the motion sensitivity to avoid false triggers that may cause the lights to activate unnecessarily.
Optimizing Lighting Settings for Different Scenarios
Optimization involves tailoring the lighting to your specific environment. For entryways, you might want the lights to be bright and activate immediately upon motion. For areas with frequent non-threatening movement (like pets), you may want to reduce sensitivity or set a schedule to avoid constant activation.
Consider the placement of your camera. Lights should be positioned to illuminate the area where the camera is pointing, without causing glare or blind spots. If your camera has a floodlight, ensure it covers the desired area effectively. You can also adjust the light's intensity to balance visibility and energy consumption.
Another optimization tip is to sync the lighting with your camera's night vision. When the lights activate, they can help the camera capture color footage instead of black-and-white, which is beneficial for identifying details like clothing or vehicle color.
- Use the 'Schedule' feature to have lights on only during high-risk hours, such as late evening.
- If your camera supports it, enable 'Color Night Vision' to take advantage of the lighting for clearer footage.
Setup and Optimization Steps
- Access Camera Settings: Open the Lorex app or web interface and navigate to the camera's settings menu. Look for 'Lighting' or 'Deterrence' options. Ensure your camera is connected and visible in the app before proceeding.
- Enable Smart Lighting: Toggle on the smart lighting feature. Choose the light type (deterrence, floodlight, etc.) and select the trigger mode (motion, schedule, or manual). Test the lights by triggering motion to verify they activate correctly.
- Adjust Light Settings: Set the brightness, color (if available), and duration for the lights. For deterrence lights, select the color pattern (e.g., red and blue). Avoid setting brightness too high to prevent glare in the camera's field of view.
- Configure Motion Sensitivity: Adjust the motion detection sensitivity to reduce false triggers. This prevents the lights from turning on unnecessarily. If you have pets, consider lowering sensitivity or setting a schedule to avoid constant activations.
- Set Schedules: Use the schedule feature to define when the smart lighting should be active. For example, set it to only activate during nighttime hours. Schedules help save energy and reduce nuisance triggers during the day.
- Sync with Night Vision: If your camera supports color night vision, ensure the lighting is positioned to illuminate the area effectively, allowing the camera to capture color footage. Position the camera and light to avoid shadows and blind spots.
Lorex Products with Smart Security Lighting
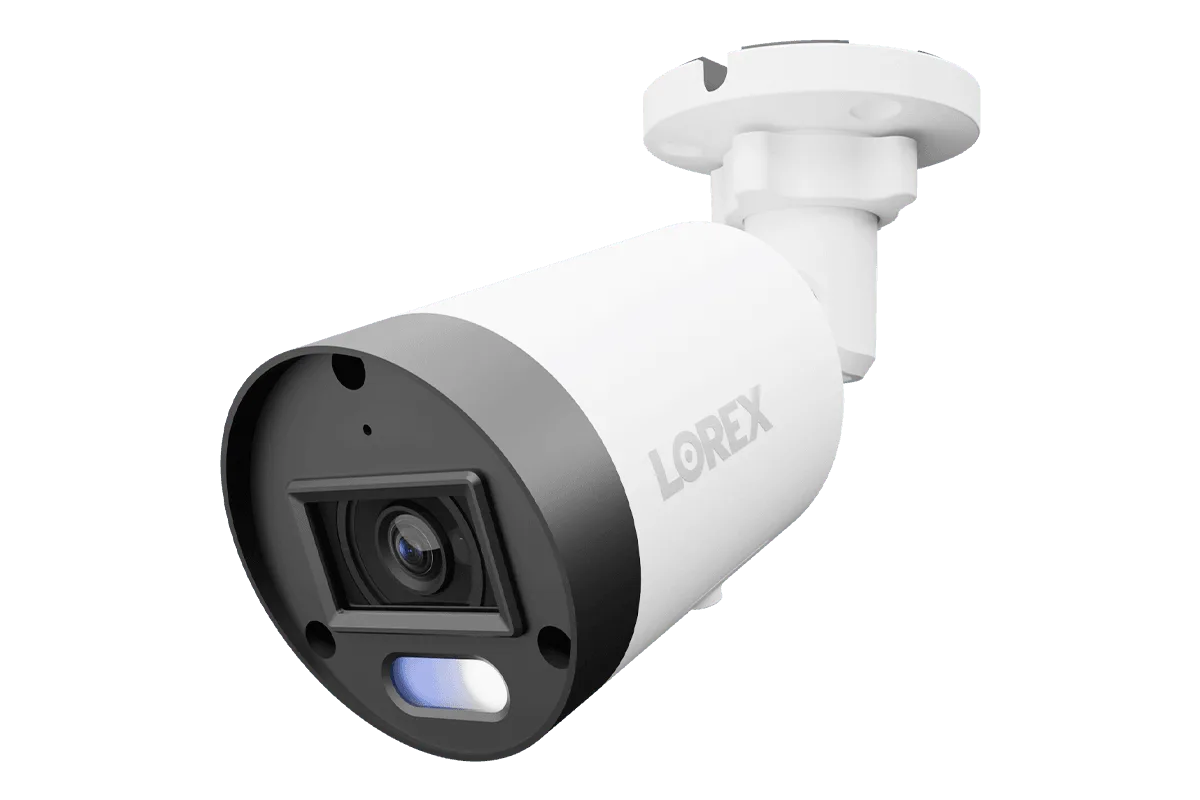
- Lorex Connect U3 4K PoE Bullet Camera with Red & Blue Deterrence Lights: Ultra-clear 4K coverage meets proactive security in this IP camera designed to capture the details that matter and help deter incidents before they happen. This camera combines high-resolution video with red and blue deterrence lights, making it ideal for entry points where you want both clear footage and an active deterrent.
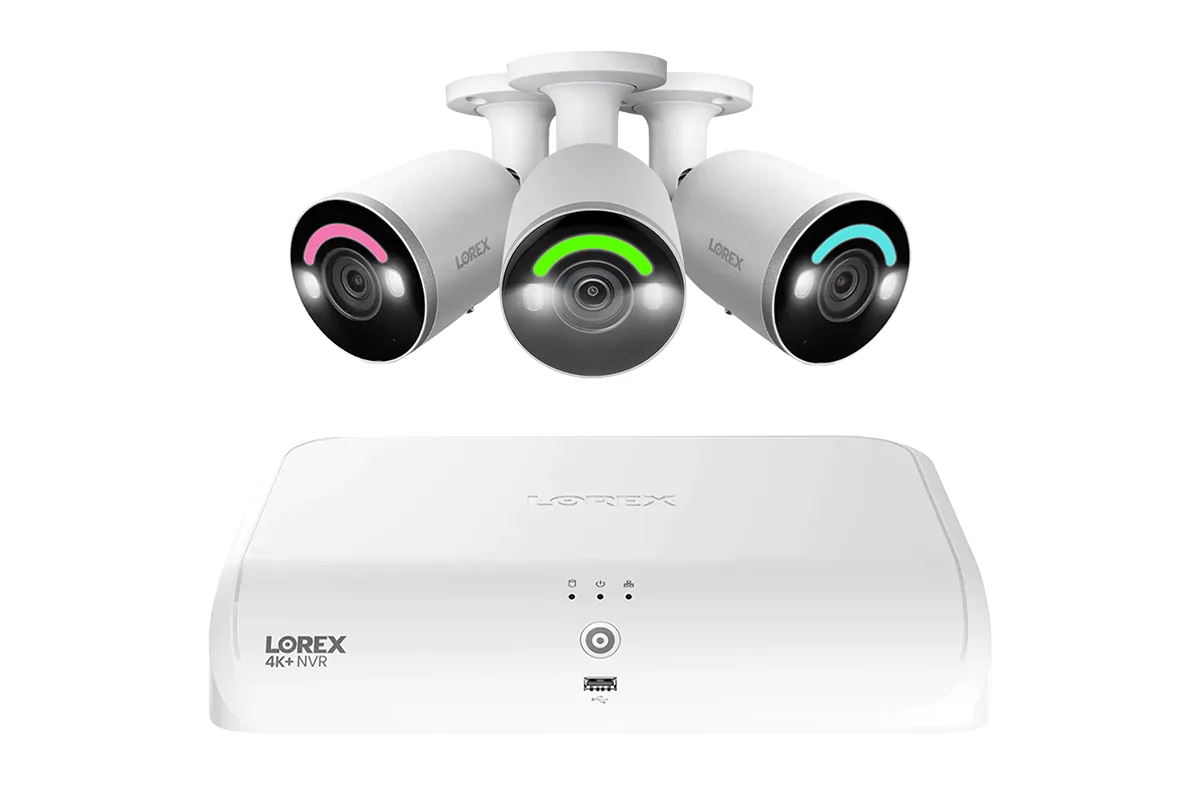
- Lorex 4K Smart Deterrence CVI Wired Bullet Cameras: The Lorex 4K Smart Deterrence CVI Wired Bullet Cameras deliver advanced monitoring with crisp 4K resolution, smart deterrence capabilities, and reliable wired connectivity. With smart deterrence built in, these cameras are perfect for homeowners who want a straightforward setup with effective lighting features to scare off potential intruders.
By following these steps, you can fully leverage the smart security lighting on your Lorex wired cameras, enhancing both deterrence and video quality. Remember to regularly test and adjust your settings as your environment changes. For a camera with built-in red and blue deterrence lights, consider the Lorex Connect U3 4K PoE Bullet Camera to elevate your security setup.