Smart security lighting is one of the most effective ways to deter intruders and enhance the clarity of your surveillance footage. When paired with a high-quality NVR system, motion-activated lights can transform your bullet cameras into proactive security devices. In this guide, we’ll walk you through setting up smart security lighting on Lorex bullet cameras and NVR systems, including the popular Lorex A4 4MP IP Wired Bullet Security Camera with Listen-In Audio and Smart Motion Detection.
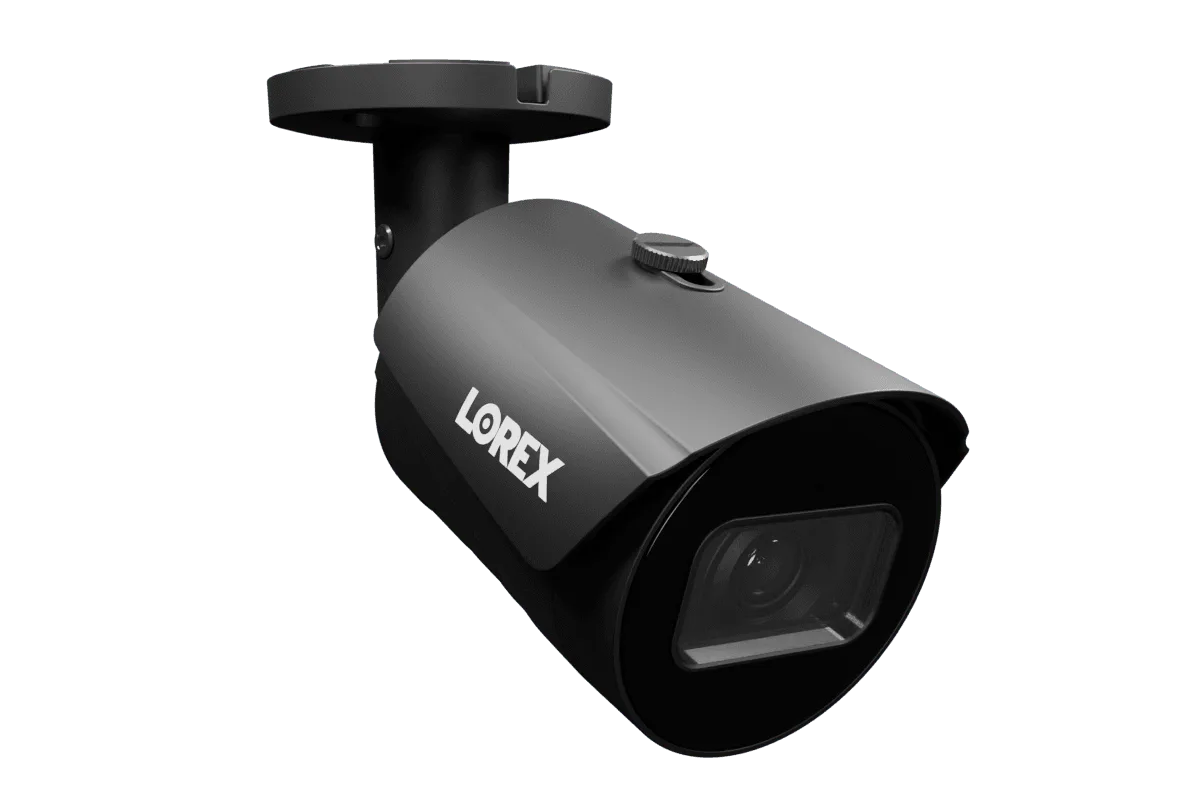
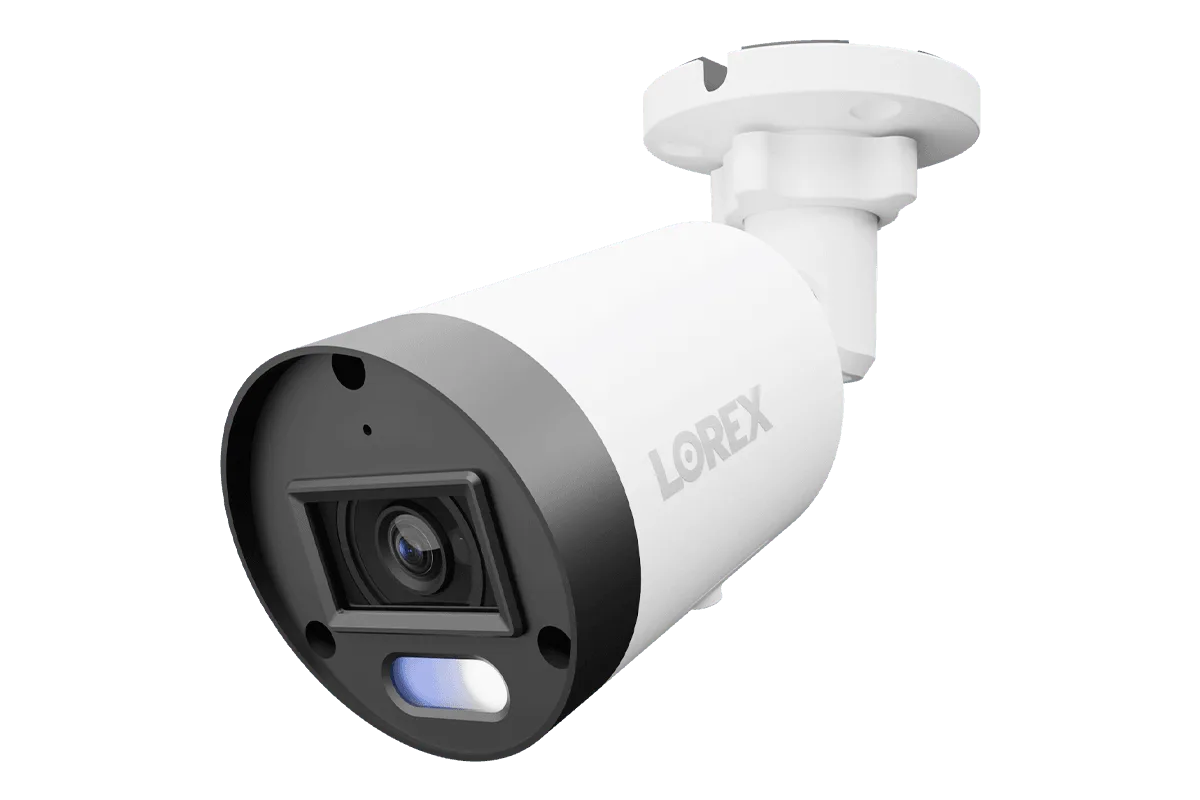
Lorex A4 4MP IP Wired Bullet Security Camera with Listen-In Audio and Smart Motion Detection
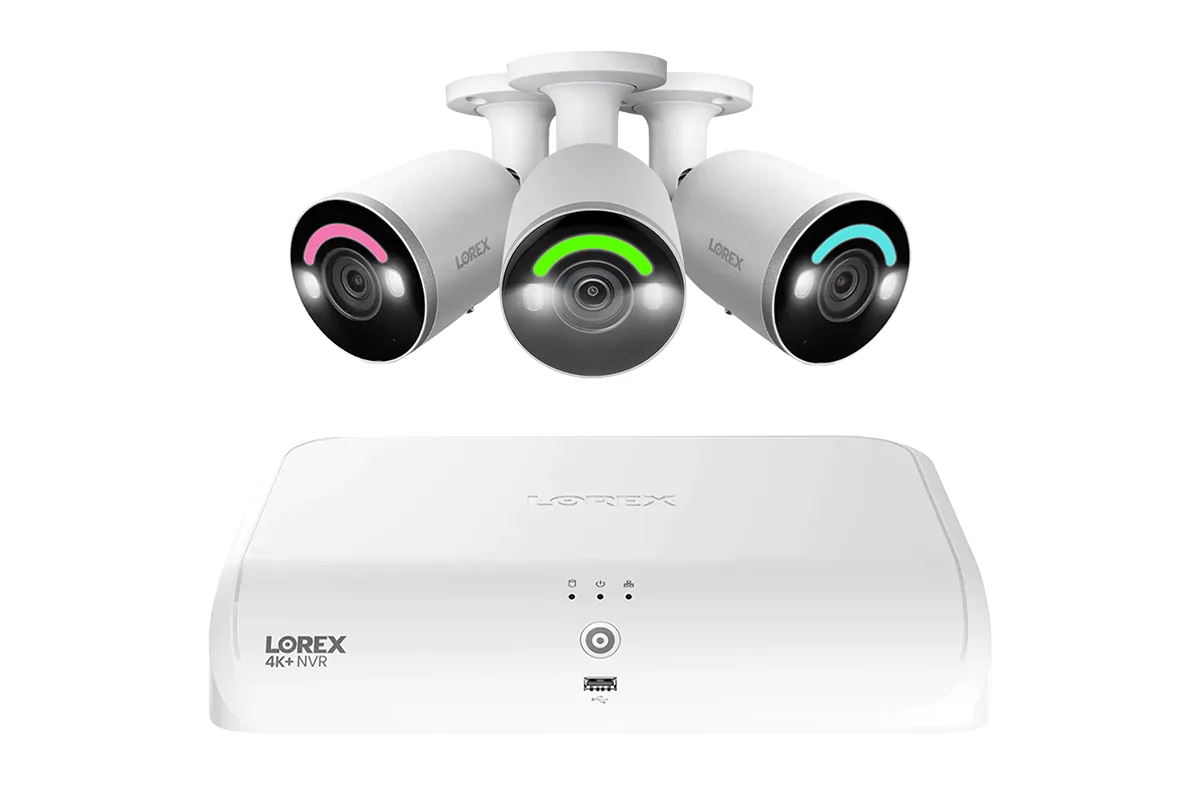
Whether you’ve just installed a new Lorex Fusion Series 4K system with A14 IP Bullet Cameras or you’re looking to optimize an existing setup, this step-by-step tutorial will help you configure motion zones, adjust sensitivity, and sync your lighting to work seamlessly with your NVR. By the end, you’ll have a fully automated lighting system that activates only when it matters—saving energy while boosting security.
Understanding Smart Security Lighting for Bullet Cameras
Smart security lighting on Lorex bullet cameras goes beyond simple floodlights. With modern NVR systems, you can link camera motion detection to built-in LED lights on the camera itself or to external lighting devices. For example, the Lorex A4 4MP IP Wired Bullet Security Camera includes Listen-In Audio and advanced motion detection that can trigger bright white lights to illuminate dark areas. Some models even offer red and blue deterrence lights, like the Lorex Connect U3 4K PoE Turret Camera (though turret-style, the concept applies).
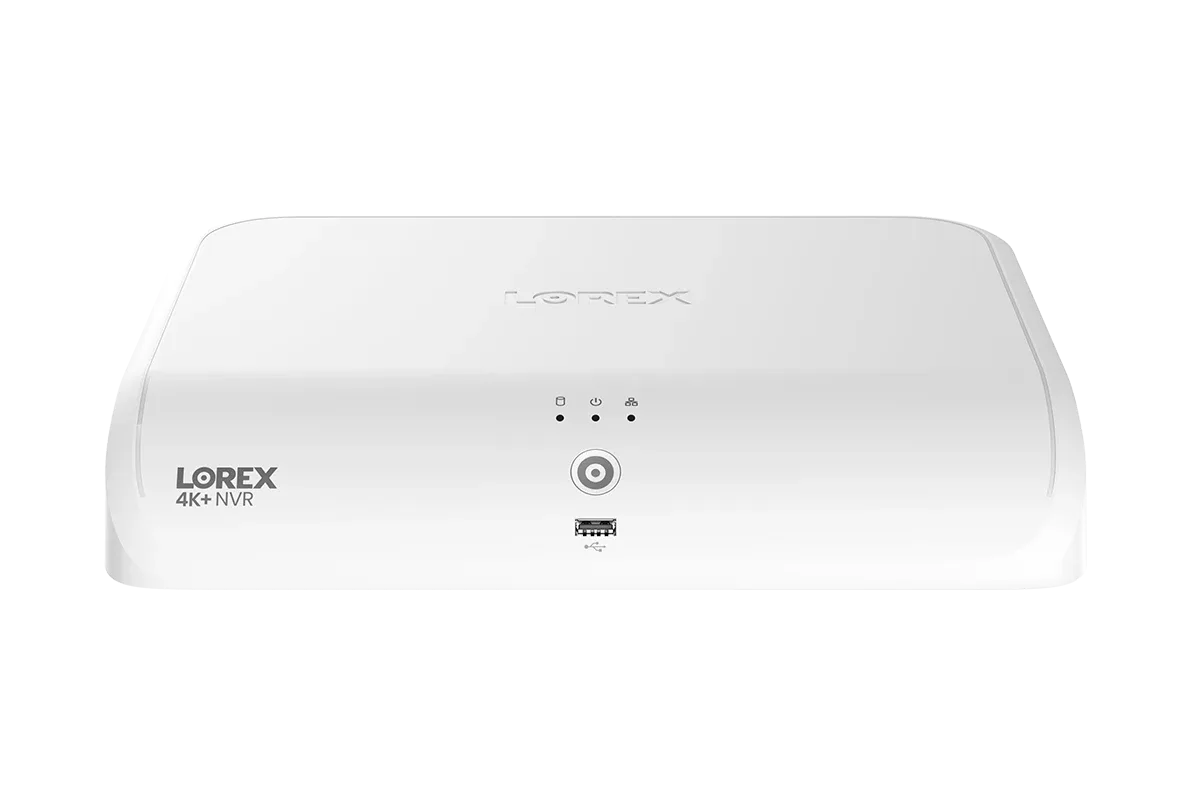
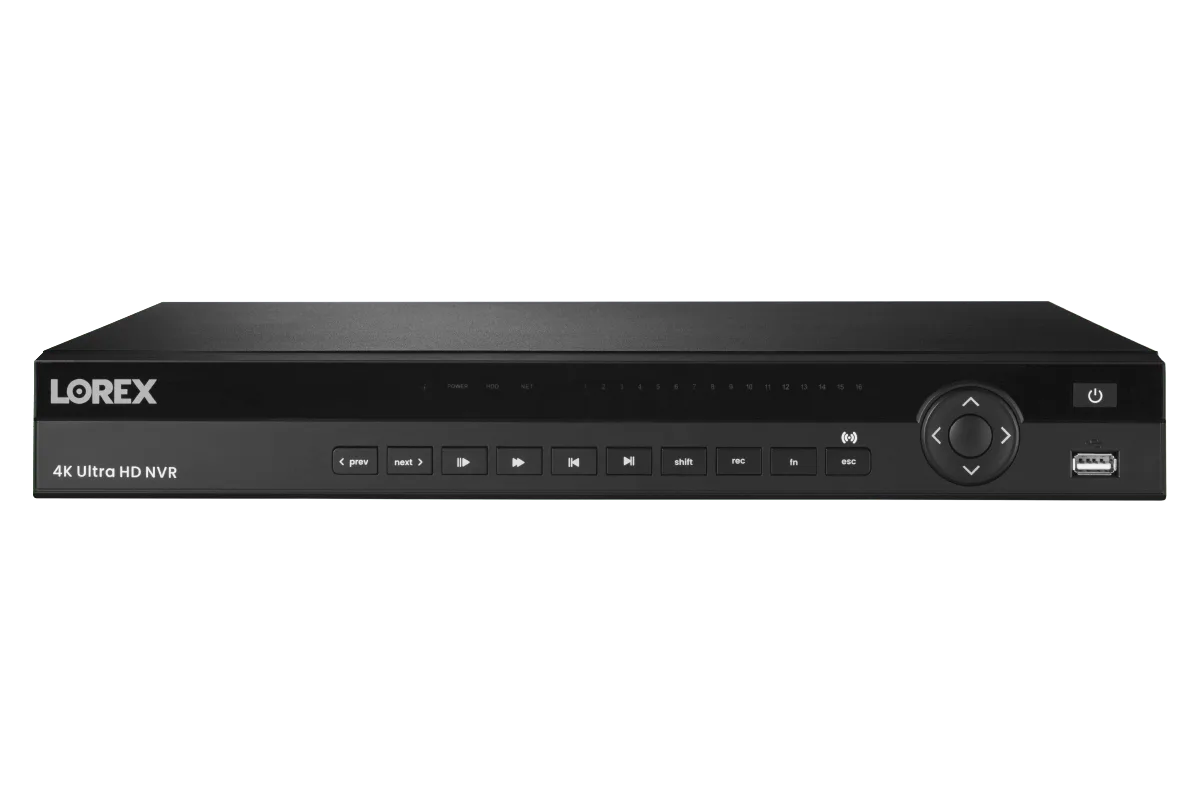
To get started, ensure your bullet cameras are properly connected to your Lorex NVR via PoE (Power over Ethernet). The NVR manages both video recording and lighting triggers. Most Lorex NVRs, such as the Lorex Connect X Series 4K 16-Channel Wired NVR System, support smart lighting configuration directly from the interface. You’ll access these settings through the NVR’s main menu under Event Management or Camera Settings.
- Check that your bullet camera has integrated smart lighting (look for LED rings or floodlight features).
- Verify your NVR firmware is up to date for the latest smart lighting controls.
- Plan camera placement so lighting covers entry points without causing glare for the camera lens.
Connecting Bullet Cameras to Your Lorex NVR for Lighting Control
Begin by powering your bullet cameras via PoE switch or directly to the NVR’s PoE ports. For systems like the Lorex Fusion Series 4K 16 Camera Capable Wired NVR System with A14 IP Bullet Cameras, each camera is pre-configured, but you may need to assign them to specific channels. Once connected, log into the NVR using the included mouse and monitor or via the Lorex mobile app.
Navigate to the Camera Management section and locate your bullet camera. You should see options for Motion Detection, Smart Deterrence, and Lighting. If the camera supports it, you’ll find a Lighting tab where you can enable motion-activated light, set duration (e.g., light stays on for 30 seconds after motion), and adjust brightness. For wired PoE cameras, the NVR controls the lighting directly, eliminating the need for separate wiring.
- Use Cat6 cabling for reliable PoE power and data transmission.
- If using a PoE switch, ensure it provides sufficient wattage for both camera and LED lights (typically 15W per camera is safe).
- Test the connection by triggering motion—check if the light turns on immediately in the live view feed.
Configuring Motion Zones and Sensitivity for Optimal Lighting Activation
One common frustration with motion-activated lighting is false triggers from animals, leaves, or passing cars. Lorex NVR systems allow you to draw specific motion zones on the camera’s video feed. Go to the Event Settings page, choose your bullet camera, and select Motion Detection. You’ll see a grid overlay; click and drag to highlight only the areas you want to monitor—for instance, your driveway or back gate.
After setting zones, adjust the sensitivity slider. A higher sensitivity will catch small movements but may lead to more false alerts. For smart lighting, you want the light to activate only when a person or vehicle enters your defined zone. Consider enabling Smart Motion Detection if your Lorex camera supports it, which uses AI to distinguish humans and vehicles from other motion. This feature is available on models like the Lorex A4 bullet camera and the Lorex Connect U3 turret camera.
Once zones and sensitivity are set, go to the Lighting tab and link the motion event to the light. Some NVRs let you set a schedule—for example, only activate the light between dusk and dawn. This preserves bulb life and avoids daytime activation.
- Draw motion zones away from tree branches that sway in the wind.
- Test different sensitivity levels (start at 60%) and adjust based on real-world results.
- If using the Lorex mobile app, open the camera feed and enable “Deterrence” to see light controls in real time.
Troubleshooting Common Smart Lighting Issues
Even with careful setup, you may encounter challenges. If the light doesn’t turn on, first check that the camera’s power supply is adequate. PoE injectors or switches must support the camera’s full power draw. Next, verify that the NVR’s Deterrence or Lighting setting is enabled for that specific camera channel.
Another issue is the light staying on constantly. This usually means the motion detection is too sensitive or the light duration is set to maximum. Reduce sensitivity and shorten the light-on time to 10–15 seconds. If false triggers persist, review your motion zones. Also ensure the camera’s lens is clean and not obstructed by spider webs or debris.
For systems with multiple cameras, such as the Lorex Fusion Series 4K 16 Camera Capable NVR, you can also group lights so one camera’s motion triggers lights on other cameras. Explore the NVR’s Lighting Group settings to create a coordinated response across your property.
- Factory reset the camera via the NVR if lighting settings become unresponsive.
- Update firmware from Lorex’s support site to resolve known lighting bugs.
- Note: Some bullet cameras require a separate lorex lighting accessory—check your model specifications.
Setting up smart security lighting on your Lorex bullet cameras and NVR system is a straightforward process that significantly boosts your property’s security. By properly configuring motion zones, adjusting sensitivity, and linking lighting events, you’ll create a deterrent that activates precisely when needed. For a seamless experience, consider starting with the Lorex A4 4MP IP Wired Bullet Security Camera with Listen-In Audio, which integrates smart motion detection and lighting out of the box. Explore our selection of bullet cameras and NVR systems to build a custom security solution that lights up your night.