Quick answer
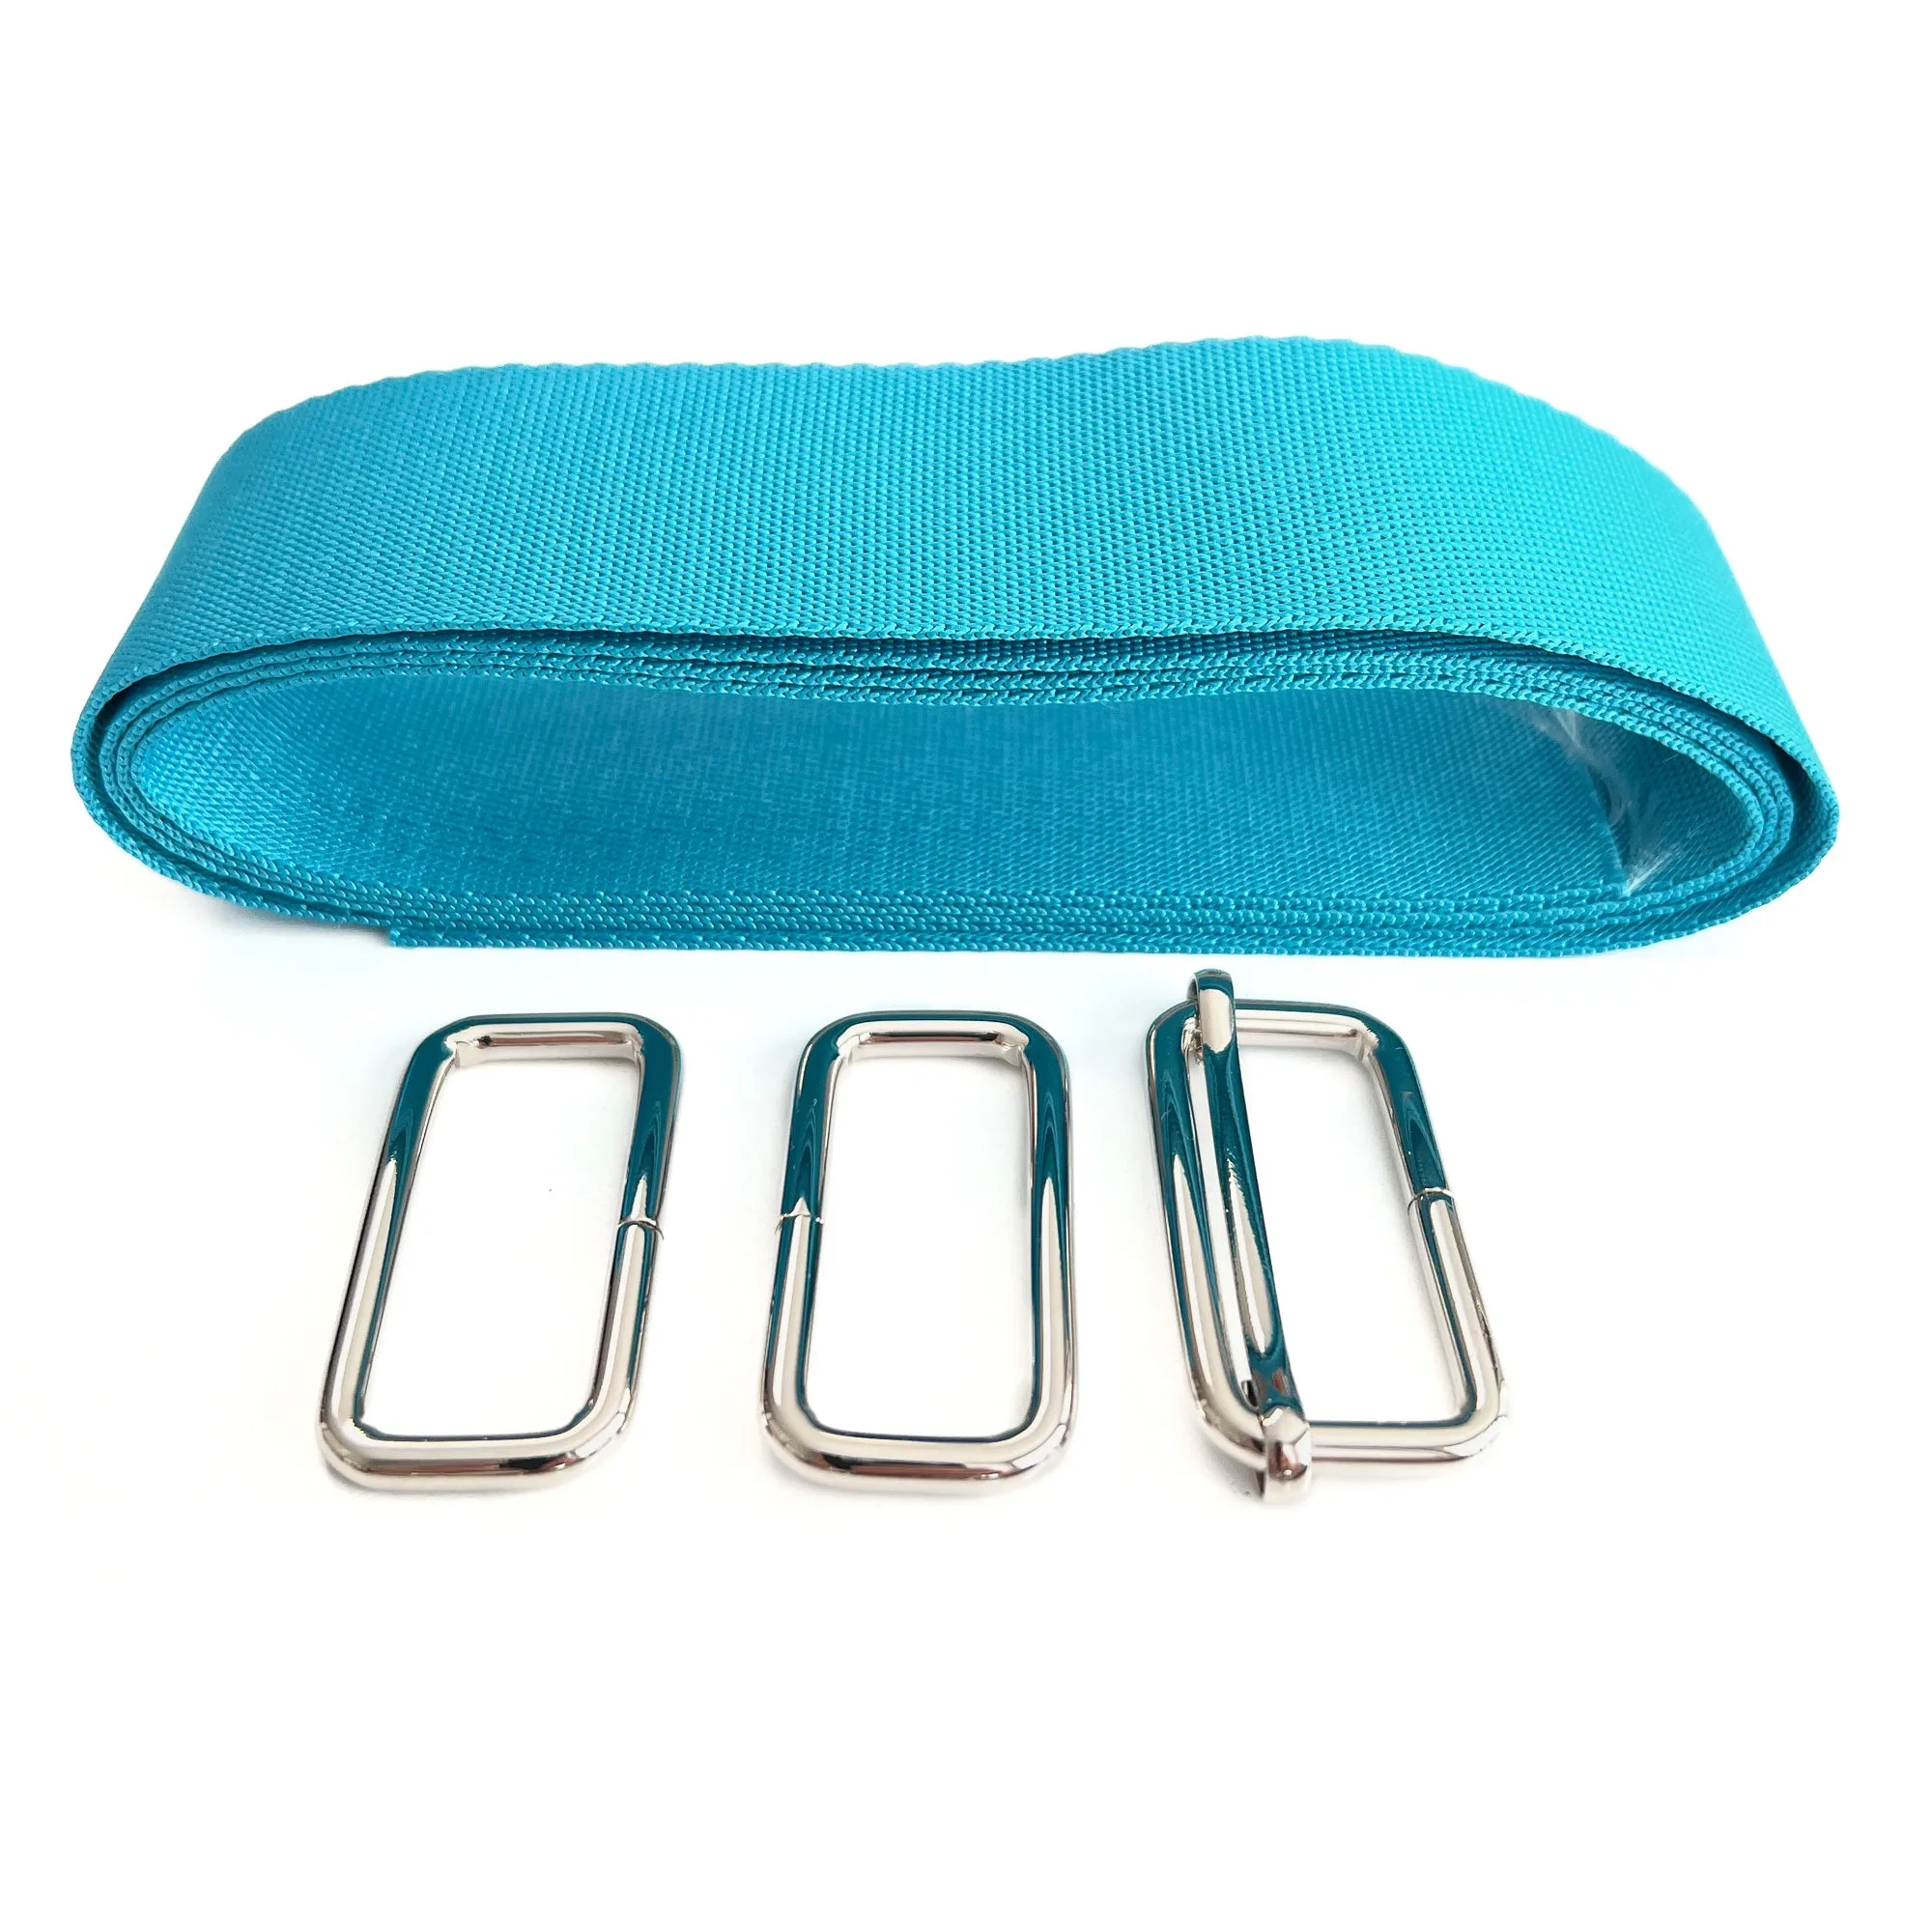
To sew a messenger bag with a Crosscut kit, start with the Messenger Bag Pattern and the Strap & Hardware Kit. The hardware kit includes webbing, rectangle rings, and a sliding buckle so you don't need to source those separately. Follow the pattern instructions, but pay extra attention to strap attachment and hardware placement for a professional finish.
What You Need Before You Start
You will need the Crosscut Sewing Messenger Bag Pattern, the Strap & Hardware Kit for the Crosscut Sewing Messenger Bag Pattern, fabric (according to pattern requirements), coordinating thread, scissors or rotary cutter, pins or clips, and a sewing machine with a walking foot (helpful for thick layers). The hardware kit supplies 60 inches of 35mm polyester webbing, two 1.5-inch rectangle rings, and one 1.5-inch sliding buckle. Choosing a sturdy fabric like canvas or denim will give your bag structure and longevity.
The pattern is not included in the hardware kit; you need to purchase it separately. If you are new to bag making, consider practicing on a simpler project first to build confidence with zippers and thick seams.
Common Mistakes to Avoid
One common mistake is attaching the strap hardware before the webbing is properly folded and stitched. Always double-check that the webbing ends are heat-sealed or zigzag-stitched to prevent fraying. Another issue is misaligning the strap attachment points, which can cause the bag to hang unevenly. Use a ruler and chalk to mark placement before sewing.
Skipping the interfacing on the flap and bottom panel can lead to a floppy bag that doesn't hold its shape. The pattern likely calls for fusible interfacing; do not omit it.
Step-by-Step Sewing Process
- Prepare the Pattern and Fabric: Cut all pattern pieces from your chosen fabric and interfacing. Transfer all markings, including strap attachment points and fold lines. Checkpoint: Ensure you have cut two of each main panel piece (front, back, flap, side gussets) if required by the pattern.
- Assemble the Strap with Hardware: Fold one end of the webbing over a rectangle ring and stitch securely close to the ring. Thread the other end through the sliding buckle and then through the second ring, then fold back and stitch to create an adjustable strap. Repeat for the second strap if your pattern uses two. Common mistake: Stitching too far from the ring can cause the strap to slip. Keep the stitch line within 1/4 inch of the ring.
- Attach the Strap to the Bag Body: Pin the finished strap ends to the marked attachment points on the bag back panel and flap (if applicable). Sew a reinforced rectangle or X-box stitch to secure each end. Checkpoint: Test the strap length before final stitching. The bag should hang at your hip when worn.
- Sew the Bag Body and Lining: Stitch the front and back panels to the side gussets, right sides together. Repeat for the lining pieces, leaving a turning gap in the lining bottom. Insert the outer bag into the lining, stitch around the top edge, then turn right side out through the gap. Slip-stitch the gap closed. Common mistake: Forgetting to leave a turning gap in the lining. Mark it clearly before sewing.
- Finish the Flap and Closure: If your pattern includes a flap, sew the flap pieces together, turn, and topstitch. Attach a magnetic snap or other closure as directed. Sew the flap to the back panel, aligning with the strap attachment. Checkpoint: Ensure the flap overlaps the front panel evenly before securing the closure.
Product Facts
- Strap & Hardware Kit for the Crosscut Sewing Messenger Bag Pattern: Kit includes 60" of 35mm Polyester Webbing, (2) 1 1/2" rectangle rings, (1) 1 1/2" sliding buckle. You get all the strap hardware in one package, so you don't have to search for matching webbing and buckles separately. The webbing is already the correct width for the rings and buckle.