Quick answer
Switch to a fresh size 90/14 or 100/16 leather or heavy-duty needle, install a walking foot or roller foot, lower your presser foot pressure, and lengthen your stitch to 3.0–3.5 mm. Sew slowly and let the feed dogs move the material instead of pulling it. Those four changes fix the vast majority of faux leather puckering.
Why faux leather puckers when fabric does not
Faux leather does not stretch or compress like woven fabric. It is a PVC surface with a fleece backing, roughly 1 mm thick on many printed styles. The needle punches a hole that stays open, the presser foot drags against the slick surface, and the feed dogs push from below. When those forces fight each other, the material ripples along the seam and the puckers stay because the holes do not close.
That is why the same machine settings that work on quilting cotton will fail here. You are not fighting the material's weave; you are managing friction, thickness, and hole size. Treat every adjustment below as a way to reduce one of those three problems.
Set up the needle, foot, and machine before the first stitch
A leather needle has a cutting point that slices through the PVC instead of tearing it, which keeps the hole small and the seam line clean. A walking foot moves the top layer at the same speed as the feed dogs, so the faux leather cannot slide or bunch. A roller foot or Teflon foot also reduces drag if you do not have a walking foot.
Lower the presser foot pressure to about half of what you use for cotton. On most machines this is a dial or a screw on the top of the machine head. If you cannot adjust it, a roller foot is the next best fix because it glides instead of gripping.
Stitch length, speed, and seam handling
Longer stitches mean fewer holes per inch, and fewer holes mean less puckering. Start at 3.0 mm and go up to 3.5 mm on thicker faux leather. Shorten to 2.5 mm only if you are topstitching a thin edge and need a tighter look.
Sew at half speed. The needle generates heat as it punches through PVC, and heat makes the material grab the needle. If you hear a slight tacky sound or see the material lifting with the needle, stop, let the needle cool, and continue. Do not pull the material from the front or back; guide it lightly and let the feed dogs do the work.
Clips instead of pins, and no backstitching at the start
Pins leave permanent holes in faux leather. Use sewing clips or a thin strip of painter's tape to hold seams. At the beginning of a seam, do not backstitch; instead, leave a long thread tail and tie it off by hand or sew a few stitches forward and then overlap them by 1 cm on the next pass. Backstitching on faux leather often creates a lump that shows through the front.
If your machine has a needle-down setting, use it. It keeps the material from shifting when you stop to reposition. For curves, lift the presser foot slightly and pivot with the needle down, then lower the foot and continue.
Test on a scrap before you commit
Every faux leather behaves a little differently depending on thickness, backing, and surface finish. Cut a 10 cm by 10 cm scrap from the same piece you are using, fold it over a piece of interfacing or fleece, and sew a test seam. Check for puckering along the stitch line and for holes that stay open when you tug gently. If the scrap puckers, change one variable at a time: needle first, then foot pressure, then stitch length.
This test takes two minutes and saves you from unpicking a seam that has already stretched the material. Once you have a setting that works, write it down on a sticky note and keep it with the project.
Step-by-step: sewing faux leather without puckers
- Change to a leather needle: Install a fresh size 90/14 or 100/16 leather needle. A dull or universal needle tears the PVC and leaves ragged holes that pucker. Checkpoint: if the needle is bent or has been used on woven fabric, replace it before you start.
- Switch to a walking foot or roller foot: A walking foot moves the top layer with the feed dogs. A roller foot reduces drag. Either one stops the faux leather from sliding and bunching under the presser foot. Checkpoint: sew a test seam; if the top layer still shifts, increase foot pressure slightly or switch to a roller foot.
- Lower the presser foot pressure: Turn the pressure dial to about half. Too much pressure flattens the fleece backing and makes the material ripple ahead of the needle. Checkpoint: the material should feed smoothly without you pulling it. If it stalls, increase pressure one notch.
- Set stitch length to 3.0–3.5 mm: Longer stitches create fewer holes, and fewer holes mean less puckering. Use 3.5 mm for thick faux leather and 3.0 mm for thinner printed styles. Checkpoint: if holes stay open after sewing, lengthen the stitch by 0.5 mm and test again.
- Sew slowly and do not pull: Run the machine at half speed. Let the feed dogs move the material; pulling from the front or back stretches the faux leather and causes ripples. Checkpoint: if you hear a tacky sound, stop and let the needle cool before continuing.
- Clip, do not pin, and skip the backstitch: Use sewing clips or painter's tape to hold seams. At the start, leave a long tail and tie it off by hand instead of backstitching, which creates a lump. Checkpoint: after sewing, press the seam lightly from the back with a cool iron to set the stitches without melting the PVC.
Materials that make flat seams easier
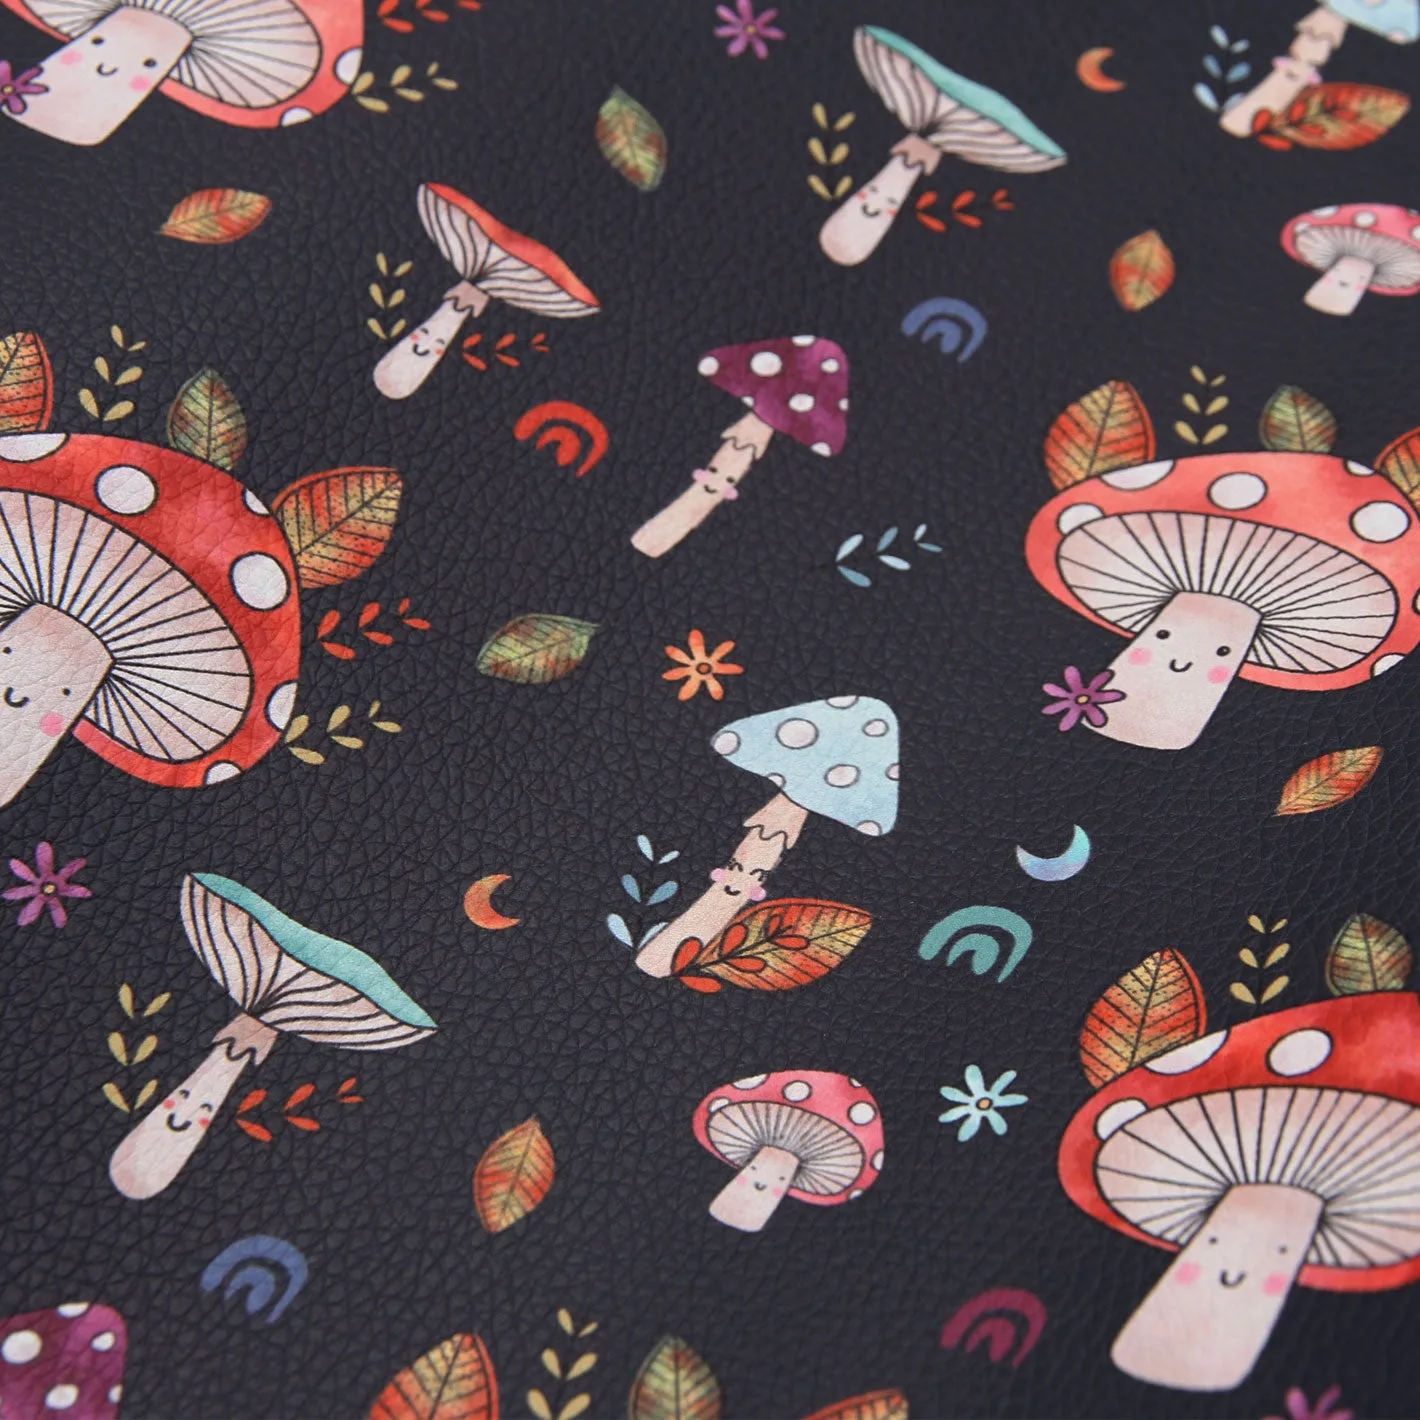
- Fungi Friends - Printed Pebble: Fungi Friends - Printed Pebble is a printed faux leather about 1 mm thick, made from PVC with a fleece backing, and it is pliable and easy to sew on a domestic machine. The fleece backing gives the needle something to bite into, which reduces slipping and helps the feed dogs move the material evenly. At 1 mm, it is thick enough to hold a seam but thin enough that a size 90/14 leather needle handles it without forcing.
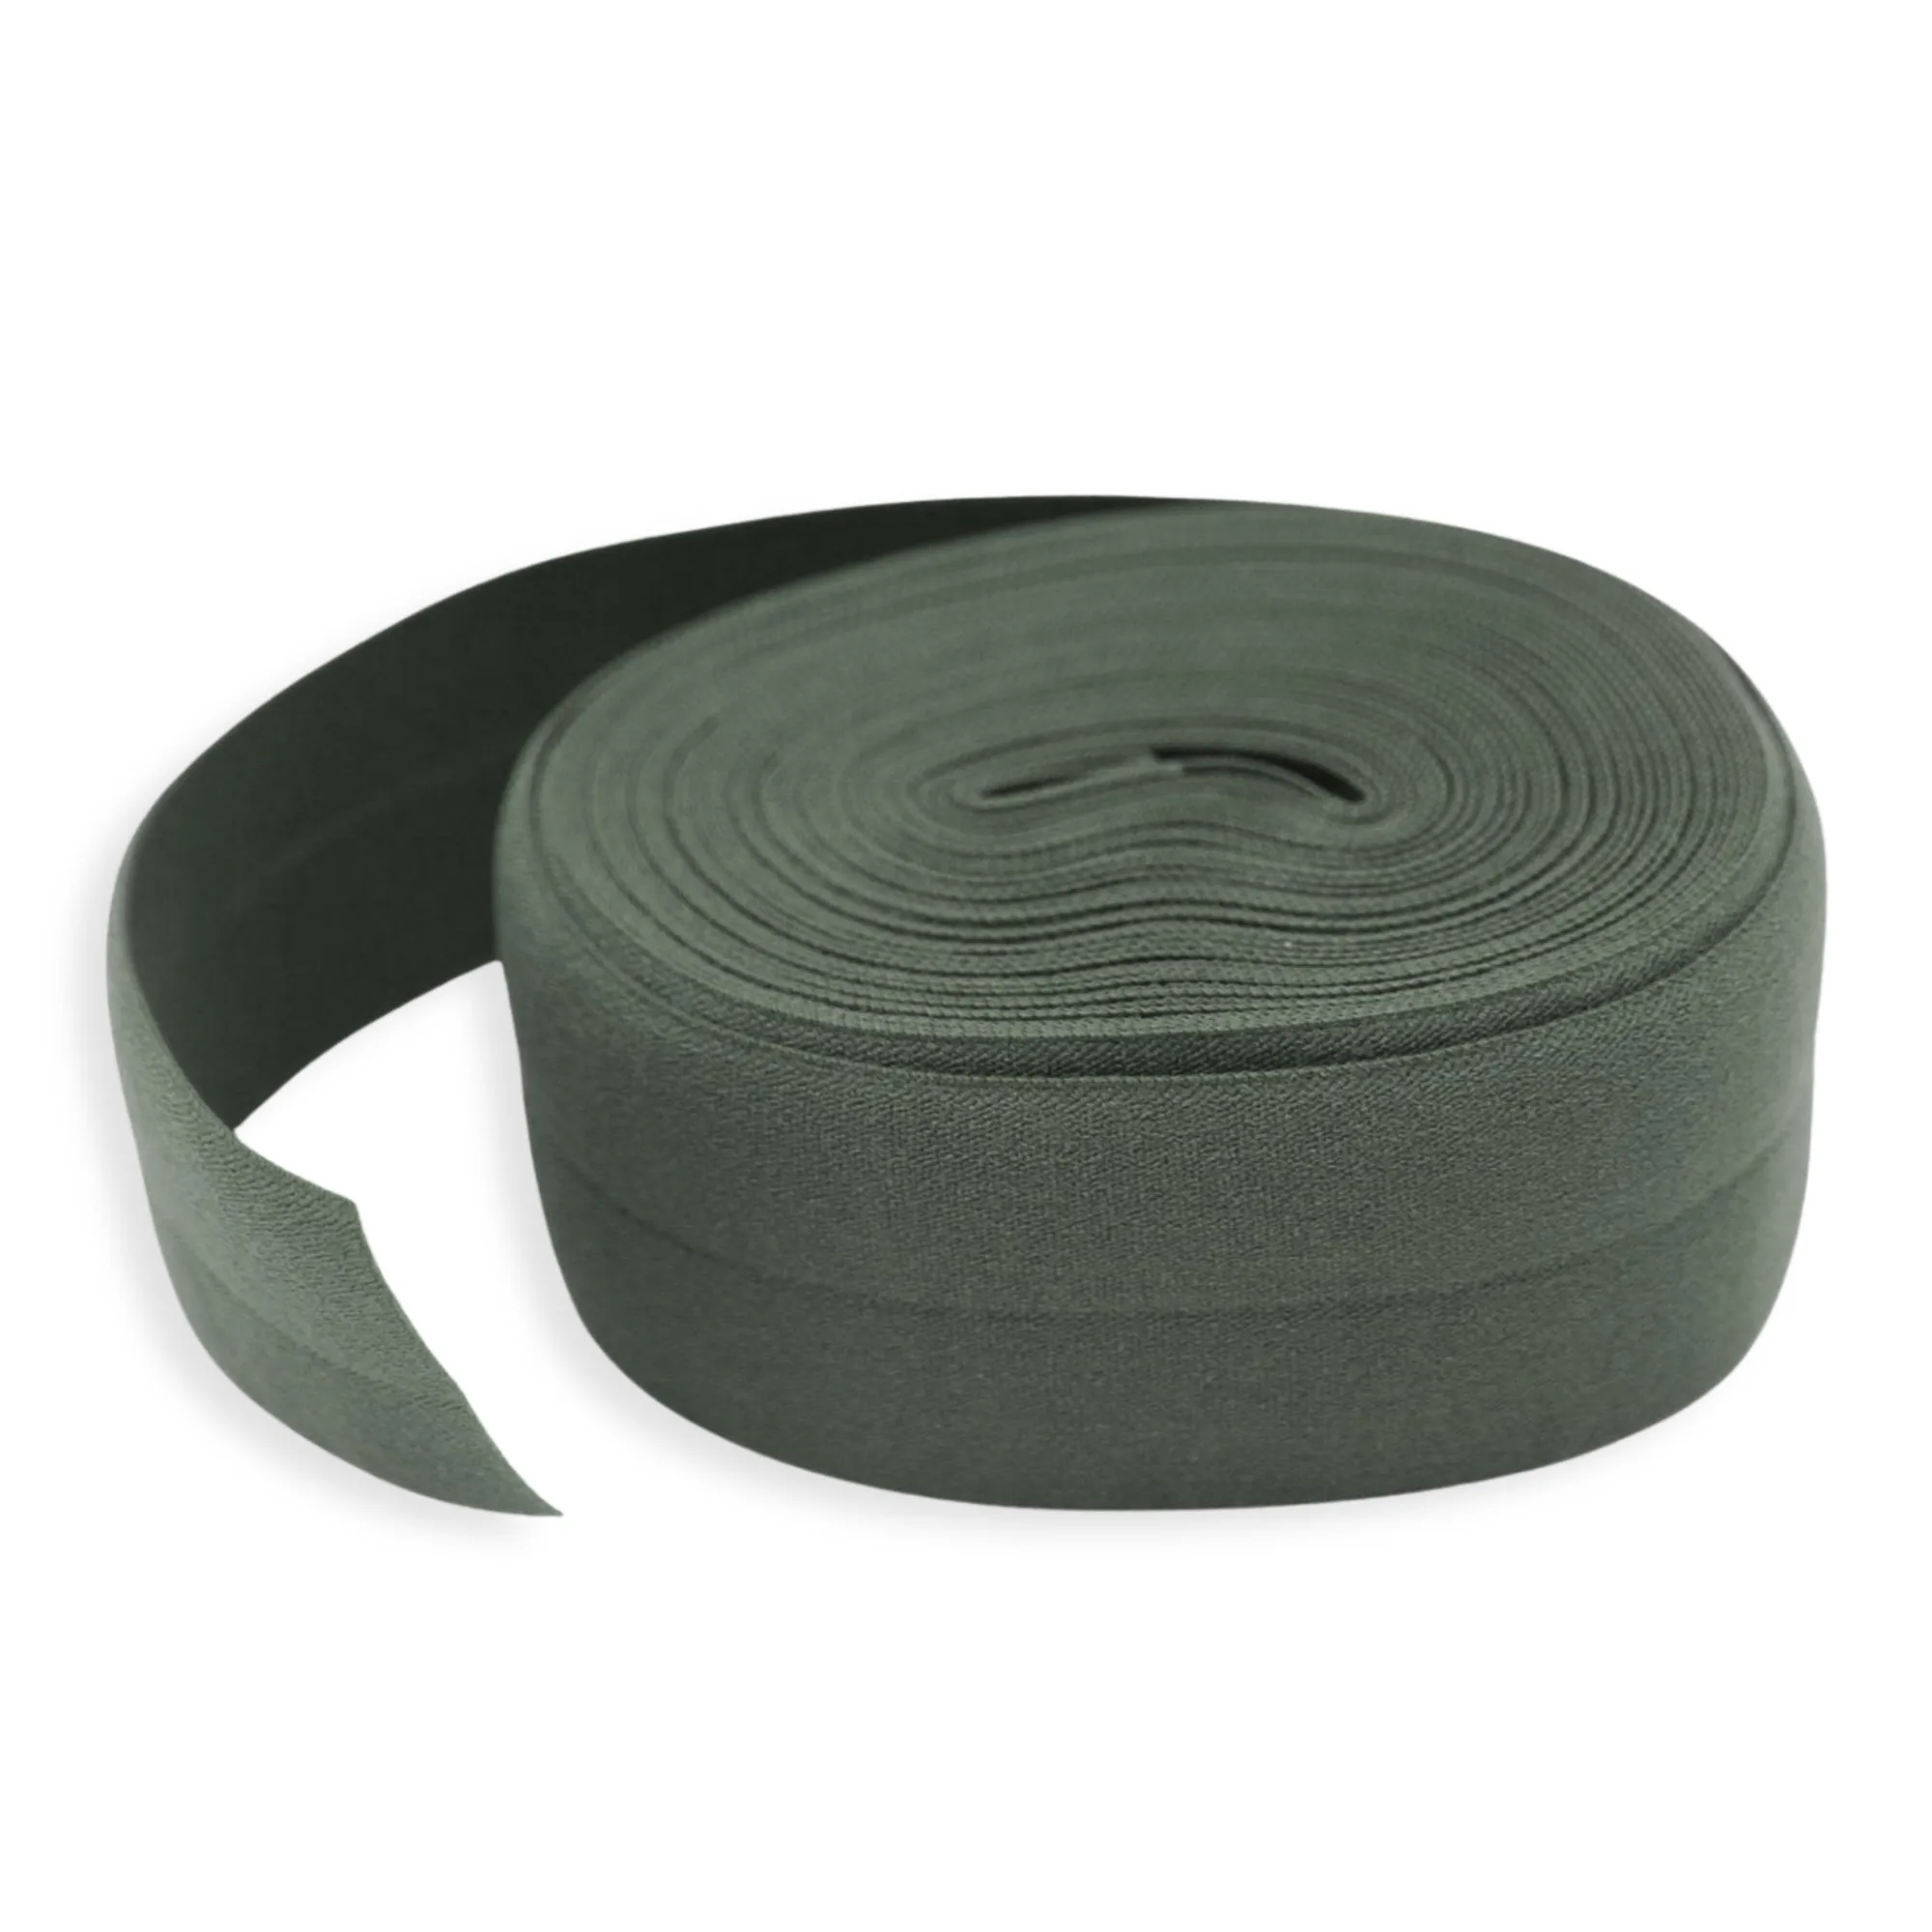
- Forest Floor - Fold-Over Elastic: Forest Floor - Fold-Over Elastic is an earthy green fold-over elastic with a centre crease that wraps raw edges in a single pass and stretches around curves without puckering. If you are finishing a faux leather edge and want to avoid a bulky seam, this elastic covers the raw edge in one step and its stretch lets it follow curves that would pucker with bias tape.
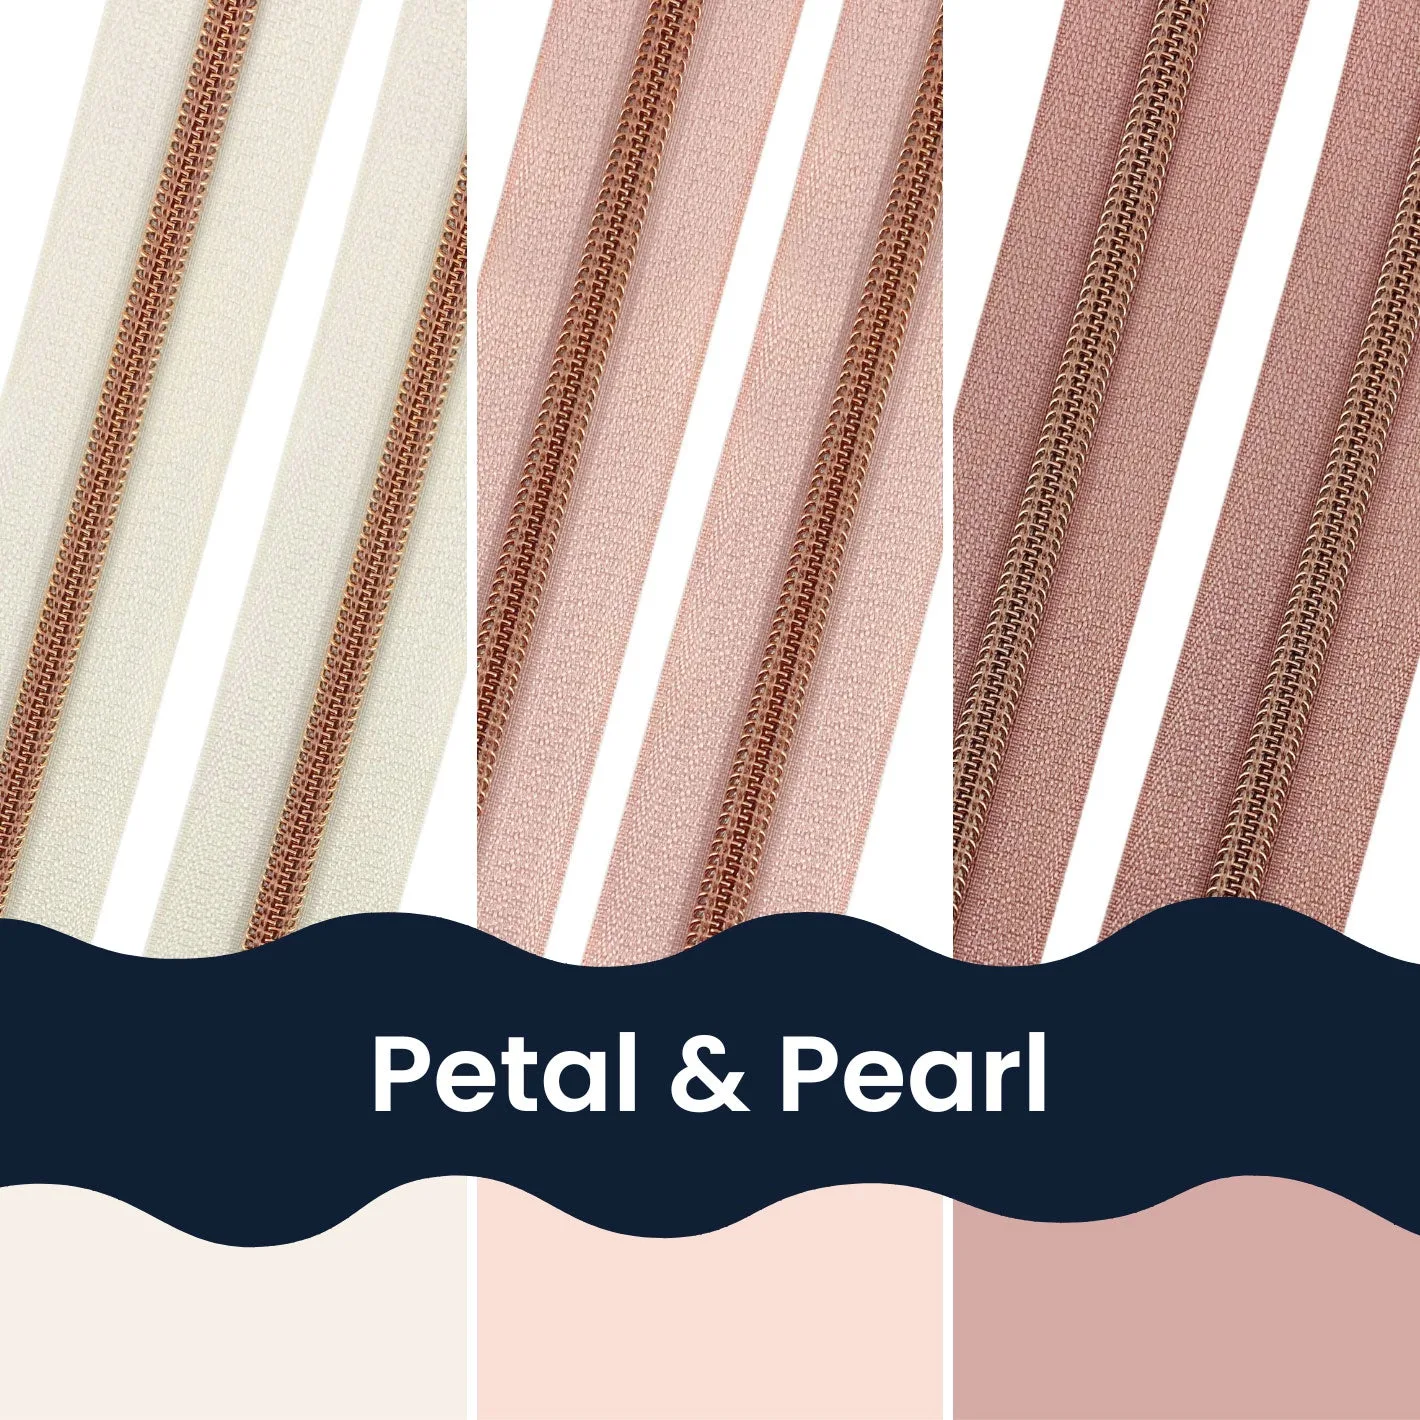
- Petal & Pearl - Rose Gold Zipper Tape Bundle: Petal & Pearl - Rose Gold Zipper Tape Bundle includes three shades of #5 rose gold nylon coil zipper tape: Ivory, Sweet Blush, and Dusty Rose. Nylon coil zipper tape is soft and flexible, so it curves into faux leather seams without creating the stiff ridge that metal zippers can leave. The rose gold coil adds a finished detail without adding bulk.