Quick answer
To sew a taco pouch bag with a pattern, prepare your fabric and zipper, then follow the pattern’s cutting and assembly steps, focusing on precise zipper insertion and seam finishing.
Why a pattern helps beginners
A taco pouch pattern gives you a clear template for cutting fabric and placing the zipper, reducing guesswork. It’s especially helpful if you’re new to bag making, since the curved “taco” shape requires accurate seam allowances. A pattern also ensures consistent sizing, so your finished pouch holds items like cosmetics or travel essentials without being too loose or tight.
Choosing a kit for convenience
If you want to skip sourcing supplies, a kit like the Taco Pouch Bag #3 - Simple Stars includes the waterproof canvas, zipper, and a step-by-step video tutorial. This can simplify your first project because all materials are coordinated and pre-cut to the pattern. The main trade-off is that you have less flexibility in fabric choice, but for a first pouch, the convenience often outweighs that.
How to sew a taco pouch bag with a pattern
- Prepare your materials: Gather your fabric (or kit pieces), zipper, thread, sewing machine, and the pattern. Cut the fabric according to the pattern template, marking seam lines and zipper placement. Double-check that your fabric pieces are mirror images if the pattern calls for a left and right side.
- Insert the zipper: Place the zipper face-down along the marked edge of one fabric piece, right sides together. Use a zipper foot to stitch close to the zipper teeth. Repeat for the other fabric piece on the opposite zipper tape. If the zipper is longer than the opening, trim it after sewing, leaving a few extra teeth to prevent the slider from coming off.
- Sew the pouch sides: With the zipper partially open (to allow turning later), pin the two fabric pieces together around the remaining edges. Sew a ¼-inch seam allowance, pivoting at corners. Backstitch at the start and end. Leave the zipper open at least halfway; otherwise, you won’t be able to turn the pouch right-side out after sewing.
- Finish the seams and turn: Trim the seam allowances to reduce bulk, especially at corners. Use a zigzag stitch or pinking shears to finish raw edges. Turn the pouch right-side out through the open zipper. Push out corners with a blunt tool. Be careful not to cut the zipper tape when trimming seams—cut only the fabric seam allowance.
- Final press and inspect: Press the pouch flat with an iron on a low setting (if fabric allows). Check that the zipper slides smoothly and the seams are even. Trim any loose threads. If the zipper catches, check for fabric caught in the teeth and trim any stray threads near the zipper tape.
Product facts
-
Taco Pouch Bag #3 - Simple Stars: Made from durable waterproof canvas, each bag is designed and printed in-house in the USA. The waterproof canvas means your pouch can handle spills or damp items without damage, making it practical for travel or cosmetics storage.
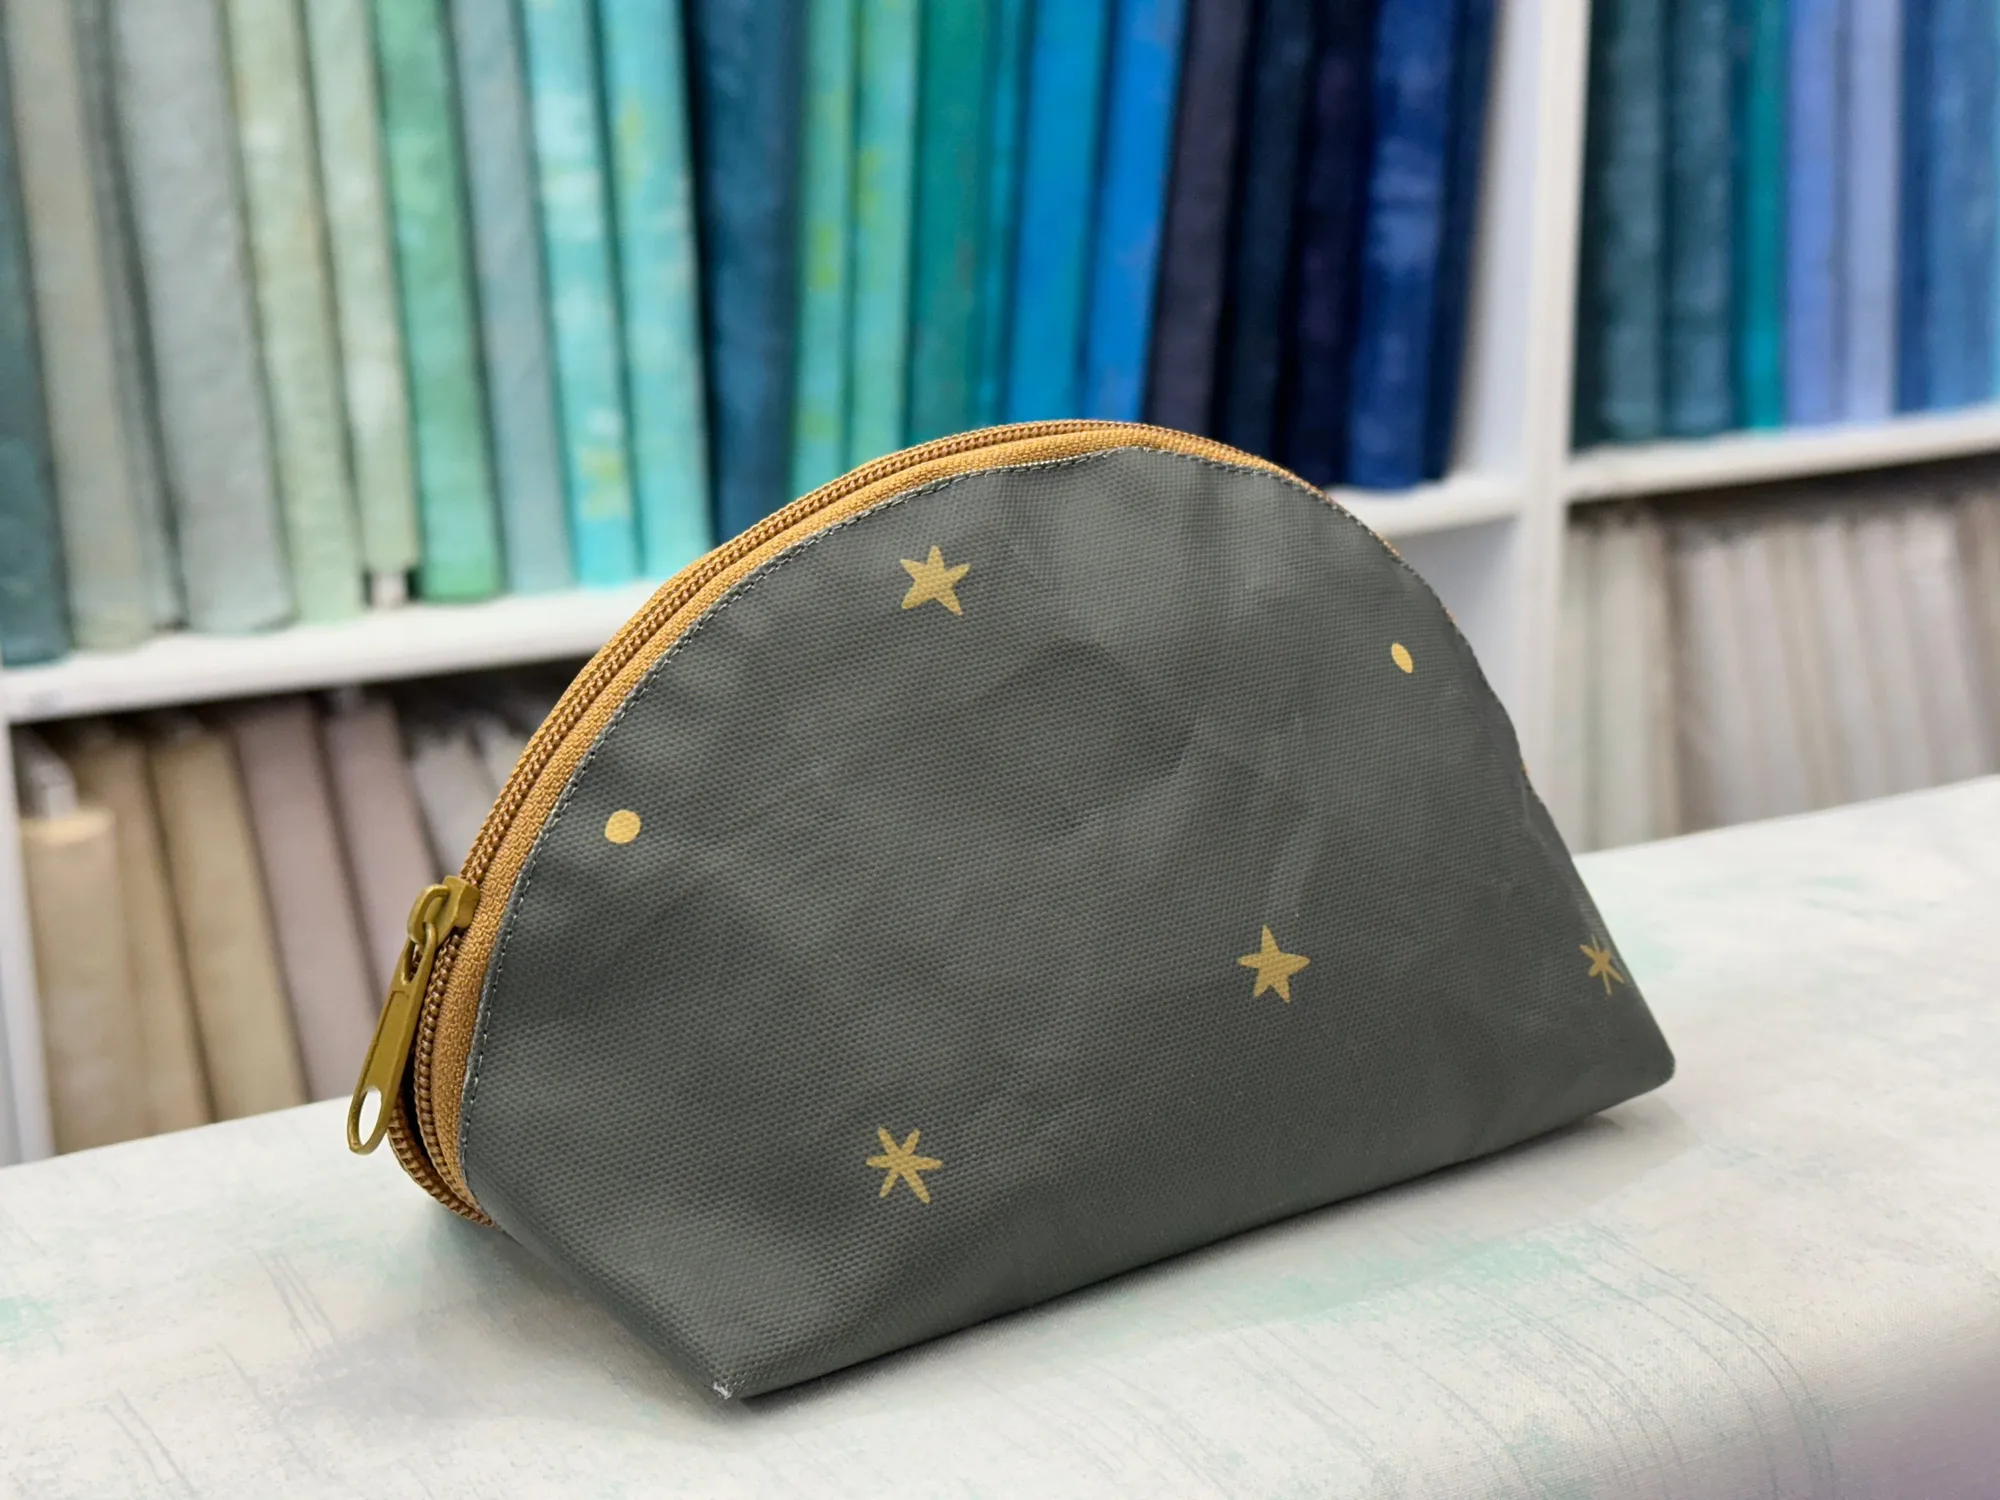
Taco Pouch Bag #3 - Simple Stars