Quick answer
Sleeve cards on a clean, flat surface, match the sleeve dimensions to the card's exact millimeter size, and slide the card in short edge first so the opening sits at the bottom. Use one sleeve per card and press gently to remove trapped air. Check the sleeve size against the card before inserting, and never force a card past a resistance point.
Sleeving is the cheapest insurance a board game collection gets. A pack of sleeves costs less than a single replacement promo card, and it keeps corners square through hundreds of shuffles, greasy snack fingers, and the occasional table-edge tumble.
The catch is that sloppy sleeving can cause the very damage you're trying to prevent. Oversized sleeves let cards slide and bend. Grit trapped inside a sleeve acts like sandpaper. This guide walks through the process in order, with the mistake to watch for at each stage.
Before you start: check the size, not the vibe
Card sleeves are sold by millimeter dimensions, and board games use several standards. A standard poker-size card is typically 63.5 x 88 mm, while many large-format cards run 69 x 120 mm. If you buy by feel instead of measurement, you'll end up with sleeves that bow the card or let it rattle.
Measure a card from your own copy with a ruler, or check the publisher's card list. Then match that number to the sleeve label. This is the single step that prevents most sleeving frustration, because a sleeve that's 2 mm too wide will never sit flat no matter how carefully you insert the card.
- Measure the card itself, not the box insert or a reference card from another game.
- Buy one test pack before committing to a full set of sleeves.
Set up a clean, flat workspace
Work on a bare table or a clean desk mat. Crumbs, dust, and pet hair are the hidden enemies here: once a particle is inside a sleeve, it presses against the card face every time you shuffle. Wipe the surface first, and wash and dry your hands.
Keep the sleeves in their pack until you're ready to use them, and don't fan them out across a dusty surface. If you're sleeving a full game in one sitting, work in batches of ten cards so you don't lose track of which cards are done.
- Avoid sleeving over carpet, which sheds fibers into open sleeves.
- A desk mat gives you a soft, non-slip surface that keeps cards from sliding.
Insert the card short edge first
Hold the sleeve open with one hand and slide the card in short edge first, so the long edges stay aligned with the sleeve seams. This reduces the chance of catching a corner on the sleeve's inner edge. Push until the card sits flush against the top of the sleeve.
The common mistake is jamming the card in at an angle and forcing it. If you feel resistance, stop, pull the card back out, and check for a crease or a bit of debris inside the sleeve. Forcing it bends the corner, and a bent corner never fully flattens again.
- Leave the sleeve opening at the bottom of the card so it faces the table when stored.
- Insert a fingernail-width gap of air, then press it out gently rather than squeezing the card.
Seal, press, and store with the opening down
Once the card is in, press the sleeve flat from the center outward to push out trapped air. Don't run a fingernail along the card edge; that's how you crease the sleeve and scuff the card beneath it. A soft, even press with your palm is enough.
Store sleeved cards with the opening facing down in the box or deck. That way gravity works for you: if a card starts to slide, it slides into the closed end of the sleeve instead of out onto the floor. This one habit prevents most sleeve-related card loss.
- Stack sleeved decks loosely; compressing them tightly can bow the cards inside.
- Re-sleeve when a sleeve becomes cloudy or creased, since a worn sleeve no longer protects the card.
Sleeving steps at a glance
- Measure the card: Use a ruler on an actual card from your copy and note the millimeter dimensions before buying sleeves. Checkpoint: if the sleeve label doesn't match your measurement, don't buy it.
- Clean the workspace: Wipe the table, wash and dry your hands, and keep sleeves in the pack until use. Checkpoint: any visible grit means start over on a cleaner surface.
- Insert short edge first: Slide the card in with the short edge leading and stop at the first sign of resistance. Mistake to avoid: forcing a card past resistance bends the corner permanently.
- Press out the air: Flatten the sleeve with an even palm press from the center outward. Mistake to avoid: dragging a fingernail along the edge creases the sleeve and scuffs the card.
- Store opening down: Place sleeved cards in the box or deck with the sleeve opening facing the table. Checkpoint: a card that can slide out of its sleeve is stored the wrong way up.
Sleeve sizes in practice
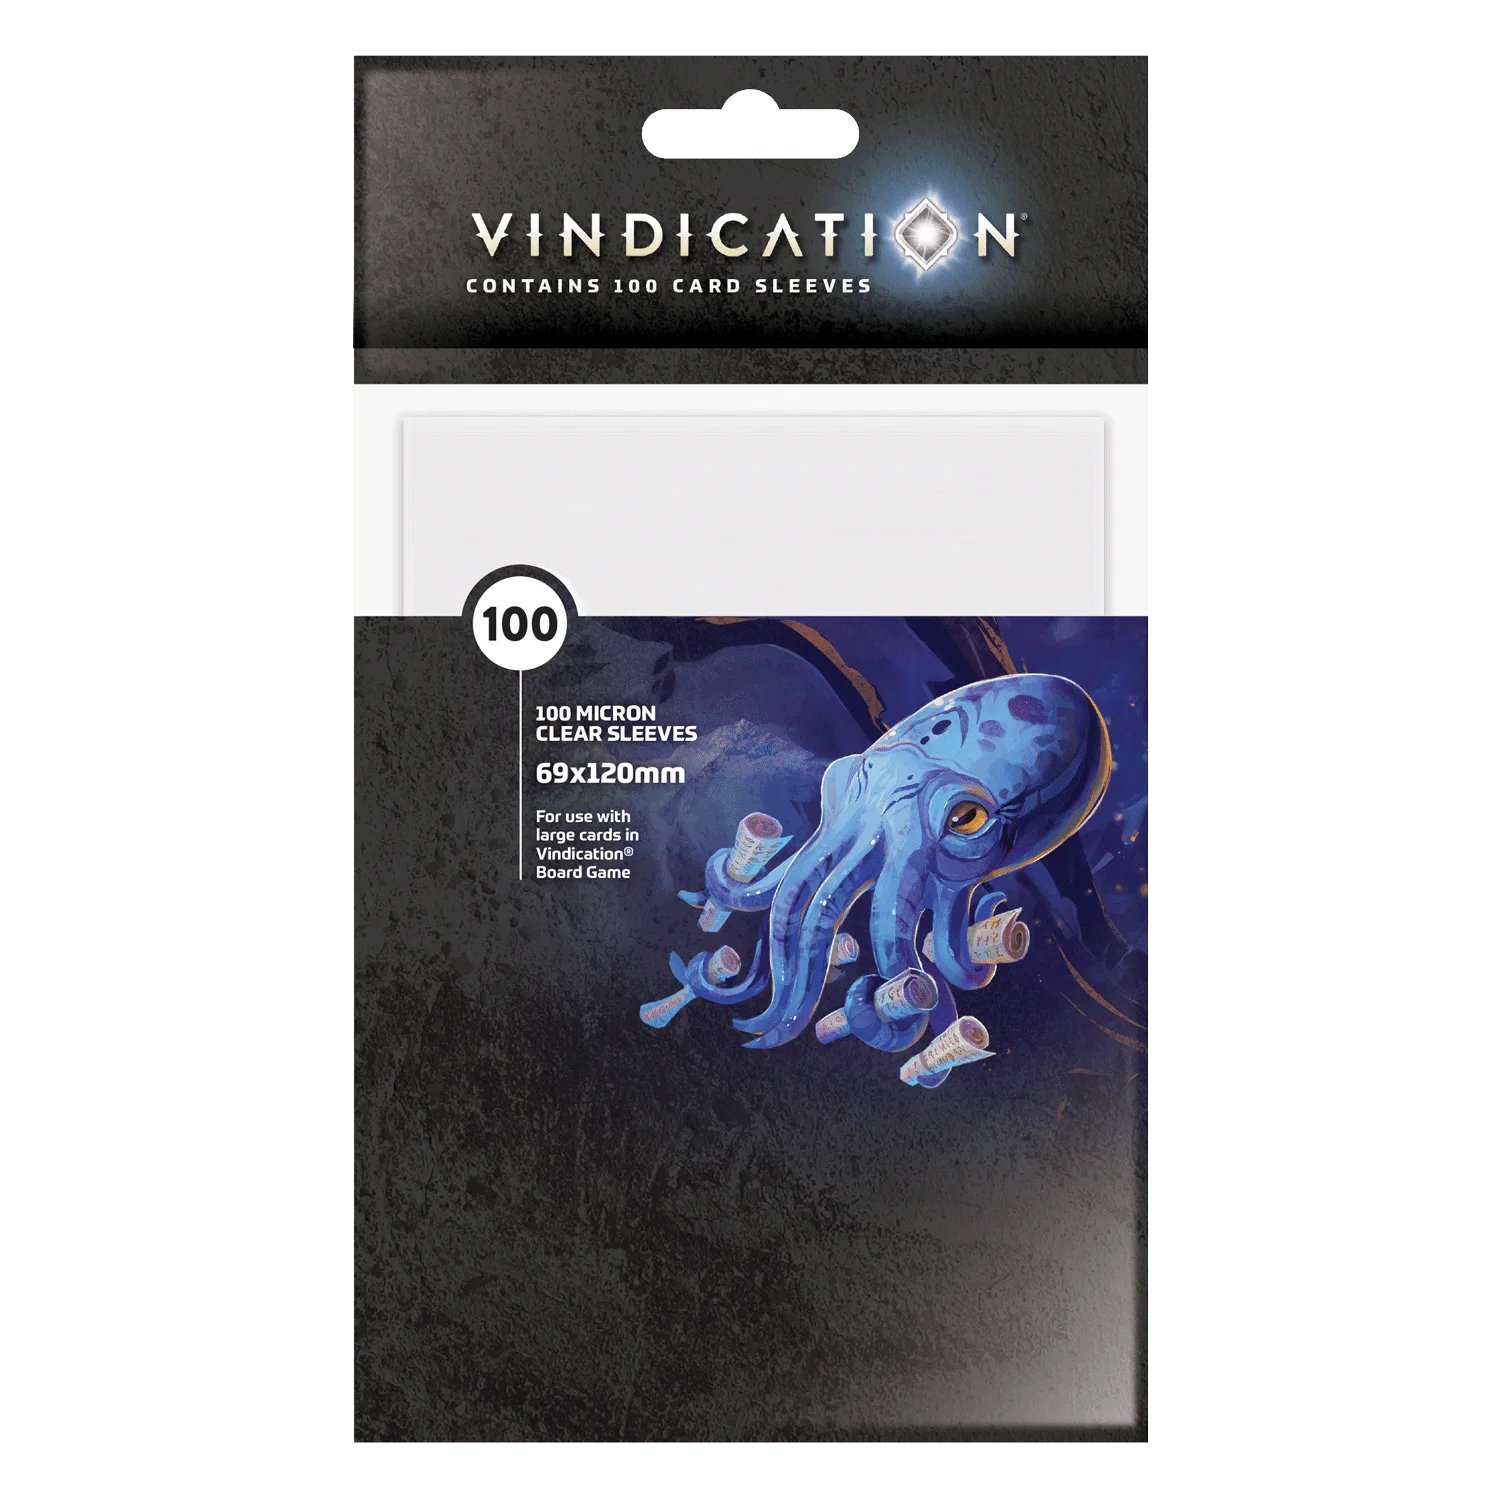
- Vindication® Sleeves (69x120mm): Each pack contains 100 Crystal Clear Premium 69mm x 120 mm sleeves, and these particular sleeves are for the Chronicles Expansion only, with one pack covering all the large cards in Chronicles. This is a concrete example of why size matching matters: a 69 x 120 mm sleeve fits the large Chronicles cards, but it would be far too big for a standard-size card. Check your card's dimensions before buying.
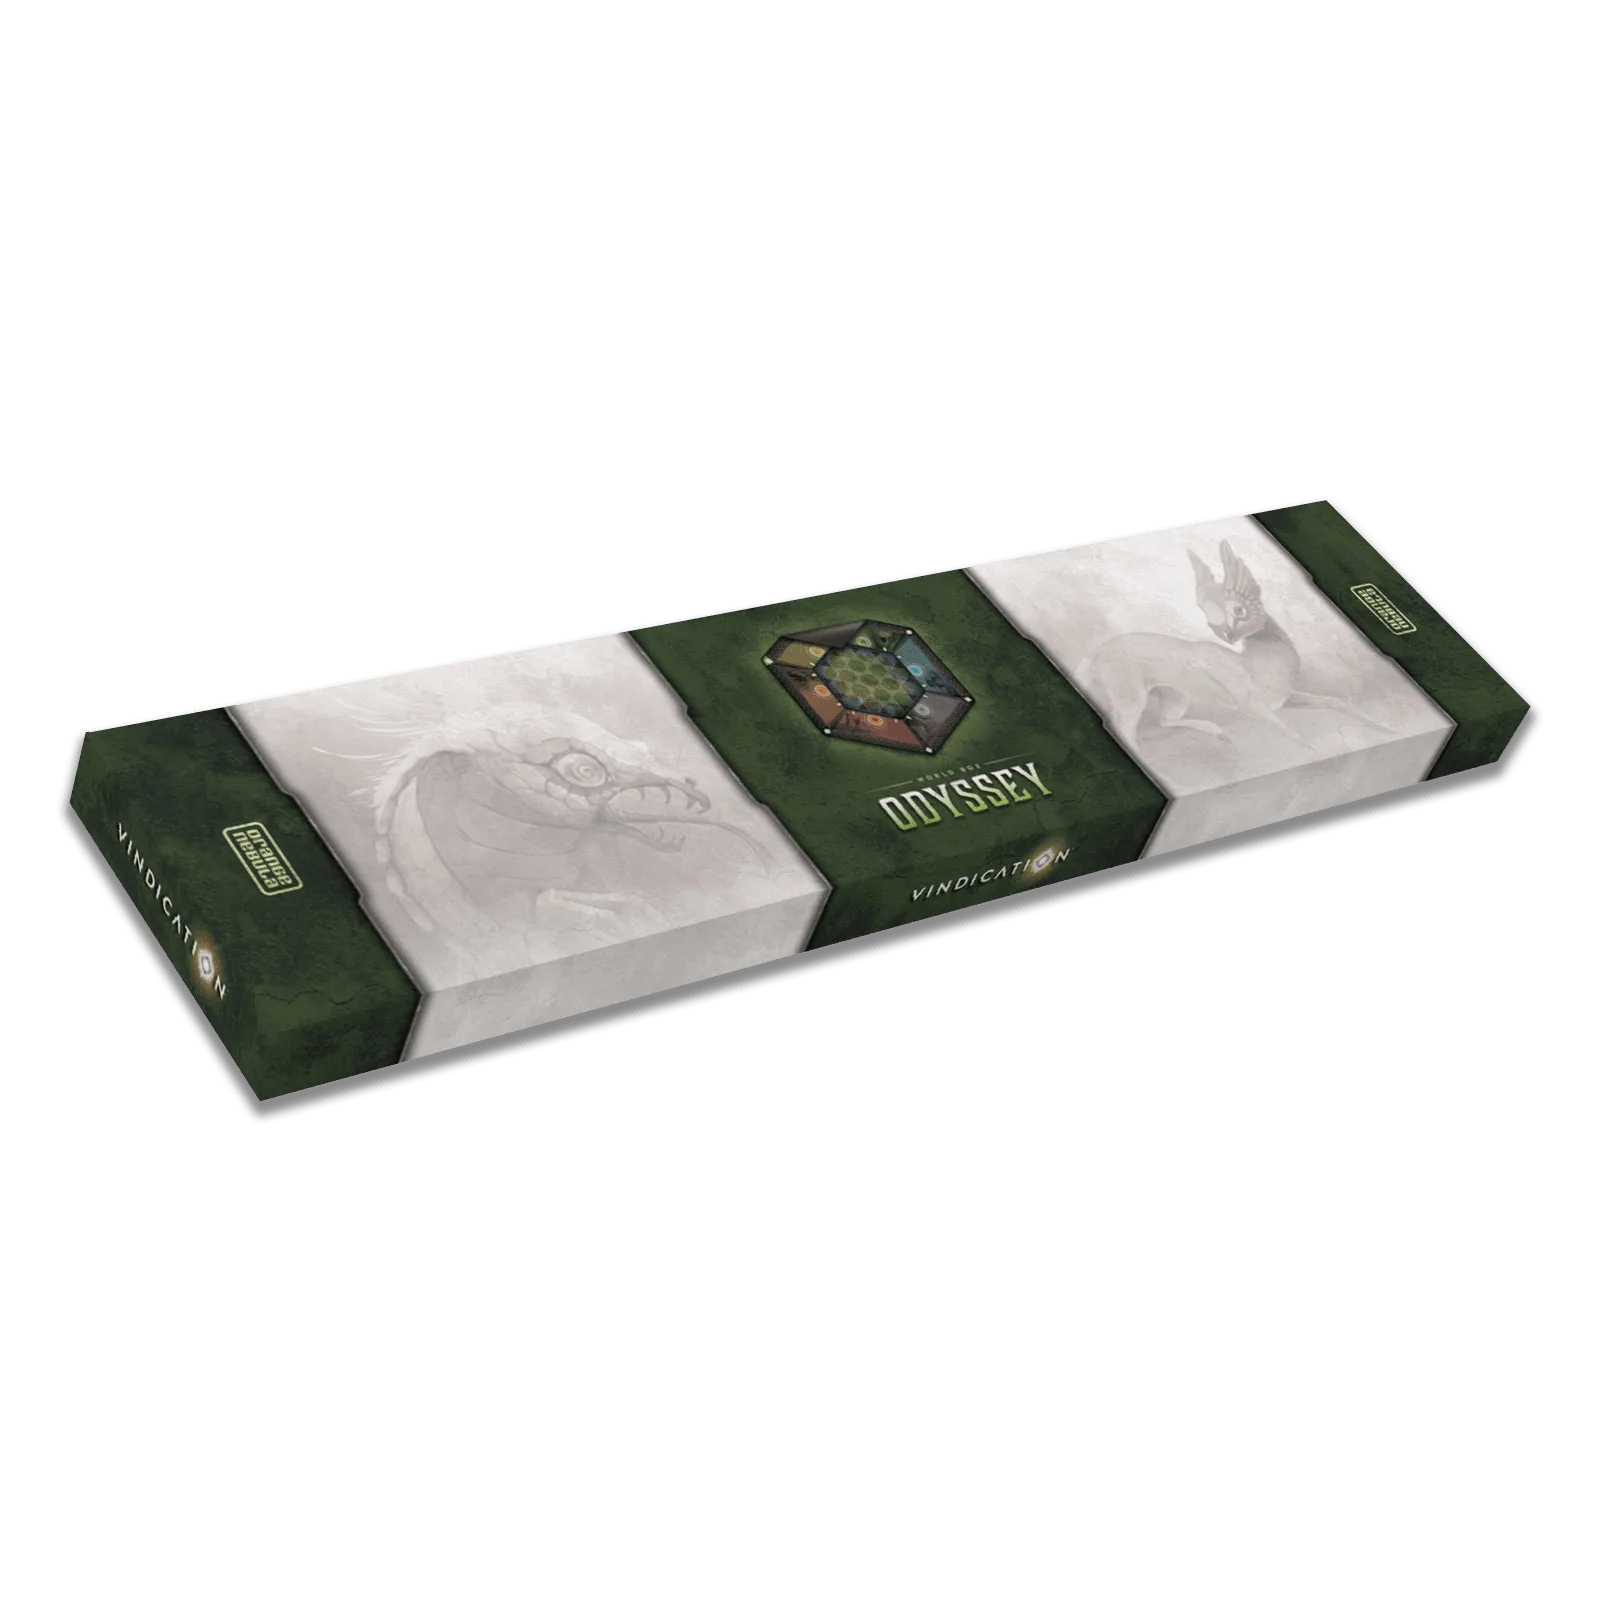
- Vindication® World Box : Odyssey Module: The module includes a card pack with 15 new cards, plus a dual-layered odyssey module board, an embroidered patch, and a sticker, and requires the Vindication Base Game for play. Expansion card packs like this are exactly the cards worth sleeving early, since replacement copies can be harder to find than base-game cards.
Sleeving works when the size is right and the handling is gentle. Measure first, keep the workspace clean, insert without forcing, and store openings down. Do those four things and your cards will stay flat, square, and playable for years of shuffling.