Quick answer
Start by sorting edge pieces, then build the border before touching the interior. Work in small zones, group pieces by color and texture, and keep the reference image visible. This order prevents the most common beginner mistake: trying to place interior pieces before the frame exists.
Set up your workspace before you open the box
Clear a flat surface at least as large as the finished puzzle and keep the box lid or reference image upright where you can see it. Good lighting from above reduces the eye strain that makes color matching harder. If you have a puzzle mat or a large board, use it now so you can move the project without dismantling progress.
Sort edge pieces first, then everything else
Turn every piece face up and pull out the straight-edged border pieces into one tray. Then sort the remaining pieces into rough color families, not exact shades. Broad groups like dark background, bright figures, and mid-tone texture are enough at this stage.
Build the border and check the corners
Assemble the border on your board, starting with the four corners because they have two straight edges and are easiest to confirm. If two edge pieces almost fit but leave a gap, they are wrong. The finished border becomes a frame that tells you where every interior piece belongs.
Work in zones instead of scanning the whole puzzle
Divide the interior into four or six zones based on the artwork's major shapes. Finish one zone before moving to the next. This limits the number of pieces you are comparing at once and makes progress visible, which keeps motivation up. It also matches how the illustration is built: distinct areas of color and line.
Use shape and line, not just color
When colors repeat, switch to piece shape: knobs, holes, and the direction of the cut lines. In detailed illustrations, following a single drawn line across several pieces often solves a section faster than color matching. Keep a small pile of 'odd' pieces nearby; they usually belong to a zone you have not reached yet.
Step-by-step Octopolis walkthrough
- Step 1: Prepare the surface and lighting: Clear a flat area, set out trays, and place the reference image where you can see it without leaning over the puzzle. Checkpoint: you should be able to reach every part of the board comfortably.
- Step 2: Separate edges from interior pieces: Pull all straight-edged pieces into one tray and flip the rest face up. Common mistake: leaving pieces face down, which forces you to re-sort later.
- Step 3: Assemble the border: Find the four corners first, then connect edge runs along each side. Checkpoint: the border should close with no gaps before you start the interior.
- Step 4: Sort interior pieces into color and texture groups: Create broad piles for dark areas, bright figures, and mid-tone texture rather than one pile per shade. Common mistake: making too many tiny groups, which slows you down.
- Step 5: Solve one zone at a time: Pick the zone with the most distinctive pattern and complete it before moving on. Checkpoint: each finished zone should lock into the border.
- Step 6: Use line and shape when color fails: Follow a single drawn line across pieces and match knob-and-hole shapes. Common mistake: forcing a piece that almost fits; if it needs pressure, it is wrong.
- Step 7: Fill the gaps last: Leave the least distinctive pieces for the end, when the remaining holes make their position obvious. Checkpoint: the final pieces should drop in without forcing.
About the Octopolis puzzle
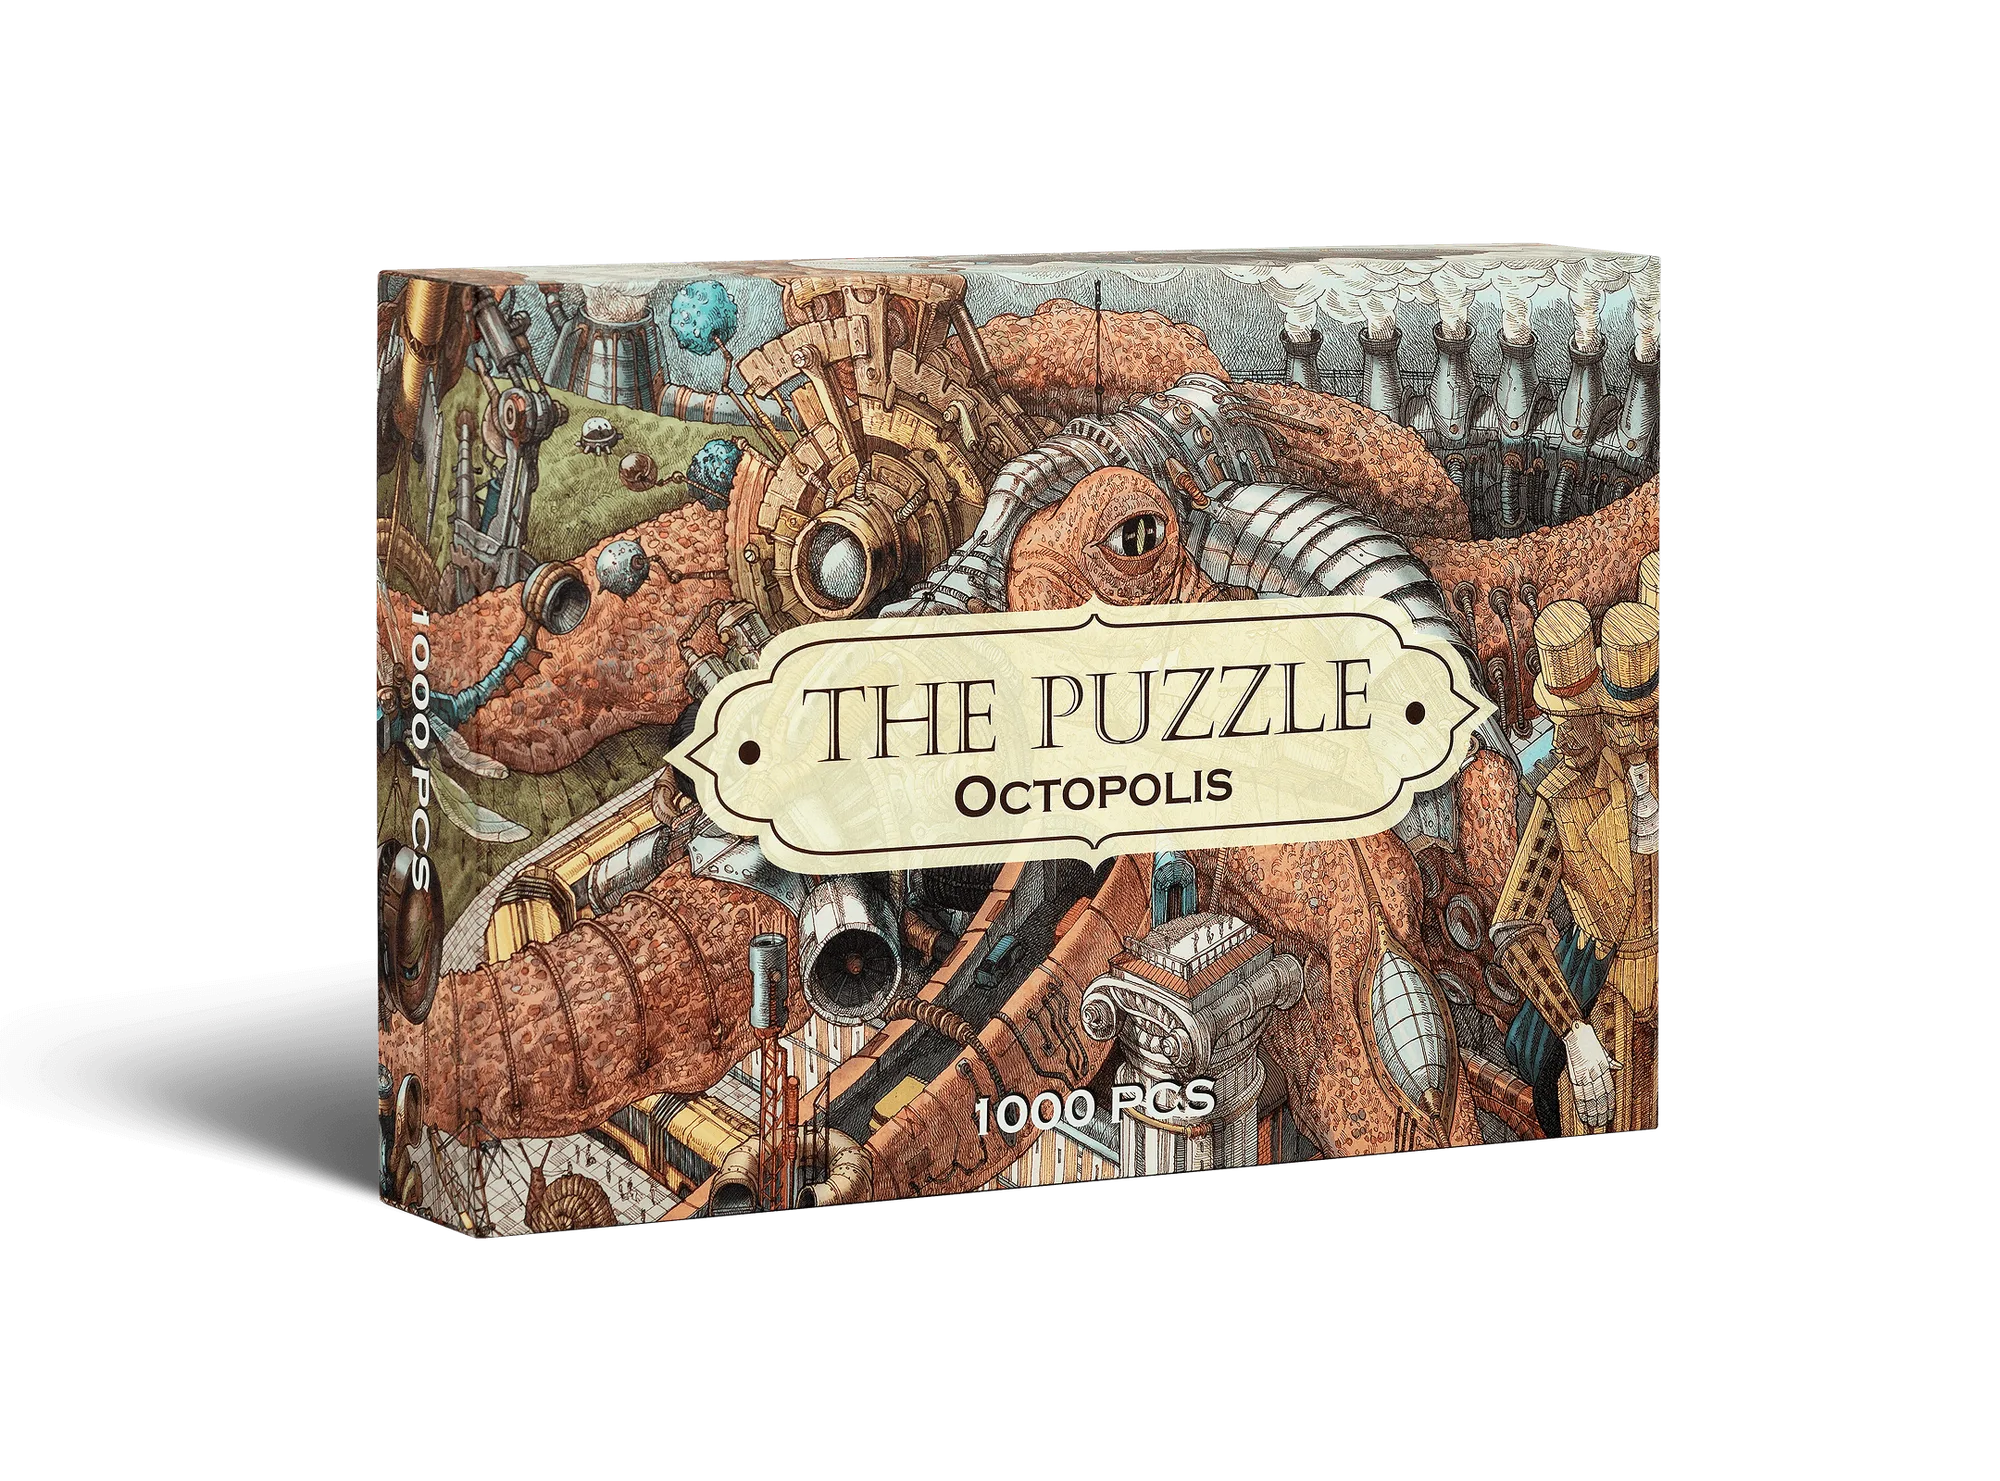
- Octopolis. The Puzzle: Octopolis. The Puzzle features a breathtaking illustration by Lev Kaplan filled with allusions from The Book: The Ultimate Guide to Rebuilding a Civilization. Knowing the image is dense with references means you should expect many similar colors and small details, so the zone-by-zone method matters more than speed.
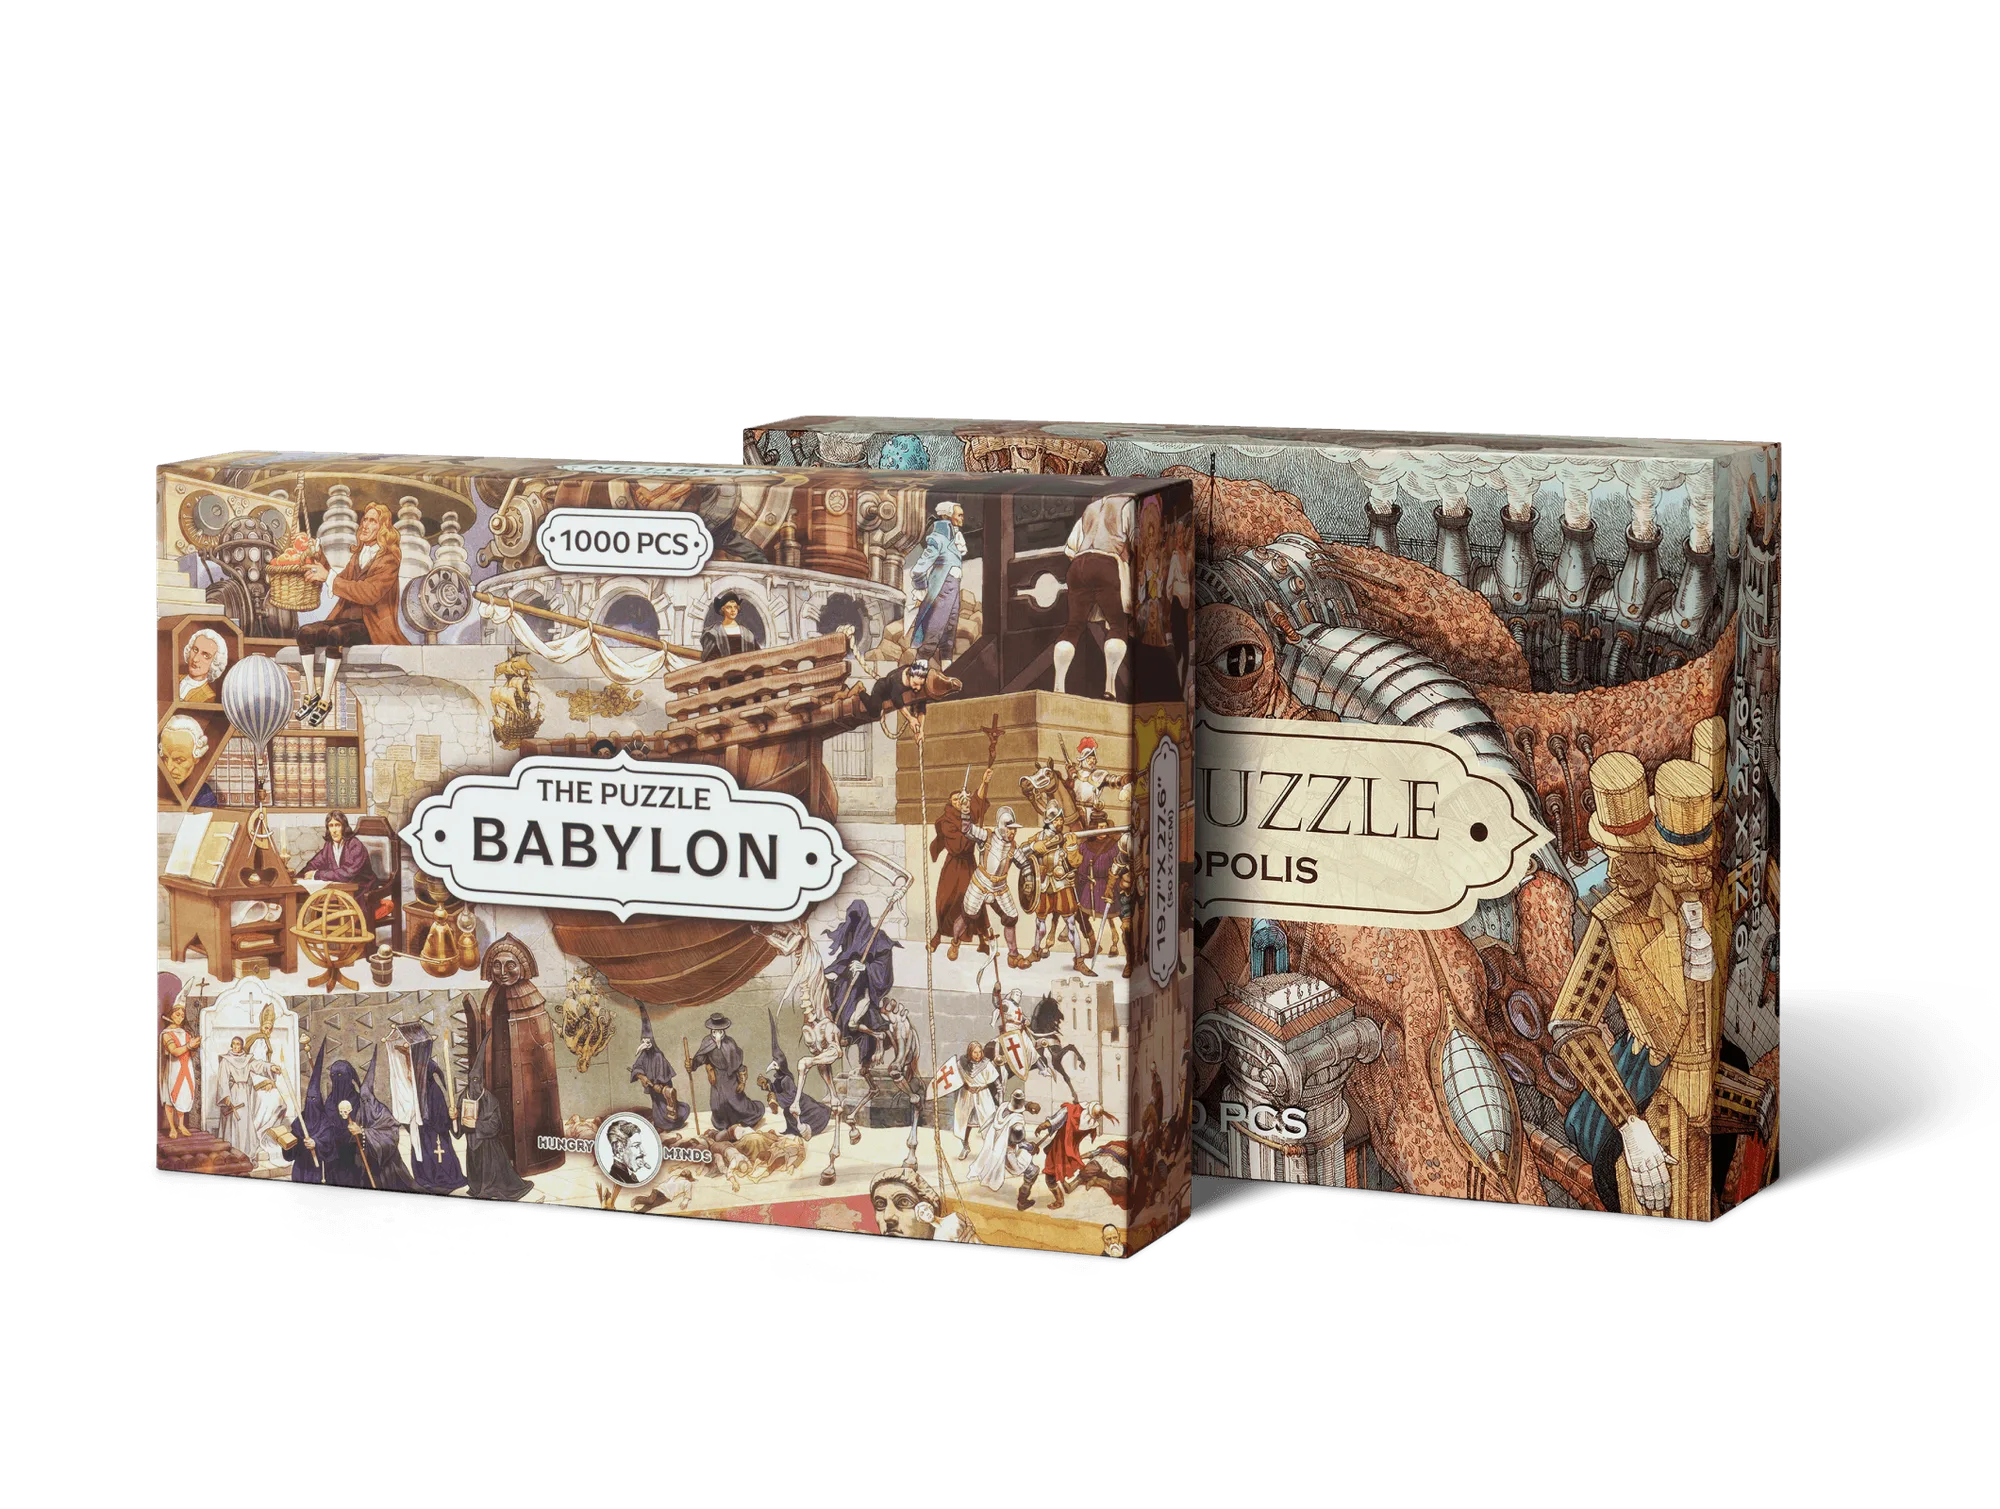
- World Builder Set. Octopolis & Babylon: The World Builder Set combines Octopolis and Babylon into a single collector's edition and includes an exclusive collectible coin. If you plan to solve both puzzles, keep the two sets separated during sorting so pieces and coins do not get mixed.