Quick answer
The Blooming Path notebook from Papier is a refined, elegant choice for starting a bullet journal. Its standard size and quality paper make it easy to set up a simple system that works for beginners and experienced journalers alike.
Why the Blooming Path notebook works for bullet journaling
Bullet journaling thrives on a notebook that feels good to write in and can handle a variety of pens without bleeding or ghosting. The Blooming Path notebook, part of the Papier brand known for quality paper goods, offers a smooth writing surface that suits both fine-tip pens and markers. Its standard size is portable enough to carry daily yet spacious enough for collections and monthly spreads.
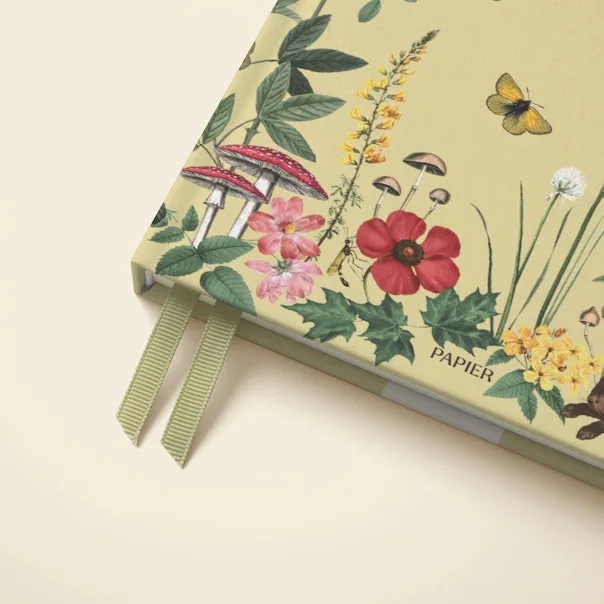
The floral cover design adds a personal, calming touch that can make the habit of journaling more inviting. While it does not come with pre-printed dot grids or page numbers, its blank pages give you complete freedom to design your layout exactly as you wish. This is a trade-off: you get full creative control but need to measure and draw your own grids if you prefer a structured look.
Step-by-step bullet journal setup
- 1. Set up your index and future log: Number the first few pages of your Blooming Path notebook (or leave them blank for later). On page 1, write 'Index' at the top. On page 2-3, create a future log: divide each page into three sections for the next six months. Write the month names and leave space to note events or tasks. Common mistake: forgetting to leave enough pages for the index. Reserve at least 4 pages at the front.
- 2. Create your monthly spread: Turn to a fresh spread. On the left page, write the month name and list the dates vertically with the day of the week. On the right page, write 'Tasks' at the top and list everything you want to accomplish this month. Use simple bullet symbols: a dot for tasks, a circle for events, a dash for notes. Checkpoint: Keep your monthly task list to 10-15 items. Overloading leads to abandonment.
- 3. Design your first weekly or daily log: For a weekly log, divide a spread into 7 sections (one per day) and write the date at the top of each. For a daily log, start each new day by writing the date and listing your tasks underneath. Use rapid logging: short phrases, not full sentences. Common mistake: making layouts too elaborate. Start simple and add decoration only after you've built the habit.
- 4. Add a collections page: Choose one collection that matters to you now: a book list, a habit tracker, or a gratitude log. Dedicate a full spread to it. For a habit tracker, draw a grid with habits on the left and dates across the top. Fill in a dot or checkmark each day. Checkpoint: Limit yourself to one collection at first. Adding too many collections too soon can overwhelm your system.
- 5. Review and migrate monthly: At the end of each month, review what worked and what didn't. Mark tasks you didn't complete with a right arrow (>) and migrate them to the next month. Cross out tasks that are no longer relevant. Reflect on one thing you learned. Common mistake: skipping the monthly review. This step is what makes bullet journaling a productive system, not just a diary.
Notebook details
-
Blooming Path: The Blooming Path notebook is a refined stationery item from Papier, designed to bring a touch of elegance to your everyday writing. Its elegant design makes it a pleasure to use daily, which helps you stick with your bullet journal habit.
Blooming Path