Quick answer
Sterilize pump parts by first washing them thoroughly, then choosing steam or UV based on the material. Steam is reliable for heat-safe plastic and silicone, while UV works for parts that can tolerate light exposure. Always check the manufacturer's temperature limits, avoid stacking parts tightly, and air-dry completely before reassembling to prevent warping and moisture damage.
Check material and temperature limits before you sterilize
Not all pump parts are built for the same sterilization method. Silicone membranes, duckbill valves, and backflow protectors can warp or lose their seal if exposed to temperatures above their rating. Most manufacturers list a maximum temperature on the part or in the manual; if you cannot find it, treat that part as hand-wash-only and sterilize less often. This single check prevents the most common cause of pump failure.
- Look for a temperature rating or a 'sterilizer-safe' symbol on each part.
- Silicone parts are usually more heat-sensitive than rigid plastic.
- When in doubt, skip the sterilizer and use hot soapy water followed by a thorough rinse.
Wash first, sterilize second: skipping this step defeats the purpose
Sterilizers kill germs, but they do not remove milk residue or biofilm. If you put dirty parts into a steam or UV sterilizer, the residue can bake onto the surface and create a shield for bacteria. Wash all parts with warm water and a bottle brush, paying attention to valves, membranes, and threaded connectors. Rinse until no soap film remains, then shake off excess water before loading.
- Use a dedicated bottle brush and mild dish soap; avoid antibacterial soaps that can leave residue.
- Separate all parts so water can reach every surface.
- Never put parts with visible milk film directly into the sterilizer.
Load the sterilizer so steam or UV reaches every surface
Overcrowding is the fastest way to get uneven sterilization and trapped moisture. In a steam sterilizer, place parts with openings facing down so condensation can drain. In a UV sterilizer, avoid stacking items that block light from reaching valves or membranes. If your sterilizer has tiers, use them to separate small parts from bottles and pump bodies. A single layer of parts with space between them works better than a packed basket.
- Keep valves and membranes flat or loosely separated, not nested inside each other.
- Do not let parts touch the heating element or the UV bulb.
- If your sterilizer has a drying cycle, use it; if not, air-dry on a clean rack.
Choose steam or UV based on the part, not convenience
Steam sterilization uses high heat and moisture, which is effective for heat-safe plastic and silicone but can degrade certain parts over time. UV sterilization uses light and is gentler on some materials, but it may not reach into opaque or shadowed areas. For pump valves and membranes, check whether the manufacturer recommends UV at all; some silicone parts yellow or become brittle with repeated UV exposure. If you use a UV sterilizer, rotate parts so all sides get light.
- Steam is usually faster for a full load of bottles and pump parts.
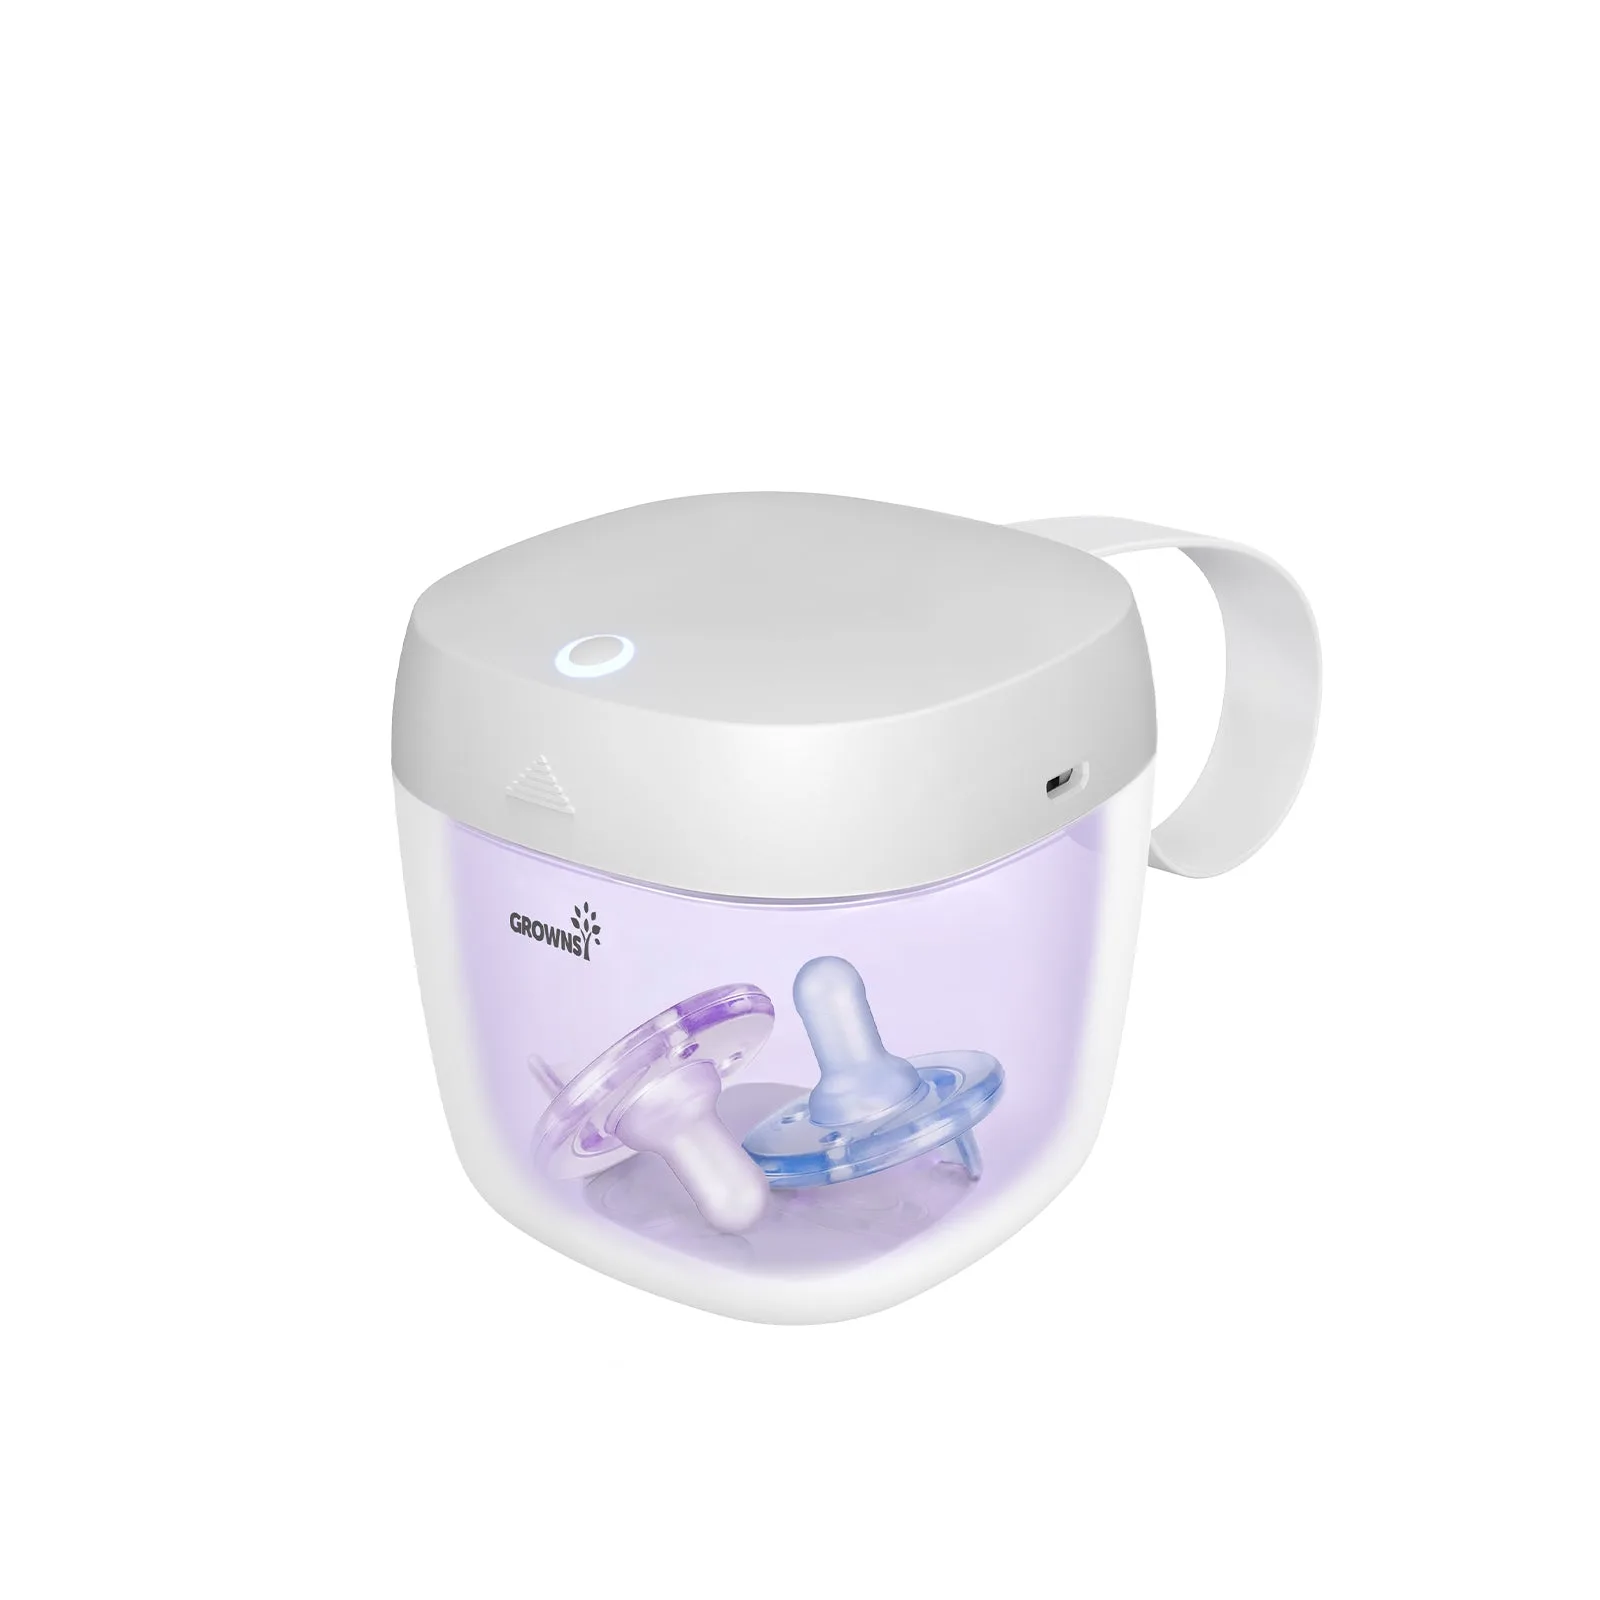
- UV is convenient for small items like pacifiers and valves, but verify material compatibility.
- Never mix steam and UV in the same cycle; pick one method per load.
Dry completely before reassembly to prevent mold and warping
Moisture left inside valves, tubing, or connectors can encourage mold and weaken the seal. After sterilization, let parts air-dry on a clean, lint-free towel or drying rack. Do not reassemble while parts are still warm or wet; trapped moisture can cause warping as the plastic cools. If you need to speed things up, use a sterilizer with a hot-air drying cycle rather than wiping with a cloth, which can reintroduce germs.
- Shake off excess water and place parts on a drying rack with space between them.
- Avoid using a kitchen towel to dry; it can transfer bacteria.
- Store fully dry parts in a clean, covered container if not used immediately.
Step-by-step pump parts sterilization routine
- Disassemble and inspect every part: Take apart valves, membranes, backflow protectors, and tubing. Check for cracks, cloudiness, or stretched silicone. If a part looks damaged, replace it before sterilizing. Damaged parts will not seal properly even after sterilization.
- Wash with warm soapy water and rinse thoroughly: Use a bottle brush to scrub all crevices, then rinse under running water until no soap remains. Pay extra attention to duckbill valves and threaded connectors where milk residue hides. Skipping this step can bake residue onto parts during sterilization.
- Load the sterilizer without overcrowding: Place parts in a single layer with openings facing down for steam, or spread out for UV. Use tiers to separate small parts from larger bottles. Do not let parts touch the heating element or bulb. Overcrowding blocks steam and light, leaving cold spots.
- Run the correct cycle for the material: Use steam for heat-safe plastic and silicone, and UV only for parts the manufacturer says are UV-safe. Follow the sterilizer's recommended cycle time; do not extend it to 'be safer.' Longer cycles increase the risk of warping and material breakdown.
- Dry completely before reassembly: If your sterilizer has a drying cycle, use it. Otherwise, air-dry on a clean rack. Make sure valves and membranes are fully dry inside and out before putting the pump back together. reassembling while damp traps moisture and can cause mold.
Product facts that support a safe routine
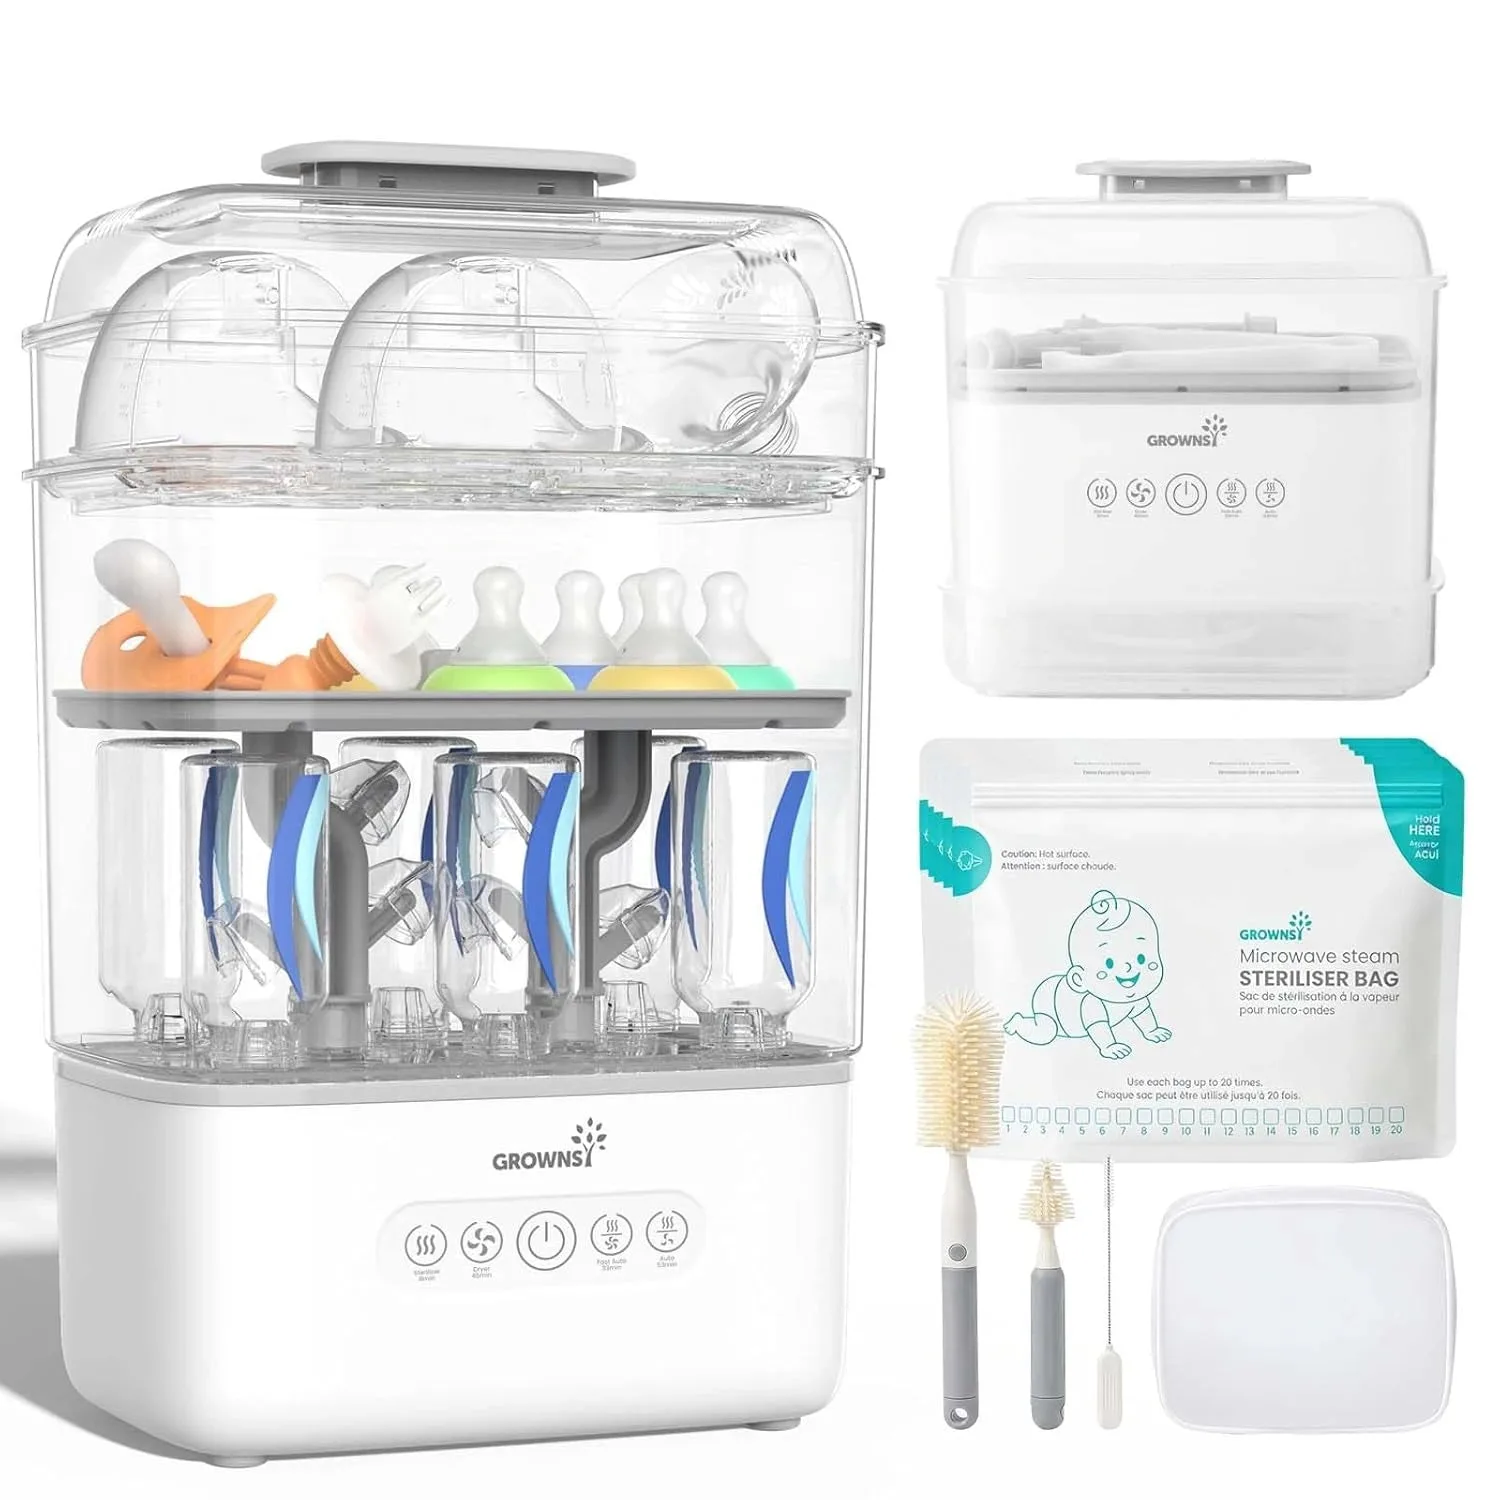
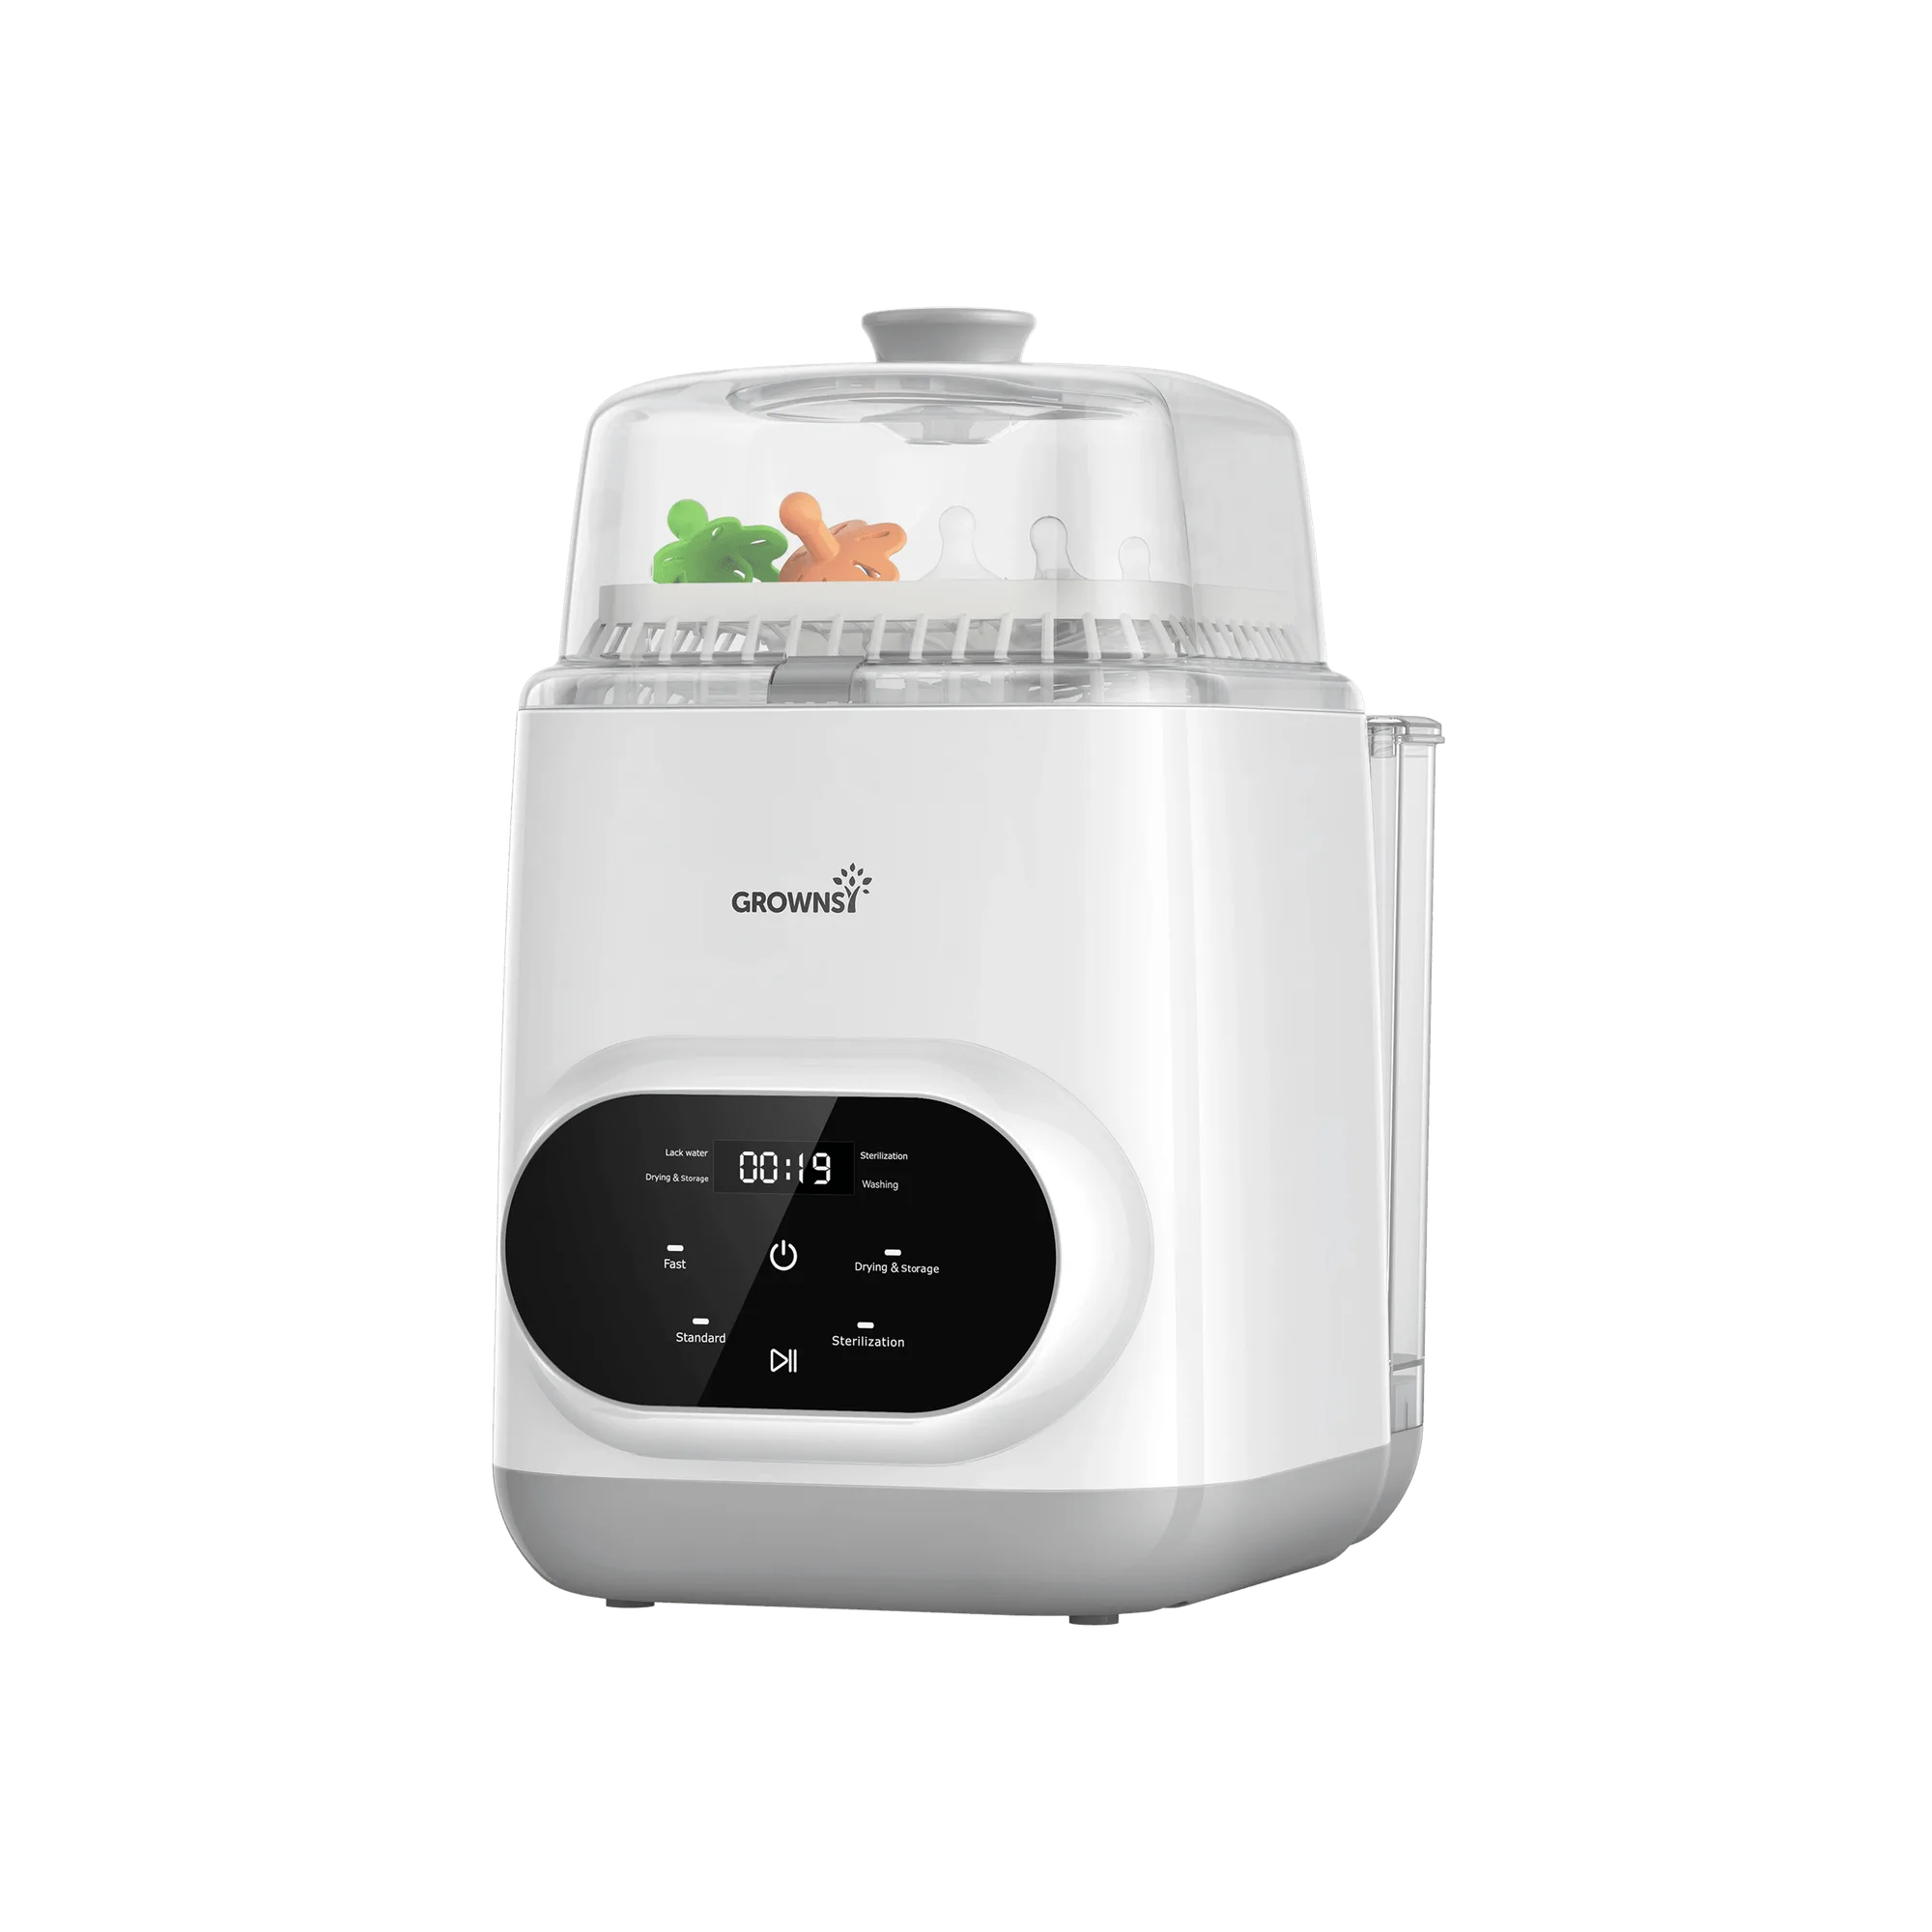
- 4-in-1 Bottle Washer Sterilizer and Dryer: 4-in-1 system handles washing, 212°F steam sterilizing, hot-air drying, and 72-hour storage in one machine. Combining wash, steam, and dry cycles reduces handling and helps you avoid incomplete drying, which is a common cause of warped or moldy pump parts.
- 3 Layers Bottle Sanitizer for 6–10 Bottles: 3-tier design sterilizes 6 to 10 bottles and essentials like pacifiers and breast pump parts in a single cycle. A larger capacity lets you spread parts out instead of stacking them, so steam reaches valves and membranes without overcrowding.
- Portable UV Sterilizer Feeding Bottle Accessories: Portable UV sterilizer achieves 99.99% sanitization in 59 seconds for pacifiers and bottle nipples. For pump valves and small silicone parts that are UV-safe, a quick UV cycle can be a convenient supplement between full steam sterilizations.