Quick answer
Sterilize Willow pump parts by first checking each item against Willow’s care instructions, then using the method your manual allows—typically steam, boiling, or a dishwasher cycle on a compatible setting. After sterilizing, dry parts fully on a clean rack and store them in a dedicated, dust-free container. Replace worn containers and valves on schedule rather than waiting for cracks or suction loss.
Why sterilization and storage are separate jobs
Sterilizing kills germs; storing keeps them from coming back. A part that is sterilized and then dropped into a diaper bag or left on a damp towel is no longer clean. Treat these as two distinct steps: sanitize thoroughly, then protect the part until the next pump session.
Willow pump parts include containers, flanges, valves, and other small pieces. Not every piece tolerates the same heat or water exposure, so the manual for your specific model—Willow 360, Willow 3.0, or Willow Go—is the final authority. When a material or temperature limit is not listed, do not guess; use the gentlest method and contact Willow support if you are unsure.
Build a realistic willow pump cleaning routine
A workable routine is more important than a perfect one. Most parents do a quick rinse after every session, a full wash daily, and a sterilize session every few days or after illness. If your baby is premature, immunocompromised, or in the NICU, follow the stricter schedule your care team gives you.
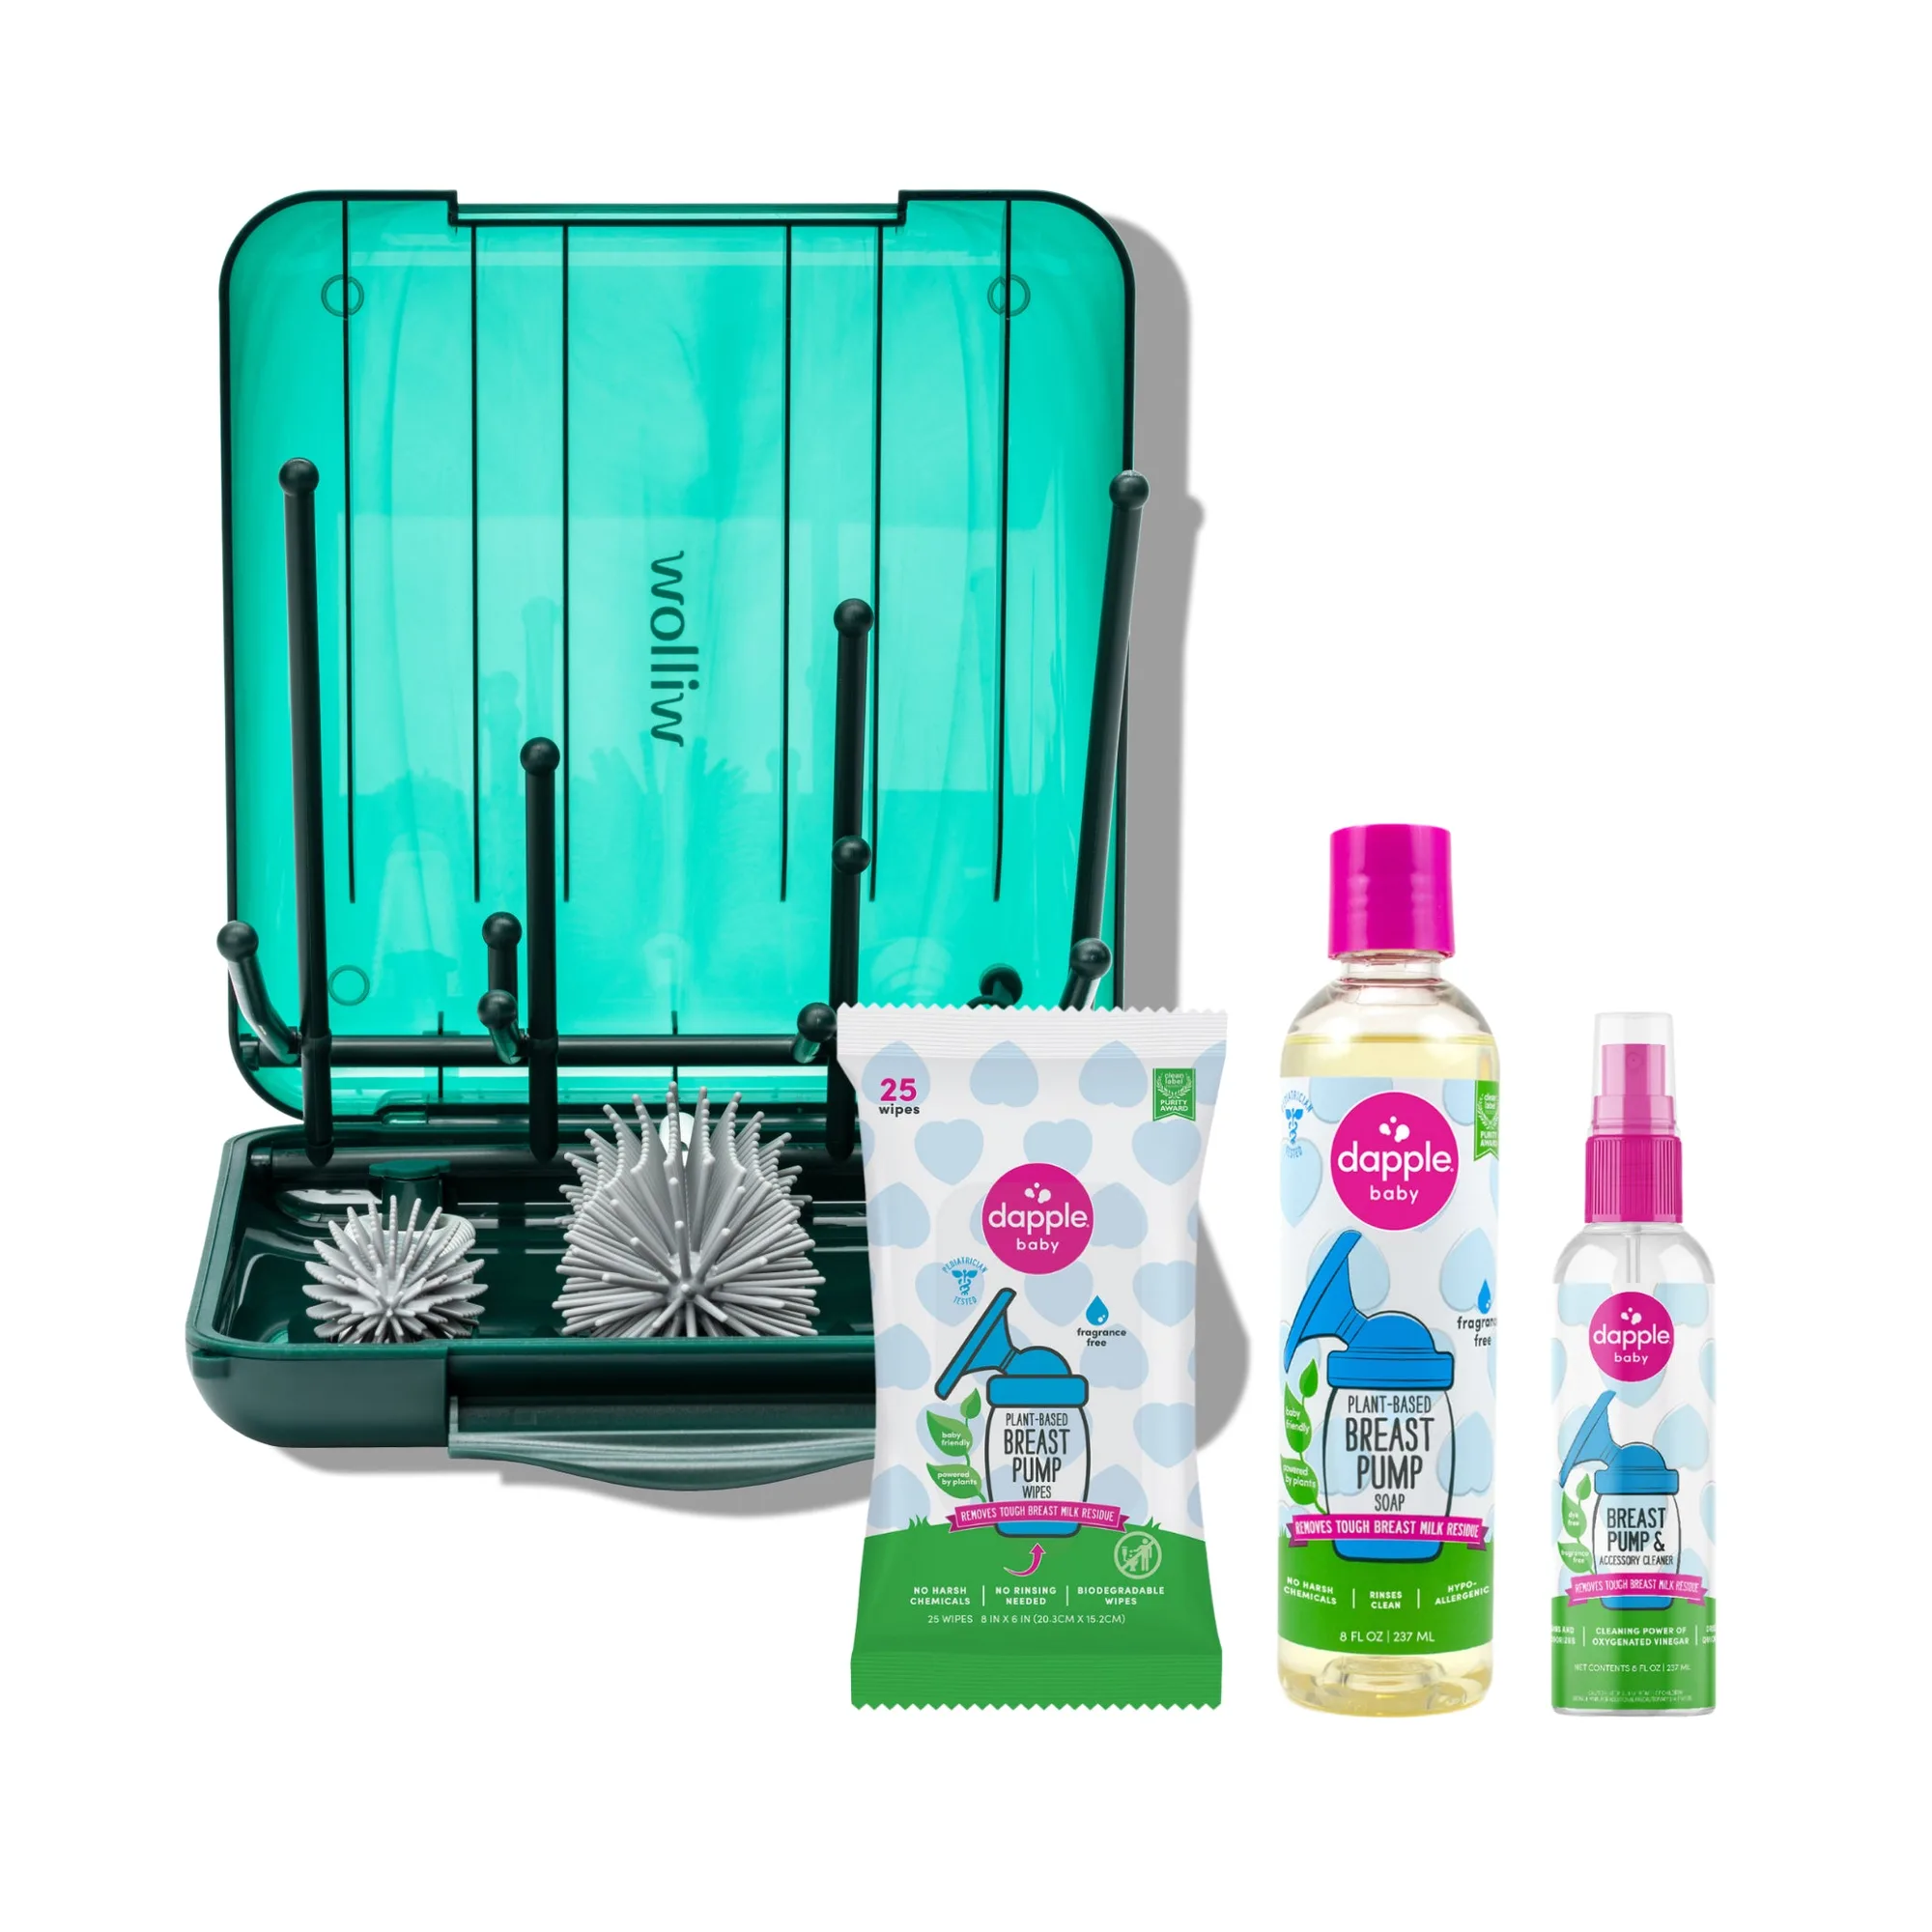
Keep a small basin or dedicated brush for pump parts only. Do not wash parts in the kitchen sink alongside raw meat or unwashed produce, and do not use the same sponge you use for dishes. A separate basin and brush reduce cross-contamination without adding much time.
What to check before you sterilize
Inspect each part first. Look for milk residue in crevices, cloudy or scratched containers, stretched or discolored valves, and any cracks near the flange edge. Sterilizing a damaged part will not fix it, and a cracked container can leak or lose suction.
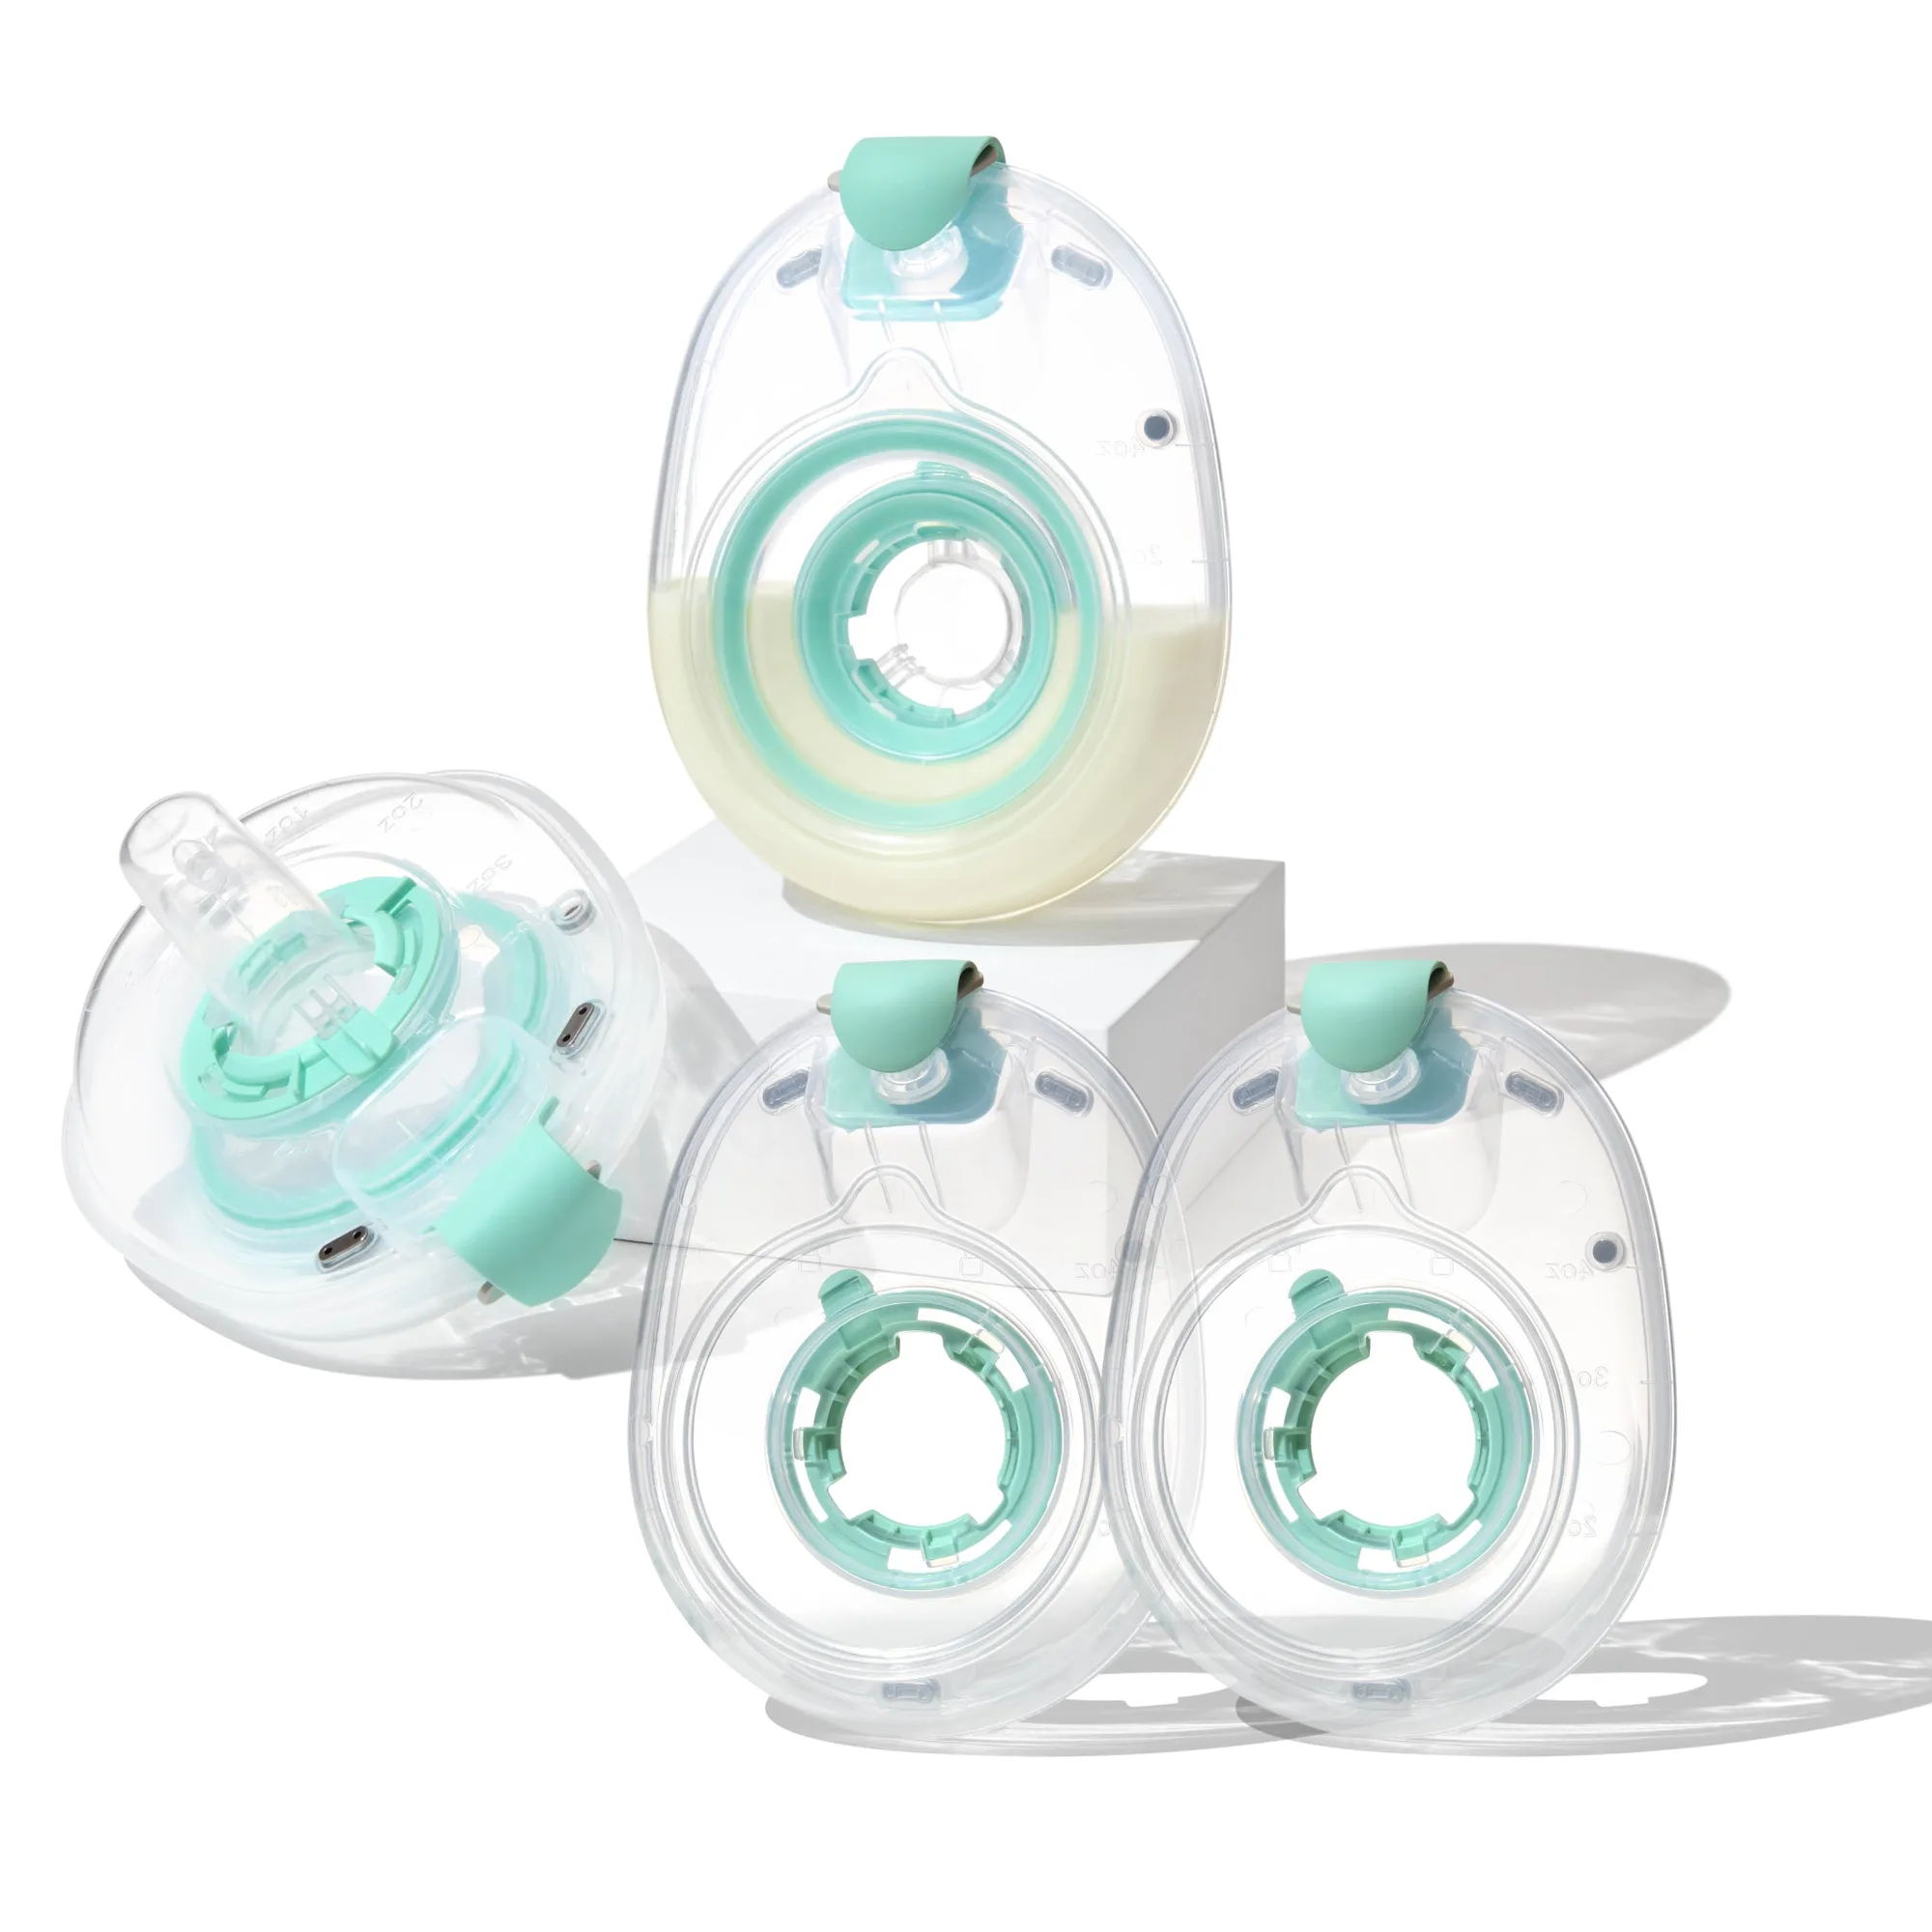
Willow 360 containers come in 21mm, 24mm, and 27mm sizes. If your flange size has changed—common after the early postpartum weeks—sterilizing the old size will not improve comfort. Recheck fit before you commit to a full wash-and-sterilize cycle on parts you may be replacing.
Sterilize using a method your pump allows
Common options are steam sterilization (electric steamers or microwave steam bags), boiling, or a dishwasher cycle if your manual permits it. Follow the time and temperature your manual specifies. Over-boiling or repeated high-heat cycles can warp plastic and shorten part life.
If you use a microwave steam bag, place parts so they are not nested tightly together; trapped water and steam need to circulate. After any heat method, let parts cool completely before handling, especially valves and thin silicone pieces that can distort while warm.
Dry and store parts so they stay clean
Shake off excess water and lay parts on a clean drying rack with space between them. Do not dry with a shared kitchen towel, which can transfer bacteria. Air drying is the simplest option; if you need parts dry faster, use a dedicated clean cloth or paper towel.
Once fully dry, store parts in a covered container, a clean zip-top bag, or a dedicated pump bag compartment. Avoid sealing damp parts in a closed container—trapped moisture encourages mildew and odor. If you pump away from home, keep clean and dirty parts in separate compartments so they never mix.
Know when to replace instead of re-sterilize
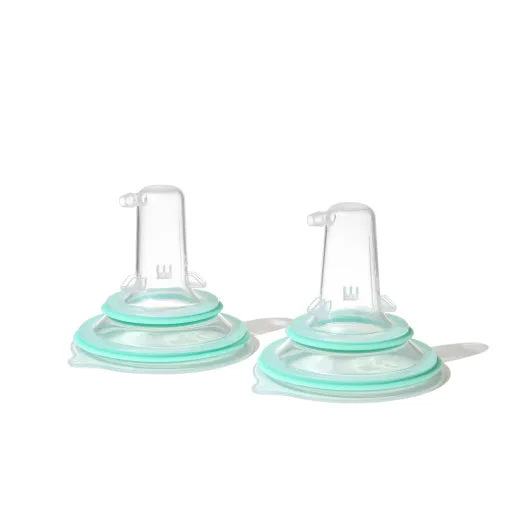
Some parts are consumables. Valves, membranes, and containers wear out with repeated use and heat cycles. If suction drops, valves look stretched, or containers become cloudy or scratched, replacement is the fix—not another sterilize cycle.
Keeping a backup set means you can sterilize one set while using the other, which removes the pressure to rush drying or reuse a damp part. It also gives you a spare if something cracks at 2 a.m.
Your step-by-step sterilize and store routine
- Disassemble and rinse immediately: Take apart containers, flanges, and valves right after pumping. Rinse each piece under warm running water to remove milk residue before it dries. Checkpoint: no visible milk film or odor remains after rinsing.
- Wash with dedicated tools: Wash in a clean basin with warm soapy water and a brush used only for pump parts. Scrub crevices and rinse thoroughly. Common mistake: using the kitchen sponge or sink, which can reintroduce bacteria.
- Sterilize using an approved method: Use steam, boiling, or a dishwasher cycle only if your Willow manual allows it, and follow the stated time and temperature. Common mistake: over-boiling or stacking parts so steam cannot circulate.
- Air dry completely: Spread parts on a clean rack with space between them. Let them air dry rather than towel drying with a shared cloth. Checkpoint: no water droplets remain in valves or container seams.
- Store clean and dry: Place fully dry parts in a covered container or clean bag. Keep clean and dirty parts in separate compartments when traveling. Common mistake: sealing damp parts in a closed container, which traps moisture.
- Inspect and replace on schedule: Check valves and containers for stretching, cloudiness, or cracks. Replace worn parts rather than sterilizing them again. Next step: keep a backup set so replacement never interrupts your pumping schedule.
Parts that support a safe sterilization and storage routine
- Willow 360® Replacement Parts Set: The Willow 360 Replacement Parts Set includes a 2-pack of Willow 360 containers in 21mm, 24mm, or 27mm sizes, designed for backup or replacement needs. A second set lets you sterilize one pair while the other is in use, so you are never forced to reuse a damp or damaged container.
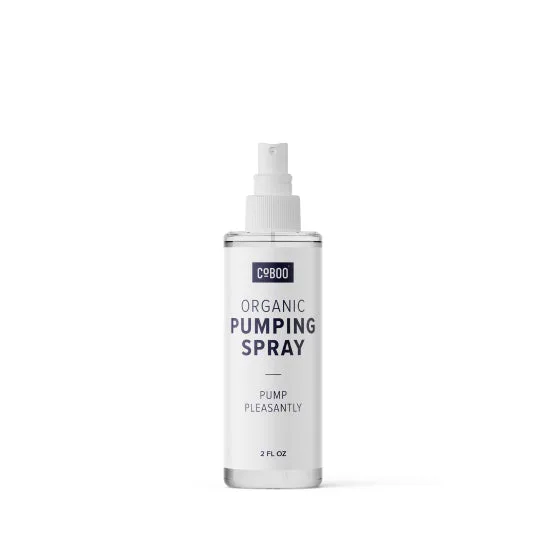
- CoBoo Natural Pumping Spray: CoBoo Natural Pumping Spray is designed to lubricate skin while pumping and is applied to Willow 3.0 or Willow Go flanges. Lubrication can make sessions more comfortable, but it does not replace cleaning—wash flanges on your normal schedule after use.