Quick Answer
To stitch a printed groom angel canvas, start by gathering your supplies, then follow the printed design using tent stitches, and finish by blocking and framing or finishing as an ornament.
Why Printed Canvases Simplify Stitching
Printed needlepoint canvases like the Groom Angel Printed take the guesswork out of color placement. The design is already printed on the mesh, so you can focus on your stitching technique rather than counting threads or following a chart.
This is especially helpful for beginners or for stitchers who want a relaxing project without constant reference to a pattern. The printed guide ensures you know exactly where each color goes, reducing mistakes and making the process more enjoyable.
What to Know About the Groom Angel Canvas
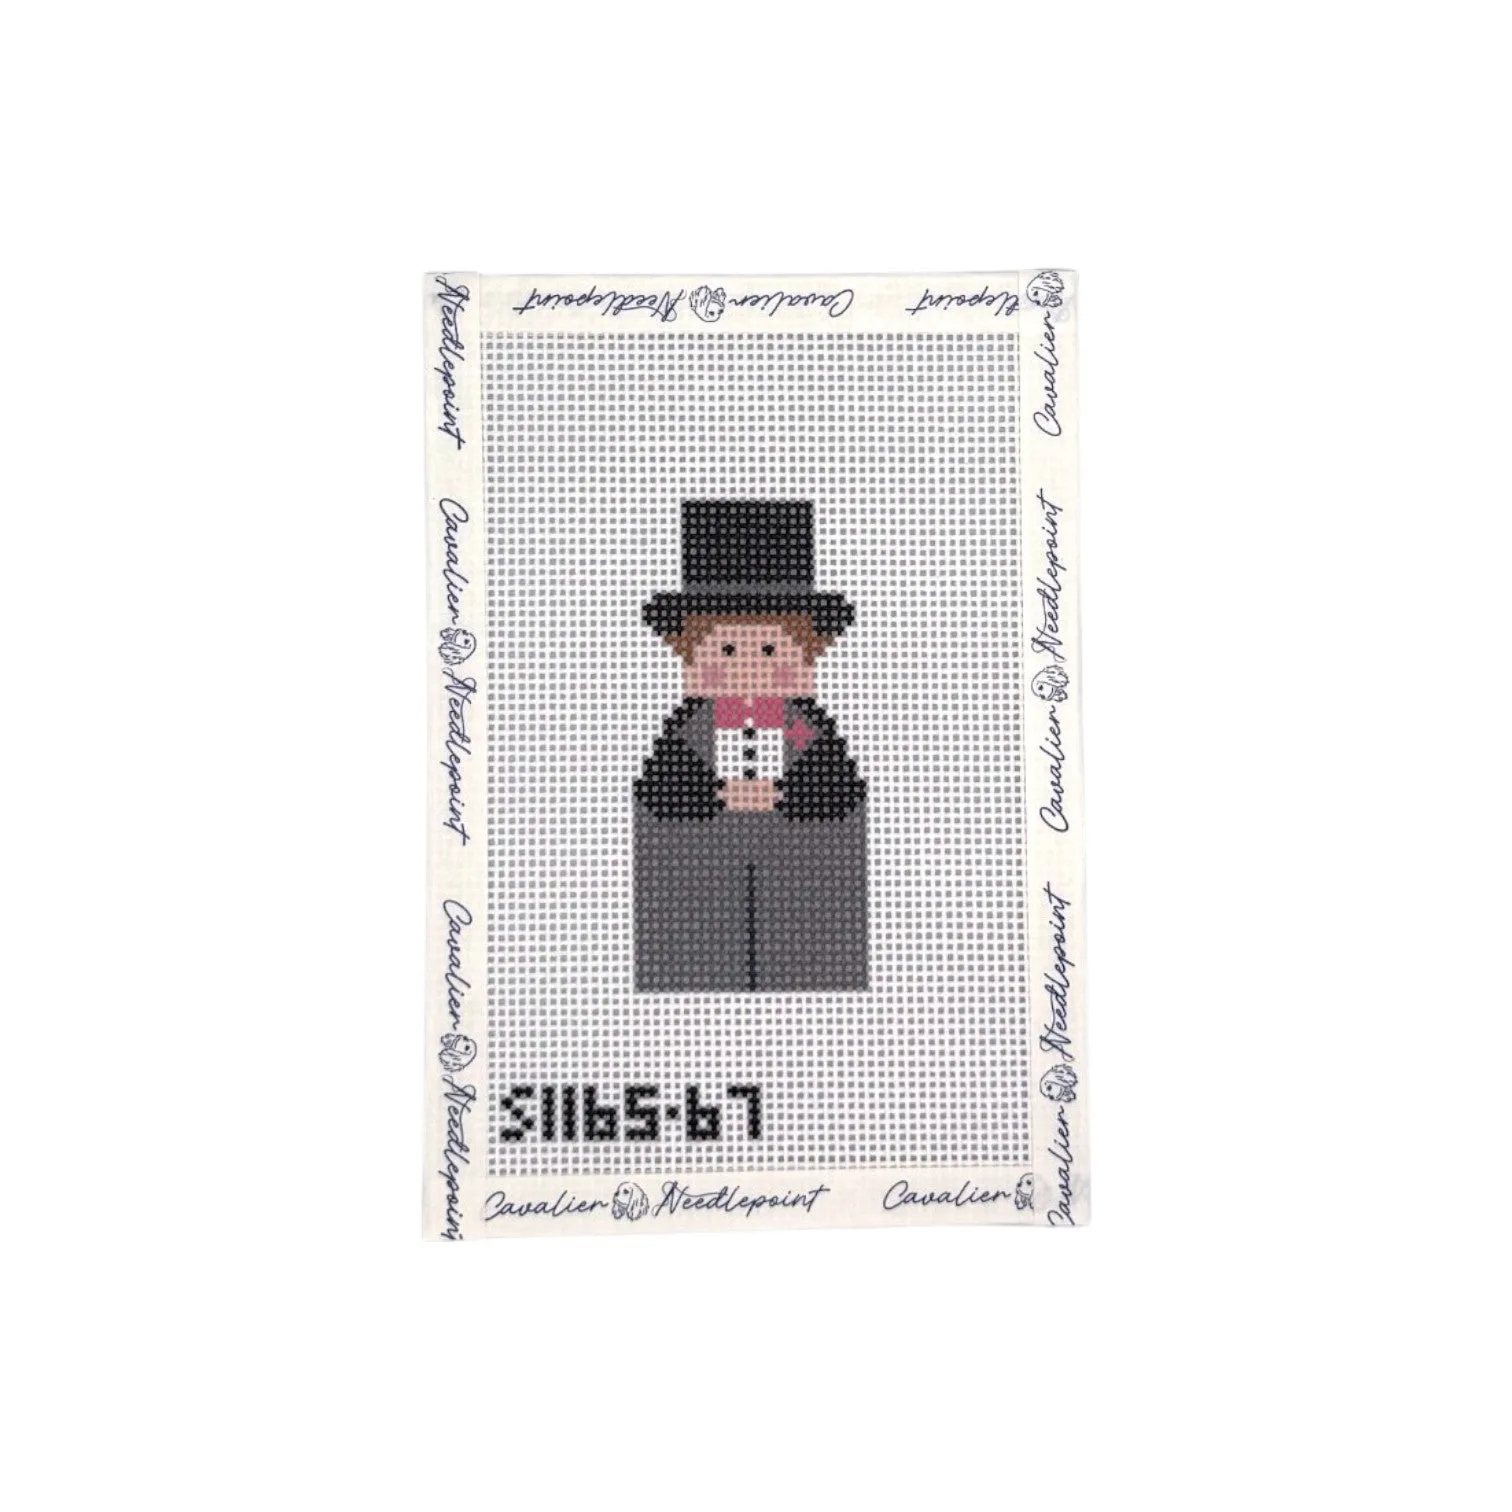
The Groom Angel Printed canvas is a charming design from Stitch-Its, printed on 13 mesh canvas with a design size of 2" x 2.75". It's a small project, ideal for a quick stitch or a thoughtful gift.
Keep in mind that the canvas only is included—threads are not part of the package. You'll need to select your own yarn or floss, which gives you the freedom to customize colors to match your decor or the recipient's preferences.
Because the canvas is small, it's perfect for practicing new stitches or for completing a project in a single sitting.
Step-by-Step Stitching Guide
- Gather Your Supplies: Collect your printed canvas, tapestry needle, embroidery floss or yarn in your chosen colors, scissors, and a hoop or frame if desired. Since threads aren't included, select colors that match the printed design or your personal preference. Check that your needle size suits 13 mesh canvas—typically a size 22 or 24 tapestry needle works well.
- Prepare the Canvas: If using a hoop or frame, mount the canvas securely, ensuring the printed design is centered and taut. This prevents distortion and keeps your stitches even. Avoid over-tightening the hoop, as it can stretch the canvas and distort the printed design.
- Start Stitching with a Waste Knot: Begin by threading your needle and making a waste knot on the front of the canvas, a few inches away from your starting point. This knot will be cut off later, leaving a clean back. Always start with a waste knot to avoid bulky knots on the back that can show through.
- Follow the Printed Design Using Tent Stitches: Work in rows, using a tent stitch (such as basketweave or continental) to fill in the printed areas. Follow the color indications on the canvas, and try to keep your stitches uniform in tension. If you make a mistake, gently remove the stitches with a seam ripper or needle, and re-stitch carefully to maintain the design.
- Finish and Secure Your Threads: When you complete a thread, weave the end under existing stitches on the back to secure it. After finishing all stitching, remove the canvas from the hoop and trim any excess canvas, leaving a border for finishing. Block the finished piece if it's distorted, then decide whether to frame it or turn it into an ornament.
Product Spotlight
-
Groom Angel Printed: The Groom Angel Printed is a 13 mesh canvas with a design size of 2" x 2.75". This small size makes it a quick, manageable project, perfect for beginners or for a last-minute gift.
Groom Angel Printed