Quick Answer
To stitch the Moon & Back needlepoint canvas, start with the smallest color areas, use a tent stitch for smooth coverage, and work from the center outward to keep the design aligned.
Why Moon & Back Makes a Great First Project
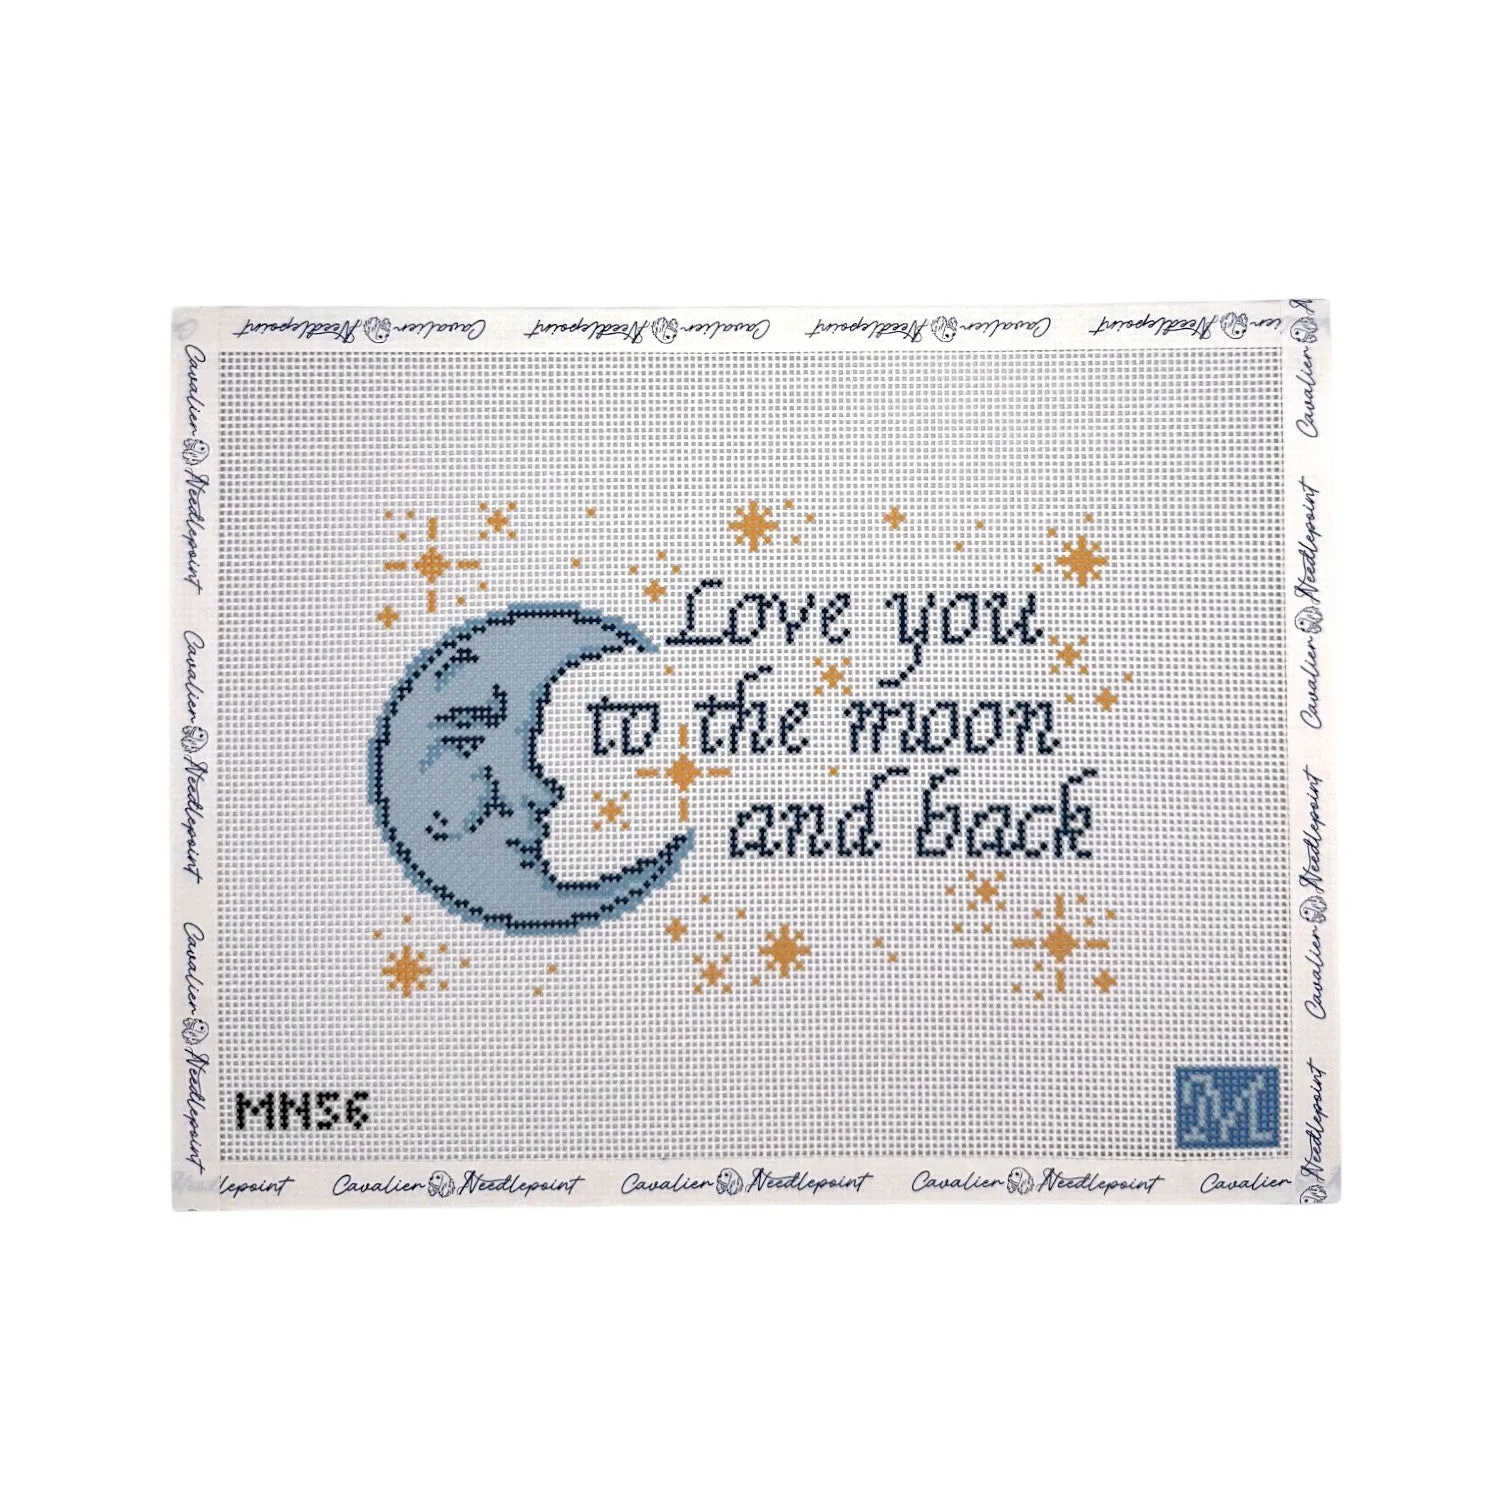
The Moon & Back canvas from Maura Nolan Designs is a 13-mesh hand-painted needlepoint canvas with a sweet 'love you to the moon and back' sentiment. Its small design size of 5" x 7.75" on a 10" x 12" canvas makes it manageable for beginners while still offering a satisfying finish. Because it is canvas only, you have the freedom to choose your own threads, which is part of the fun.
Choosing Threads for Your Moon & Back Canvas
Since the canvas is 13 mesh, you'll want a thread that covers well without being too bulky. A single strand of tapestry wool or a stranded cotton used with the recommended number of plies works well. For the moon and stars, a metallic or light-colored thread can add a subtle shimmer, but test it on a corner first to ensure it doesn't distort the mesh.
Step-by-Step Stitching Guide
- Gather Your Supplies: You'll need the Moon & Back canvas, a tapestry needle sized for 13 mesh (usually #22 or #24), your chosen threads, and a hoop or frame that fits the canvas. Make sure your hoop is larger than the design area to avoid crushing painted areas. Check that your needle passes through the mesh without bending and that your thread is not too thick.
- Prepare the Canvas: Mount the canvas in your hoop or frame, ensuring it is taut but not stretched out of shape. If you like, bind the edges with tape to prevent fraying while you work. A smooth, even tension prevents distortion later—re-tighten if the canvas feels loose.
- Start with the Smallest Color Areas: Begin stitching the smallest sections of a single color, such as the stars or the moon's outline. This helps you establish placement and keeps the design from becoming overwhelming. Working small areas first reduces the chance of miscounting and makes the design emerge quickly.
- Use a Tent Stitch for Smooth Coverage: For most of the design, use a simple tent stitch (half cross, continental, or basketweave). This gives even coverage and is easy to control. Save decorative stitches for larger background areas if you want added texture. Test your stitch on a scrap of 13 mesh to see how much thread coverage you get before starting the main design.
- Work from the Center Outward: Find the center of the canvas and start stitching from there, moving outward. This keeps the design centered and prevents the canvas from becoming lopsided if your tension varies. Mark the center with a removable pen or a thread line to keep your orientation clear.
- Manage Thread Tension and Tangles: Keep your thread length to about 18 inches to avoid fraying and tangling. Let the needle hang occasionally to untwist the thread, and never pull too tightly—this can distort the canvas. If your canvas begins to pucker, your tension is too tight; loosen up and your stitches will lie flat.
- Finish and Block Your Canvas: When all stitching is complete, remove the canvas from the hoop and block it if needed to return it to its original shape. Then you can frame it or turn it into a pillow, depending on your preference. Blocking is essential if your canvas is distorted—wet-blocking works well for wool threads, but check your thread care instructions first.
Product Spotlight
-
Moon & Back: The Moon & Back canvas is a 13 mesh hand-painted design by Maura Nolan Designs, measuring 5" x 7.75" on a 10" x 12" canvas. The 13 mesh is ideal for beginners—large enough to see clearly but fine enough for detailed lettering, and the compact size means you can finish it in a reasonable time.
Moon & Back