Quick answer
Start by threading your needle with a single strand of Planet Earth wool and stitch the largest color areas first, working from the center out to keep your canvas square.
Why the Provence Rabbit Kit is a Great Choice for 13 Mesh
The Provence Rabbit Needlepoint Kit uses 13-count canvas, which means 13 stitches per inch. This is a versatile mesh size that works well for both beginners and experienced stitchers because it shows detail without being too fine or too bulky.
The kit includes pre-printed color areas on the canvas, so you don't need to follow a separate chart. This reduces errors and makes it easier to pick up and put down your project.
Common Mistakes to Avoid
One common mistake is pulling the wool too tight, which distorts the canvas. Keep your tension even and let the wool lie flat on the surface.
Another mistake is stitching in the wrong direction. Always maintain the same diagonal slant for your tent stitches to create a smooth, uniform finish.
Step-by-Step Stitching Guide
- Prepare your materials: Lay out your Provence Rabbit kit: the pre-printed 13-count canvas, Planet Earth wool yarns, and two size 20 Bohin needles. Choose a well-lit area and make sure your hands are clean. Keep the wool away from pets and food to avoid dirt and tangles.
- Thread the needle and start from the center: Cut an 18-inch length of wool and thread it through one size 20 needle. Do not knot the end. Find the center of your design and bring the needle up from the back, leaving a 1-inch tail on the back to weave in later. Starting from the center ensures your design stays centered on the canvas.
- Stitch the largest color areas first: Use a basic tent stitch (half-cross or continental) to fill the largest blocks of color, such as the rabbit's body or the background. Work in rows, keeping each stitch at the same diagonal angle. Stitching large areas first builds confidence and gives you a clear roadmap for smaller details.
- Maintain even tension: Pull the wool through the canvas until it lies flat against the surface, but do not tug hard. The canvas should remain flat and not pucker. If you see distortion, loosen your tension. Check the back of your canvas periodically—it should look neat, with no long loops or tight pulls.
- Weave in ends and continue: When you finish a strand, weave the tail under the last few stitches on the back of the canvas. Trim any excess. Start a new strand by weaving the new tail under the same stitches before bringing the needle to the front. Never knot your wool—knots create bumps that show on the front.
- Finish and block your project: Once all stitches are complete, gently wet-block the canvas to even out tension. Lay it flat on a towel, pin it to the correct shape, and let it dry completely before framing or finishing. Blocking is essential for a professional look; skip it only if your canvas is perfectly square.
About the Provence Rabbit Needlepoint Kit
-
Provence Rabbit Needlepoint Kit on 13: The kit includes an accurately color-printed 5.5" x 5.5" design on 13-count needlepoint canvas with taped edges. The taped edges prevent fraying while you stitch, and the color printing eliminates the need for a separate chart, making it ideal for beginners.
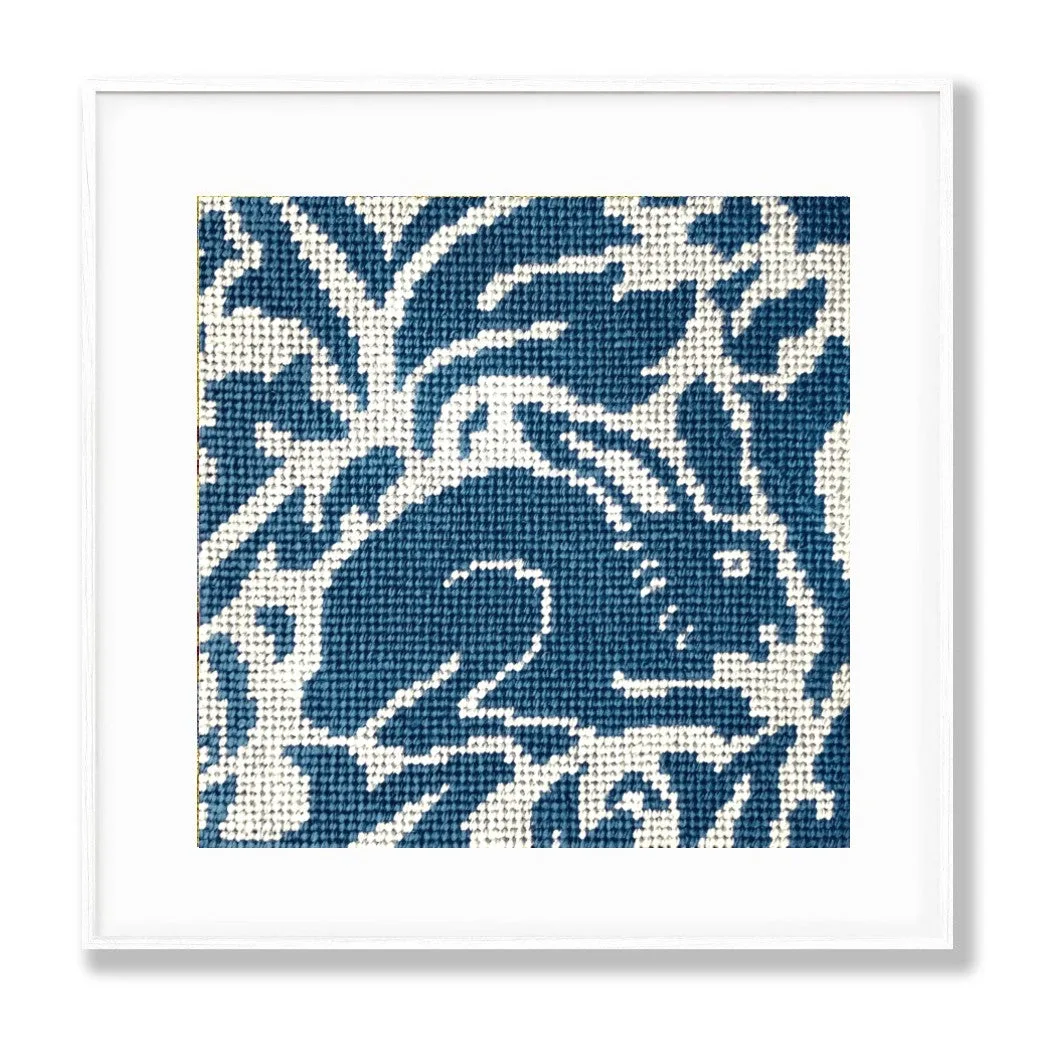
Provence Rabbit Needlepoint Kit on 13
-
Provence Rabbit Needlepoint Kit on 13: Planet Earth wool yarns are included and used as a single strand for smooth, effortless stitching. Using a single strand saves time and reduces tangling, so you can focus on your stitching rhythm.