Quick answer
Keep hand needles in a closed, dry container with labeled slots by size, add a silica gel packet to block moisture, and return every needle after use. A quick five-step routine prevents rust, lost sizes, and dull points.
Hand needles are easy to lose and even easier to mix up. A little organization saves you from hunting through a pincushion for the right size in the middle of a project.
The routine below covers sorting, picking a container, labeling, moisture control, and safe disposal. It also points out the mistakes that cause most needle problems.
Why needle organization pays off
Needles look alike until you compare eyes and points. Crewel, sharps, and embroidery needles differ in length, eye shape, and tip, and grabbing the wrong one can fray thread or dent fabric. Sorting by size and type removes that guesswork.
Good storage also protects the metal. Needles rust when they sit in humid air or touch fabric that holds moisture. A closed container with a moisture absorber keeps them smooth and ready.
- Sort by size and type before you store anything.
- Keep the original sleeve or label with each group.
Choose a container that fits your sewing space
A dedicated sewing needle case or a small compartment box works for most stitchers. Look for a lid that closes firmly, slots or dividers that keep sizes apart, and a size that fits your drawer or tote. If you travel with projects, pick a case with a hinge or snap closure so needles cannot escape.
For a larger stash, a clear storage box with two levels gives you an instant view of every group. The Dritz Sewing Storage Box, Clear opens like a toolbox and divides into two levels, so you can keep hand needles on one level and spare tools on the other. Its transparent plastic lets you check contents without opening the lid.
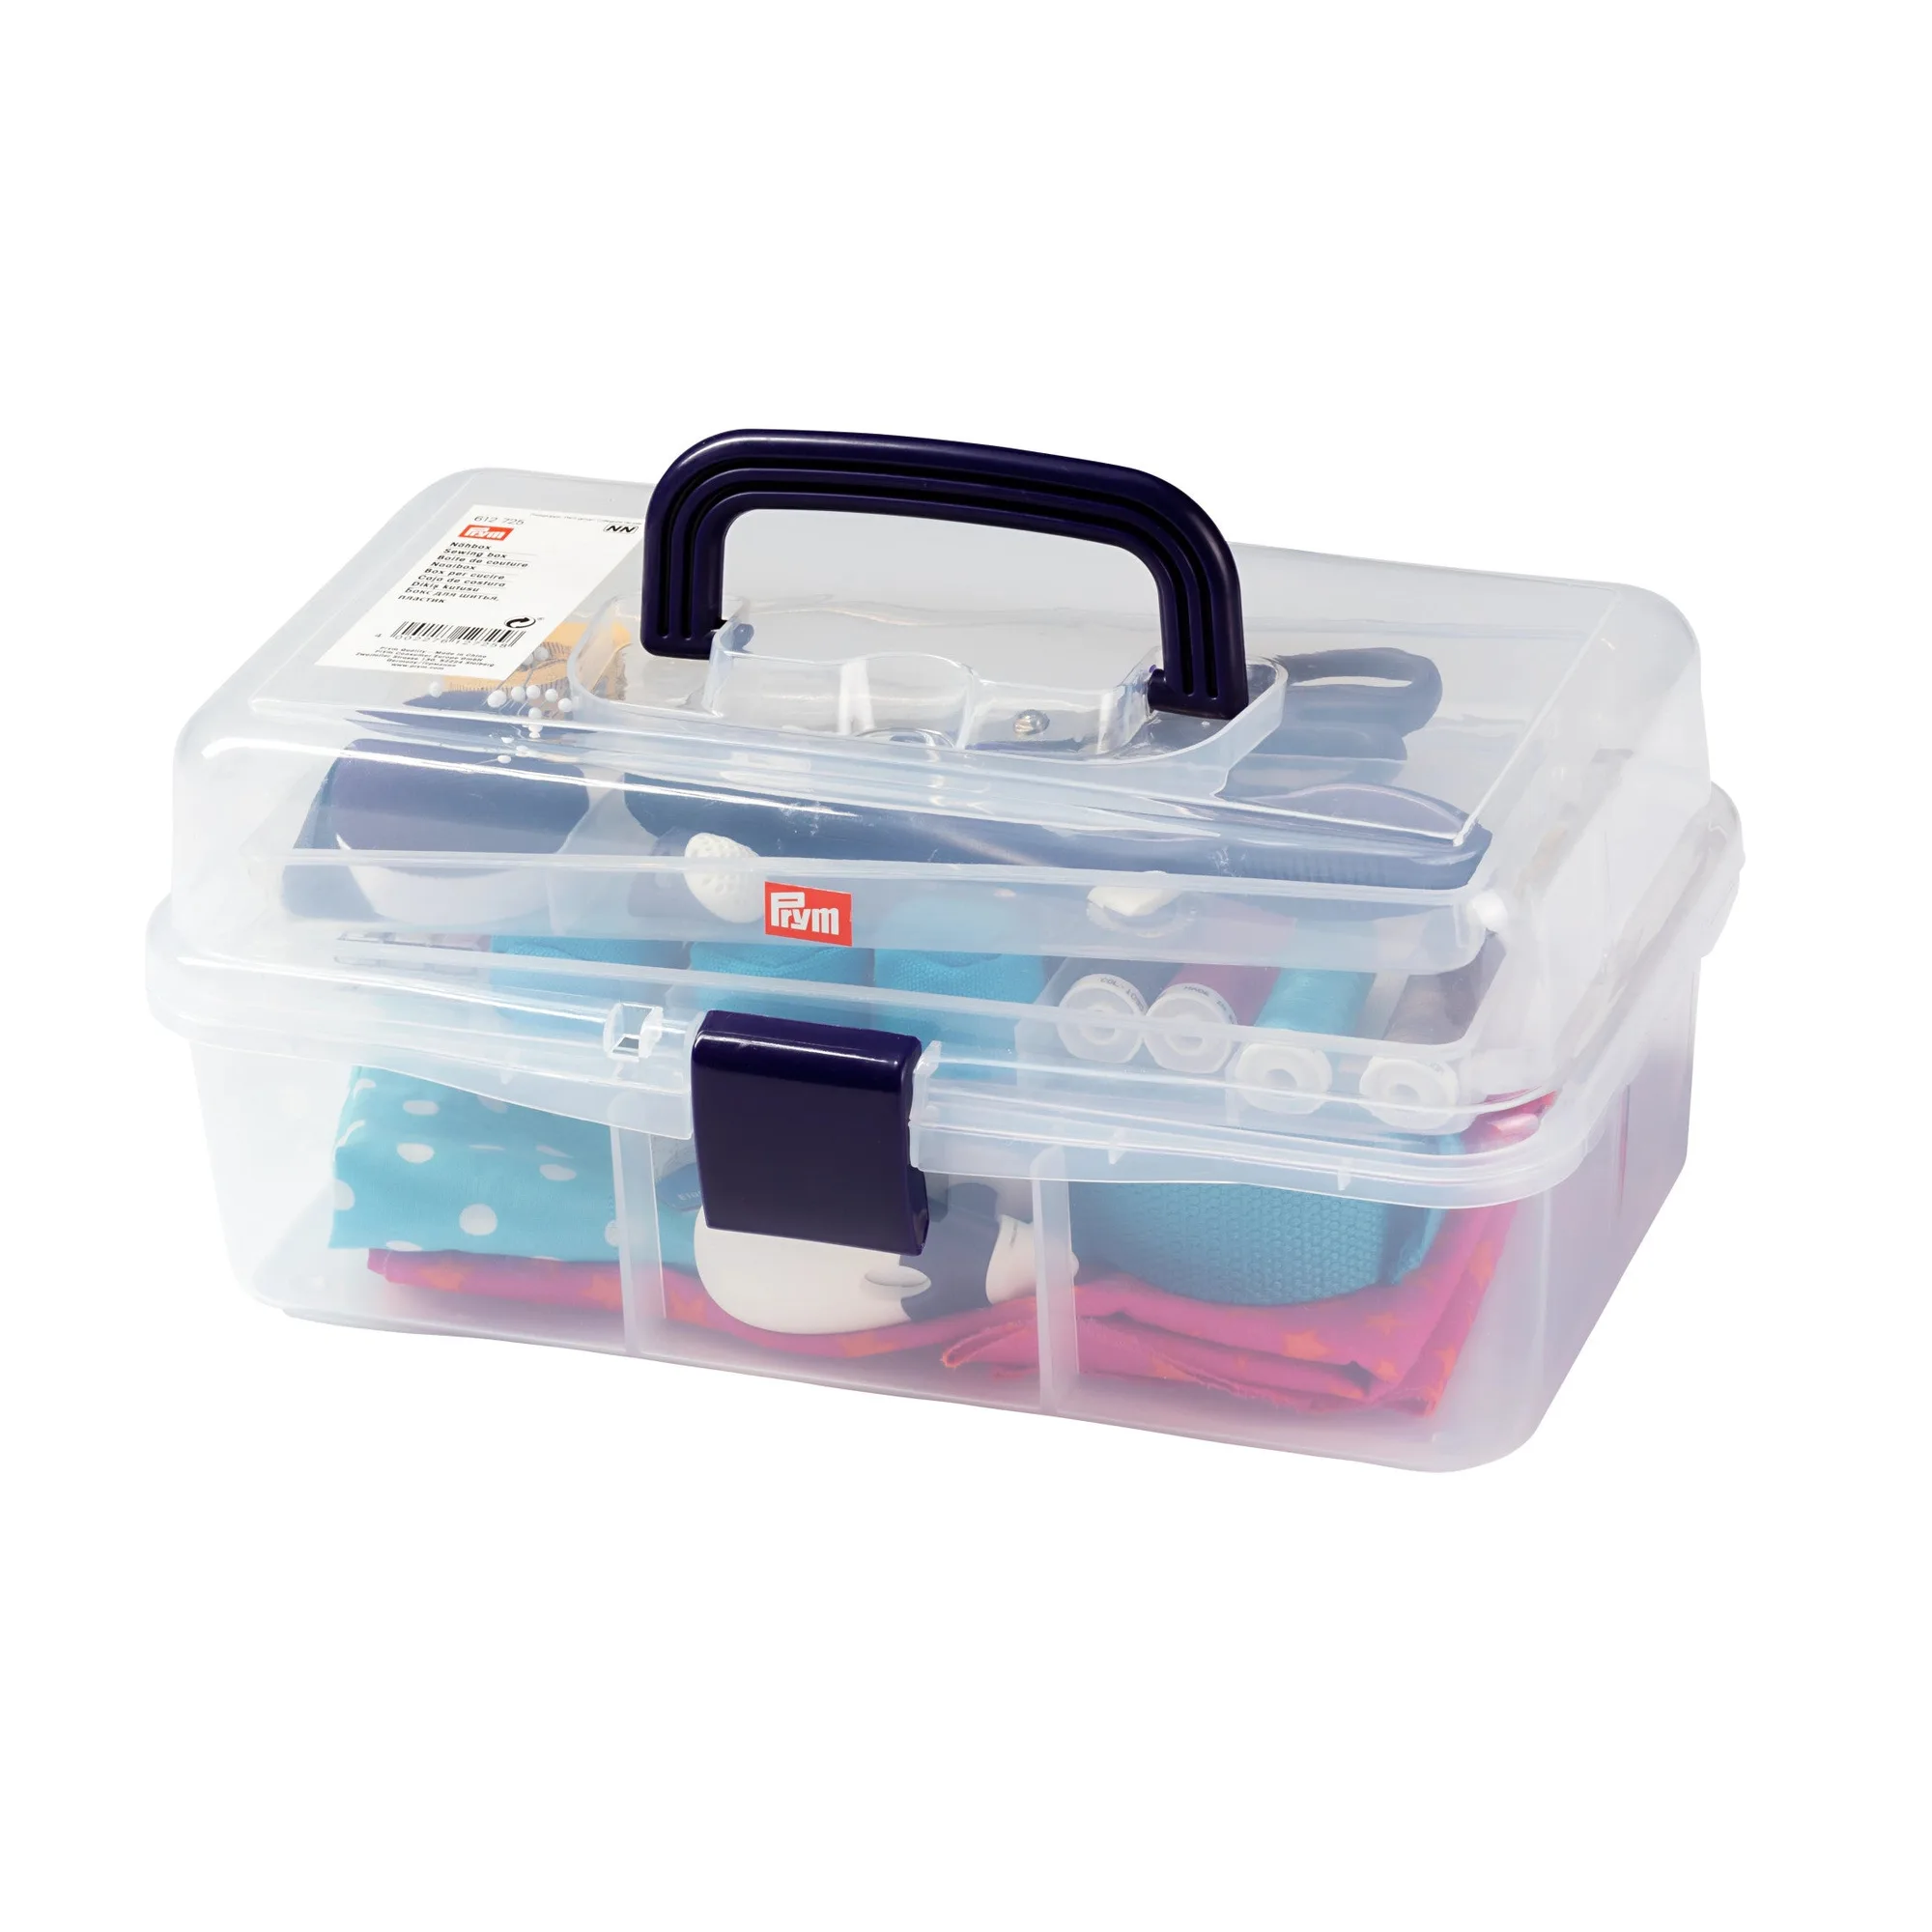
Sewing Storage Box, Clear
- Match container size to how many needle types you actually use.
- Avoid open pincushions for long-term needle storage.
Label every group before it goes in
Write the size and type on a small label or slip of paper and place it with each group. If you keep needles in a case with sleeves, mark the sleeve itself. This takes a minute and saves you from re-measuring later.
When you buy a new pack, add its label to the group instead of dumping the needles together. A stray size 10 mixed into a size 8 slot is the most common cause of skipped stitches and bent tips.
- Use a fine-tip marker so labels stay readable.
- Replace labels when they fade or peel.
Control moisture and handling
Metal needles react to humidity, skin oils, and residue from fabric finishes. Drop a silica gel packet into the container and keep it closed between uses. If you notice a speck of rust, remove that needle right away so it does not spread.
Wash and dry your hands before handling needles, especially after using lotion or handling food. Oils transfer to the metal and speed up corrosion. A dry, closed case does most of the work for you.
- Replace silica packets every few months.
- Never store needles in a damp sewing basket.
Retire and dispose of damaged needles
Bent, blunt, or rusted needles damage fabric and thread. Set a small discard jar with a lid near your sewing spot and drop retired needles in as you find them. When the jar fills, seal it with tape before throwing it away.
Do not put loose needles in a trash bag where they can poke through and injure someone. A labeled jar or a needle disposal container keeps everyone safe.
- Check points against a scrap of fabric before each project.
- Keep the discard jar out of reach of children and pets.
Your five-step needle organization routine
- Sort needles by size and type: Empty your pincushion and needle packs onto a clean, dry surface. Group by size first, then by type such as sharps, crewel, or embroidery. Read the original labels if you still have them. Common mistake: sorting by eye and assuming two needles are the same size. Measure when in doubt.
- Pick a closed container with dividers: Choose a sewing needle case or a compartment box with a firm lid. A clear two-level box like the Dritz Sewing Storage Box, Clear gives you a view of every group and keeps levels separate. Checkpoint: shake the closed container gently. If needles move between slots, add dividers or use smaller sleeves.
- Label each slot and keep labels with the needles: Write size and type on a label or slip of paper for each group. Place the label in the slot or on the sleeve so it stays with the needles even when the box is moved. Common mistake: labeling only the outside of the box. If you move needles to a project bag, the inside labels keep you oriented.
- Add a moisture absorber and close the case: Put a silica gel packet in the container and close the lid after every use. Store the case in a dry drawer or shelf, away from sinks, windows, and damp basements. Checkpoint: replace the silica packet every few months or when it looks saturated.
- Return and retire needles after every project: At the end of a session, put each needle back in its labeled slot. Drop bent, blunt, or rusted needles into a lidded discard jar. Seal the jar with tape before disposal. Common mistake: leaving a needle in the fabric or on the ironing board. That is how sizes get lost and points get damaged.
Products that make needle storage easier
- Sewing Storage Box, Clear: The Dritz Sewing Storage Box, Clear opens like a toolbox and is divided into two levels for maximum tidiness. It is made of transparent, shock-resistant plastic and is ultra light weight. Two levels let you separate hand needles from other tools, and the clear body shows contents without opening the lid.
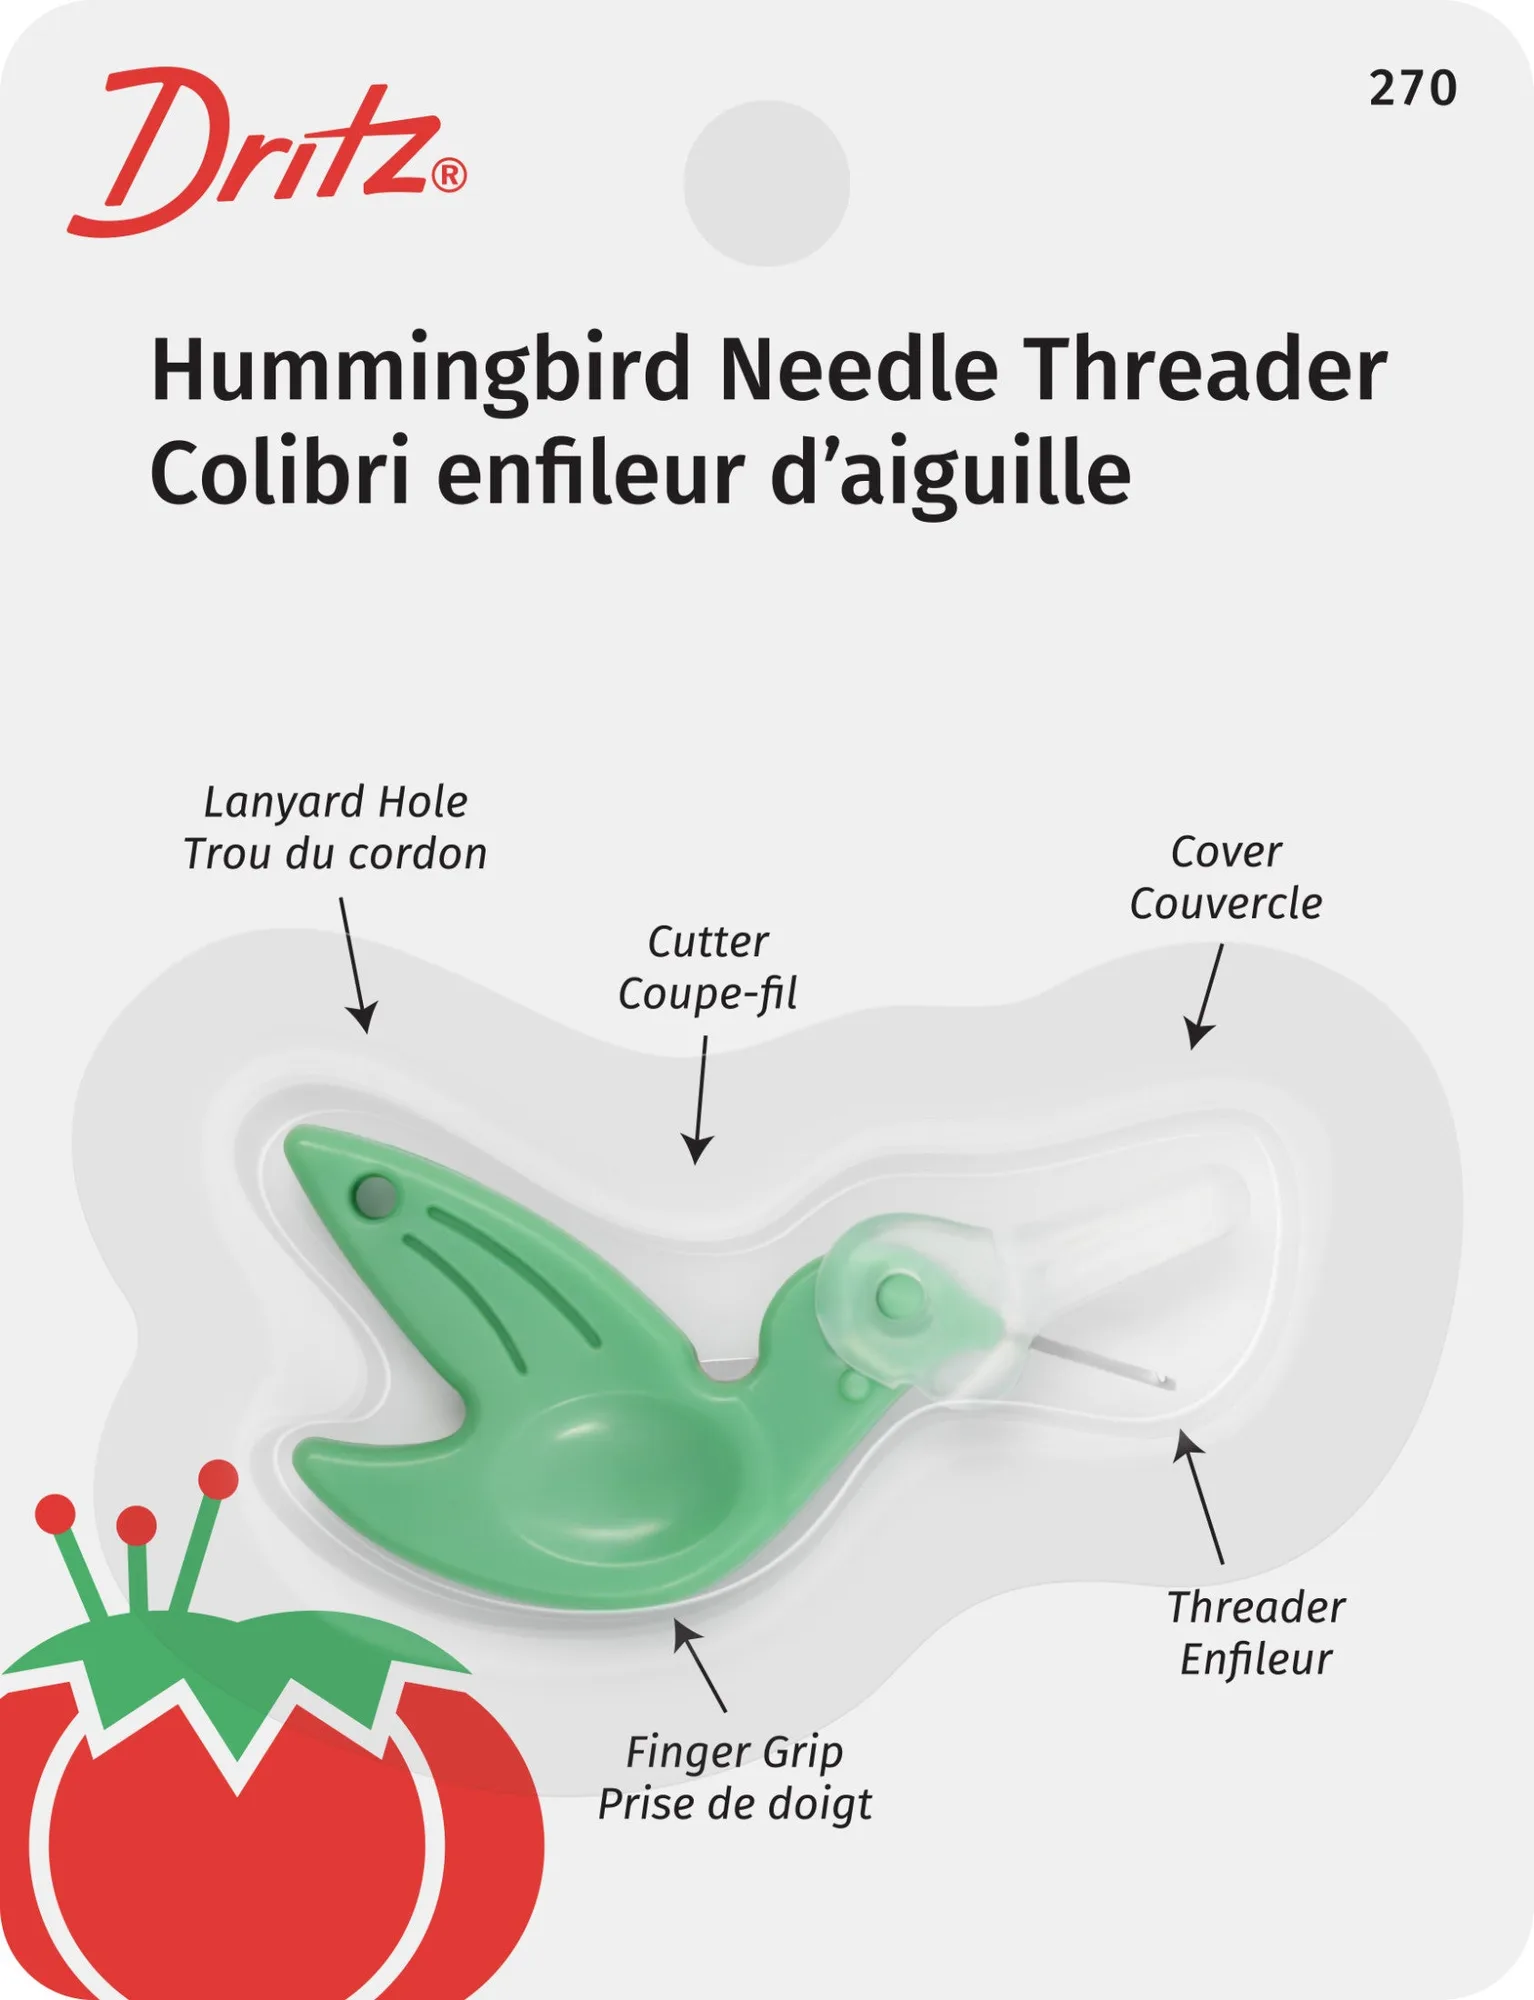
- https://prymamerica.com/products/dritzneedleshumbdthdr-edbdc47fbe82f0af3a2edcda-1316174Hummingbird Needle Threader: The Dritz Hummingbird Needle Threader has a beak that guides thread through the needle eye, a built-in cutter, a rotating protective cap, and an indented grip. A threader reduces handling of needles, which means less skin oil on the metal and less chance of dropping a needle while threading.
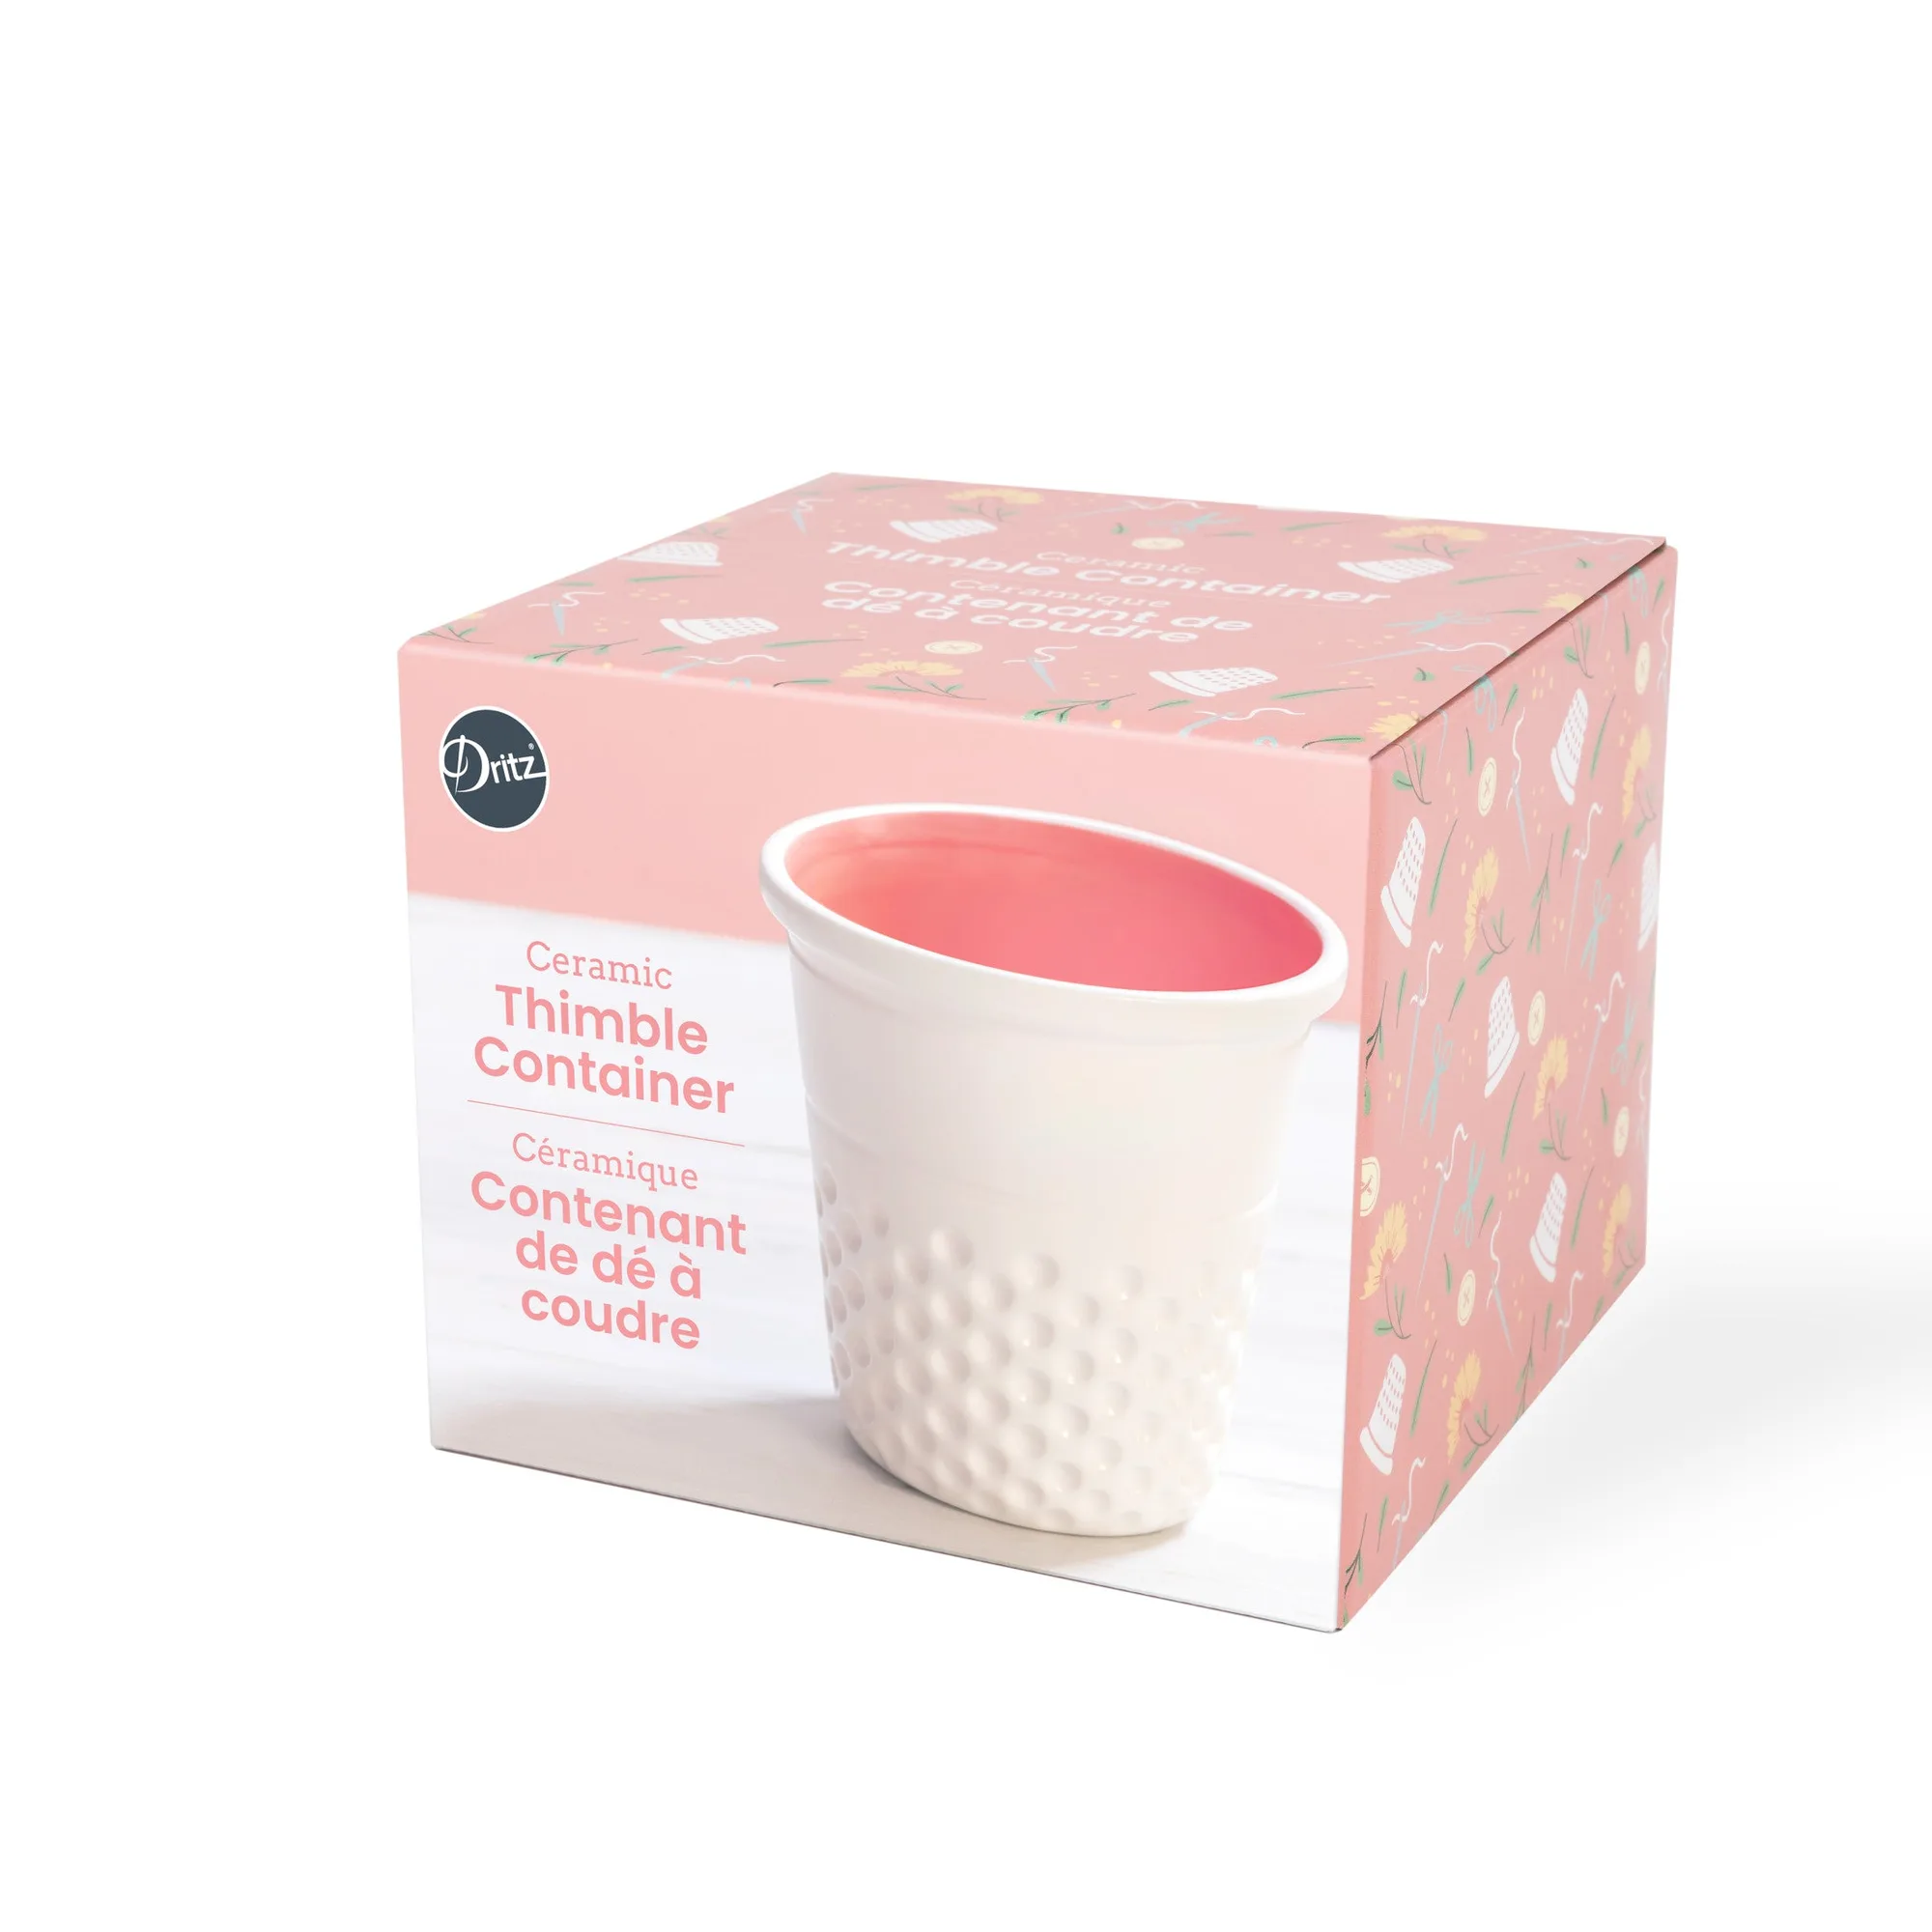
- https://prymamerica.com/products/thimblecontainer-d1d00e6e5697478f53190f93-1316484Novelty Ceramic Thimble Container: The Dritz Novelty Ceramic Thimble Container is a thimble-shaped container with a 3-1/2-inch opening and 4-inch height, sized for sewing tools, office supplies, or small plants. A dedicated spot for tools you reach for often keeps your main needle case from becoming a catch-all.
A dry, labeled container and a two-minute end-of-session habit keep hand needles sorted, sharp, and ready. Start with the five steps above and adjust the container to fit your space.