Quick answer
Store model paints in a cool, dark, and stable place, keep bottles tightly closed and upright, and organize them by type or color family so you can find what you need without digging. A simple, consistent system prevents dried-out pots, wasted paint, and duplicated purchases.
If you have ever opened a paint pot only to find a rubbery lump, you already know that storage matters as much as technique. Model paints are sensitive to air, light, and temperature swings, and a little organization goes a long way toward keeping them usable. This guide walks you through a practical process to store model paints, organize paint bottles, and build a miniature paint organization system that fits your space and budget.
The steps below are ordered from the first decision (where to keep your paints) to the final habit (rotating stock and checking bottles). Each step includes a common mistake to avoid, so you can set up a system that actually holds up over months of painting.
Why paint storage is worth the effort
Paint fails for predictable reasons: air gets in, light breaks down pigments, and temperature swings separate the medium. Acrylics are especially prone to drying in the nozzle or rim, while oil paints can skin over if the cap is not sealed. A good storage setup reduces all three risks at once. It also makes painting sessions faster because you spend less time hunting for a color and more time actually painting.
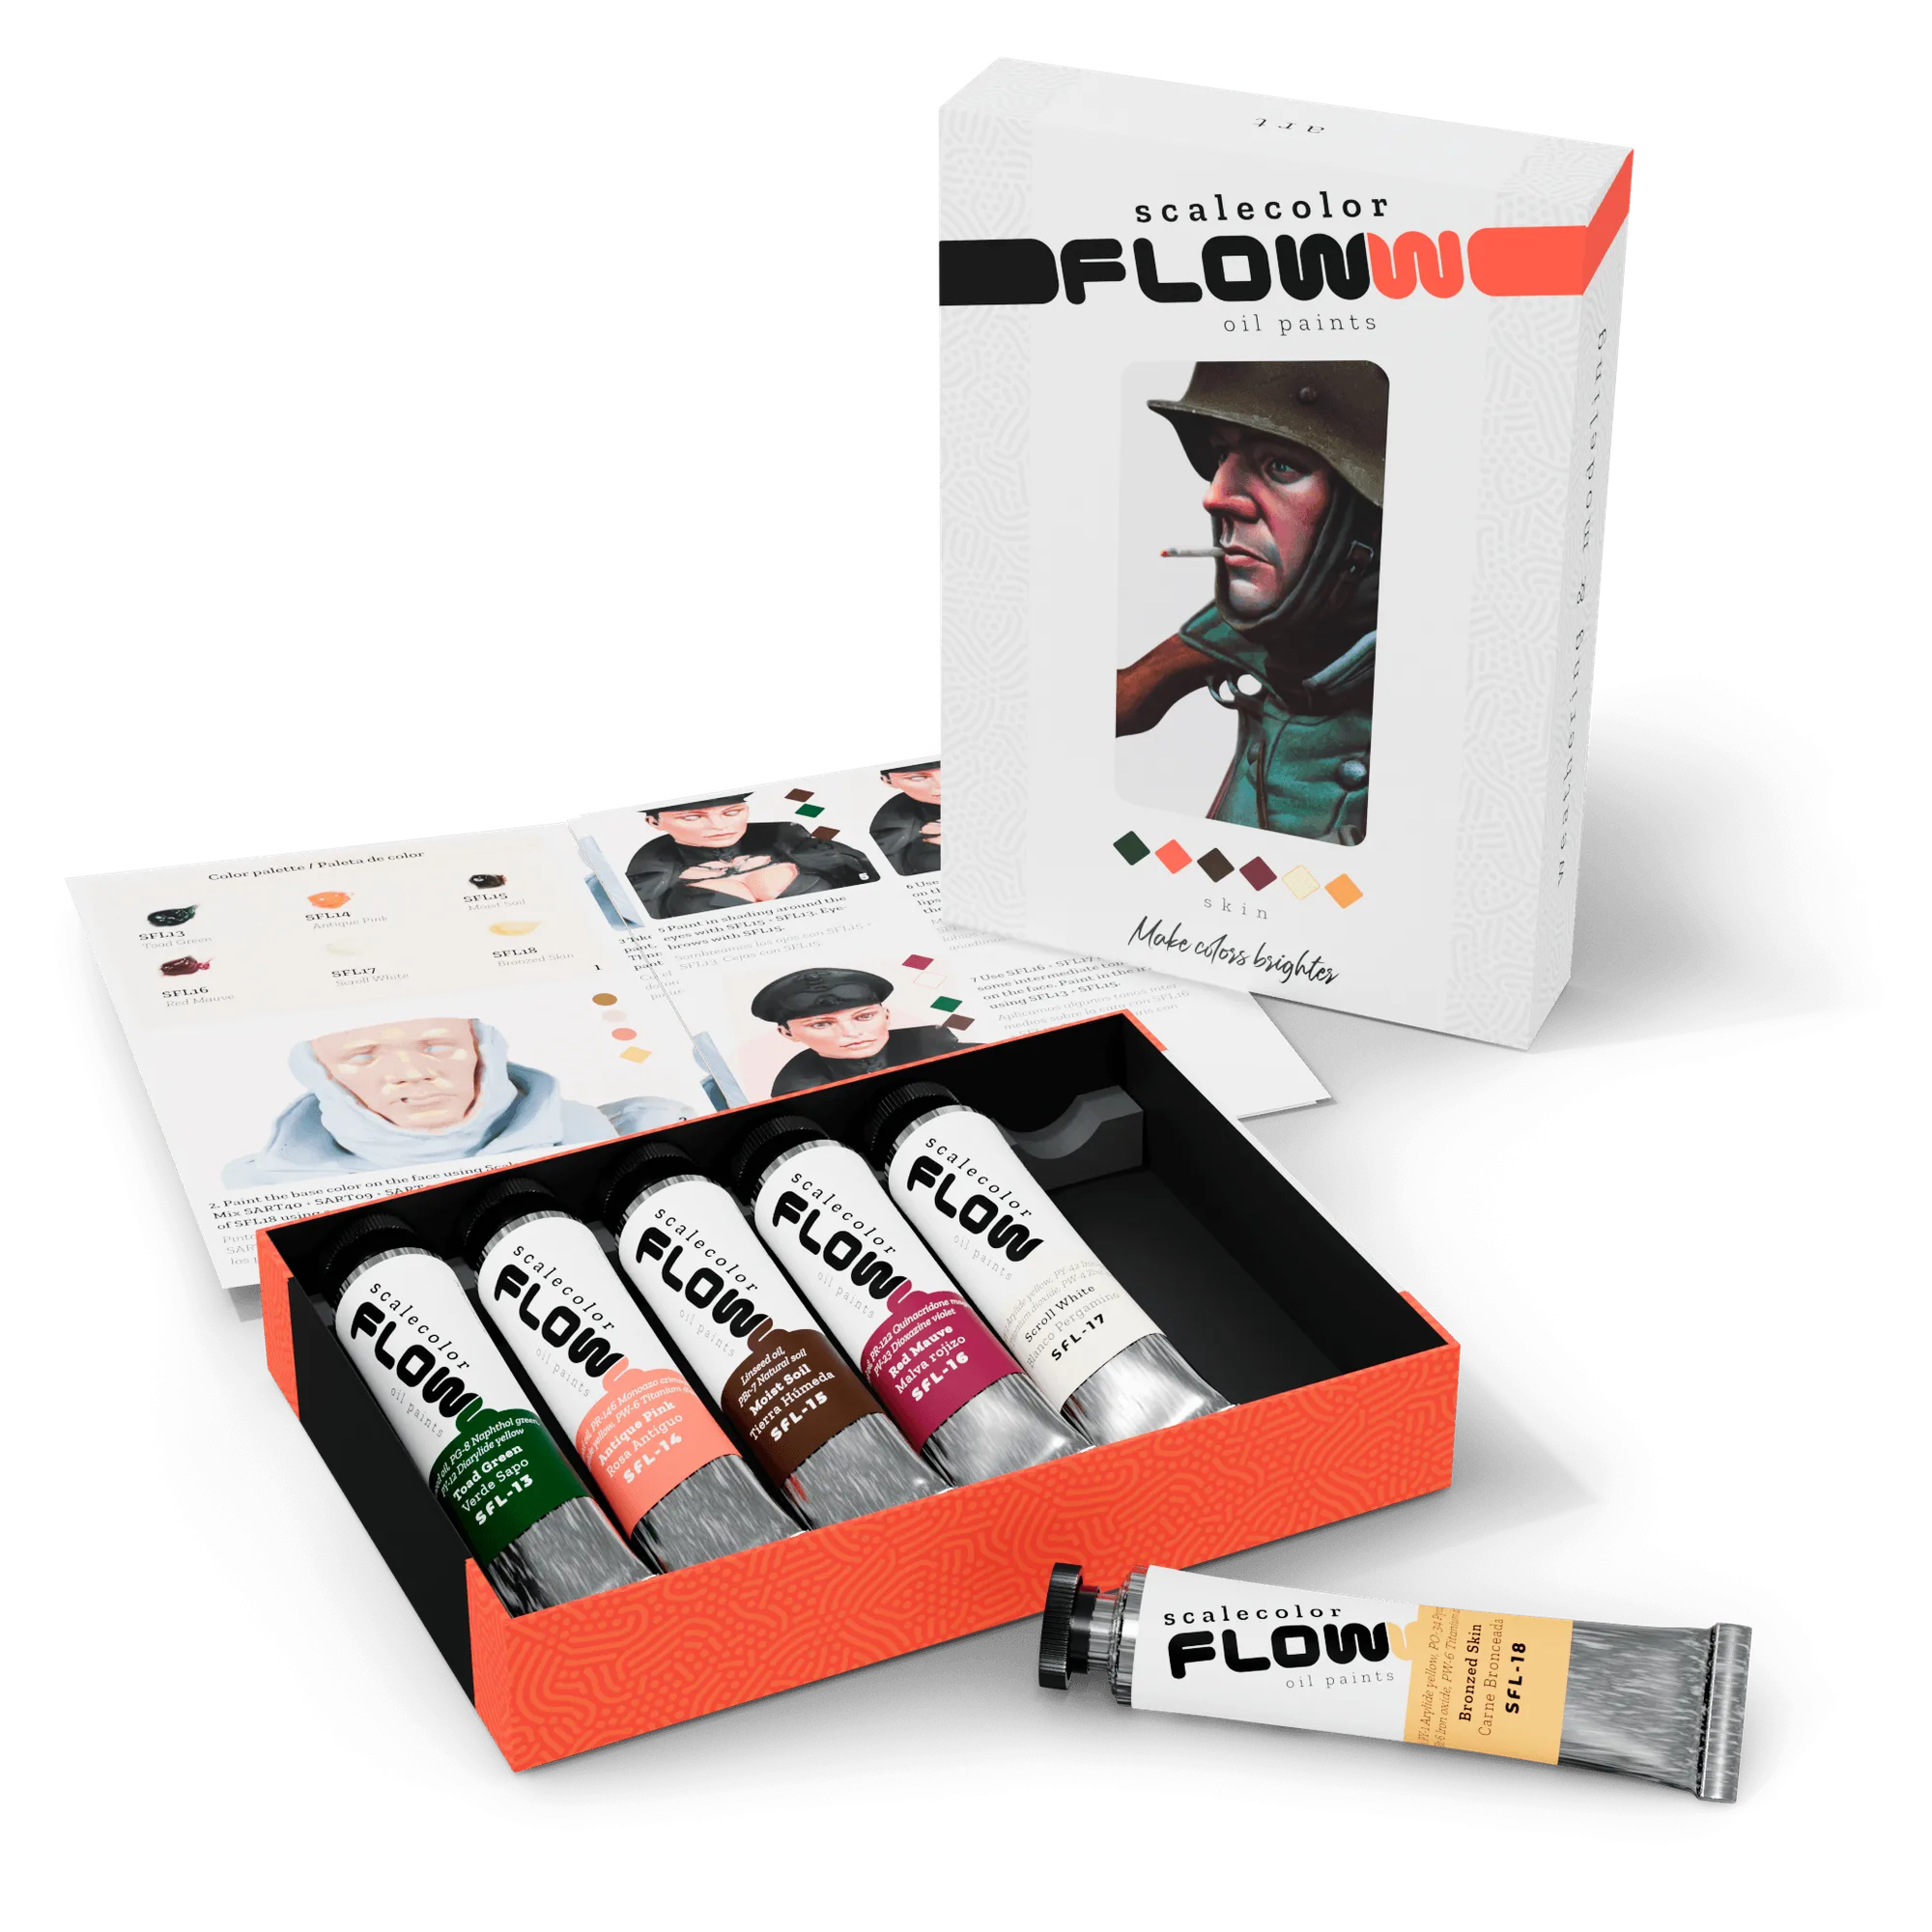
skin
Organization is not about having a perfect studio. It is about making the right action the easy one. If closing a bottle tightly is awkward, you will skip it. If your most-used colors are buried behind a wall of duplicates, you will buy more than you need. The steps below fix those friction points.
- Keep paints out of direct sunlight; a closed drawer or opaque box works well.
- Avoid storing paints in a garage or shed where temperatures swing widely.
- Label or group by type (acrylic, oil, wash, pigment) so you do not mix incompatible products.
Choose a location with stable conditions
Pick a spot that stays between roughly 15 and 25°C (59–77°F) and away from windows, radiators, and vents. A dedicated drawer, cabinet, or shelf in a living space is usually better than a workshop with extreme seasonal shifts. If you must use a garage, store only paints you are willing to replace and keep them in an insulated container.
Humidity matters too. Very damp spaces can rust metal tins and soften labels, while very dry spaces can accelerate skinning on oil paints. If your climate is extreme, a sealed plastic bin with a few silica gel packets can buffer the worst of it. Just do not seal paints while they are still wet or dirty.
- Check the spot at different times of day to confirm it does not get direct sun.
- Keep paints away from open solvents and thinners to avoid fumes and contamination.
- If you use a bin, leave a little air space so temperature changes do not create pressure.
Sort by type first, then by color
The most useful first sort is by product type: acrylics, oils, washes, pigments, primers, and varnishes. These behave differently and should not be stored together in a way that encourages mixing them up. Within each type, sort by color family or by project. A rainbow order (reds, oranges, yellows, greens, blues, purples, browns, greys, metallics) is easy to maintain and quick to scan.
If you paint multiple armies or subjects, consider a second sort by project. Keep the colors for your current project in a small tray or caddy, and store the rest in the main cabinet. This keeps your active palette close at hand without cluttering your workspace.
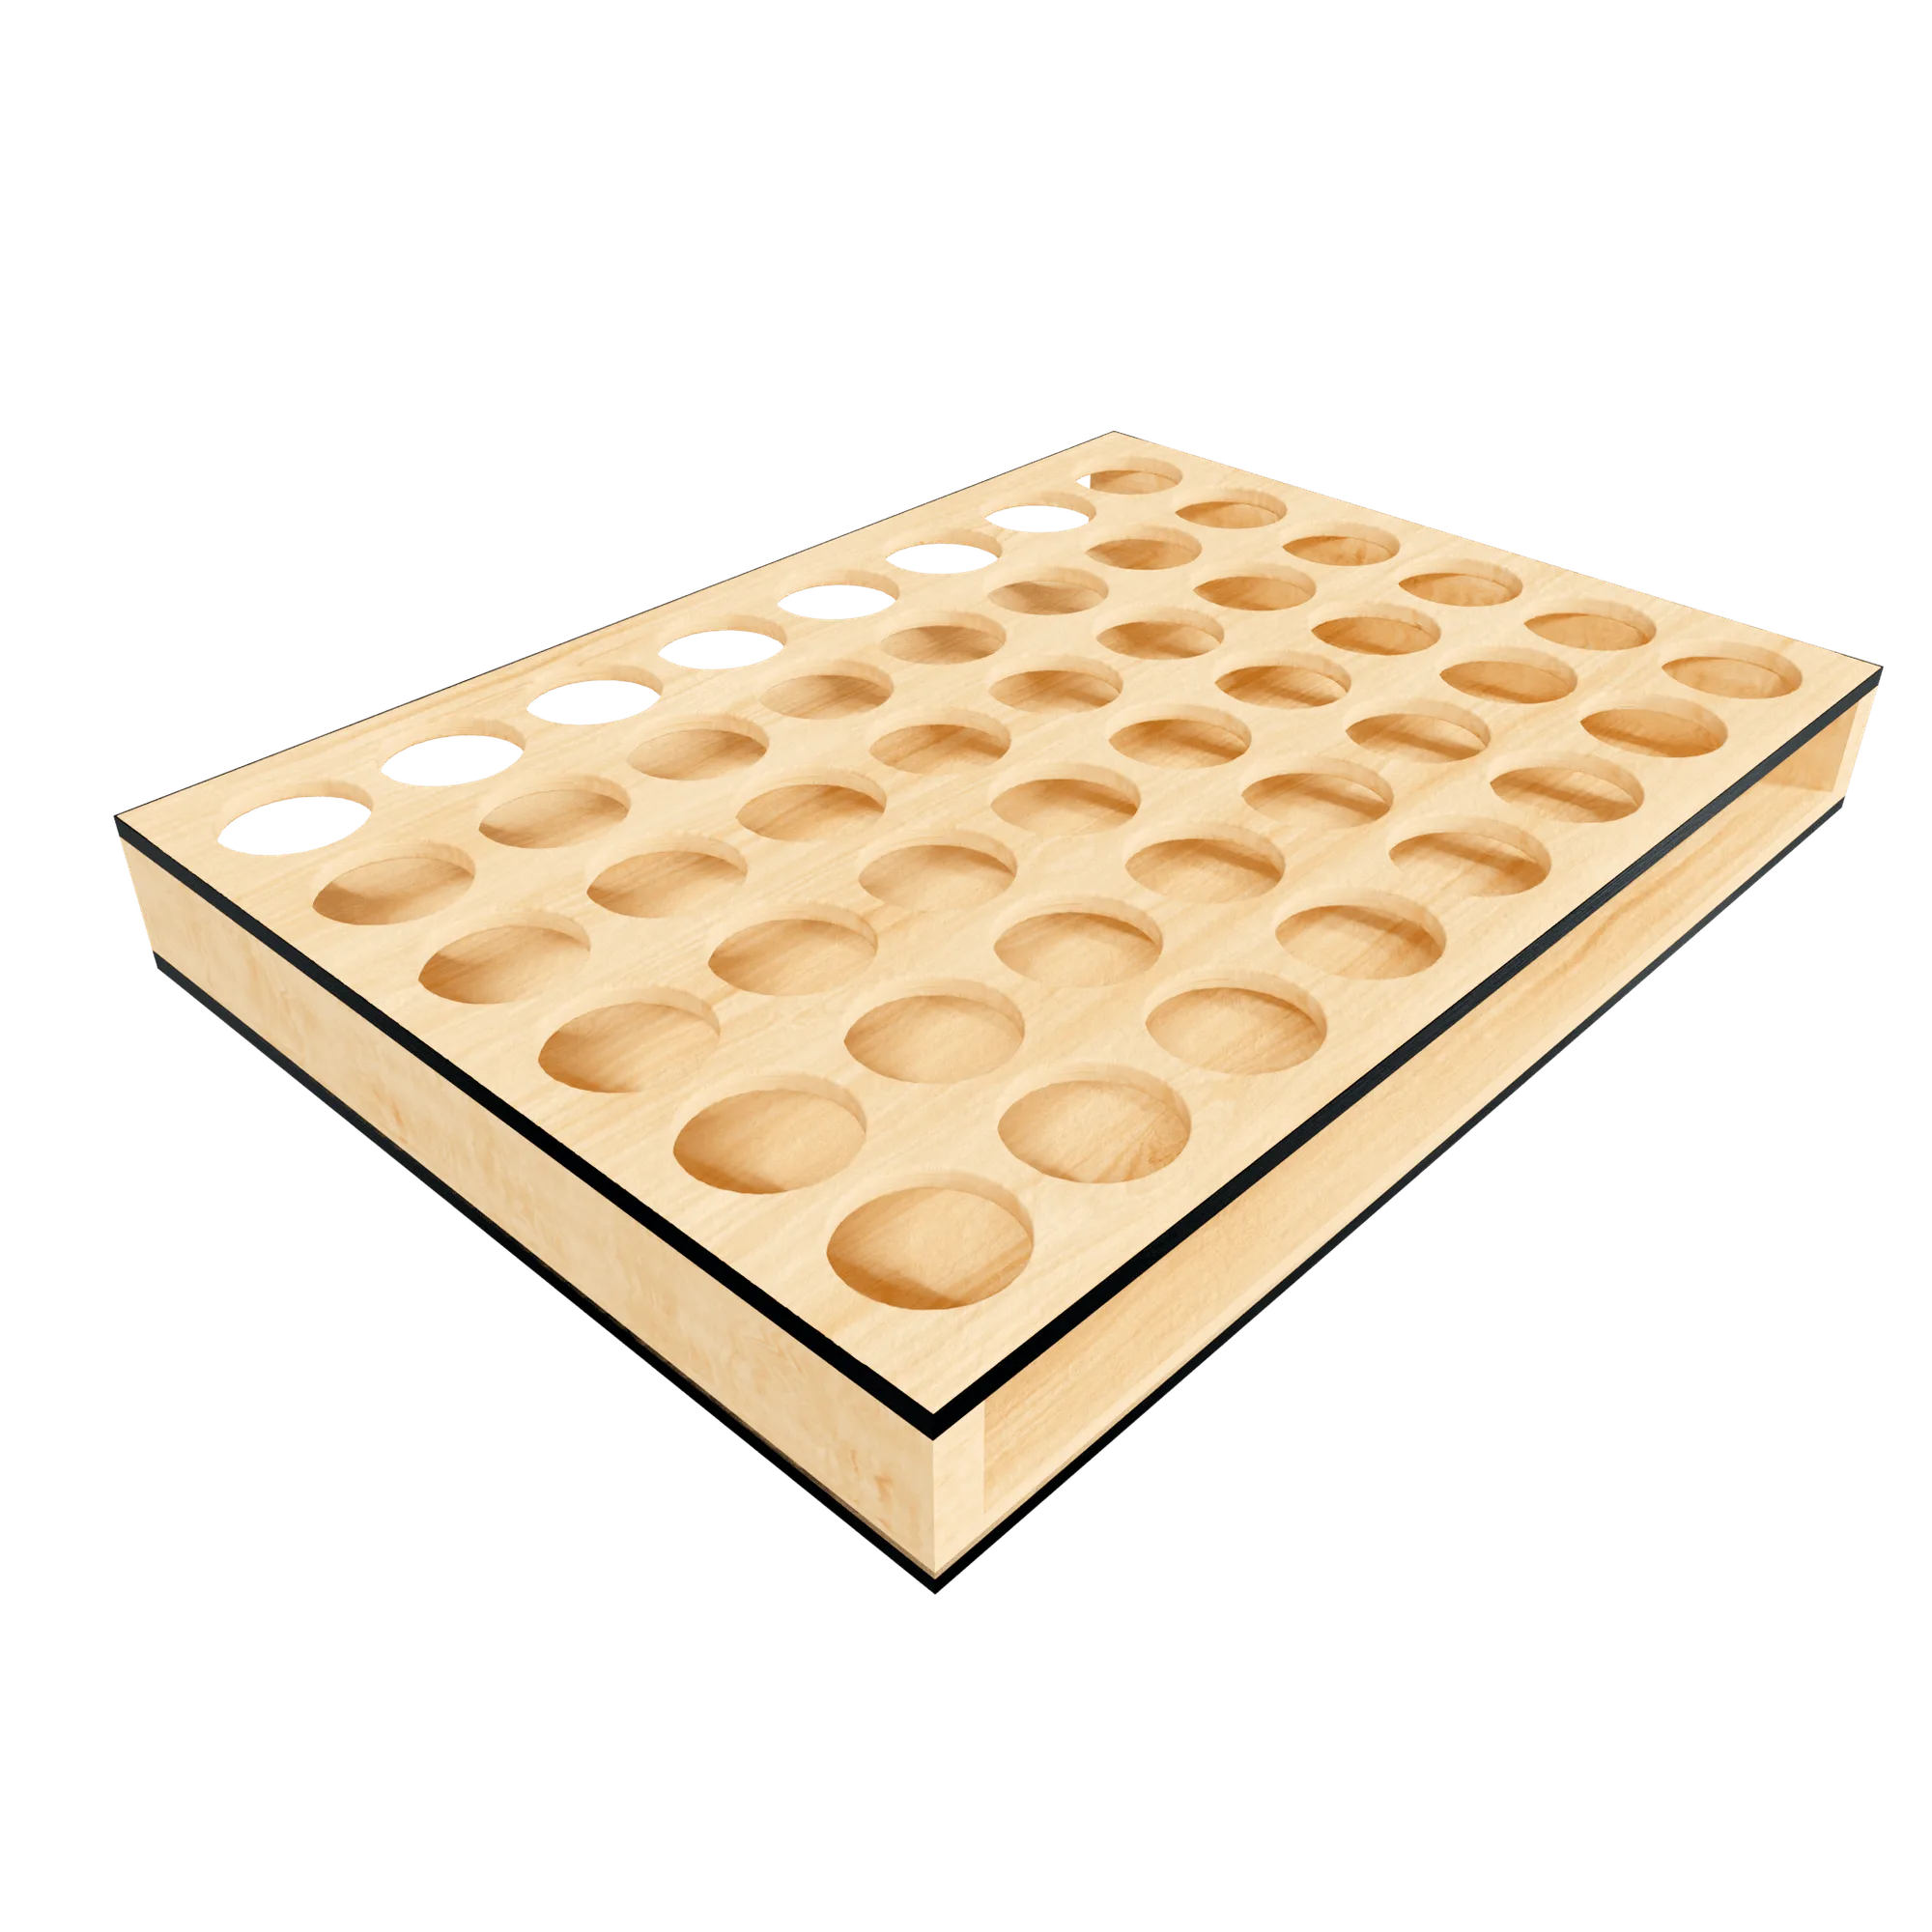
small tray
- Use dividers or small boxes to keep color families separate.
- Keep a dedicated tray for your current project and refill it from the main stock.
- Do not store oil-based washes next to acrylics without a clear divider; cross-contamination ruins both.
Pick storage that fits your bottles and habits
There is no single best container. Dropper bottles, pots, and tins all have different shapes, so measure a few before buying a rack or case. A simple drawer with adjustable dividers is often the most flexible and cheapest option. If you prefer vertical storage, a nail polish rack or 3D-printed bottle stand can work well, but check the diameter of your bottles first.
For travel or painting away from home, a small case with foam or elastic loops protects bottles from tipping. Whatever you choose, make sure it is easy to open and close. A storage system that is annoying to use will not survive a busy week.
- Measure your tallest and widest bottles before choosing a rack or case.
- Choose a container you can open with one hand if possible.
- Leave a little empty space so you can add new colors without reorganizing everything.
Seal, clean, and store bottles correctly
Before a bottle goes back on the shelf, wipe the rim and the inside of the cap with a clean cloth or paper towel. Dried paint on the threads is the main reason caps stick and air gets in. For dropper bottles, clear the tip with a pin if it is clogged, then close firmly but do not overtighten. Overtightening can crack plastic caps over time.
Store bottles upright whenever possible. Laying them down can cause leaks and let pigment settle into the cap. If you use oil paints, a thin layer of skin will form on the surface once opened; this is normal, but you can slow it by keeping the cap sealed and the paint away from heat. Do not add thinners to a full bottle just to top it off.
- Wipe the rim and cap every time you close a bottle.
- Store upright; if you must lay a bottle down, check it for leaks weekly.
- Do not overtighten caps; firm is enough.
Label and inventory so you do not buy duplicates
Even with a good sort, you will eventually forget whether you already own a certain color. A simple inventory list on your phone or a label on the shelf edge solves this. Write the product name and type on the label, not just the color, because names like 'Flat Black' or 'sienna-971e5fe5fca8d11394118b3e-1815775">Brown Sienna' can appear in different ranges. If you use a paint rack, label the slots rather than the bottles so you can swap bottles without relabeling.
A quick inventory also helps you spot paints that are running low before a project starts. Check your list before ordering new supplies, and note any bottle that has been open for a long time. This is especially useful for washes and pigments, which can separate or harden if ignored.
- Keep a digital or paper list of every paint you own, sorted by type.
- Label shelves or slots, not individual bottles, when possible.
- Review the list before each new project to avoid duplicate purchases.
Rotate stock and check bottles regularly
Once a month, open the bottles you have not used recently and give them a stir or shake. This prevents pigments from settling into a solid cake and lets you catch problems early. If a bottle has separated, shake it thoroughly; if it has skinned over, remove the skin and check the paint underneath. If it smells sour or has mold, discard it.
Rotation also means using older paints first. When you finish a project, put the leftover colors back in their proper place and move the oldest bottles to the front. This simple habit keeps your collection fresh and stops you from discovering a dried-out pot months later.
- Set a monthly reminder to check and shake stored paints.
- Use older bottles first; move them to the front of the shelf.
- Discard any paint with mold, a sour smell, or a fully hardened texture.
Your paint storage setup in 7 steps
- Choose a stable, dark location: Pick a drawer, cabinet, or shelf that stays between 15–25°C and out of direct sun. Avoid garages and sheds with extreme temperature swings. Checkpoint: the spot should feel cool and consistent at different times of day.
- Sort by type, then color: Group acrylics, oils, washes, pigments, and primers separately. Within each group, arrange by color family or project. Checkpoint: you can find any color in under 10 seconds without moving other bottles.
- Pick storage that fits your bottles: Measure your bottles and choose a drawer with dividers, a rack, or a case that is easy to open. Leave a little room for new colors. Checkpoint: the container opens and closes with one hand and does not tip over.
- Clean and seal every bottle: Wipe the rim and cap before closing. Clear clogged dropper tips with a pin. Close firmly but do not overtighten. Checkpoint: no dried paint on the threads and no paint on your fingers after closing.
- Store bottles upright: Keep bottles standing to prevent leaks and pigment settling into the cap. If you must lay one down, check it weekly for leaks. Checkpoint: no sticky residue on the shelf under the bottles.
- Label and inventory: Keep a list of paints by type and label shelves or slots rather than bottles. Review the list before buying new supplies. Checkpoint: you can tell at a glance whether you already own a color.
- Rotate and check monthly: Shake or stir unused bottles once a month. Use older paints first and move them to the front. Discard any paint with mold or a sour smell. Checkpoint: no bottle has been untouched for more than three months.
Products that fit a practical paint storage setup
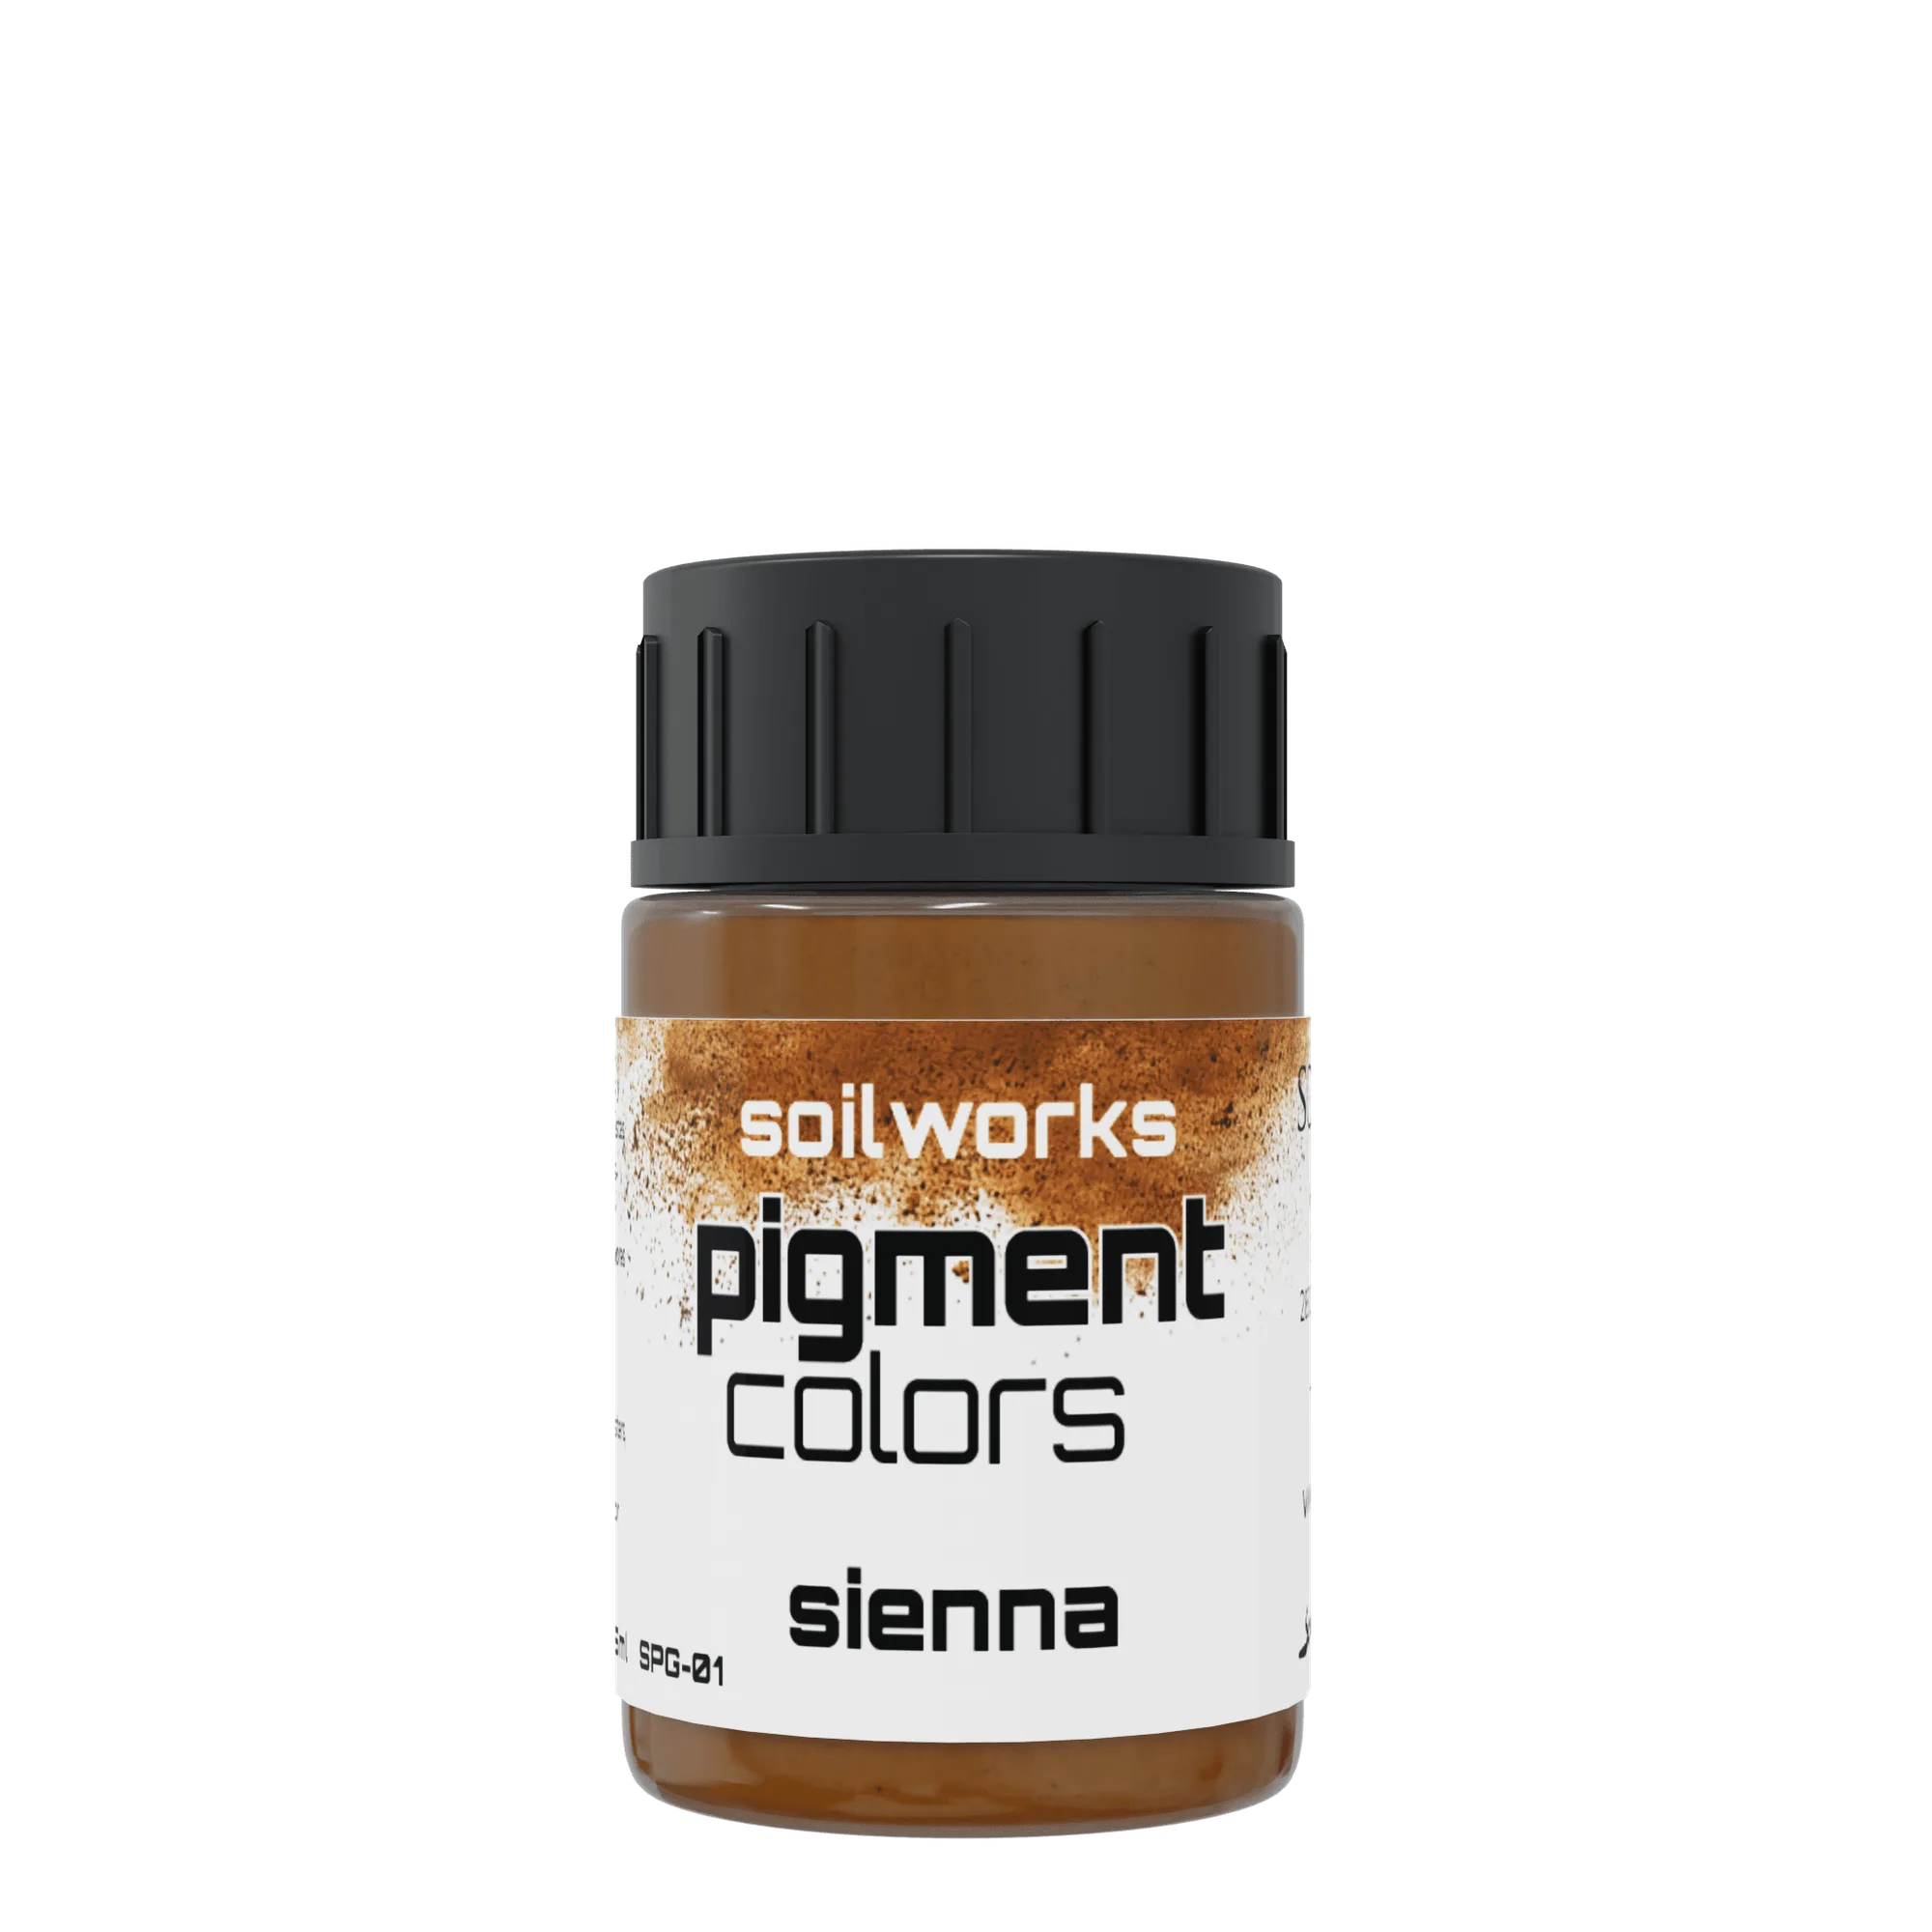
- BROWN SIENNA: High-quality oil paints with a matte finish designed for both model making and fine arts. We recommend diluting and cleaning the colors with Odorless Thinner SWTH-001. Valid for brush and airbrush. Oil paint in 20ml. Oil paints like this need to be stored upright and sealed tightly to prevent skinning; keep them separate from acrylics and use the recommended thinner for cleanup.
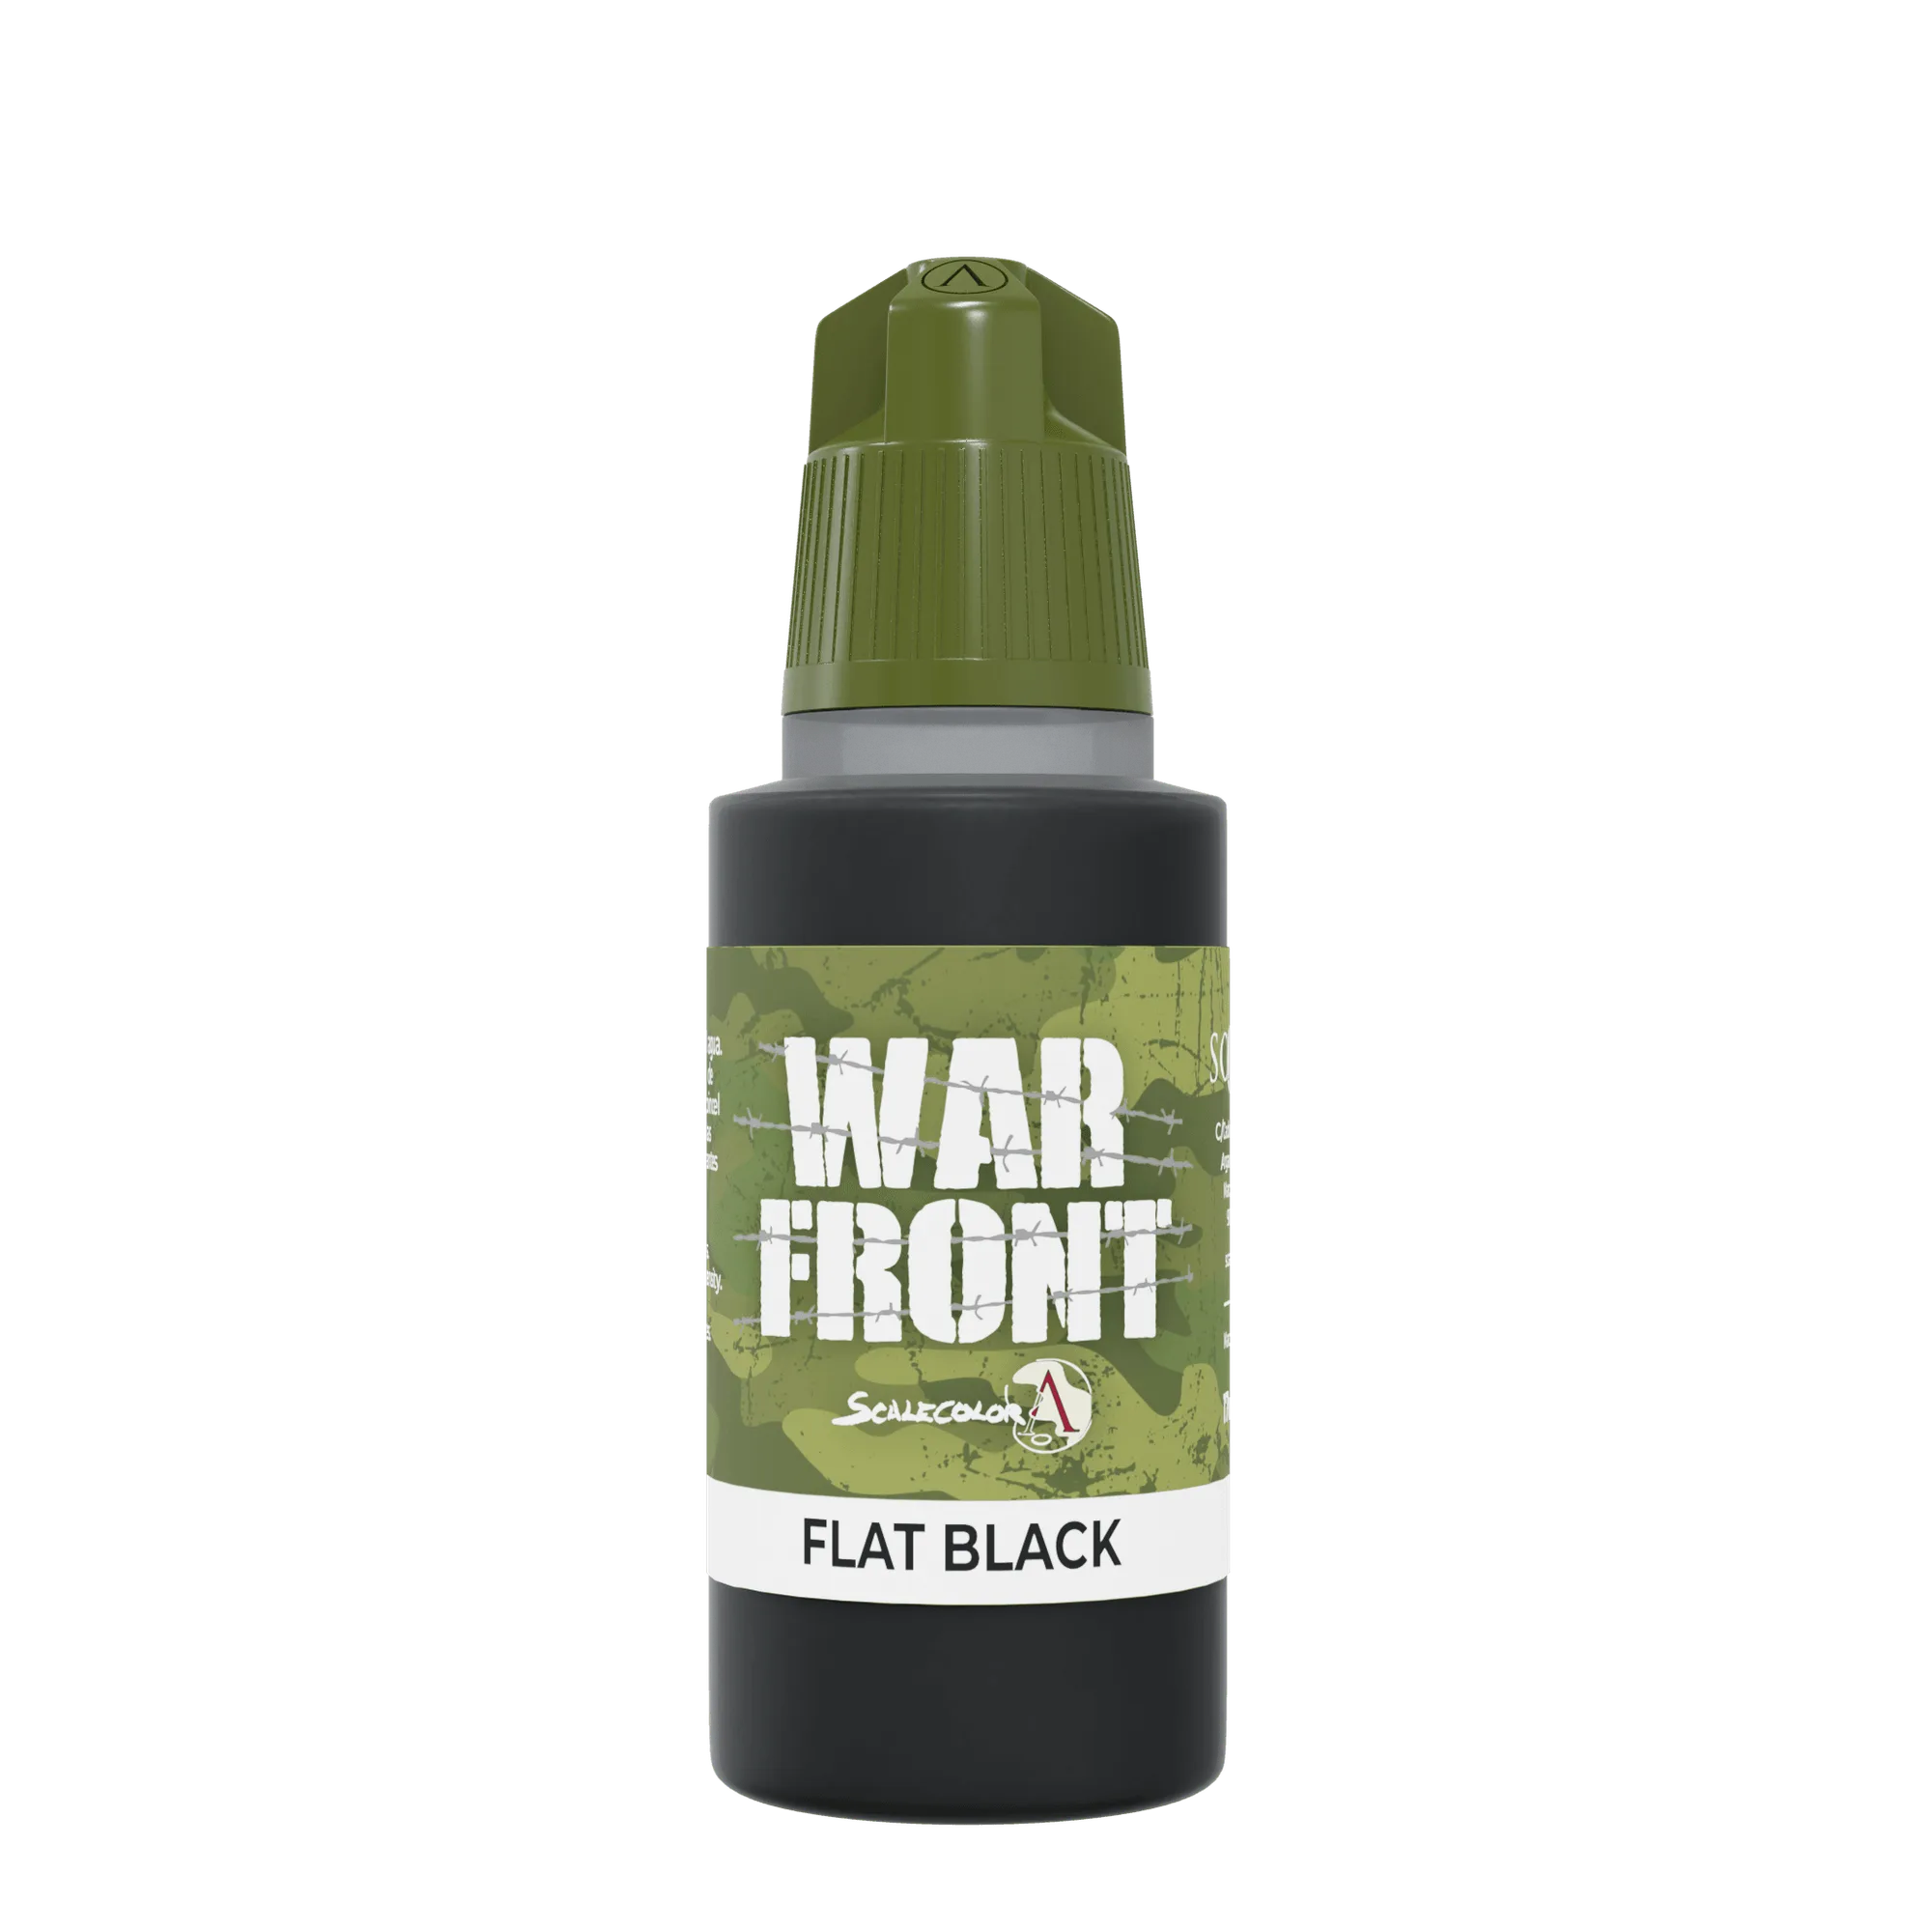
- FLAT BLACK: Warfront acrylic paints are creamy and their opacity allows us to create glazes with ease, achieving excellent results. With tones suitable for modeling and military figures. Valid for brush and airbrush. Matte finish acrylic paint 17ml. Acrylics in dropper bottles should be wiped clean at the tip and stored upright; a dedicated slot in your rack keeps this frequently used color easy to reach.
- DUST IN SUMMERTIME: Dust in Summertime. A set consisting of two oil-based washes and one pigment, this set lets you create dust and weathering effects in dry environments on vehicles and scenes quickly and easily. The versatility of the pigments allows them to be mixed with any product, including oil-based washes. Do not mix oil-based washes with acrylic-based products. We recommend shaking or swirling the wash bottle well to... Oil-based washes and pigments need to be stored separately from acrylics to avoid cross-contamination, and they should be shaken or swirled before use.
- MINIPEDIA: Encyclopedia to learn to paint miniatures. A reference like this is useful to keep near your paint area so you can check color recipes and techniques without leaving your workspace.
A simple, consistent storage routine protects your paint investment and makes every painting session smoother. Start with one drawer or shelf, sort by type, and build the habit of wiping and sealing bottles. Your future self will thank you when every color is ready to use.