Quick answer
For metal miniatures, the safest storage is a rigid case lined with soft foam cut to the figure's shape, and the safest transport is that same case held flat with no loose pieces. Metal is heavier and less flexible than plastic or resin, so it chips and bends under vibration rather than flexing. Pack each figure so it cannot slide, and never let bare metal touch bare metal.
Why metal miniatures need a different packing method
Metal figures carry more mass in a smaller volume than plastic or resin, so a jolt in a bag becomes a sharp impact at the contact points. Paint on metal also adheres to a smooth, non-porous surface, which means a knock can flake a whole panel rather than just scuff it. That combination is why foam tray miniatures work well for storage but only if the foam actually touches the figure on multiple sides. A loose metal mini in a hard case will find the one gap you left and use it to chip a shoulder or bend a bayonet.
Choose the right case, tray, and inserts
Start with a rigid outer shell: a purpose-built miniature carry case, a really useful box, or a hard-sided tool case. Soft-sided bags let the whole load flex, and flex is what snaps thin metal parts. Inside, use foam that is soft enough to compress but dense enough to hold shape. Pick-and-pluck foam is convenient for odd shapes, but for repeated use, measure and cut foam to each figure's footprint. If your metal minis have fragile bayonets, banners, or outstretched arms, plan the foam depth so those parts sit in their own channel rather than pressing against the lid.
Prepare each figure before it goes in the tray
A little preparation prevents most damage. Touch up any chipped spots and let the paint cure fully, because soft paint transfers to foam and then peels. For multi-part metal figures, check that every joint is solid; a loose arm will rotate in the tray and grind against the foam. If you use magnets, glue a thin steel washer or a magnet under the base and make sure the polarity is consistent so figures do not repel each other. For very heavy figures, a magnet under the base plus a steel-lined tray is more secure than foam alone.
Pack the case for transport, not just storage
Storage and transport are not the same job. In storage, a figure can sit in a tray for months; in transport, it will be lifted, tilted, and set down repeatedly. Fill empty slots with foam offcuts or bubble wrap so nothing shifts, and place the heaviest figures over the strongest part of the case, usually the center. Keep the case flat in the car or on the floor rather than on a seat where it can slide. If you carry multiple trays, stack them so the lightest tray is on top and the heaviest is supported by the case base, not by another tray of figures.
Handle the small parts that chip first
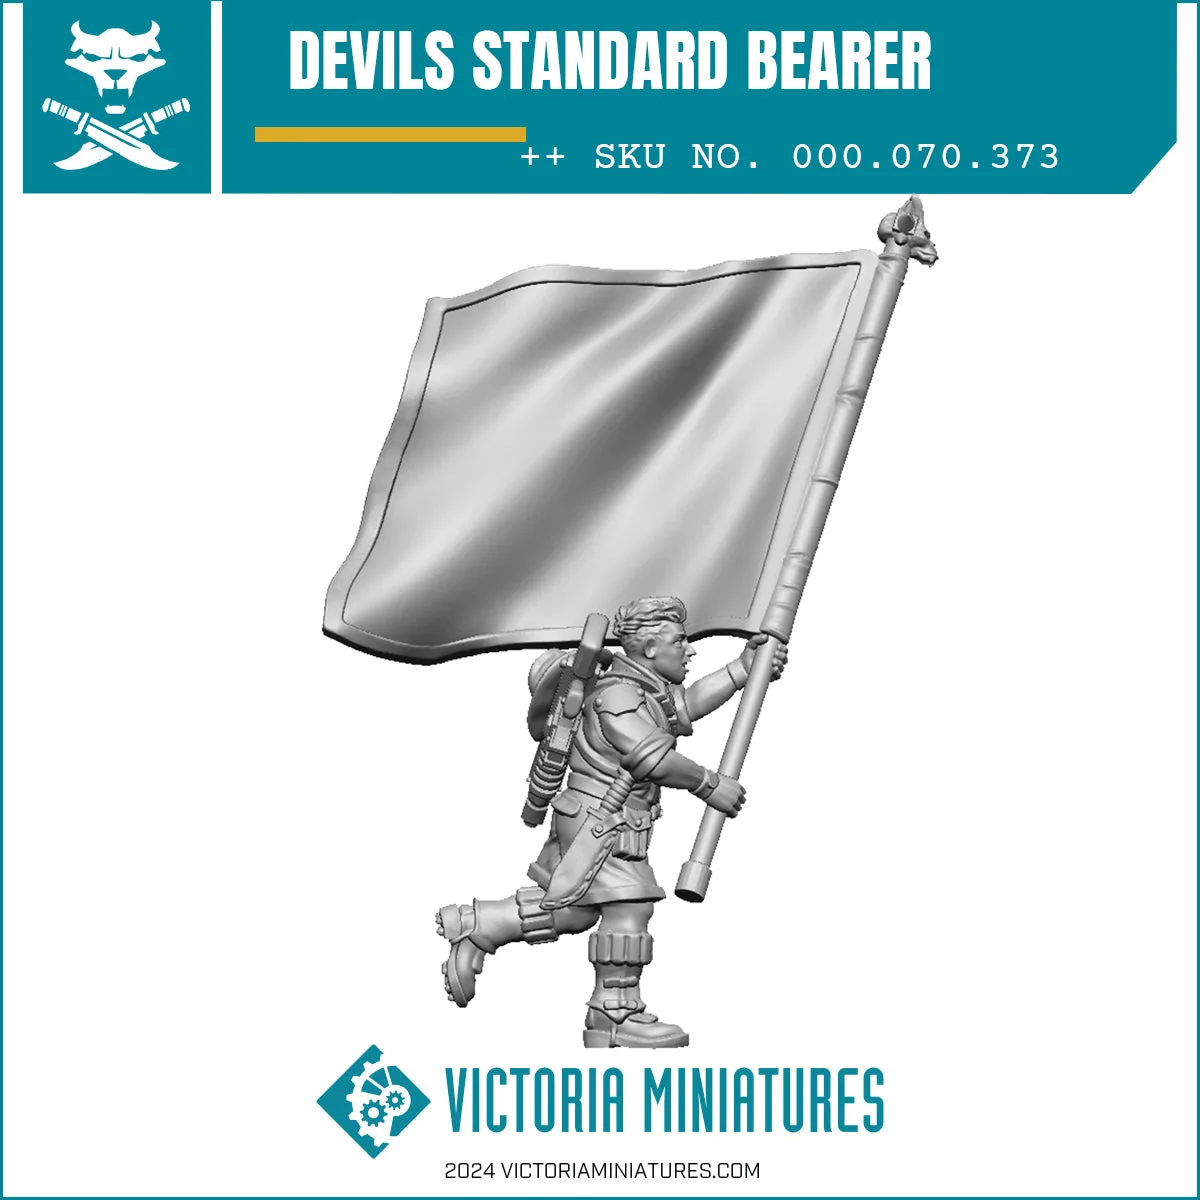
Thin metal details such as bayonets, antennae, and standard poles are the first parts to bend and the first to lose paint. Wrap these in a strip of soft foam or a small piece of bubble wrap before the figure goes into its slot. For a figure like a standard bearer, the banner and pole should sit in a dedicated channel, not pressed against the tray lid. If a part does bend, straighten it slowly with two pairs of pliers and support the joint, then touch up the paint after it is straight.
Step-by-step: pack and carry metal miniatures
- 1. Let paint cure fully: Wait at least 24 hours after the final varnish before a figure goes into foam. Soft paint sticks to foam and peels when the figure is removed. Checkpoint: press a fingertip gently on a hidden area. If it feels tacky, wait another day.
- 2. Match foam to the figure's shape: Cut or pluck foam so the figure is supported at the base and along the torso, with separate channels for bayonets, banners, and outstretched arms. Common mistake: cutting the slot too loose. A figure that can rattle will chip.
- 3. Secure heavy figures with magnets or washers: Glue a thin steel washer or magnet under the base and use a steel-lined tray or a magnetic sheet under the foam for the heaviest models. Checkpoint: turn the tray upside down over a soft surface. Nothing should fall out.
- 4. Fill every empty slot: Use foam offcuts or bubble wrap to fill gaps so trays do not shift inside the case during transport. Common mistake: leaving a half-empty tray. The empty space lets the whole tray slide.
- 5. Load the case heaviest-first: Put the heaviest figures and trays at the bottom or center of the case, and the lightest on top. Keep the case flat in the car. Checkpoint: lift the closed case and tilt it gently. If you feel movement, repack before you travel.
- 6. Unpack and inspect after every trip: Open the case on a clean, soft surface. Check bayonets, banners, and base joints for bends or paint flakes before the figure goes back into storage. Next step: touch up any chips immediately so the bare metal does not oxidize under the paint.
Product facts that affect storage and transport
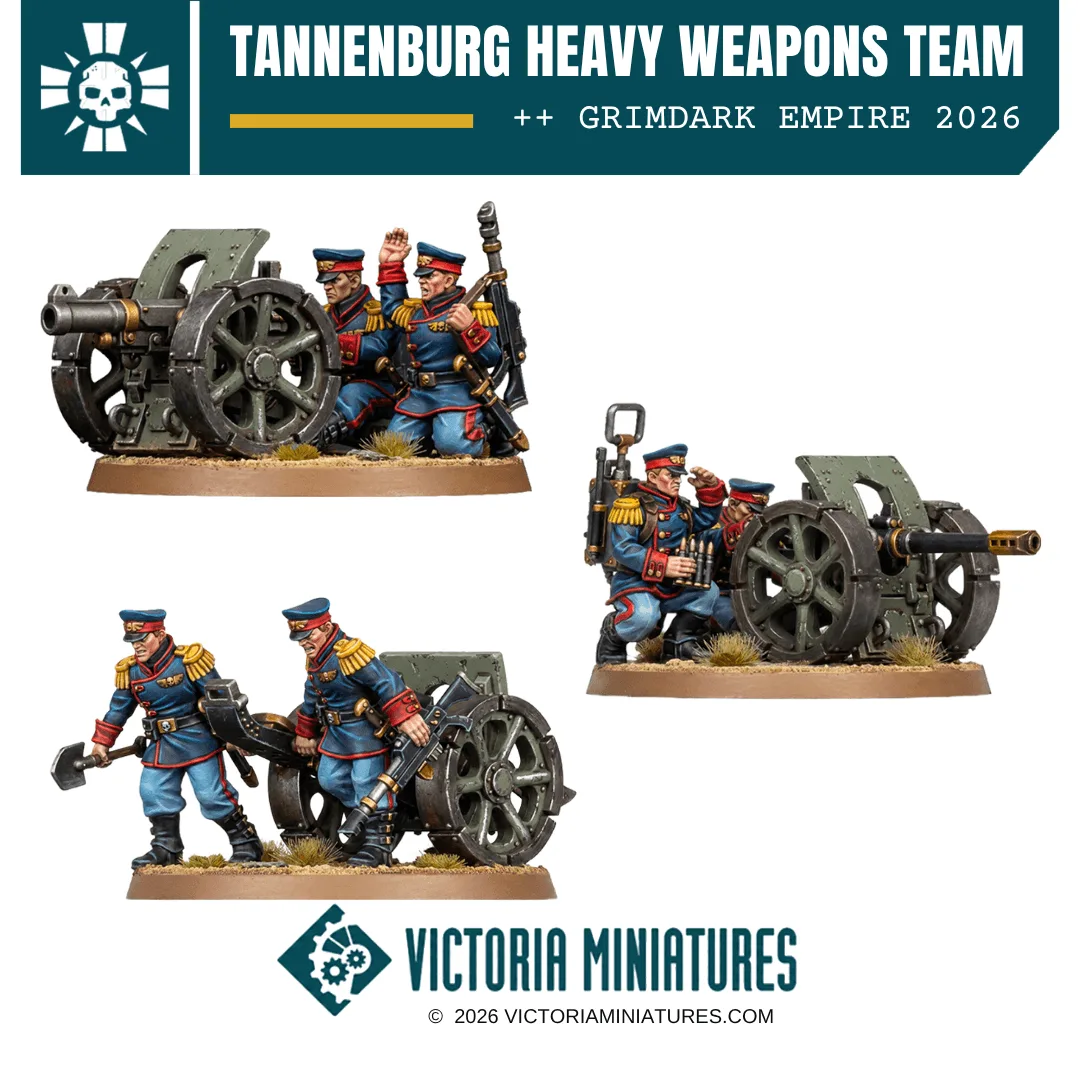
- Tannenburg Heavy Weapons Team: Tannenburg Heavy Weapons Team is a physical 3D printed modular kit with parts to build three heavy weapons teams including six crewmen, with Auto-Cannons, Heavy Bolters, or Laser Cannons, presented on a high density Snap Tray. The Snap Tray keeps small components identified before assembly, but once built, the long weapon barrels and crew figures need foam channels deep enough to prevent bending in transit.
- Devils Standard Bearer: Devils Standard Bearer includes a standard bearer head, torso, legs, arms, and a 25mm round base. The tall banner and pole are the most vulnerable parts of this figure, so plan a dedicated foam slot that supports the pole along its length rather than pressing on the banner.
- Commissar Collection: Commissar Collection contains Commissar Yusuf Wick, Commissar Annaka Sage, a Tannenburg Colonel, and Commissar Titus Stoutfoot and 'Muffin.' Several figures in one set means you need a tray layout that gives each model its own cutout; sharing a slot lets metal parts knock together and chip.