Quick answer
Store prints and albums in a cool, dry, dark place with stable temperature and humidity, keep them off the floor and away from exterior walls, and use archival-quality sleeves, boxes and albums rather than ordinary cardboard or PVC. Check your collection once or twice a year for damp, pests or fading, and digitise anything irreplaceable as a backup.
Why ordinary storage quietly damages prints
Most photo damage is cumulative rather than dramatic. Light fades dyes, humidity encourages mould and sticking, acidic cardboard and PVC sleeves release chemicals that stain or bond to emulsion, and fluctuating temperatures accelerate all of it. The practical goal is stability: a consistent, moderate environment with materials that do not react with your prints.
That means avoiding lofts, garages, basements and conservatories, which swing between extremes, and never storing boxes directly against an outside wall or on a concrete floor where moisture migrates. A cupboard in a heated, ventilated room is usually a better home than a 'safe' attic.
Choosing sleeves, albums and boxes that will not harm prints
For loose prints, look for archival or photo-safe sleeves and boxes described as acid-free and lignin-free. Paper enclosures suit long-term storage of most prints, while clear plastic sleeves are useful when you want to handle and view images often. Avoid PVC sleeves entirely; polyester, polyethylene or polypropylene are the safer clear options.
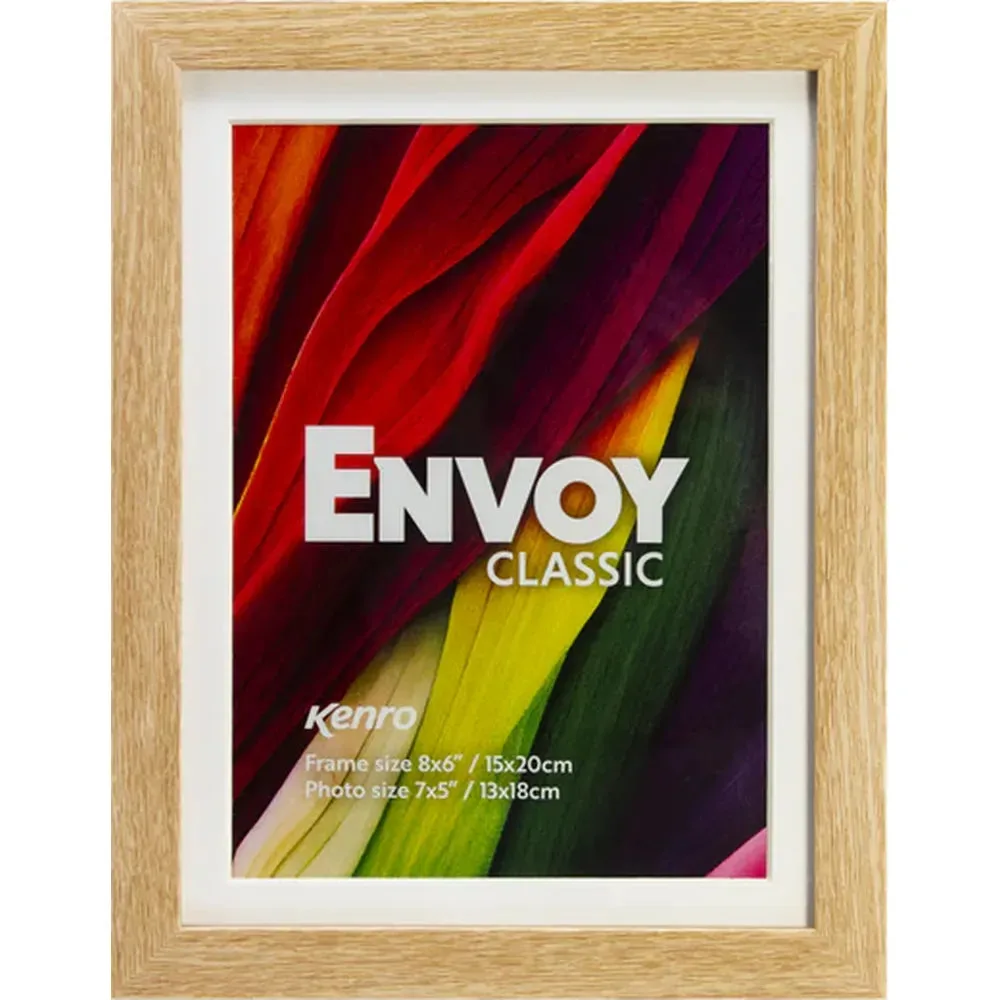
For albums, slip-in styles are convenient for large collections but only if the pockets are photo-safe and the pages lie flat without pressing on the image surface. A removable mount gives you flexibility: the Kenro Envoy Classic 14x11" frame, for example, displays a 12x8" photo with the mount in place or a full 14x11" print without it, which is handy when you want to rotate what is on display rather than commit a print to an album permanently.
Handling, labelling and documenting your collection
Handle prints by the edges with clean, dry hands, and avoid writing on the back of a photo with ordinary ballpoint or marker, which can emboss or bleed through. If you must label, use a soft pencil on the back edge of a fibre print or write on the enclosure instead.
Record what you can while memories are fresh: names, places, approximate dates and the story behind the image. A simple index sheet or a note tucked into each box saves hours later, and it makes photo print archiving far more useful to the next generation than a box of unidentified faces.
Step-by-step: storing and organising your photos
- 1. Sort and weed before you store: Work through prints in small batches and separate keepers, duplicates and unknowns. Remove rubber bands, paper clips, sticky tape and old acidic envelopes as you go, because these cause damage even in a good box. Checkpoint: if you cannot decide on an image, put it in a 'review later' pile rather than forcing a decision that slows the whole job.
- 2. Clean and dry everything thoroughly: Use a soft brush or microfibre cloth to lift dust from print surfaces, and make sure nothing goes into storage damp. Never use household cleaners, solvents or water on photographic emulsions. Common mistake: sealing a print that still feels cool or clammy from a cold room traps moisture against the image.
- 3. Choose the right enclosure for each format: Put loose prints in acid-free paper or photo-safe plastic sleeves, keep negatives and slides in their own archival sleeves, and use slip-in album storage only where the pockets are photo-safe and the pages do not press hard on the image. Checkpoint: if a sleeve smells of plasticiser or feels tacky, do not use it.
- 4. Group by story, not just by date: Photo box organisation works best when each box holds a coherent set, such as one holiday, one year or one branch of the family. Label the outside of the box and add a simple index card inside listing the contents. Common mistake: mixing formats in one box so that heavy albums crush loose prints underneath.
- 5. Pick a stable, dark, dry location: Aim for a cool interior cupboard or shelf away from radiators, windows, damp walls and pipes. Store boxes horizontally, not stacked so high that the bottom ones deform, and keep albums upright or flat according to their binding so pages do not slump. Checkpoint: if the space smells musty or feels cold and damp to the touch, it is the wrong place for photographs.
- 6. Digitise the irreplaceable and back it up: Scan or photograph the prints you could not bear to lose, and keep copies in at least two places, such as an external drive and a cloud account. Digital copies are a backup, not a replacement, so keep the originals stored properly too. Common mistake: assuming a phone snap of a print is an adequate archive copy for restoration or printing later.
- 7. Inspect the collection twice a year: Open boxes and albums, look for mould, silverfish, curling, fading or sticky sleeves, and deal with problems immediately by isolating affected items and replacing damaged enclosures. Rotate a few prints into frames for display and return others to storage. Next step: put a recurring reminder in your calendar so inspection does not depend on memory.
Products that help with display and storage
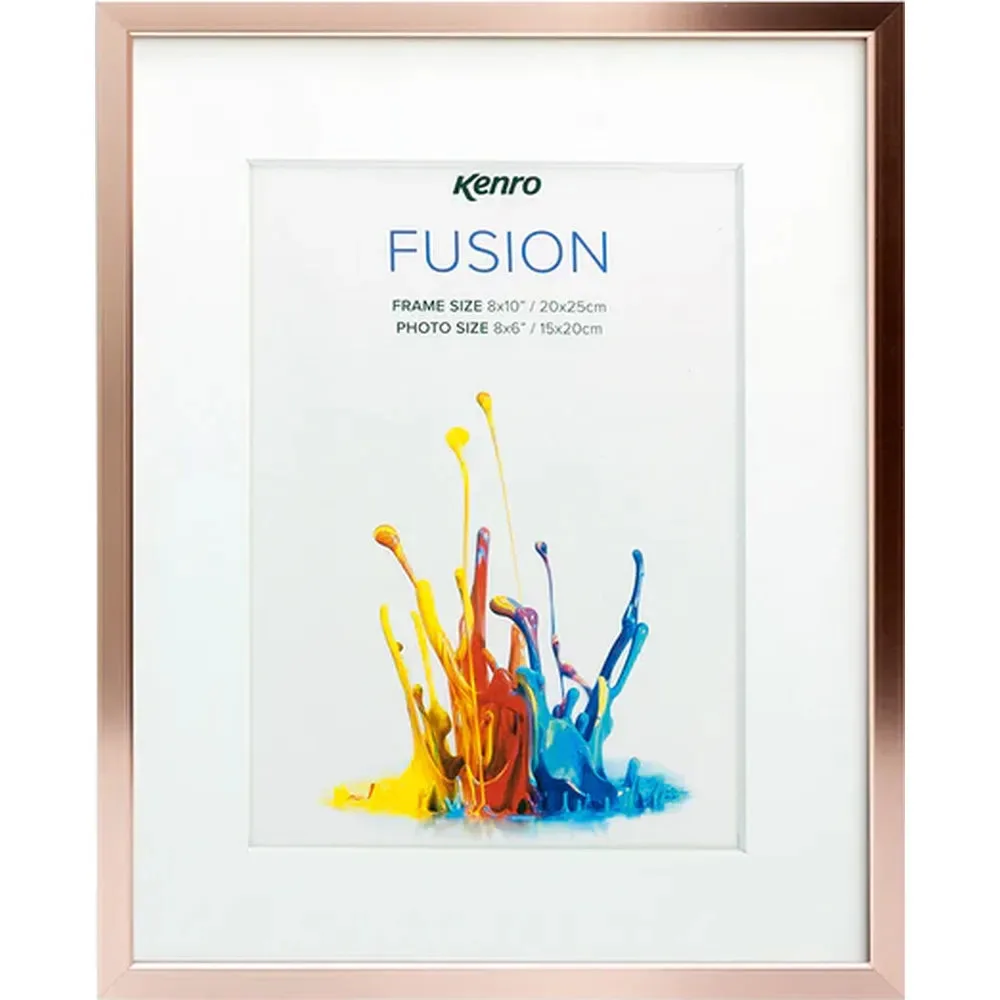
- Kenro Fusion Classic Photo Frame 12x10" - Rose Gold: The Kenro Fusion Classic 12x10" frame in rose gold has a slim brushed aluminium frame and a removable picture mount, so it can display either a 12x10" photo or a larger 40x30cm print. Useful when you want to rotate a few favourite prints on display while the rest of the collection stays archived in boxes.
- Kenro Envoy Classic Photo Frame 14x11" with 12x8" Mat - Natural: The Kenro Envoy Classic 14x11" frame in natural finish can be wall or tabletop mounted, and its removable white mount lets you show a 12x8" photo or a full 14x11" print. A flexible option for displaying a print you have pulled from storage without trimming or permanently mounting it.