Quick answer
Store your chef knife in a dry sheath only after it is completely clean and dry, and sharpen it on a whetstone or honing rod before sheathing so you are not trapping moisture or metal dust against the edge. Treat the sheath as protection for transport and drawer storage, not as a permanent home for a wet blade.
Why a sheath belongs in your routine, not just your knife bag
A chef knife loses its edge fastest when it rattles against other tools in a drawer or gets knocked around in a bag. A sheath solves that by keeping the edge covered and the blade from contacting hard surfaces. The trade-off is that any moisture left on the blade has nowhere to go inside a sheath, so drying is non-negotiable.
For a utility knife that lives in a workspace or kitchen drawer, a fitted sheath also keeps the blade within reach without exposing the edge to whoever reaches in. The same logic applies to a chef knife: protection only works if the inside of the sheath stays dry and free of grit.
Sharpening before storage: what changes when a sheath is involved
Sharpening creates fine metal particles and, with water stones, moisture. If you sharpen and immediately sheath the knife, those particles can sit against the edge and the moisture can linger. The fix is simple: sharpen first, wipe the blade thoroughly, let it air-dry, then sheath.
You do not need a different sharpening method just because you use a sheath. A consistent angle on a whetstone or a few light passes on a honing rod, followed by a clean dry cloth, is enough for most home cooks. The sheath is storage, not a sharpening tool.
Step-by-step: store and sharpen with a sheath
- Clean and dry the blade completely: Wash the knife by hand, wipe it with a dry towel, and let it air-dry for a few minutes before doing anything else. Common mistake: sheathing a blade that still has water droplets or damp residue near the heel or spine. Run a finger along the spine and heel; if you feel any moisture, wait longer.
- Sharpen on a stable surface: Set your whetstone or honing rod on a non-slip towel or holder. Maintain a consistent angle and use light pressure; a few controlled passes beat heavy grinding. Checkpoint: stop when the edge catches a tomato skin cleanly rather than chasing a mirror polish.
- Wipe off sharpening debris: After sharpening, wipe the blade from spine to edge with a dry cloth to remove metal particles, then dry again if you used water. Common mistake: going straight from stone to sheath, which traps grit against the edge. A clean, dry cloth is the last thing that touches the blade before the sheath.
- Insert into the sheath deliberately: Slide the knife in edge-first or spine-first according to the sheath design, without forcing it. The sheath should hold the blade snugly but not require a shove. Checkpoint: if the knife wobbles or the edge contacts the sheath mouth, the fit is wrong for that knife.
- Choose a dry storage spot: Keep the sheathed knife in a drawer or knife bag away from steam, the dishwasher, and damp sponges. Knife sheath storage tips that matter: never store a sheathed knife on a wet counter or near a sink. Common mistake: leaving the sheath closed over a blade for weeks without checking for moisture. Check the blade and sheath interior monthly; if you see moisture or rust specks, air both out and dry thoroughly.
Product facts that support this routine
-
Utility Knife Sheath: The Utility Knife Sheath is designed to fit standard utility knives with a snug, secure hold. A snug fit keeps the blade from sliding and dulling against the sheath interior, so it works best when the knife is fully dry before insertion.
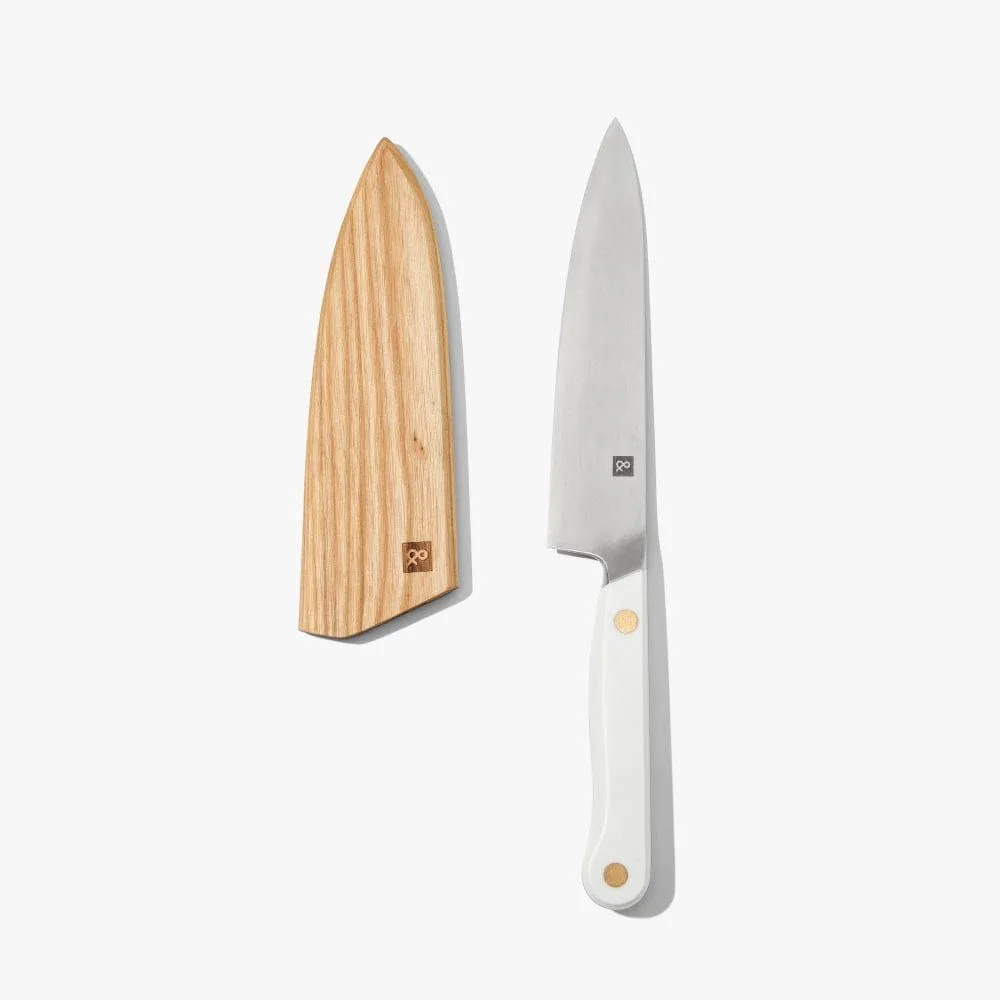
Utility Knife Sheath
-
MLB™ New York Yankees™ Chef Knife: The MLB New York Yankees Chef Knife features the official team logo and colors on a sharp chef knife built for home cooks. Because the blade is a working chef knife, it needs the same dry-then-sheath routine as any other chef knife to keep the edge and finish in good shape.
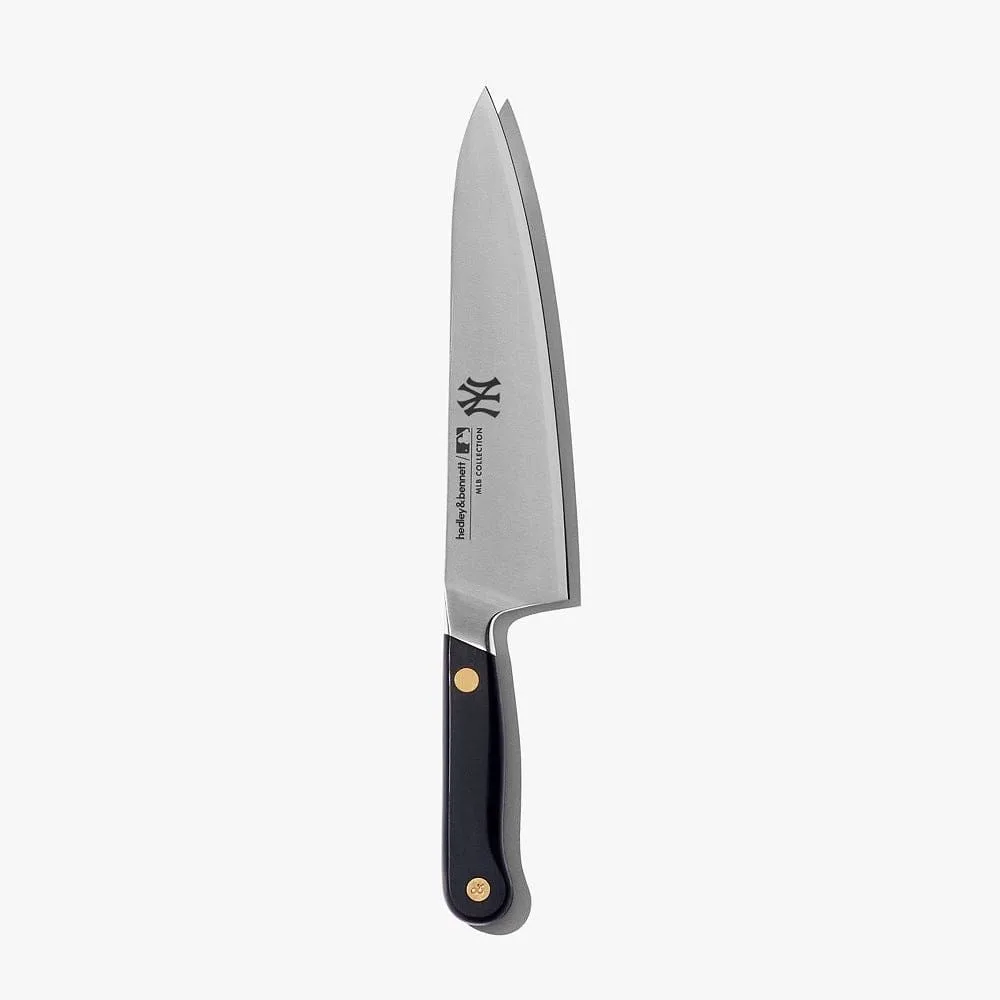
MLB™ New York Yankees™ Chef Knife