Quick answer
Store thread in a closed container away from direct sunlight, heat, and dampness, and keep each spool wound snugly with the tail secured so it cannot unspool. Label by weight and fiber so you grab the right spool without handling the rest. That single habit prevents most tangles, fading, and weak stitches.
Thread is one of the few quilting supplies you cannot inspect by looking at it. A spool can look perfect and still stitch poorly because it sat in sunlight, picked up dust, or spent a season slowly unwinding against a loose pin. Good storage is less about buying an elaborate system and more about controlling light, moisture, and movement.
This guide walks through a repeatable storage routine you can set up in an afternoon. It works whether you keep ten spools or a full wall of colors, and it pairs well with the thread you already own from Mrs Quilty or anywhere else.
Why thread storage matters more than you think
Thread is affected by light, heat, humidity, and dust. Ultraviolet light fades dye and can weaken fibers over time; damp air encourages mildew and rust on metal spools; dust and lint work into the wound layers and cause uneven tension. Even a spool that looks fine can snap repeatedly in the needle if it has dried out or absorbed moisture.
The fix is not complicated. You are trying to give thread a stable, dark, dry home and to stop spools from rubbing or unwinding. Once you do that, you will notice fewer tangles, cleaner stitches, and less time rethreading.
- Keep thread out of direct sun, including windowsills and car trunks.
- Avoid attics, garages, and basements where temperature and humidity swing.
- Do not store thread loose in a drawer with pins, scissors, or rotary cutters.
Match storage to how you actually sew
A quilter who stitches weekly needs quick access; a quilter who pulls out the machine twice a year needs maximum protection. Both are valid, and the storage you choose should reflect your real habits rather than an idealized craft room. If a system is annoying to open, you will leave spools out, and that defeats the purpose.
Think in two layers: a working set you reach for constantly and a reserve you protect more carefully. The working set can live in an open tray or a shallow box on the table. The reserve belongs in a closed container, labeled, and stored away from light.
- Working spools: a small open tray or spool rack within arm's reach.
- Reserve spools: a closed box or bin with a lid, kept in a closet.
- Project spools: a small pouch or tin that travels with the quilt.
Choose containers that block light and dust
Clear plastic is tempting because you can see colors, but clear containers let light in. If you use clear bins, store them inside a cabinet or cover them with a cloth. Opaque boxes, tins, and fabric rolls solve the light problem and keep dust off the wound layers. Acid-free tissue or a clean cotton cloth between spools adds a little cushioning.
Whatever you choose, avoid sealing damp thread in an airtight container. Thread should go into storage dry. If you have been sewing in humid weather, let spools sit in a dry room for a day before closing the lid.
- Opaque or covered containers are better than open shelves for long-term storage.
- Line the bottom of a bin with a clean cloth to reduce rubbing.
- Never store thread in a plastic bag that traps moisture.
Secure the tail so spools cannot unwind
Most tangles start with a loose tail. When a spool unwinds even a little, the thread loops around neighboring spools and knots itself. The simple fix is to tuck the tail under the last winding or into the spool's notch, then place the spool so the tail is pressed against the container wall or a divider.
If your spools have no notch, a small piece of painter's tape or a fabric-safe clip works. Avoid rubber bands, which can leave residue and eventually degrade. Check the tails whenever you return a spool to storage; it takes two seconds and saves minutes of untangling.
- Tuck tails under the wound thread or into the spool notch.
- Use painter's tape or a clip if there is no notch.
- Never use rubber bands on thread; residue transfers to the fibers.
Label by weight, fiber, and color
Thread weight and fiber change how a spool behaves in the machine. A 50wt cotton and a 30wt polyester are not interchangeable for every task, and mixing them up mid-project can cause tension problems. Labeling the storage spot, not just the spool, keeps you from handling every spool to find the right one.
A simple index card or a strip of tape on the bin works. Note the weight, fiber, and color name or number. When you finish a spool, remove the label so the next spool starts clean. This is the thread organization habit that pays off fastest.
- Group by weight first, then by fiber, then by color family.
- Write the weight and fiber on the storage spot, not only the spool.
- Update labels when you swap in a new spool.
Handle specialty and delicate threads with extra care
Fine cotton threads used for detailed work are more sensitive to handling than heavier polyester. A 50wt cotton spool benefits from a snug tail and a dedicated slot so it does not roll against coarser spools. Heavier 30wt polyester is more forgiving, but it still needs protection from light and dust to keep its color vivid.
If you store a mix of weights, keep the finer spools in their own small box or row. That reduces the chance that a heavier spool abrades the finer one and makes it easier to see when a delicate spool is running low.
- Keep fine 50wt cotton in its own slot or small box.
- Do not let heavy and fine spools rub together in transit.
- Check fine threads for fraying before each project.
Keep a travel kit so thread stays protected on the go
Thread that travels with you faces the same risks as thread at home, plus vibration and jostling. A small tin or pouch with individual slots keeps spools from knocking together. If you carry a machine, a dedicated bag with pockets keeps thread upright and away from heavy tools.
The goal is to arrive with thread that is still wound tight and clean. Pack spools tail-in, close the container, and avoid leaving the kit in a hot car. A little planning here prevents a frustrating start at class or retreat.
- Use a slotted tin or pouch for travel spools.
- Keep thread separate from scissors, pins, and rulers.
- Never leave a travel kit in direct sun or a hot vehicle.
Your seven-step thread storage routine
- 1. Sort by weight and fiber: Pull every spool out and group it by weight (for example 50wt, 30wt) and then by fiber (cotton, polyester). This tells you how many containers you actually need and stops fine and heavy threads from rubbing together. Checkpoint: if a group has only one or two spools, give it a small dedicated box rather than mixing it in.
- 2. Inspect each spool before storing it: Look for frayed ends, flattened windings, dust, or rust on metal spools. A spool that is already unwinding will keep tangling no matter how you store it, so rewind it snugly or set it aside for hand work. Checkpoint: if the thread snaps when you give it a gentle tug, retire that spool.
- 3. Secure every tail: Tuck the tail under the last winding or into the spool notch. If there is no notch, use a small piece of painter's tape or a fabric-safe clip. Do not use rubber bands, which leave residue. Checkpoint: run a finger around the spool; nothing should catch or dangle.
- 4. Choose a dark, dry container: Move spools into an opaque box, tin, or covered bin. If you prefer clear containers, store them inside a closed cabinet. Line the bottom with a clean cloth to reduce rubbing and keep dust off the wound layers. Checkpoint: the container should be dry inside before you close it.
- 5. Label the storage spot: Write the weight, fiber, and color name or number on the container or divider, not just on the spool. This is the fastest thread organization upgrade because you stop handling every spool to find the right one. Checkpoint: a friend should be able to find a 50wt cotton spool in under ten seconds.
- 6. Place the container away from light and heat: Choose a closet or cabinet shelf that stays at room temperature. Avoid windowsills, cars, attics, garages, and damp basements. Stable conditions matter more than a perfect shelf. Checkpoint: if the spot feels warm or damp to the touch, move the container.
- 7. Build a travel kit and reset it after each trip: Keep a small slotted tin or pouch for spools that leave the house. When you return, check tails, remove any dust, and put spools back in their labeled home. This keeps thread care for quilters consistent whether you sew at home or on the go. Checkpoint: never leave the travel kit in a hot car, even for a short errand.
Thread and storage-friendly supplies from Mrs Quilty
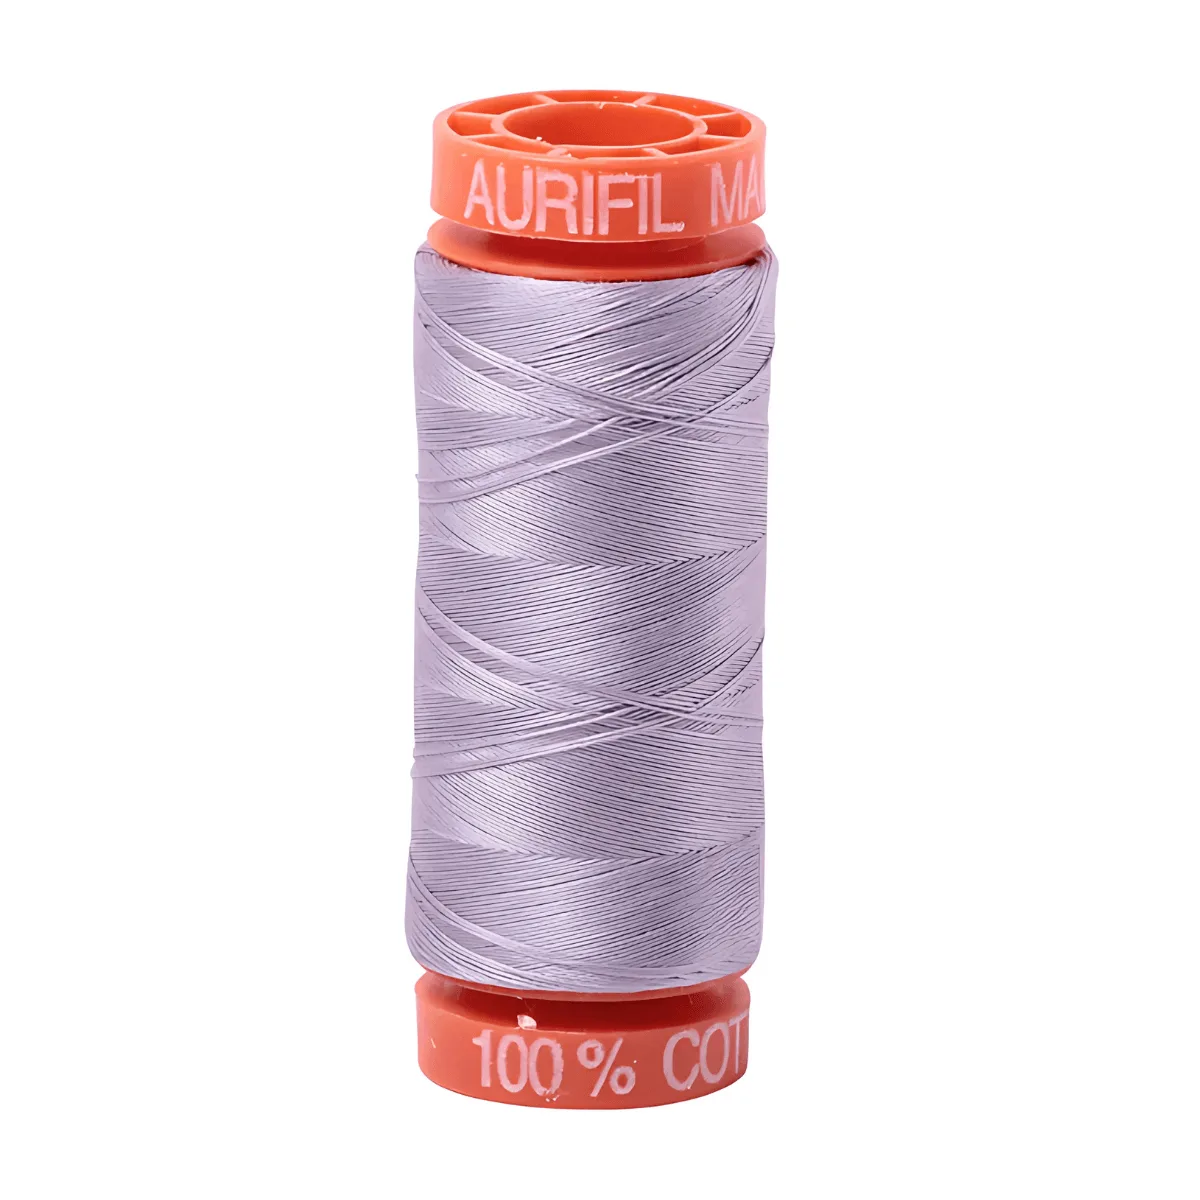
- 50wt Aurifil 220yd Soft Lavender 2562 - 100% Cotton Thread: 50wt, 100% cotton, 220yd spool, described as smooth and tangle-free with long-lasting color. A fine cotton like this benefits most from a snug tail and a dedicated slot, because it is easy to unspool and pick up dust if stored loose.
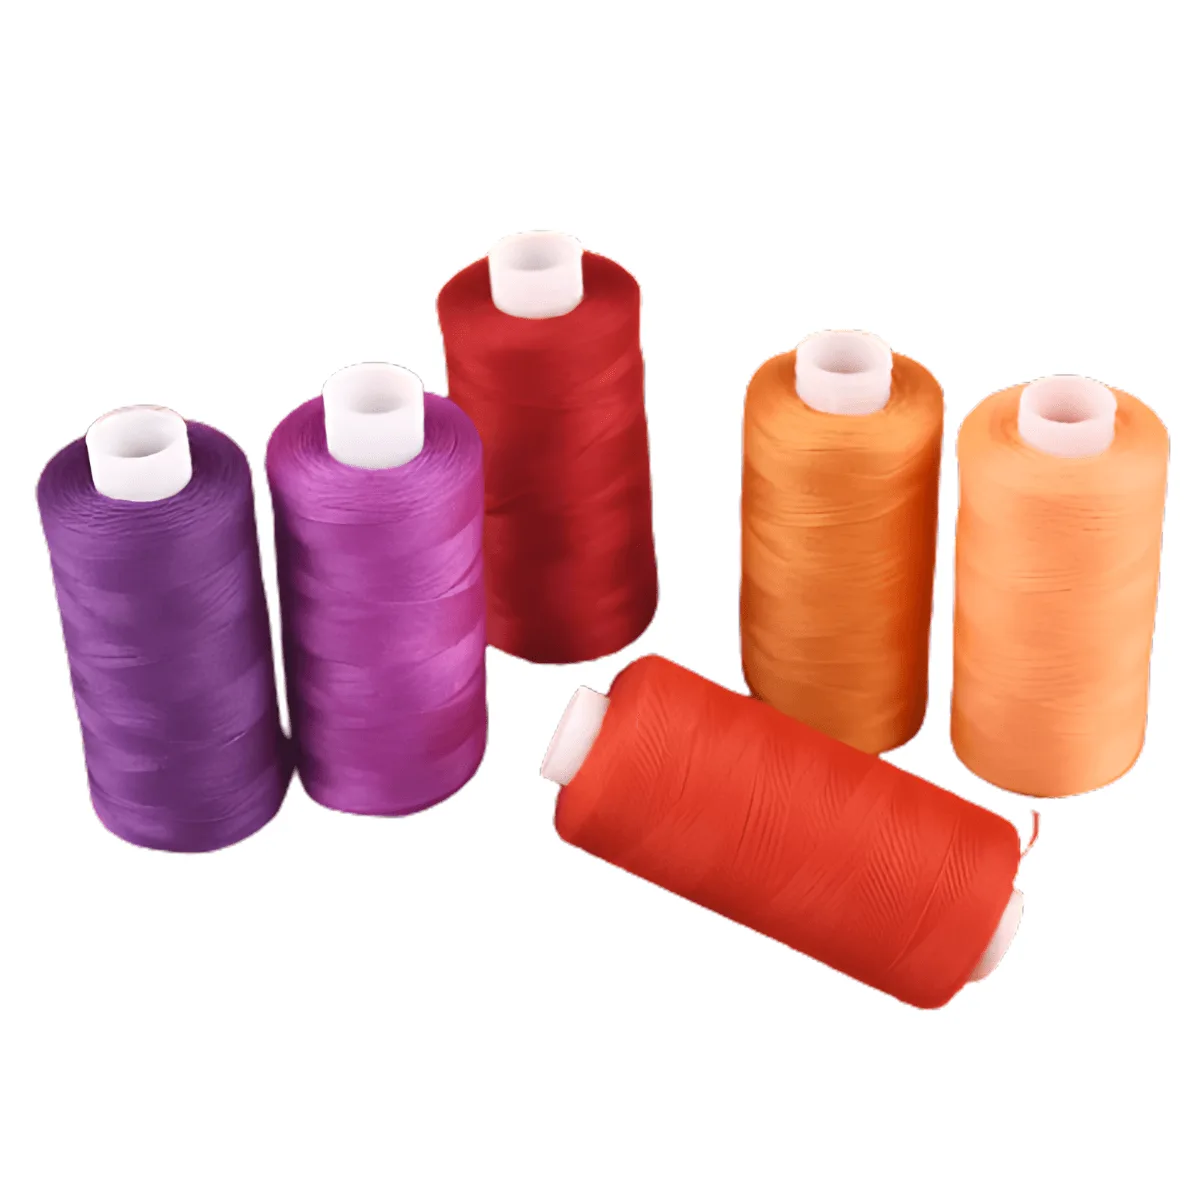
- 30wt 400yd Red Gradient - 100% Polyester Thread 6 Pack: 30wt, 100% polyester, 400yd spools, sold as a 6 pack for bold stitching and vibrant color. Heavier polyester is durable, but the larger spools still need light-blocking storage to keep the red gradient vivid and the windings tight.
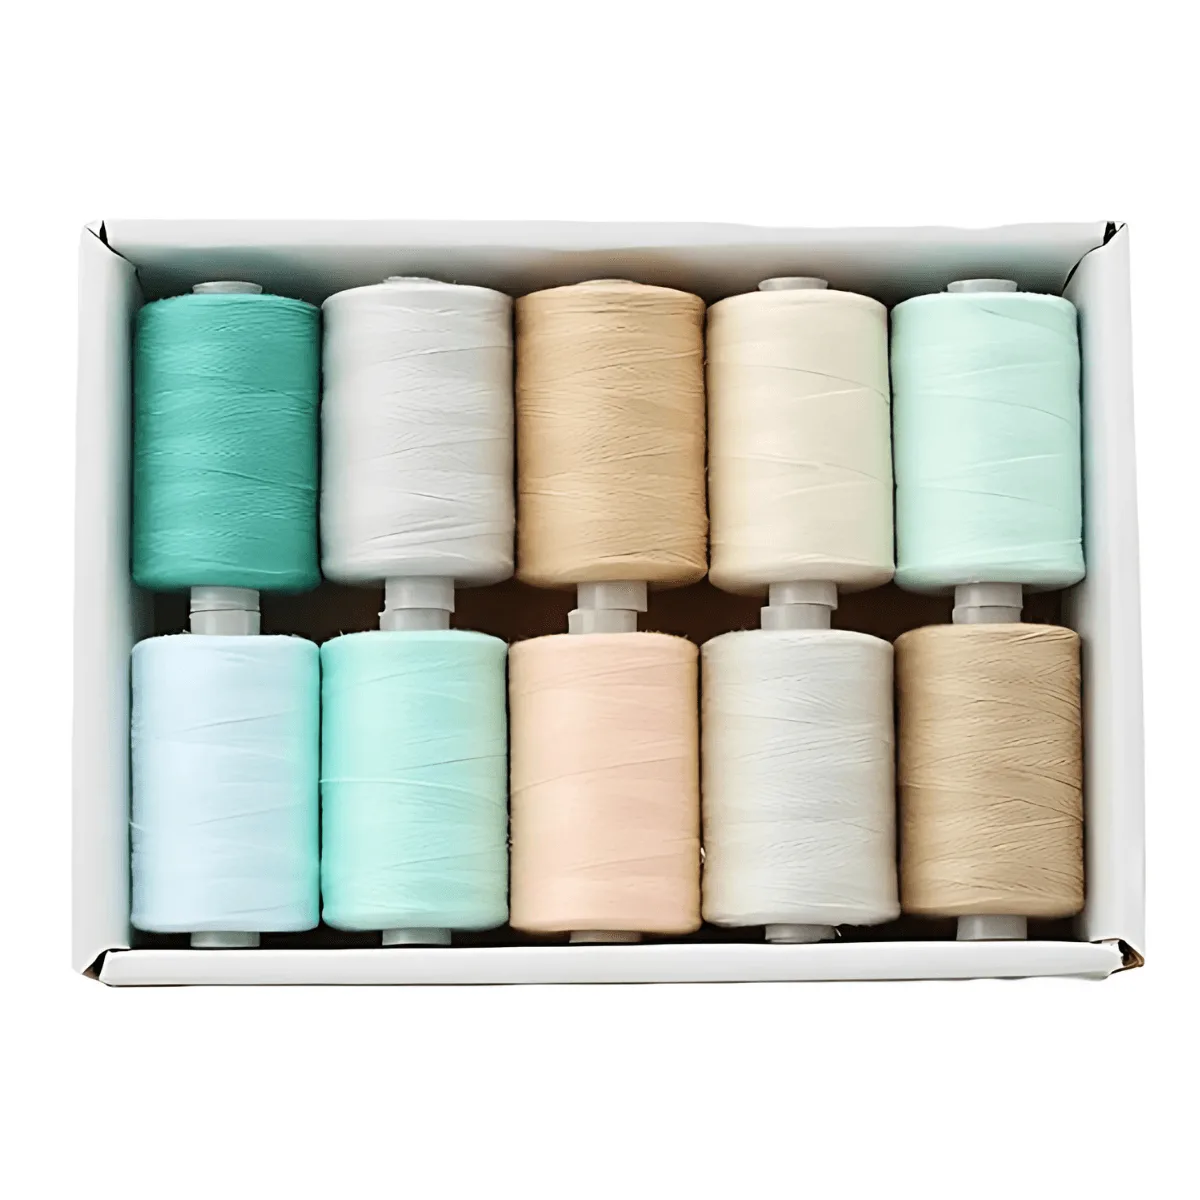
- 30wt 1000yd Pastel Shades - 100% Polyester Thread 10 Pack: 30wt, 100% polyester, 1000yd spools, sold as a 10 pack in soft pastel colors. Large 1000yd spools take up more room, so group them by color family and store them upright to prevent rolling and tangles.
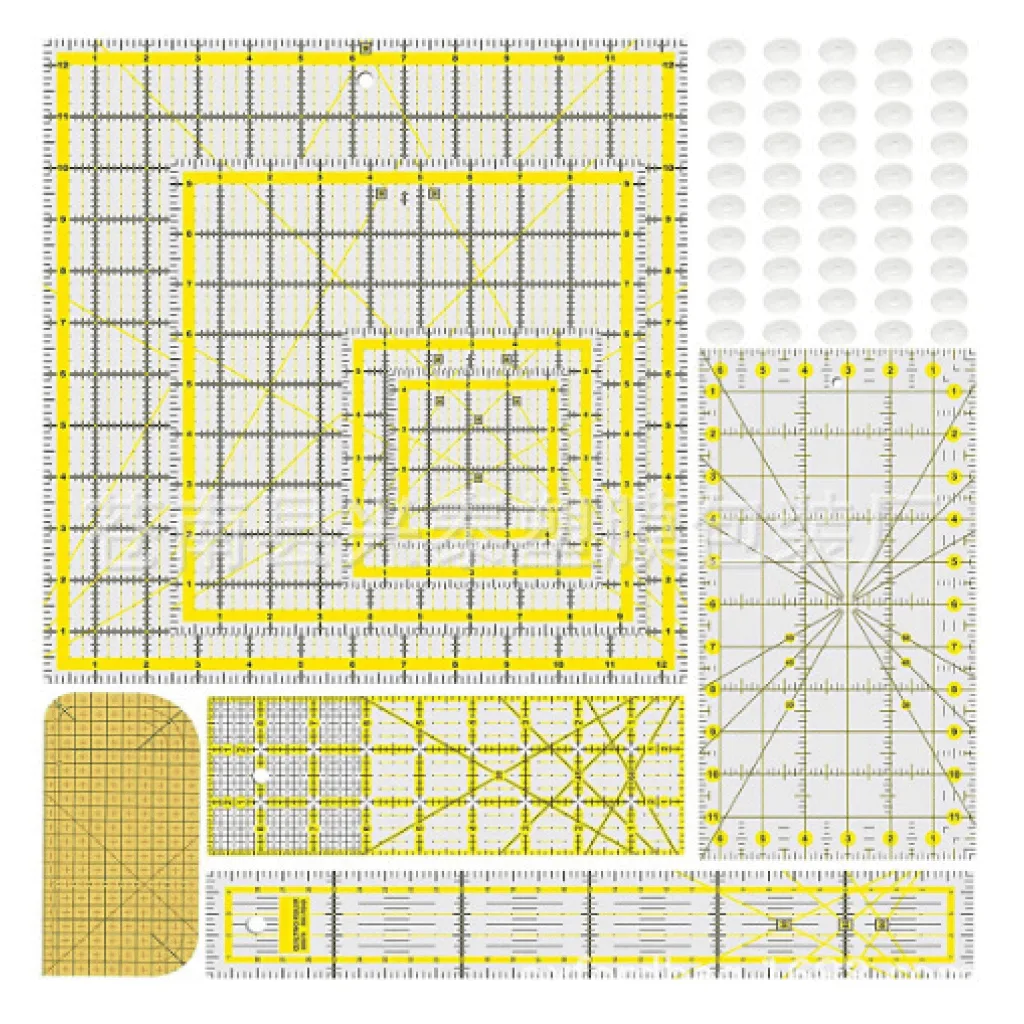
- https://mrs-quilty.com/products/non-slip-acrylic-quilting-ruler-set-images-bc546ce2703480007e979d26-1386705Non Slip Acrylic Quilting Ruler Set images: Eight different ruler sizes made of premium acrylic, designed for precision and durability. Rulers are rigid and can abrade thread if stored in the same drawer, so keep them in a separate compartment from your spools.
Thread storage is a small habit with an outsized payoff. Control light, moisture, and movement, secure every tail, and label by weight and fiber. Do that, and your thread stays strong, your stitches stay clean, and you spend your sewing time quilting instead of untangling.