Quick answer
Store your plush collection in a cool, dry, dark place using breathable cotton bags or acid-free tissue paper, and keep plushies out of direct sunlight and heavy plastic bins. For plush you want to see every day, use open shelving away from windows and rotate pieces periodically to prevent dust buildup and compression.
Storing plush correctly comes down to three enemies: moisture, light, and pressure. Plush fabric and stuffing can degrade when exposed to damp basements, sunny shelves, or tight vacuum bags, so the goal is to create a stable, breathable environment whether you are packing away a seasonal favorite or organizing a growing collection.
This guide walks through an ordered process you can follow with items you likely already have. It also covers when to display versus store, how to handle tags and limited editions, and a few product examples that show why size and material matter when you plan your plush organization.
Step 1: Sort and assess each plush before storing
Start by grouping your plush by size, material, and how often you want to see them. Set aside any pieces with loose seams, missing buttons, or visible stains so you can clean or repair them before storage. A plush that goes into a bin dirty can set stains or attract pests over time.
Check for original tags, limited-edition markers, or collector pins attached to the plush. If a piece is a collector's item, note its condition and keep it separate from everyday plush. This step prevents you from crushing a valuable piece under heavier items later.
- Common mistake: storing plush while still damp from cleaning. Let them air-dry completely first.
- Checkpoint: every plush should be clean, dry, and free of loose debris before it enters any storage container.
Step 2: Choose the right storage container for plush
Breathable containers are the safest default. Cotton storage bags, canvas bins, and cardboard boxes with ventilation holes allow air to circulate and prevent trapped moisture. If you use plastic bins, choose ones with gasket seals only for short-term transport, not long-term storage, and add a desiccant packet to manage humidity.
Avoid vacuum-sealed bags for anything you care about. Compression can flatten stuffing and distort embroidered details, and the plastic can trap odors. For large plush like a pillow-style piece, a breathable pillowcase or a clean cotton laundry bag works well.
- Plush storage ideas: stack smaller plush in a canvas bin, then place the bin on a shelf rather than the floor.
- Checkpoint: if you can smell plastic or see condensation inside the container, switch to a breathable option.
Step 3: Prepare the storage space
Pick a location that stays cool, dry, and dark. Basements and attics often swing in temperature and humidity, which can lead to mildew or fabric degradation. A closet shelf or an interior room away from windows is usually a better choice.
If you must use a garage or basement, keep containers elevated on shelves or pallets and away from exterior walls. Add a moisture absorber nearby and check it monthly. Light is the other factor: direct sun can fade dyes, so cover shelves or use opaque storage bags.
- Common mistake: storing plush against a concrete wall where moisture wicks through.
- Checkpoint: the storage area should feel dry and stay below room temperature for most of the year.
Step 4: Pack plush to prevent crushing and creasing
Place larger, heavier plush at the bottom and lighter pieces on top. Use acid-free tissue paper to fill gaps and support arms, ears, or tails that might bend. Do not overpack a container; plush needs a little breathing room to keep its shape.
For a pillow-style plush such as the Stardew Valley - White Chicken Pillow Plush, store it flat or slightly propped rather than folded. Folding can create permanent creases in the fabric and stuffing. If you are stacking multiple pillow plush, separate them with a layer of tissue.
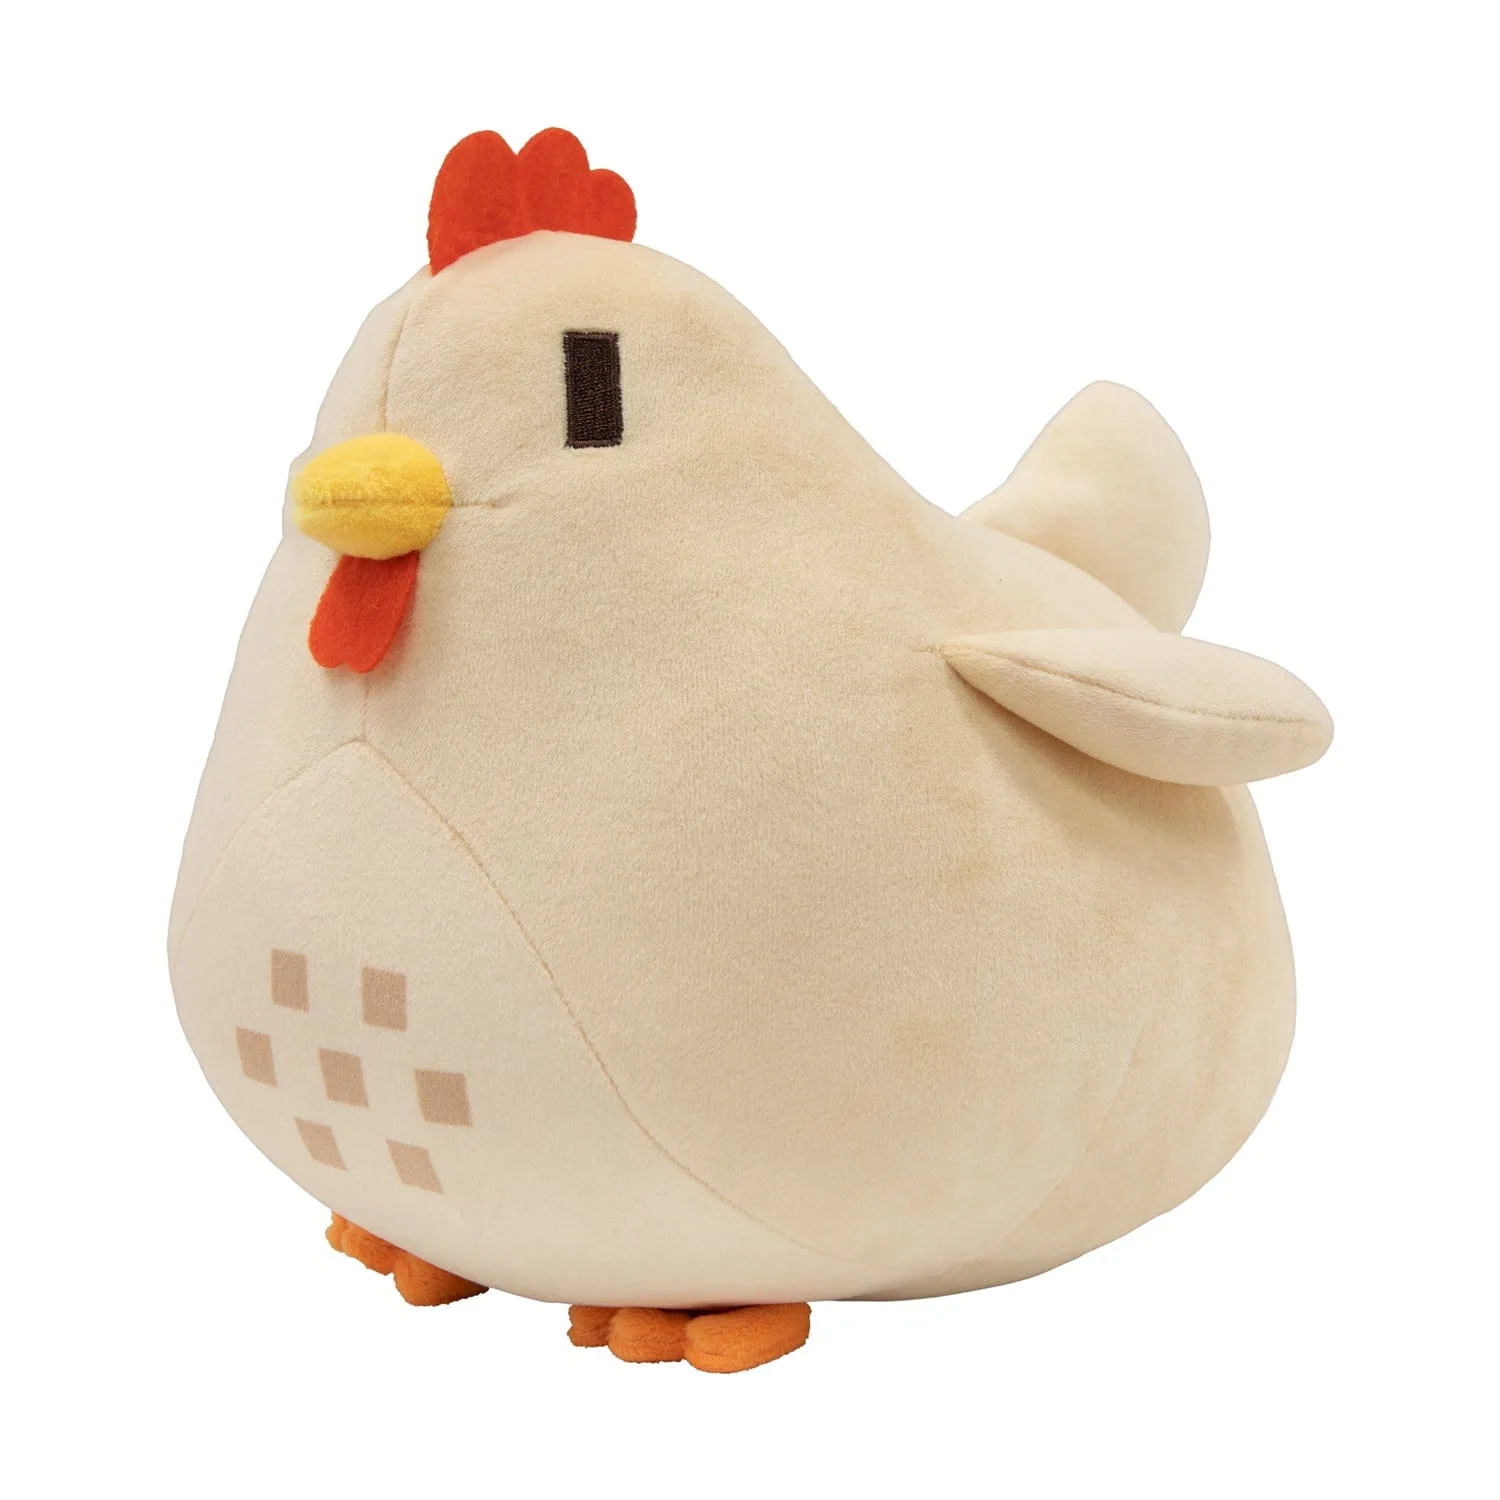
Stardew Valley - White Chicken Pillow Plush
- Protect plushies with embroidered or printed details by facing them inward and avoiding direct contact with rough surfaces.
- Checkpoint: after packing, gently press the top of the container. It should give slightly, not feel rock-hard.
Step 5: Label and rotate your collection
Label each container with contents and date so you can find pieces without unpacking everything. A simple index card taped to the outside works. If you store plush long-term, plan to rotate them every few months to air them out and check for pests or moisture.
Rotation also helps you enjoy your collection. Bring a few pieces out for display, clean them, and swap in others. This keeps plush from staying compressed in the same position for years.
- Plush organization tip: photograph each container's contents and keep the photos in a phone album.
- Checkpoint: set a calendar reminder every three months to inspect stored plush.
Step 6: Display versus store: when to keep plush out
Not every plush needs to be boxed. If you have shelf space away from direct sun, displaying plush is fine and often better for their shape because they are not compressed. Dust is the main tradeoff, so plan to dust or gently vacuum displayed plush monthly.
For a piece like the Shovel Knight - Troupple King Pillow Plush, which is designed as a pillow, keeping it on a bed or chair is a practical display choice. Just keep it out of direct sun and away from pets that might chew or soil it.
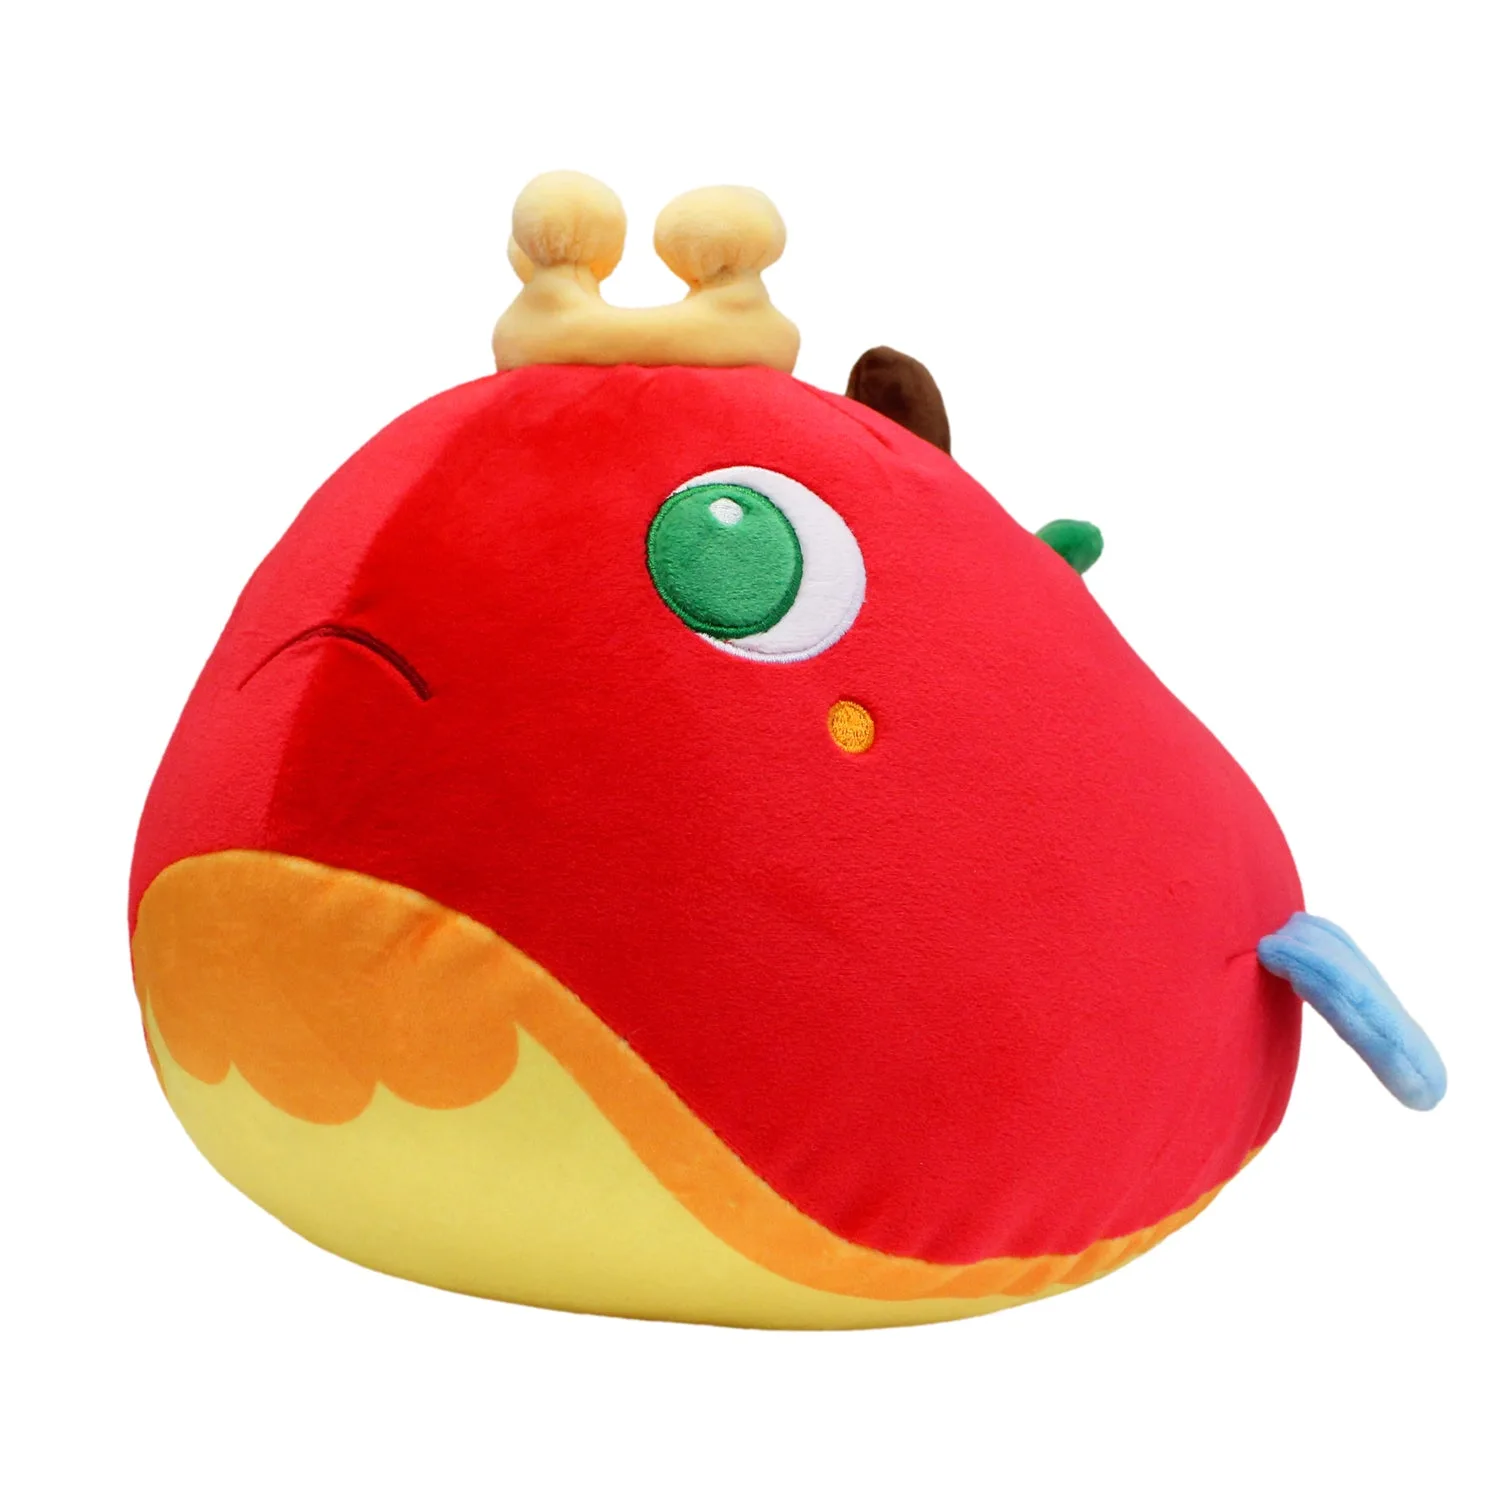
Shovel Knight - Troupple King Pillow Plush
- Use a soft brush or low-suction vacuum with a brush attachment to dust displayed plush.
- Checkpoint: if a displayed plush starts to look dull or flattened, rotate it to storage and bring out a different piece.
Plush storage steps at a glance
- Sort and inspect: Group by size and material, and set aside any plush that needs cleaning or repair before storage. Never store a damp or dirty plush.
- Pick breathable containers: Use cotton bags, canvas bins, or ventilated boxes; avoid vacuum bags and sealed plastic for long-term storage. If you see condensation, change containers.
- Choose a cool, dry, dark spot: Keep containers off floors and away from exterior walls, windows, and damp basements. Check monthly for moisture or pests.
- Pack with support: Layer heavier plush on the bottom, use acid-free tissue for gaps, and do not overpack. The container should give slightly when pressed.
- Label and rotate: Label each container and set a reminder to air out and inspect plush every three months. Rotation prevents long-term compression.
- Display smart: Keep displayed plush out of direct sun and dust them monthly with a soft brush or low-suction vacuum. Rotate displayed pieces to storage when they look flat.
Plush examples and what they show about storage
- Stardew Valley - White Chicken Pillow Plush: This plush is described as a pillow-style piece, and the catalog notes you can continue gathering your flock of floofy fowl. Pillow plush are larger and flatter, so they store best laid flat or propped, not folded or crushed under heavy bins.
- Shovel Knight - Troupple King Pillow Plush: The catalog describes it as a pillow plush for reclining and upgrading your R&R. If you use a plush as a pillow, it will see more friction and skin oils, so plan to clean and rotate it more often than a display-only piece.
Storing plush well is mostly about avoiding moisture, light, and pressure. Follow the steps above, use breathable containers, and check your collection every few months. Your plush will keep their shape and color, and you will actually enjoy rotating them instead of forgetting what is in the bottom of a bin.