Have you ever wondered how baristas pick out notes of blueberry, dark chocolate, or jasmine in a cup of black coffee? It’s not magic—it’s cupping. Cupping is the standardized method professionals use to evaluate coffee aroma, flavor, body, and aftertaste. The best part? You can do it at home with just a few simple tools and a curious palate.
In this guide, we’ll walk you through the entire home cupping process, from gathering equipment to analyzing flavor. By the end, you’ll be able to taste coffee with the confidence of a seasoned barista—and discover new dimensions in your favorite beans.
What Is Coffee Cupping and Why Should You Try It?
Coffee cupping is a controlled tasting technique used by roasters, buyers, and baristas to assess coffee quality and flavor. Unlike casual drinking, cupping removes variables like brew method and milk to let the coffee speak for itself. It’s the fastest way to train your palate to recognize acidity, sweetness, bitterness, and body.
Trying cupping at home helps you understand what you like and why. You’ll notice differences between a bright, fruity single origin like Maraba, Rwanda and a smooth, balanced blend like Foundation, Blend. Over time, you’ll build a mental flavor library that makes choosing your next bag of coffee much more rewarding.
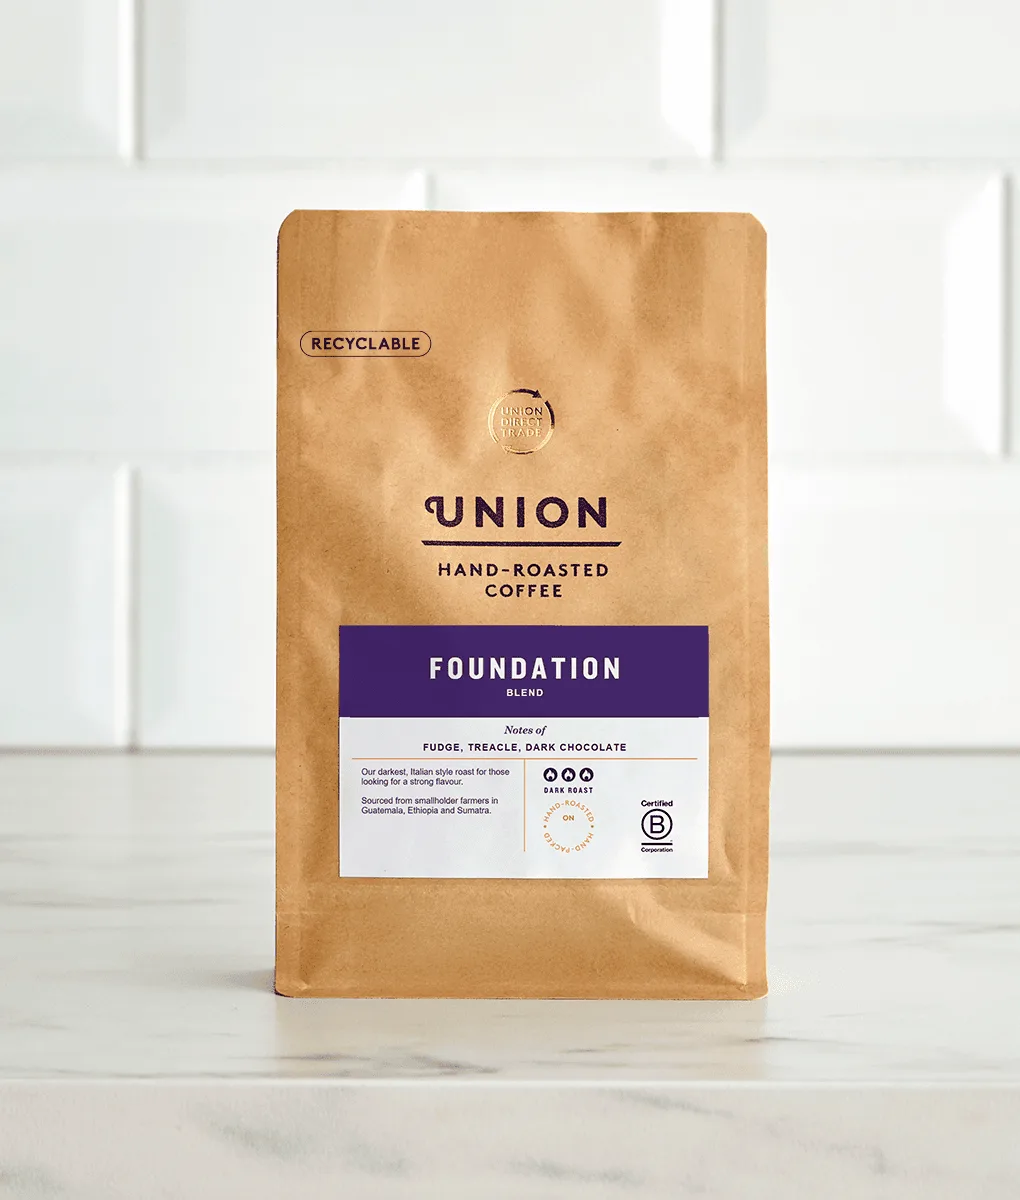
Foundation, Blend
- Cupping reveals subtle flavor notes that brewing methods can mask.
- It’s a fun, social activity—invite friends to compare tasting notes.
Essential Equipment for Home Cupping
You don’t need a lab to cup coffee at home. Start with a few basics: fresh coffee beans, a grinder, a scale, hot water (just off boil), spoons (preferably cupping spoons or soup spoons), and cups or bowls. A timer helps keep consistency. If you already own a Clever Dripper, brewer, you can repurpose it for cupping—just skip the filter step during the tasting phase.
For the best results, use freshly roasted coffee and grind it just before cupping. A coarse grind (similar to sea salt) is ideal. You’ll also want a notebook or a tasting app to record your observations. Don’t worry if you don’t have a cupping spoon—any clean, neutral-tasting spoon works.
- Fresh coffee is crucial: aim for beans roasted within the last two weeks.
- Use filtered water to avoid off-flavors from tap water.
Step-by-Step Home Cupping Process
Start by heating water to 200°F (93°C). Place 8–12 grams of ground coffee in each cup. Pour hot water over the grounds, filling to the brim. Let it steep for 4 minutes. After 4 minutes, break the crust by stirring the top layer with a spoon—this releases aromas. Skim off the foam and grounds, then let the coffee cool for a few minutes.
Now comes the tasting. Slurp the coffee from a spoon to aerate it across your palate. Identify the first flavors you notice, then the body (how heavy or light it feels), acidity (brightness or tang), and aftertaste. Compare two coffees side by side—for example, a bright Summer, Blend versus a deeper Half Caff, Blend—to sharpen your sensitivity.
- Slurping is key: it sprays coffee over your entire tongue for full flavor detection.
- Take notes on aroma, flavor, body, acidity, sweetness, and finish.
How to Describe What You Taste: The Flavor Wheel Approach
Professional cuppers use a flavor wheel to standardize descriptions. Start broad: is the coffee fruity, floral, nutty, or chocolatey? Then narrow down. For instance, a fruity coffee might have notes of berry, citrus, or stone fruit. A chocolatey coffee might lean toward milk chocolate, dark chocolate, or cocoa powder. Practice by cupping a single origin like Maraba, Rwanda and a blend like Foundation, Blend to see how different origins express flavor.
Don’t be afraid to use everyday comparisons—‘tastes like a blueberry muffin’ is perfectly valid. Over time, you’ll refine your vocabulary. The goal is not to be perfect but to become more aware of what’s in your cup. Cupping regularly trains your brain to pick up subtle differences, making every morning brew more interesting.
- Use a flavor wheel app or print one out to guide your descriptions.
- Compare two different coffees in one session to highlight contrasts.
Tips for Consistent Home Cupping Results
Consistency is the secret to improving your palate. Always use the same coffee-to-water ratio (around 8.25g per 150ml is standard), the same water temperature, and the same steep time. Grind fresh each time and avoid pre-ground coffee—it loses aromatics quickly. Clean your equipment between cups to prevent flavor crossover.
Invite a friend to cup with you and share notes. You’ll be surprised how different palates perceive the same coffee. If you want to take your skills further, consider a Filter, Coffee Subscription to receive fresh beans regularly and practice cupping with a rotating selection. The more you cup, the more confident you’ll become in identifying what you love.
- Keep a cupping journal to track your progress and favorite coffees.
- Try cupping the same coffee on different days to see how it evolves.
Home cupping is one of the most rewarding ways to deepen your coffee knowledge and enjoyment. With just a few simple tools and a willingness to explore, you can taste coffee like a barista and discover flavors you never knew existed. Ready to start? Grab a bag of Foundation, Blend and a fresh supply of Hario V60 filter papers, 100 sheets to refine your brewing alongside your cupping practice—your palate will thank you.