Quick answer
Start with blunt-tip child scissors and strict carry rules, then build scissor skills practice in short daily sessions using snipping, fringing, and simple line cutting. Keep a firm grip on the paper, cut away from the body, and stop while your child is still having fun.
Scissor safety is not a one-time talk. It is a set of habits you repeat until they stick, just like hand washing or holding a grown-up's hand in a parking lot. The goal is to teach scissor safety for toddlers in small, clear steps so cutting becomes a normal, supervised part of play.
Beginner cutting activities work best when the tools and the rules match your child's age. Most children are ready to snip with close supervision around age two or three, but every child is different. Pair short, happy practice sessions with the same firm boundaries every time, and fine motor cutting will grow alongside their confidence.
Set the ground rules before the scissors come out
Before the first cut, decide who holds the scissors and when. A simple rule set works: scissors stay in the art box, they are used sitting down, and they never touch skin, hair, or clothing. Practice the carry position together, with the blades closed and the handles wrapped in a fist, pointed down. Then practice the hand-off: your child holds the closed blades toward you and you take the handles.
Keep sessions short and supervised. Ten minutes of focused cutting is plenty for a toddler, and it is far better than a long session that ends in frustration or a rule being broken. If your child starts waving the scissors or standing up, pause the activity, reset the rules, and try again later.
- Use blunt-tip scissors made for young children, and check that they cut paper without needing adult force.
- Store scissors out of reach when they are not in use, even if your child is careful.
Choose beginner cutting activities that match the skill
Cutting is a sequence, not a single skill. Start with snipping: hold a narrow strip of paper for your child and let them make one quick cut. Next comes fringing, where they make several snips along the edge of a card or index card. Only after those feel easy should you move to cutting along a short, thick line.
You do not need special worksheets. Strips of construction paper, junk mail, and old greeting cards all work. If you want a ready-made option that also builds fine motor skills, the Melissa & Doug Wooden Magnets Bundle - Animals and Dinosaurs gives little hands a separate grasping activity that strengthens the same muscles used for scissor control. Keep cutting and magnet play as two different activities so the rules for each stay clear.
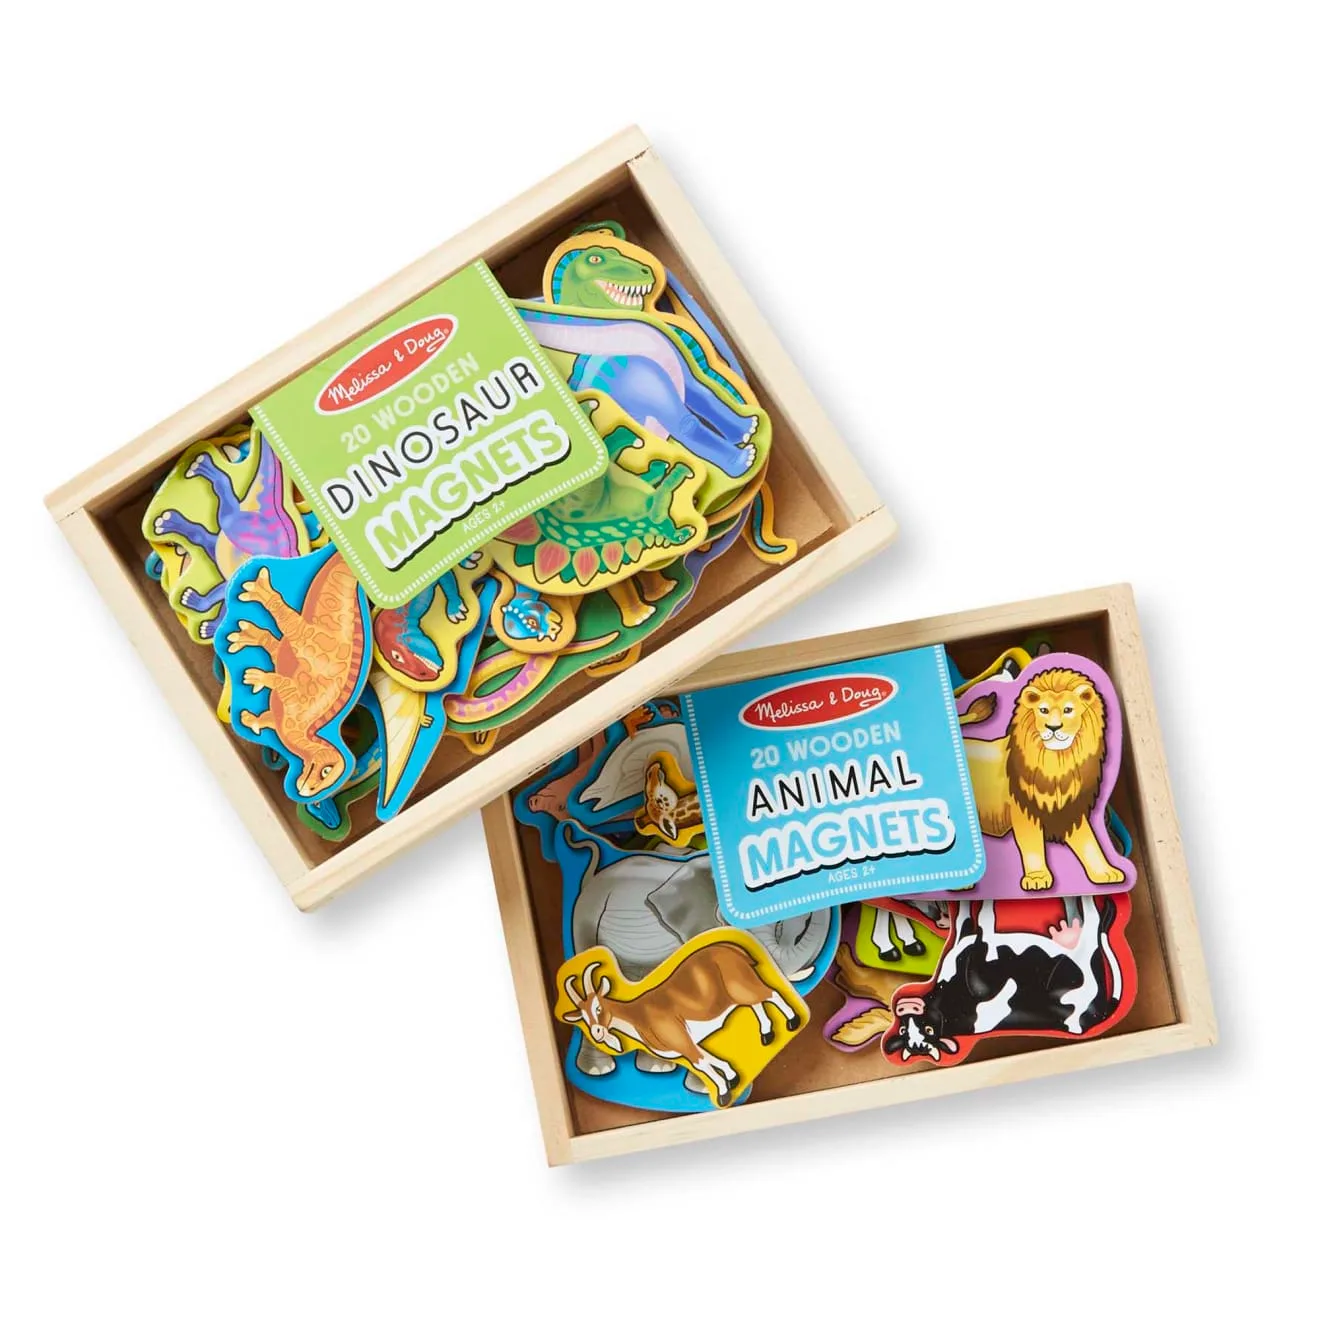
Wooden Magnets Bundle - Animals and Dinosaurs
- Thick paper is easier for beginners than thin paper, which flops and tears.
- Draw a bold line with a marker so your child has a clear target to follow.
Coach the grip and the cutting motion
Show your child how the thumb and middle finger go into the handles while the index finger rests outside for stability. Many toddlers do better with a quick rhyme or count: open, close, open, close. Let them practice opening and closing the blades in the air a few times before paper is involved.
When they cut, remind them to keep the paper hand steady and move the scissors, not the paper. Turn the paper slightly when they reach a corner rather than twisting their wrist. If the paper bends or the scissors jam, stop and reset instead of pulling hard.
- Sit beside your child, not across the table, so you can guide their hand if needed.
- Praise the process, such as holding the paper still, rather than only the finished cut.
Build a short, repeatable cutting routine
A predictable routine makes safety automatic. Try the same three-part pattern each time: review the rules, do one warm-up snipping activity, then try one new cutting challenge. End by closing the scissors, putting them away together, and washing hands if you used glue or markers.
Keep a small tray of cutting materials ready so setup takes seconds. Rotate the materials every week or two to keep interest high. If your child loses focus, switch to a different fine motor task and come back to cutting another day.
- Two or three short sessions a week beat one long weekend session.
- Stop while your child still wants more, so the next session starts on a good note.
Know when to pause and when to move on
Pause cutting if your child repeatedly forgets the carry rule, tries to cut something other than paper, or gets silly with the scissors. That is not failure; it is a signal that the rules need another round of practice without the added challenge of cutting.
Move on to curved lines, simple shapes, and zigzags only when your child can cut a straight line with steady hands and follow the safety rules without reminders. Some children reach this point in weeks, others take months. Follow your child's pace rather than a calendar.
- If your child is left-handed, offer left-handed scissors or a pair that works for either hand.
- Keep the first shapes large and simple, such as a wide triangle or a fat circle.
Your scissor safety teaching sequence
- Teach the rules first: Explain sitting down, blades closed, carry pointed down, and scissors only cut paper. Practice the hand-off before any cutting starts. Checkpoint: your child can say or show the carry position without reminders.
- Start with snipping: Hold a narrow strip of paper and let your child make one cut. Repeat until a single snip feels easy and controlled. Checkpoint: one clean cut, no waving or standing up.
- Add fringing: Let your child make several snips along the edge of a card or index card, keeping the paper hand still. Checkpoint: they can stop when asked and the paper stays flat.
- Cut along a thick line: Draw a bold straight line on sturdy paper and have your child cut from one end to the other, moving the scissors rather than the paper. Checkpoint: they follow most of the line and pause at the end.
- Move to curves and shapes: Introduce wide curves, zigzags, and large simple shapes once straight lines are steady. Checkpoint: safety rules hold even when the cutting gets harder.
- Close every session the same way: Have your child close the blades, put the scissors away, and clear the paper scraps with you. Next step: repeat two or three times a week and let the skills grow gradually.
Everyday tools that support cutting practice
- Wooden Magnets Bundle - Animals and Dinosaurs: This set includes twenty animal magnets and twenty dinosaur magnets, packaged in two wooden boxes for easy organization and storage. Picking up and placing small magnets builds the same hand muscles your child uses to open and close scissors, and the storage boxes make cleanup part of the routine.
- Reusable Sticker Pad Bundle - Fairy, Princess, Dress-Up, and Play House: Each sticker activity pad includes more than 150 cling-style stickers plus five glossy, full-color background pages. Peeling and placing stickers is a quiet fine motor activity you can offer on days when your child is not ready for scissors, so hand strength still gets practice.
Scissor safety for toddlers grows from the same short, repeated routine as any other household rule. Teach the carry and hand-off first, keep sessions brief, and choose beginner cutting activities that match your child's current skill. With steady supervision and a little patience, teaching kids to use scissors becomes a calm, confidence-building part of your week.