Quick Answer
To temper chocolate at home, melt it gently, then cool it while stirring to encourage stable cocoa butter crystals, then gently reheat to working temperature. Use a thermometer and follow the temperature curves for dark, milk, or white chocolate to get a glossy, snappy finish.
Tempering chocolate at home might sound like a pastry chef's secret, but it's a skill you can master with a thermometer and a little patience. Properly tempered chocolate snaps cleanly, shines beautifully, and melts smoothly at body temperature—perfect for dipping, molding, or enrobing.
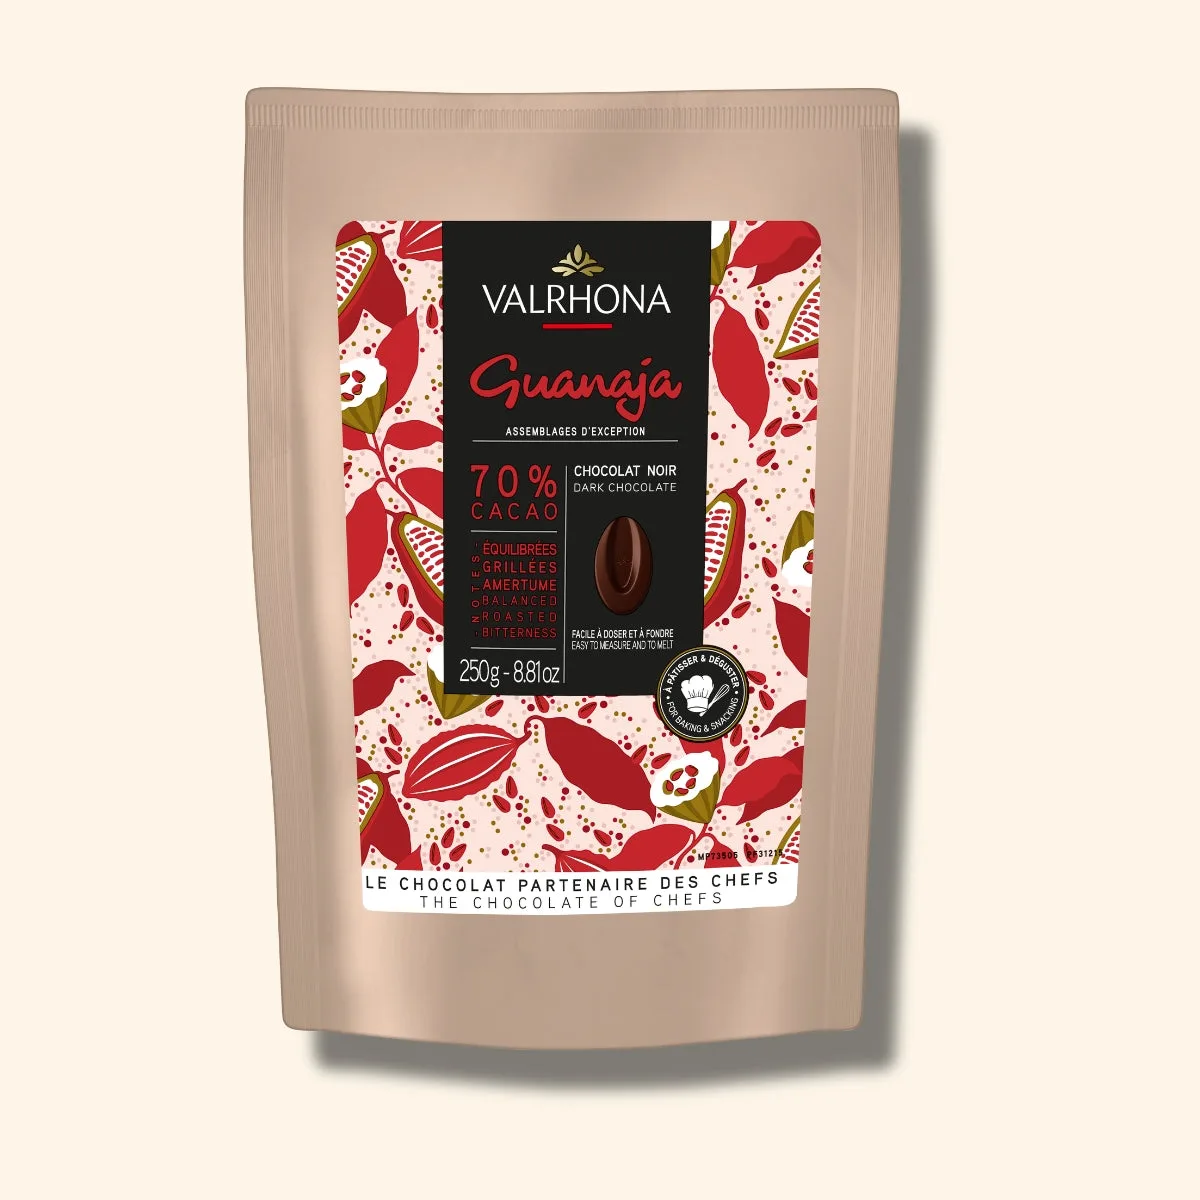
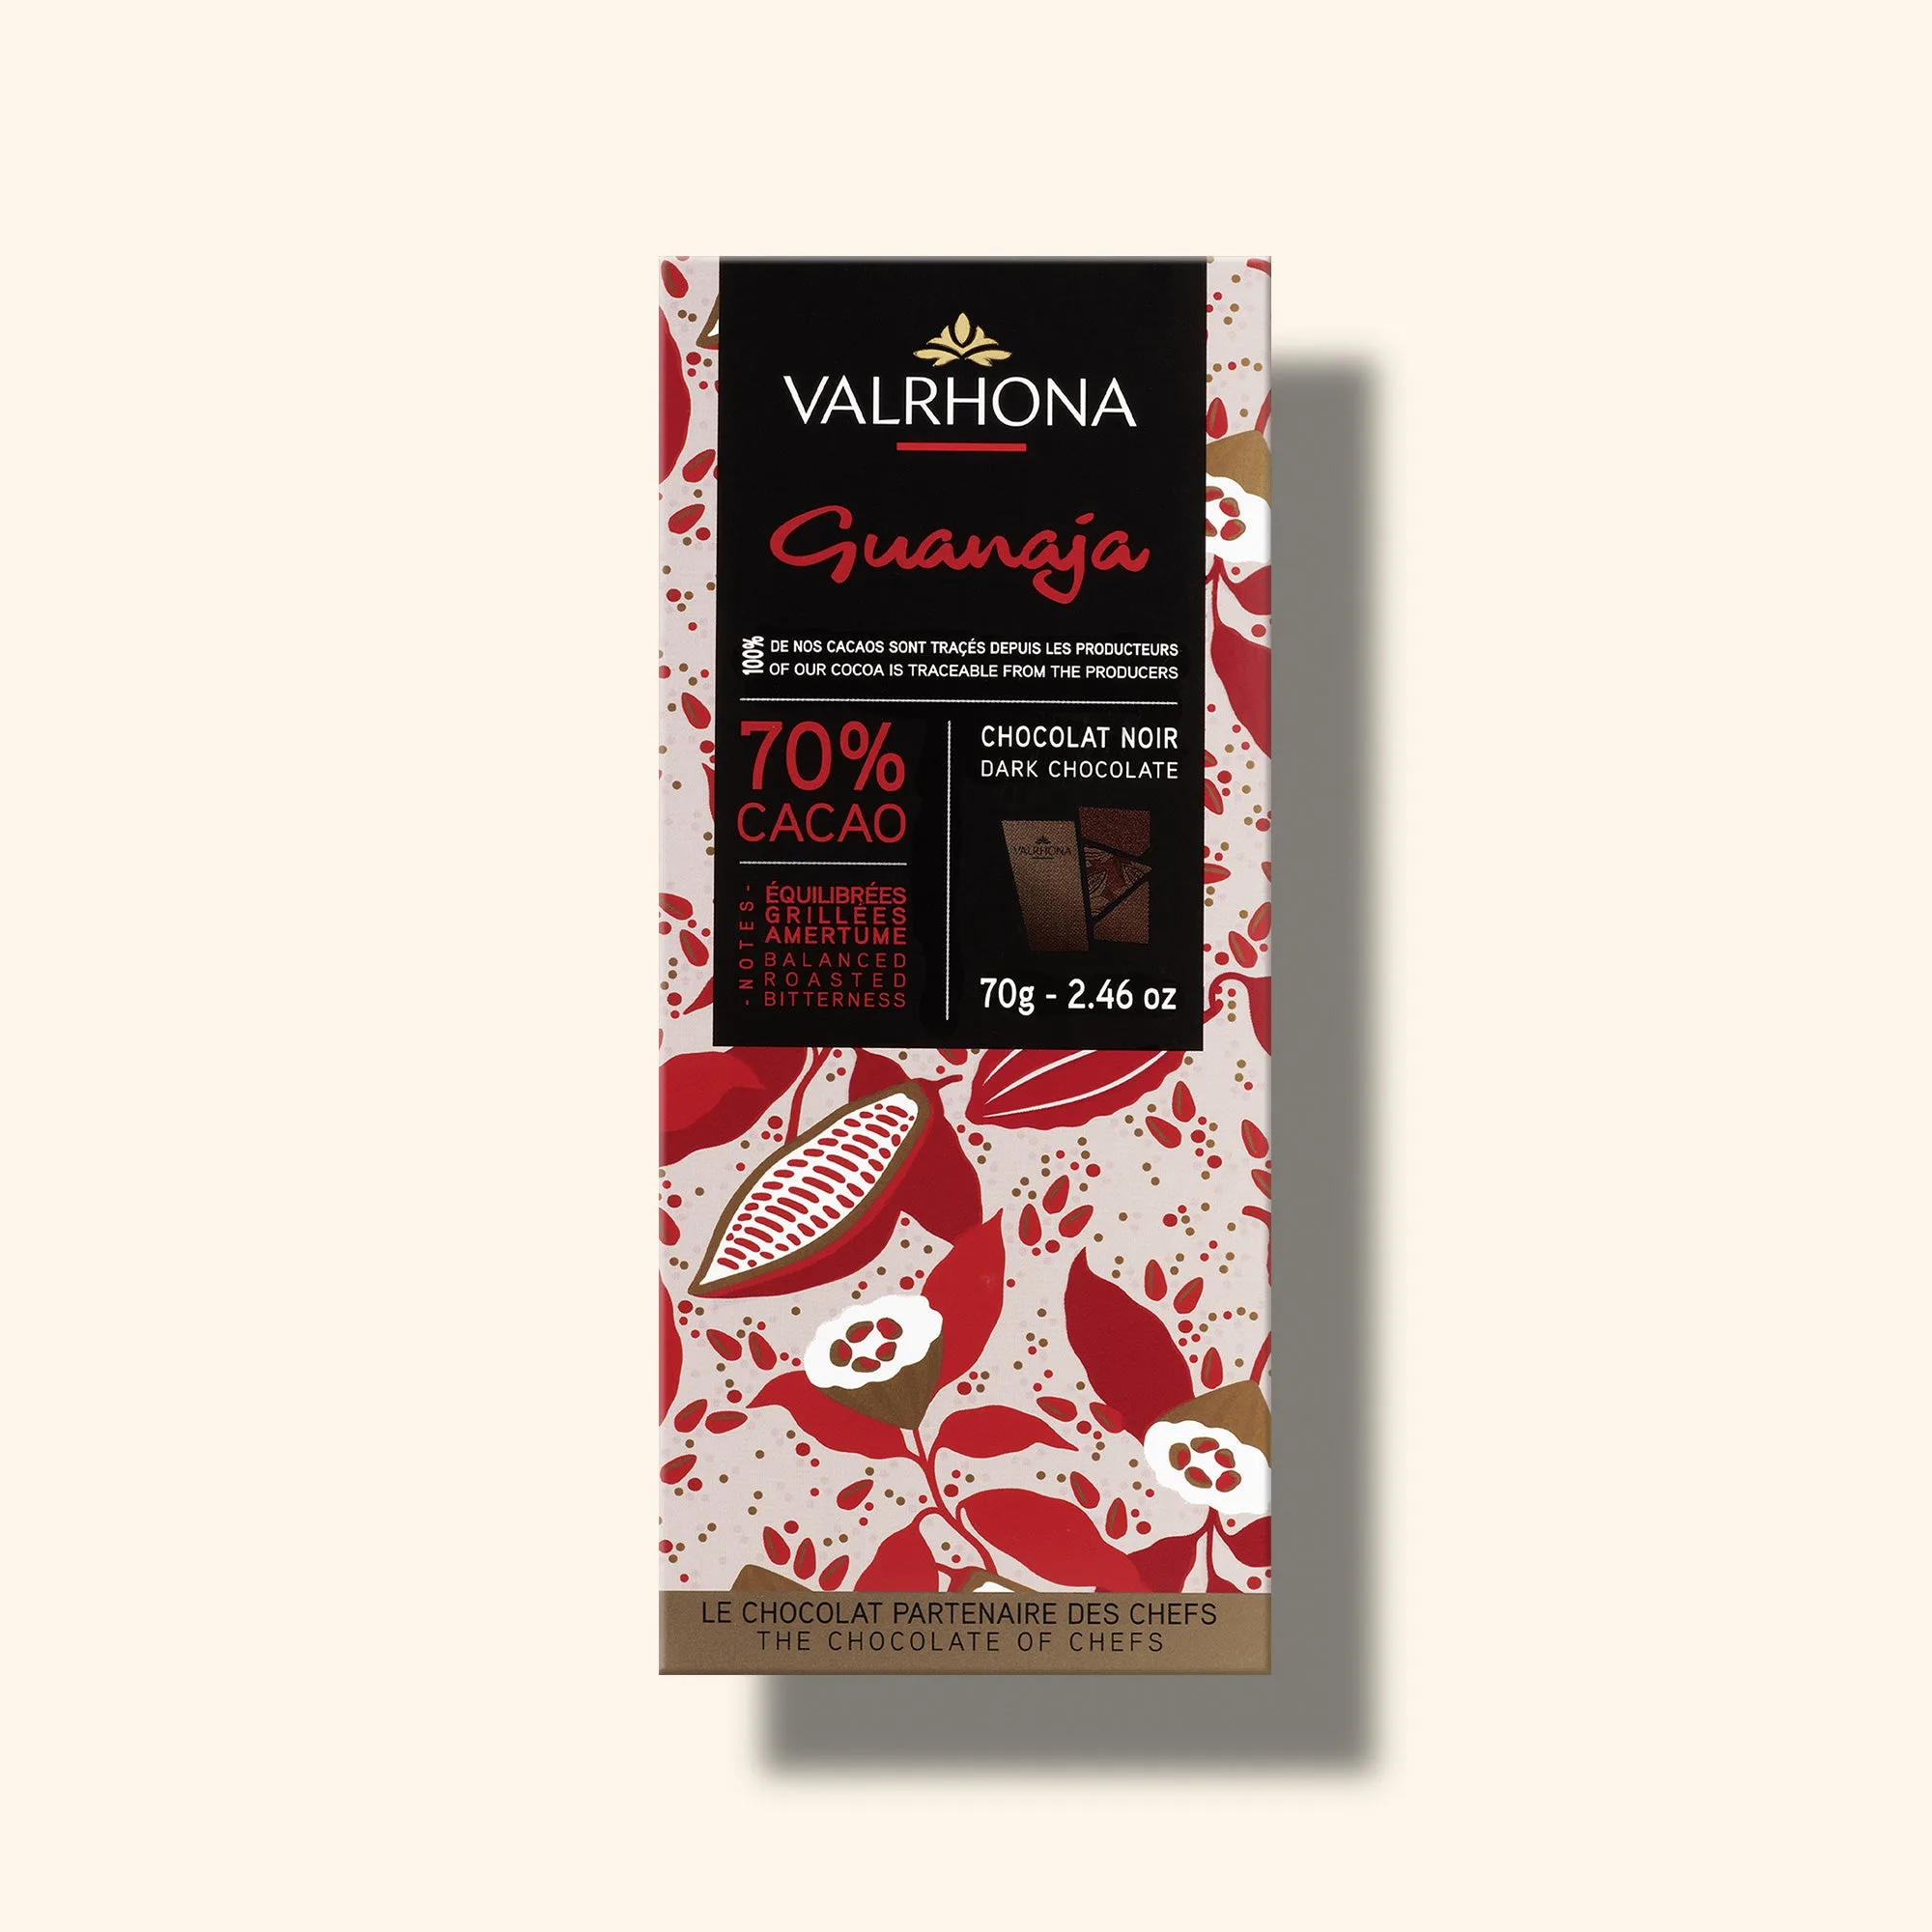
In this guide, you'll learn the science behind tempering, the step-by-step process, and the common pitfalls to avoid. Whether you're using a high-quality couverture like Valrhona's Guanaja 70% or a simple chocolate bar, the technique is the same. Let's get started.
Why Tempering Matters
Chocolate contains cocoa butter, which can crystallize in multiple forms. Untempered chocolate sets with a dull, streaky surface and a crumbly texture. Tempering encourages the formation of stable beta crystals, which give chocolate its signature snap and shine.
For baking and confectionery, tempered chocolate is essential. It contracts slightly as it sets, making it easy to release from molds. It also resists melting at room temperature, so your finished treats stay neat and professional.
- Always use a reliable thermometer—digital instant-read models are best for accuracy.
- Work in a cool, dry environment (ideally below 70°F/21°C) to help chocolate set properly.
Choosing the Right Chocolate
Not all chocolate is created equal. Couverture chocolate, which contains a higher percentage of cocoa butter, tempers more smoothly and produces a thinner coating. Valrhona's baking chocolates, like the Dark Baking Chocolate Guanaja 70%, are designed for professional use and are ideal for tempering at home.
If you're new to tempering, start with a dark chocolate like Guanaja 70%—it's more forgiving than milk or white chocolate. Milk and white chocolates have lower melting points and require more careful temperature control.
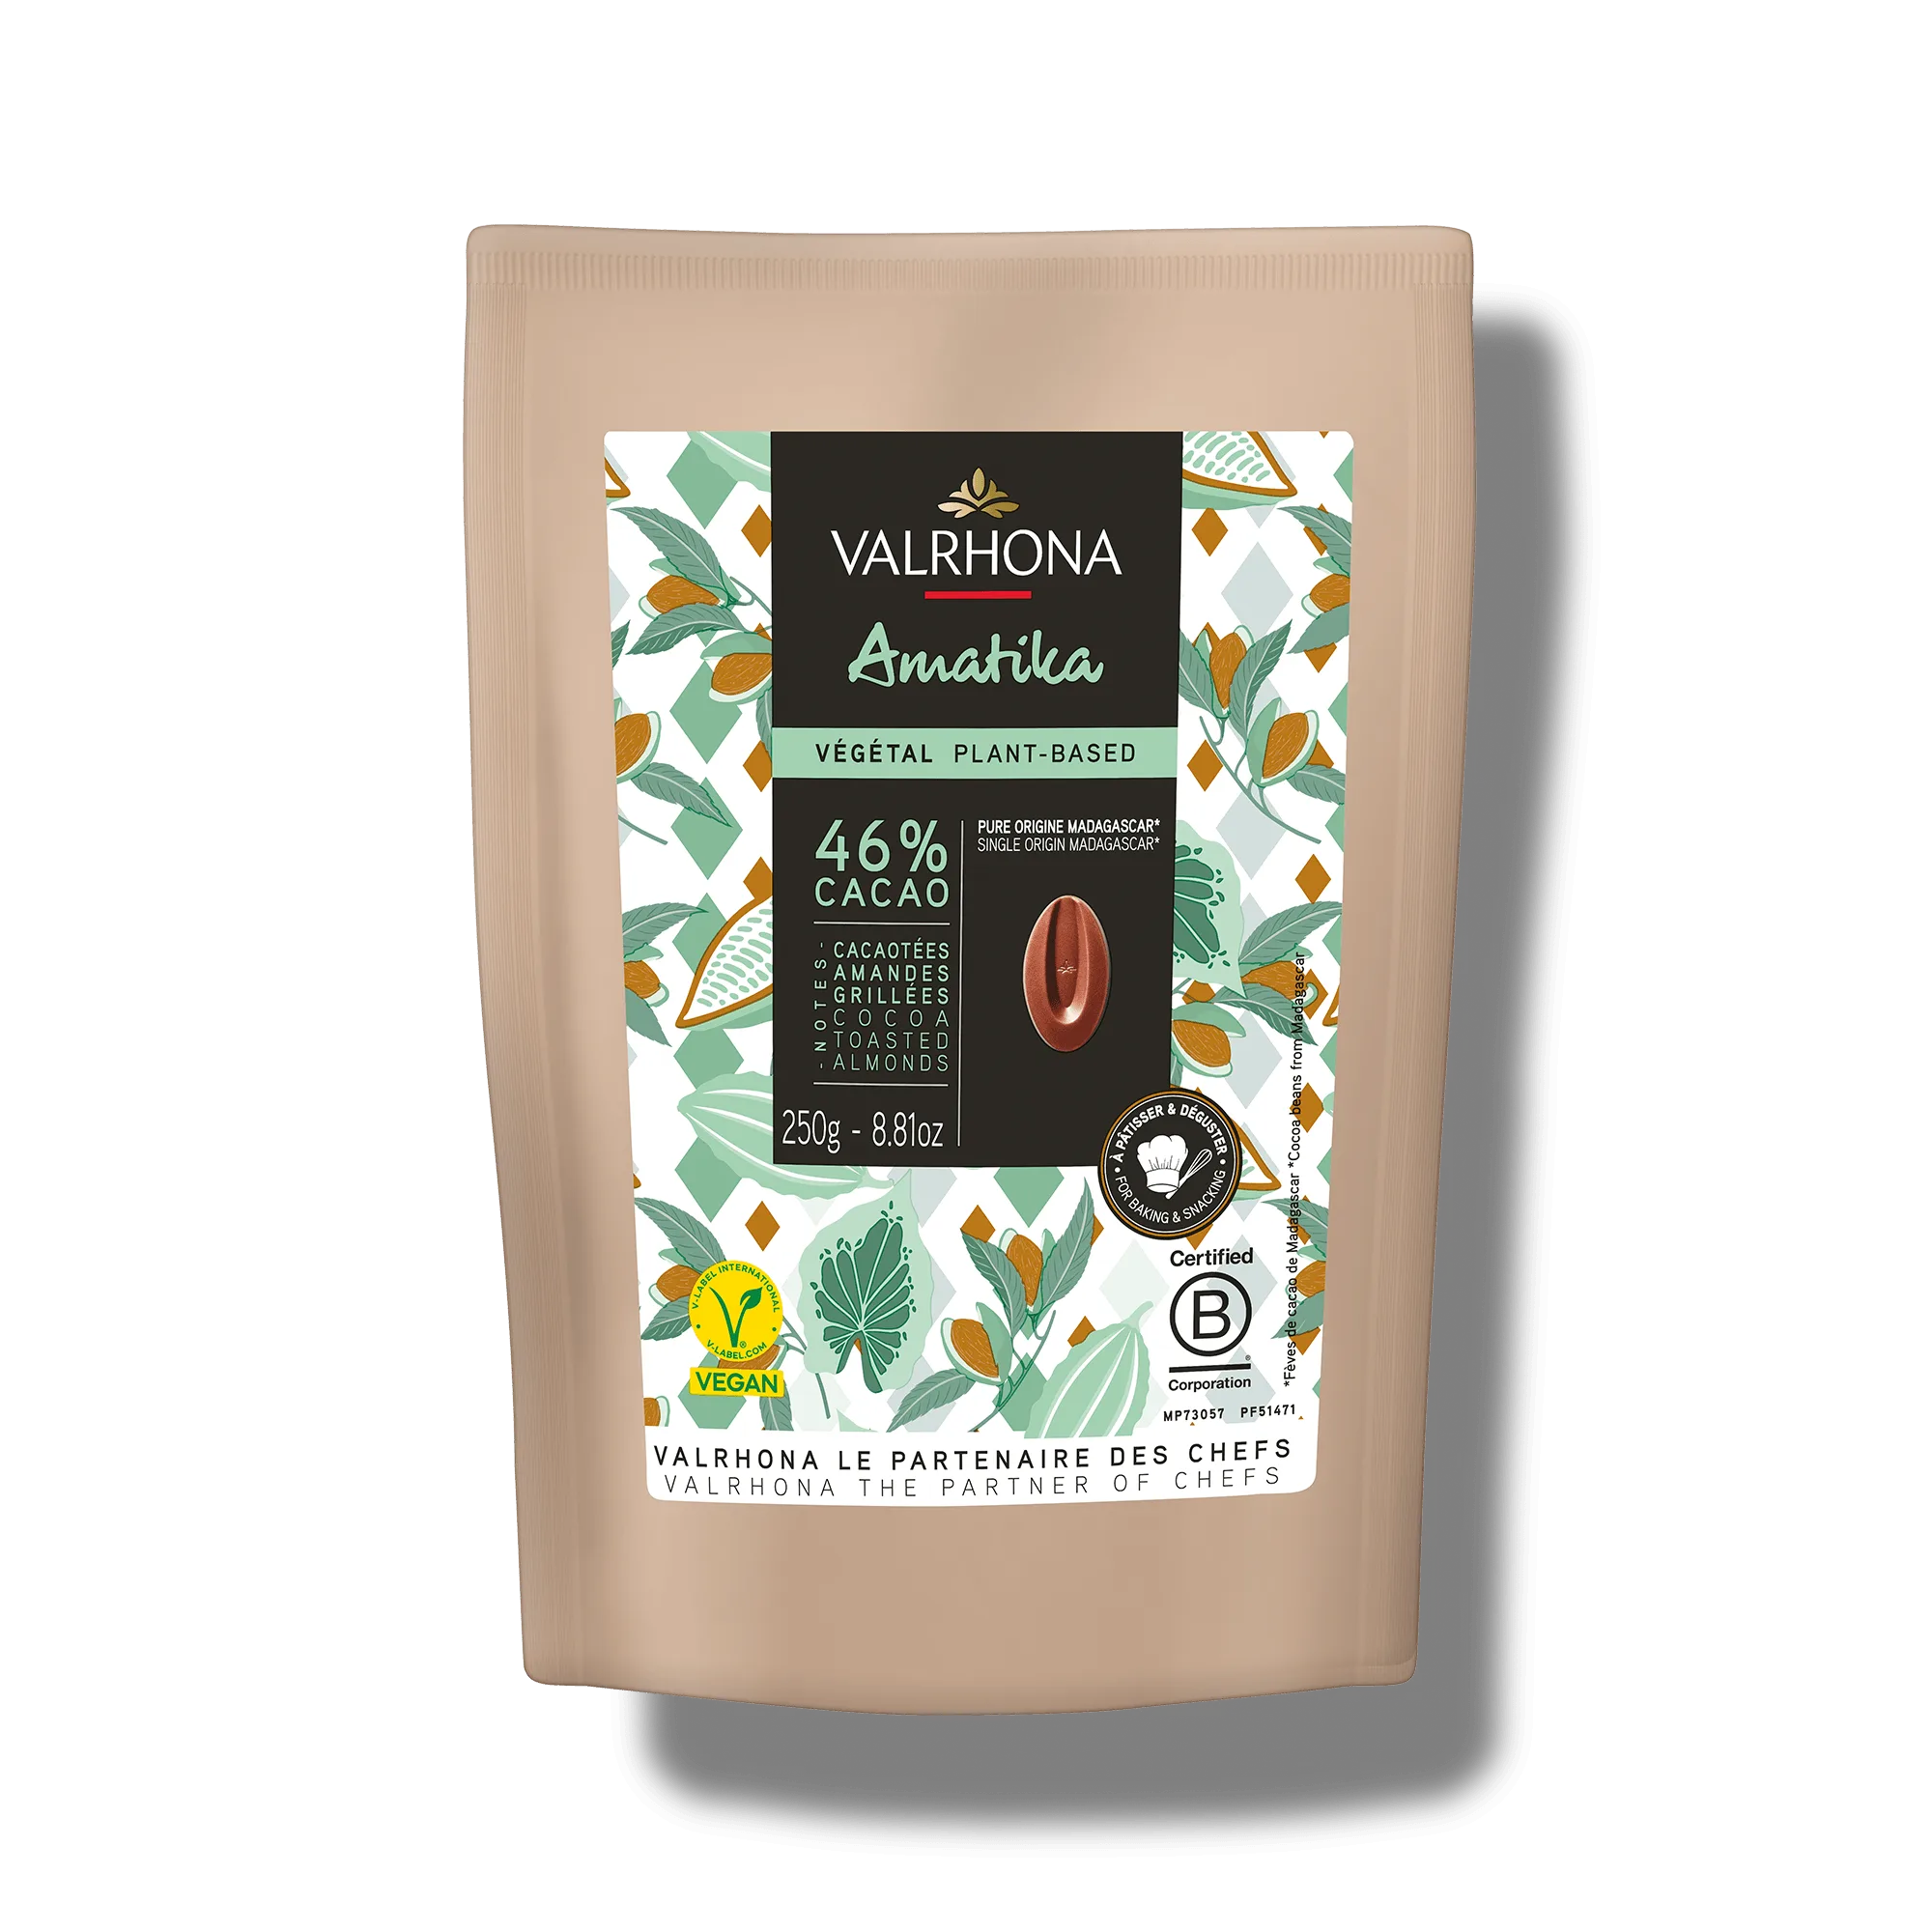
For a vegan option, Valrhona's Amatika 46% is a plant-based couverture that tempers similarly to milk chocolate, offering a creamy texture without dairy.
- Avoid chocolate chips that contain stabilizers—they may not temper properly.
- Check the cocoa percentage: higher percentages (70% and above) temper more easily.
Equipment You'll Need
You don't need fancy equipment to temper chocolate at home. A heatproof bowl, a saucepan for a bain-marie, a spatula, and a digital thermometer are the essentials. A marble slab is optional but useful for the tabling method.
Make sure all tools are completely dry—any moisture can cause chocolate to seize. Chop chocolate into uniform pieces for even melting.
- Use a silicone spatula to avoid introducing air bubbles.
- Keep a clean, dry cloth nearby to wipe any condensation from the bowl.
Step-by-Step Tempering Process
- Melt the chocolate: Chop chocolate into small, uniform pieces. Place two-thirds in a heatproof bowl and melt over a bain-marie (water barely simmering) or in short microwave bursts, stirring frequently. Do not exceed 120°F (49°C) for dark, 110°F (43°C) for milk or white. Checkpoint: Chocolate should be smooth and completely melted—no lumps.
- Cool the chocolate: Remove the bowl from heat and add the remaining one-third of chopped chocolate, stirring constantly. This 'seeding' method lowers the temperature while introducing stable crystals. Continue stirring until the chocolate cools to about 82°F (28°C) for dark, 80°F (27°C) for milk or white. Common mistake: Adding too much seed at once can cause thickening—add gradually.
- Reheat to working temperature: Gently warm the chocolate back up, either over the bain-marie (remove from heat before it gets too warm) or with short microwave bursts. Aim for 88-90°F (31-32°C) for dark, 86-88°F (30-31°C) for milk or white. Stir until it reaches the target. Checkpoint: Test by smearing a small amount on parchment—it should set within a few minutes with a shine.
- Test the temper: Dip a knife or spoon into the chocolate and let it sit at room temperature. Properly tempered chocolate will set firmly and glossy within 3-5 minutes. If it's streaky or soft, the temper isn't right—start over or adjust temperature. Common mistake: Skipping this test can ruin a whole batch—always test first.
- Use and maintain the temper: Work quickly but calmly. If the chocolate starts to thicken or lose temper, gently reheat it (never above working temperature) and stir. Keep your work area cool and avoid introducing any water. Checkpoint: Finished items should have a clean snap and shiny surface.
Products That Make Tempering Easier
- Dark Baking Chocolate Guanaja 70%- 8.8oz: Launched in 1986, Guanaja 70% was the most bitter chocolate on the market at the time and became a benchmark for the world's greatest chefs. Its high cocoa butter content makes it excellent for tempering, and its intense flavor shines in desserts.
- Vegan Baking Milk Chocolate Amatika 46% - 8.8oz/250g: Amatika 46% is the first plant-based couverture that combines the sweetness of almond with the aromatic richness of Pure Origin Madagascar cocoa beans. If you're avoiding dairy, this vegan couverture tempers like traditional milk chocolate, giving you creamy results without compromise.
Tempering chocolate at home is a rewarding skill that elevates your baking and confectionery. With practice and the right chocolate, you'll get glossy, professional results every time. Start with a high-quality couverture like Valrhona Guanaja 70% or Amatika 46% for the best outcome.