Quick answer
Thin acrylic paint for airbrushing with a dedicated acrylic airbrush thinner or distilled water, adding it in small drops until the mix flows like skim milk. Aim for a consistency that moves easily in the cup but still covers when sprayed. Always test on paper or a spare model before committing to a full coat.
Airbrushing miniature paint can feel like a guessing game, especially when a color sprays perfectly one day and clogs the next. The difference is usually consistency, not the airbrush itself. Learning how to thin acrylics properly is the single most useful skill for smooth, reliable coverage.
This guide walks through a practical thinning process you can repeat with any acrylic, including colors like Liquidambar Ochre. You will also find checkpoints for common mistakes, so you can adjust your mix without stripping a model or wasting paint.
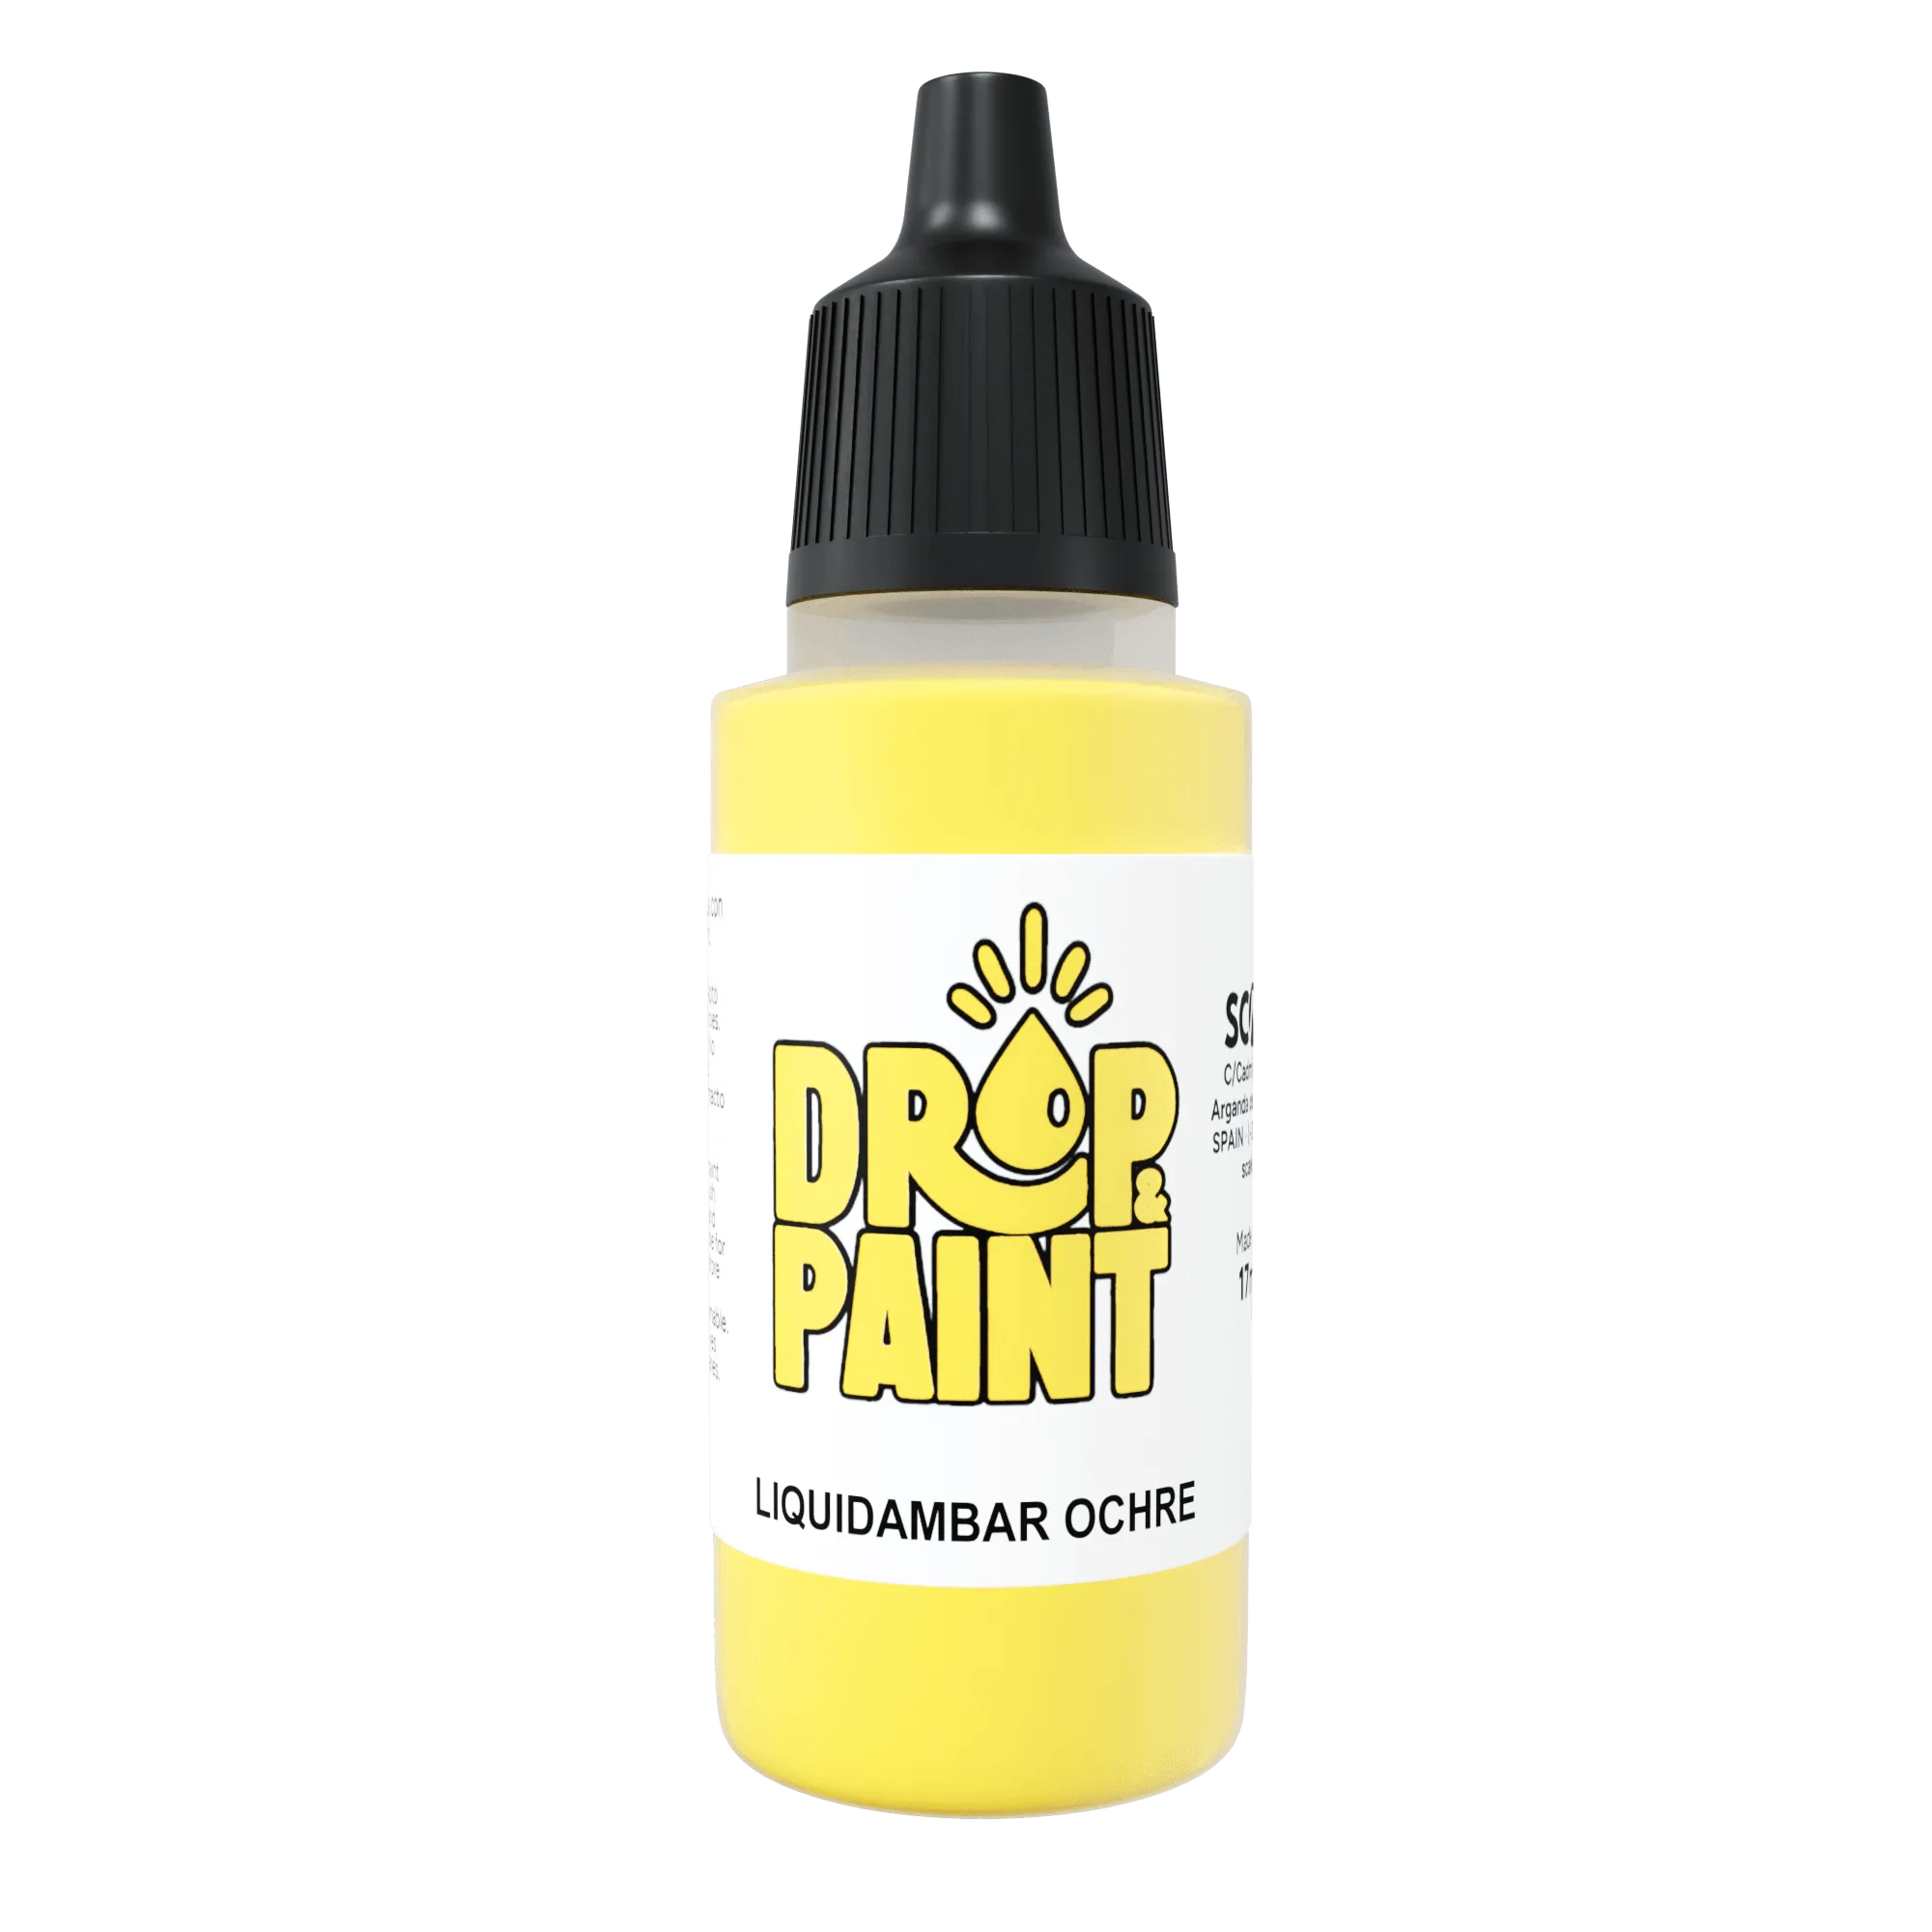
Liquidambar Ochre
Why acrylics need thinning for airbrushing
Acrylic miniature paints are formulated for brush work, where a thicker body helps with control and opacity. In an airbrush, that same thickness causes tip dry, spattering, and uneven coverage because the nozzle is much smaller than a brush tip. Thinning reduces viscosity so the paint atomizes into fine droplets instead of blobs.
Water alone can work in a pinch, but it can break the acrylic binder and leave a chalky finish. A dedicated airbrush thinner or flow improver keeps the pigment suspended and extends drying time slightly, which helps the paint level on the model. If you are unsure which to use, start with a thinner made for acrylics and add water only if the mix still feels heavy.
- Use a dedicated acrylic airbrush thinner for best results; water is a backup, not the default.
- Never thin an entire bottle at once. Mix small batches in a separate cup so you can adjust.
Choosing the right thinner for your paint
Not all thinners behave the same. Alcohol-based thinners can curdle some water-based acrylics, while ammonia-based window cleaners may attack the binder over time. The safest choice is a thinner labeled for acrylic model paint, ideally from the same brand as your paint. For example, SCALE75 paints are designed to work with their own thinner range, which reduces the risk of separation.
If you are working with a paint like DUBAI BROWN, which is a super matte acrylic valid for both brush and airbrush, you can thin it with an acrylic airbrush thinner and expect it to retain that matte finish. Always read the label or product page for compatibility notes before mixing brands.
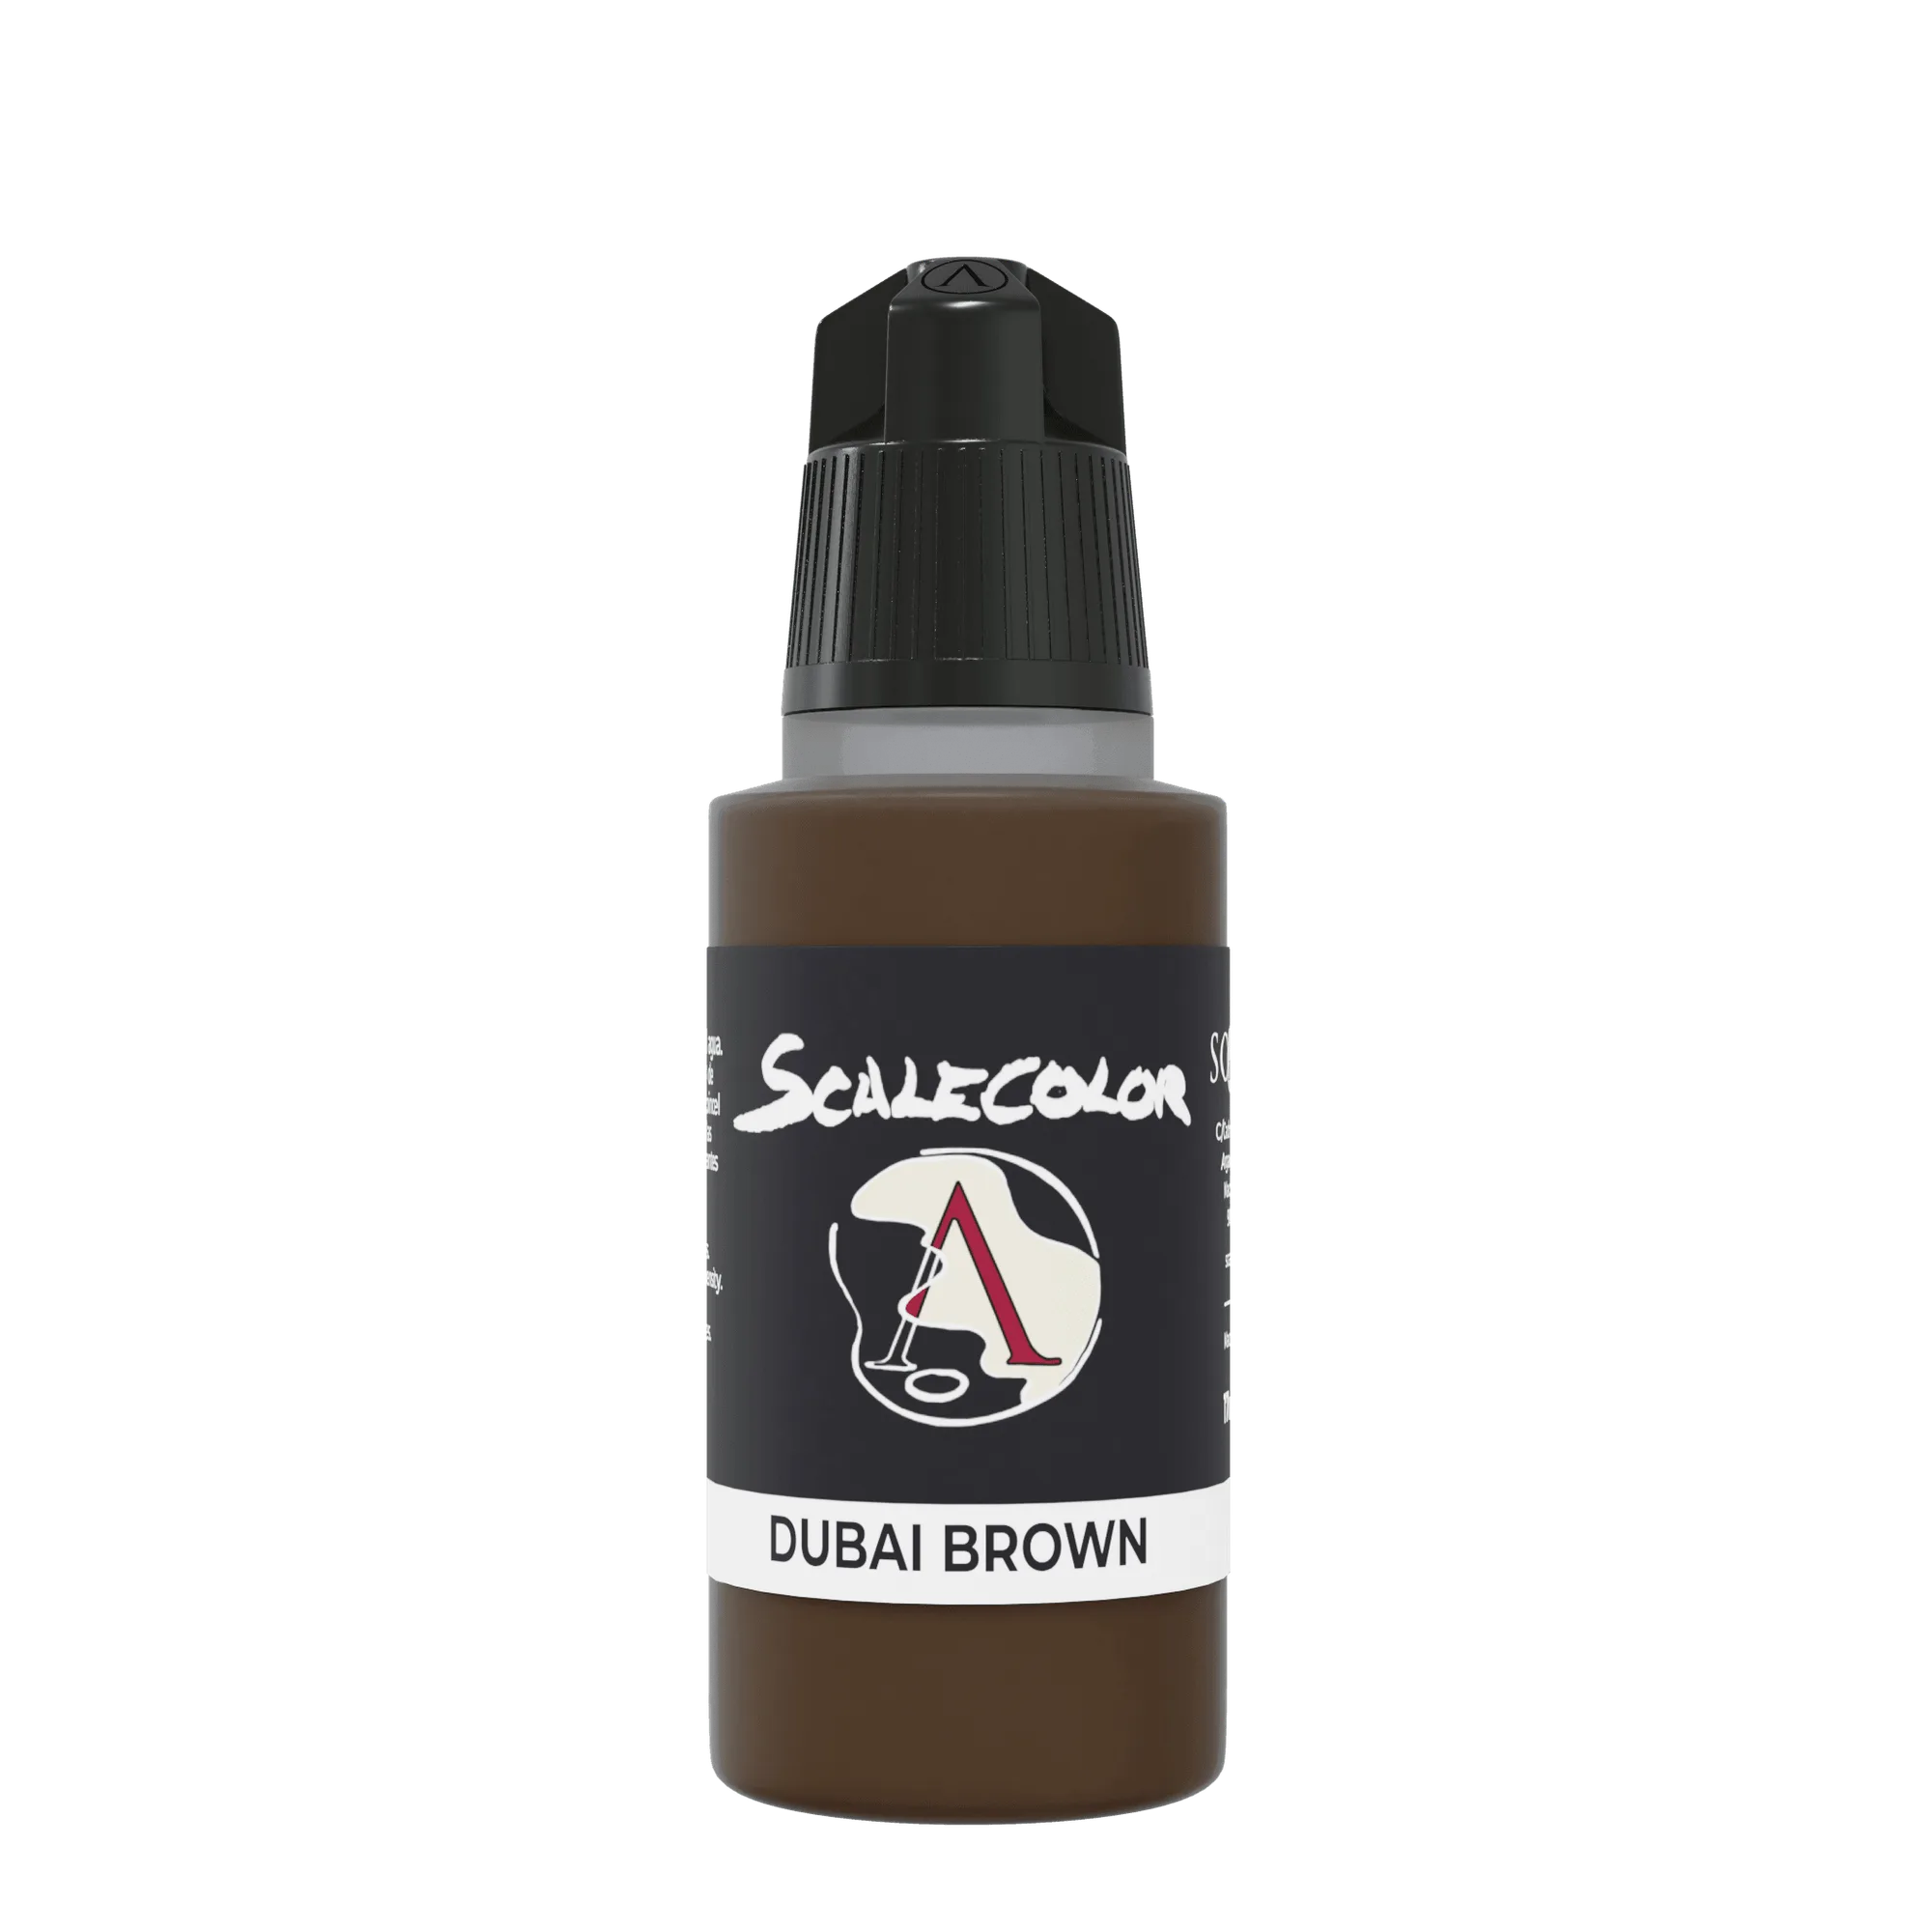
DUBAI BROWN
- Test a small drop of thinner in a cup of paint before spraying a whole model.
- Keep a dedicated mixing cup for airbrush mixes to avoid cross-contamination.
How to thin acrylics: step-by-step consistency check
Start by adding thinner to your airbrush cup, then add paint. A common starting ratio is one part thinner to one part paint, but this varies by color and brand. Stir with a brush or backflush gently, then check the consistency by pulling the needle back and watching how the mix runs down the side of the cup. It should coat the wall thinly and drip off like skim milk, not water.
If the mix looks like water, you have gone too far; add a drop of unthinned paint. If it clings in a thick film, add another drop of thinner. Spray a test pattern on paper at your normal working pressure. The line should be smooth with no spitting or spidering. Adjust until you get an even, continuous line.
- Keep a notebook of ratios that work for your most-used colors.
- Spray on a spare piece of plastic or paper before aiming at your model.
Adjusting for different colors and pigments
Some pigments are naturally thicker or more prone to tip dry. Whites, yellows, and ochres often need more thinning than darker colors because their pigment particles are larger or more opaque. If you are airbrushing a color like Liquidambar Ochre, start with a slightly higher thinner ratio and lower pressure, then build coverage in thin layers.
Metallics and fluorescents may require a different approach. Metallic flakes can settle quickly, so stir often and avoid over-thinning, which can separate the flake from the binder. For these, use a thinner designed for the paint line and spray at a slightly higher pressure to keep the flake moving.
- For ochres and yellows, add thinner in smaller increments and test frequently.
- Never mix metallic paint with water alone; use a compatible thinner.
Common mistakes when thinning paint for airbrush
One frequent mistake is thinning paint directly in the airbrush cup without measuring. This makes it hard to repeat a good mix and can lead to clogging if you add too much thinner. Another is using tap water with high mineral content, which can leave deposits and affect adhesion. Distilled water is a better choice if you go the water route.
A third mistake is ignoring air pressure. A mix that sprays well at 20 PSI may spatter at 15 PSI. Adjust pressure and thinning together. Finally, do not let thinned paint sit in the cup for long periods; it can separate or dry in the nozzle. Mix only what you need for the session.
- Measure thinner and paint with a dropper or pipette for repeatable results.
- Clean the airbrush immediately after use to prevent dried paint in the nozzle.
Cleaning and storing your airbrush after thinning
After spraying thinned acrylics, flush the airbrush with a dedicated cleaner or water until the spray runs clear. Then remove the needle and nozzle and clean them with a soft brush. Dried acrylic can be stubborn, so do not skip this step. A clean airbrush is the best prevention against future clogs.
If you mix larger batches ahead of time, store them in a sealed container and label the ratio. Some thinned paints separate overnight, so stir before use. Do not store thinned paint in the airbrush cup for more than a few hours.
- Use a cleaning station or spray-out pot to avoid mess.
- Lubricate the needle lightly after cleaning if your airbrush manufacturer recommends it.
Airbrush thinning steps at a glance
- Add thinner to the cup first: Pour a small amount of acrylic airbrush thinner into the cup before adding paint. This makes it easier to stir and prevents thick paint from sticking to the bottom. Checkpoint: the cup should have a shallow pool of thinner, not a dry bottom.
- Add paint and stir gently: Add an equal amount of paint, then stir with a brush or backflush. Avoid shaking violently, which introduces bubbles that cause spitting. Checkpoint: the mix should be uniform with no streaks of unthinned paint.
- Test consistency on paper: Spray a quick line on paper at your usual pressure. The line should be even and opaque enough to cover, but not so thin that it spiders or runs. Checkpoint: if the line spatters, add a drop of thinner; if it is watery, add a drop of paint.
- Adjust for the color: Ochres, yellows, and whites often need a little more thinner than dark colors. If you are using Liquidambar Ochre, start with a slightly thinner mix and build in layers. Checkpoint: spray a test patch on a spare surface before moving to your model.
- Spray in thin layers: Apply light coats, letting each pass dry for a few seconds. This prevents pooling and preserves detail. Do not try to cover in one heavy pass. Checkpoint: if the surface looks wet and glossy, you are spraying too heavy; back off.
- Clean immediately after use: Flush the airbrush with cleaner or water, then disassemble and clean the needle and nozzle. Dried acrylic is much harder to remove. Checkpoint: the spray should run clear before you stop cleaning.
Products that work well with this process
- DUBAI BROWN: Super matte finish acrylic paint 17ml, valid for brush and airbrush. This paint is already formulated for airbrush use, so it thins predictably and keeps its matte finish when mixed with a compatible thinner.
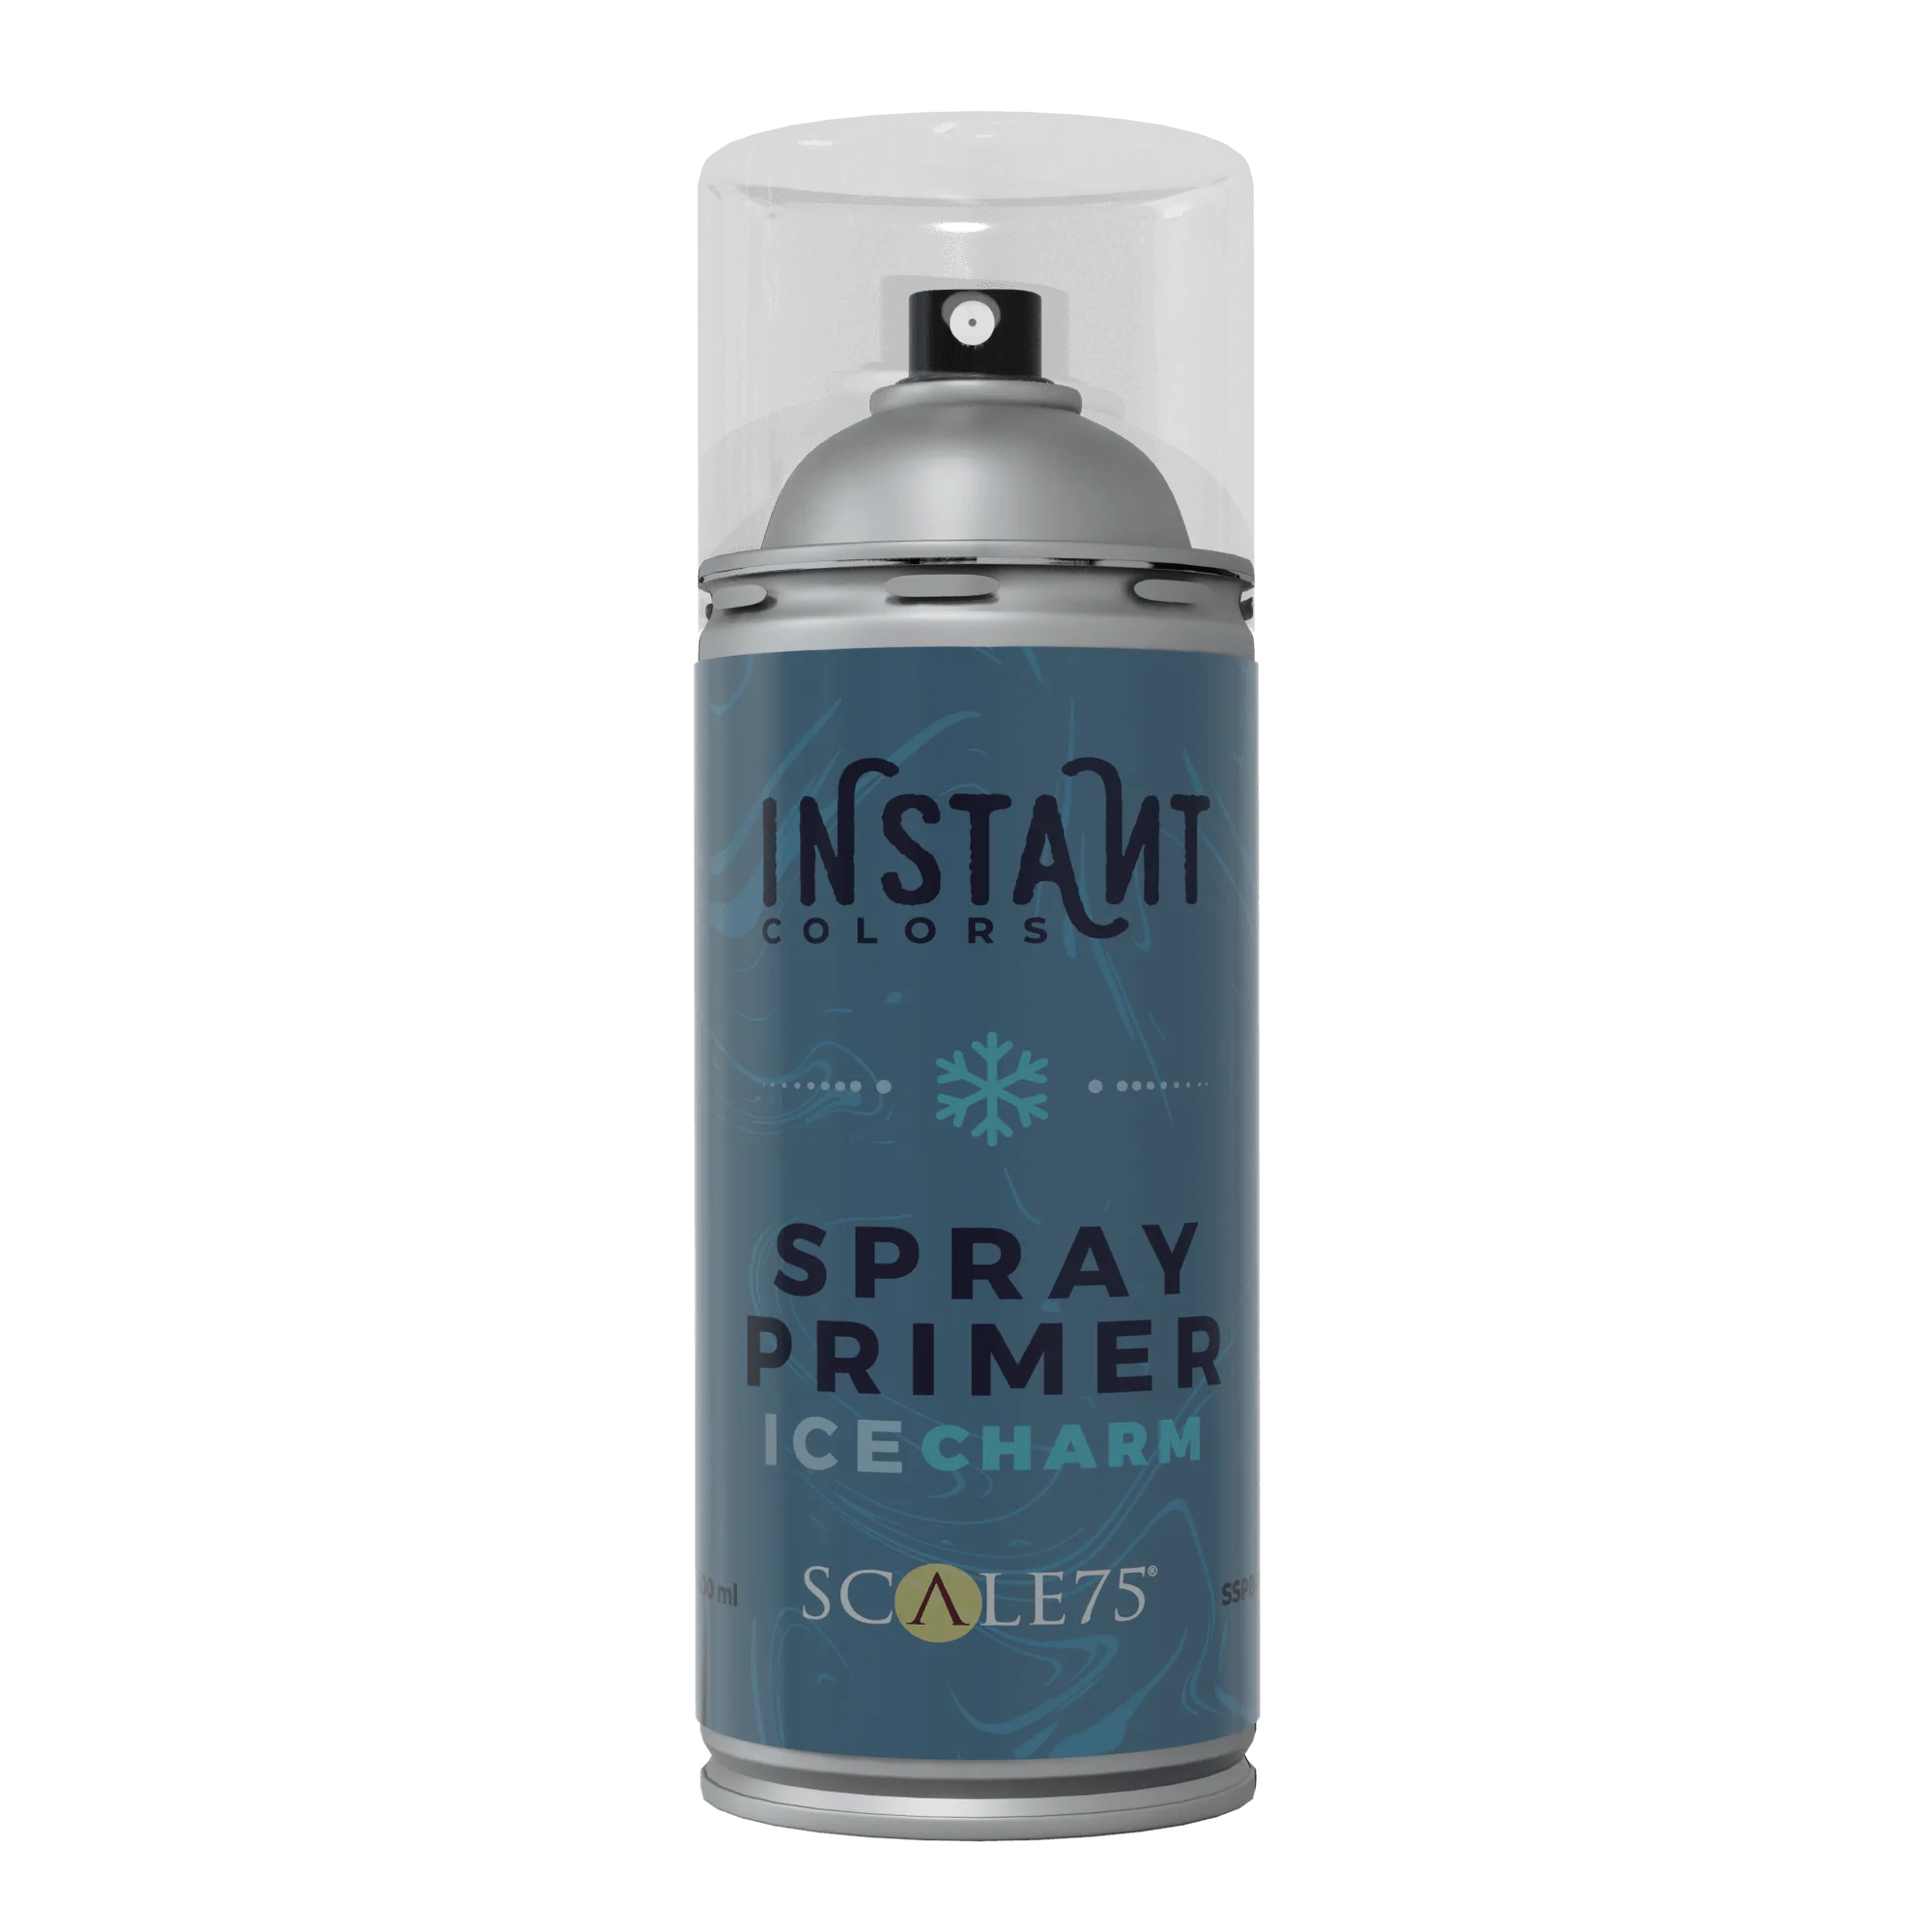
- SPRAY PRIMER ICE CHARM 400 ml: SCALE75 aerosols can only be shipped to Spain (Iberian Peninsula). For all other destinations, consult your local distributor. If you rely on spray primer before airbrushing, check shipping restrictions early so you can plan an alternative primer if needed.
Thinning paint for airbrushing is a skill you build with practice, not a fixed formula. Start with a dedicated acrylic thinner, mix in small batches, and test consistency before spraying your model. With a repeatable process, colors like Liquidambar Ochre and DUBAI BROWN will spray smoothly and save you cleanup time.